Batman Arkham City: Batman trophies (11-23) Museum
TROPHY 11
Gadgets used: Grapnel Gun
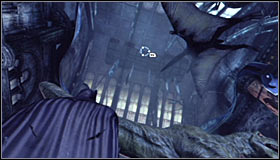 | 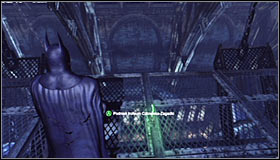 |
Go to the main room with the dinosaur exhibit. Look up and look for the platform hanging from the ceiling which you can grab with the Grapnel Gun #1. After reaching it, collect the Trophy from the floor #2.
TROPHY 12
Gadgets used: Batclaw
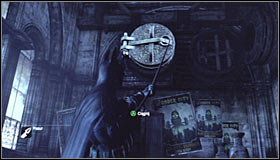 | 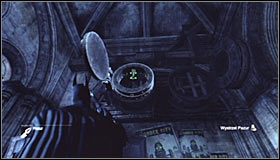 |
Use the elevator to reach the higher level of the Gladiator Pit and afterwards examine the western wall. Search for the hatch which can be opened with the Batclaw #1 and afterwards use this gadget to catch from Trophy from afar #2.
TROPHY 13
Gadgets used: Remote Electrical Charge, Batarang
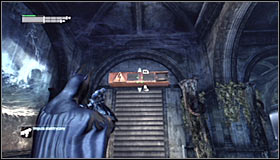 | 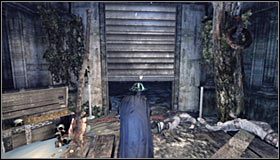 |
Stand beside the locked gate north of the Trophy, equip the Remote Electrical Charge and shoot at the engine #1. After the gate raises, crouch and get inside #2.
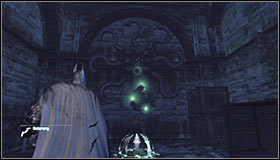 |  |
You will have to solve an easy puzzle requiring you to hit one of the question marks in the moment it lights up. Completing this task will once again require using the Remote Electrical Charge, though you could pretty well use the normal Batarang as well #1. In return for a well timed throw, you will be rewarded with the opportunity to pick up the Trophy #2.
TROPHY 14
Gadgets used: Freeze Blast
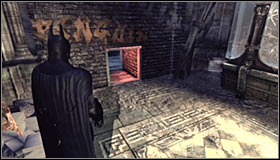 | 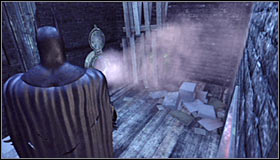 |
Start exploring the lowest level of the War Room, the north-west corner to be precise. Find the ventilation shaft entrance here #1. After crossing the shaft, turn right #2.
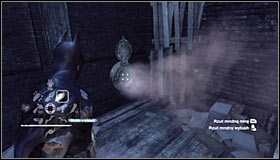 | 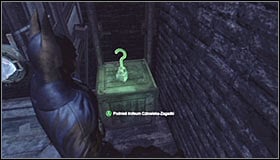 |
Equip the Freeze Blast and shoot with it at the spot from which the steam is coming out #1 to seal the pipe. Afterwards move on and collect the Trophy #2.
TROPHY 15
Gadgets used: Cryptographic Sequencer
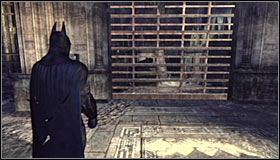 | 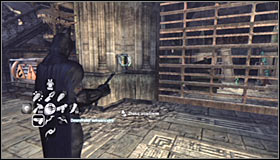 |
Examine the north-east corner of the War Room to find a locked gate #1. Equip the Cryptographic Sequencer and use it on the control panel on the left #2.
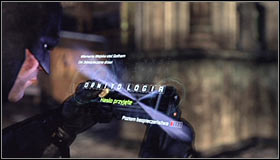 | 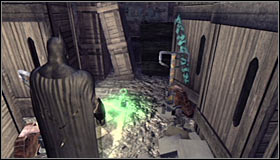 |
Approach the mini-game and create the password #1. Afterwards enter the small storage and pick up the Trophy #2.
TROPHY 16
Gadgets used: Cryptographic Sequencer + Cryptographic Sequencer Range Amplifier
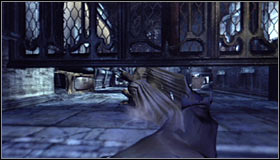 | 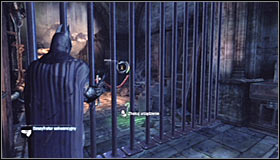 |
Start off north of the objective, performing a slide underneath a partially opened gate #1. Head south. Ignore the fact that the laser beams have caused the gate to locked and stand beside it. Equip the Cryptographic Sequencer and use it on the control panel in the distance #2.
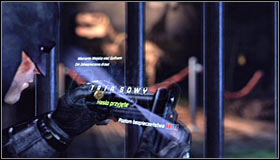 | 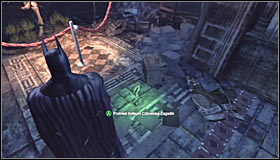 |
Solve the mini-game by creating the proper password #1. Enter the southern room and collect the Trophy #2.
TROPHY 17
Gadgets used: Remote Controlled Batarang
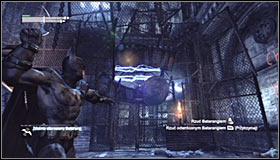 | 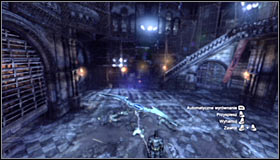 |
Begin in the middle part of the Gladiator Pit and turn north. Equip the Remote Controlled Batarang and aim it at the hole with discharges in front of you #1. Throw the Batarang, but turn it around right after it gets electrified (towards Batman) #2.
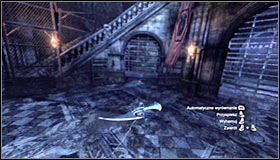 | 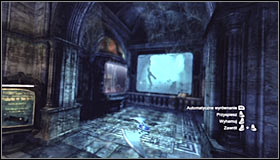 |
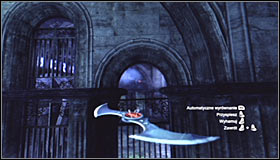
Lead the Batarang onto the partially raised grate in the south-west part of the room #1. If for some reasons it's not raised, check out the walkthrough of Rescue remaining undercover GCPD officers in the Museum to learn how to do it. After the Batarang flies beneath the grate, turn it slightly right #2.
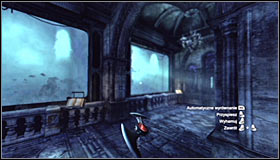 |  |
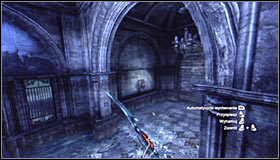
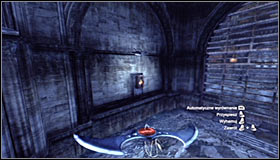
Wait for the Batarang to reach the large water tanks and this time turn it sharply right #1. Afterwards make it fly through the small hole #2.
 |  |
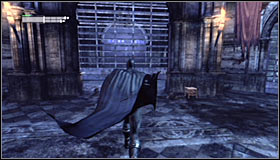
Turn the Batarang right for the last time #1. You need to make it hit the fuse box #2.
 | 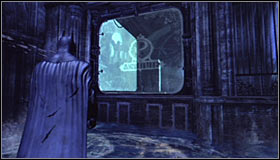 |
Note that destroying the fuse box has led to the middle (western) grate to raise #1. Slide underneath it and after reaching the partially flooded room turn right. Find the small window on the northern wall #2 and jump through it #2.
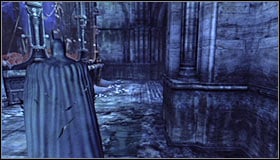 | 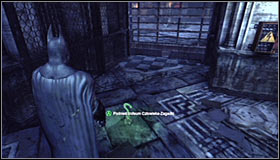 |
Head north and afterwards turn right #1. After a few steps you will come across the Trophy #2.
TROPHY 18
Gadgets used: Explosive Gel
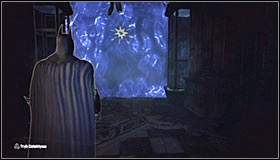 | 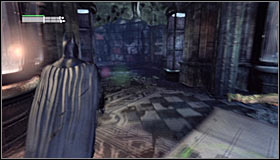 |
Stand in the middle part of the War Room and head north-west. If it's your first visit here, you will have to use the Explosive Gel to blow up the wall #1. Otherwise, you will be able to move on without any problems #2.
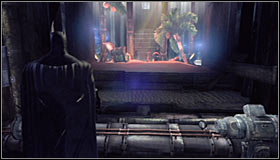 | 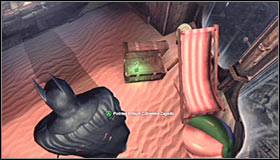 |
Turn south. You need to use the use the entrance to the cage in which Mister Freeze was held #1 and it will be possible only after finishing the Defeat Penguin main mission. after getting inside, search for an open chest, inside of which is the Trophy #2.
TROPHY 19
Gadgets used: Batclaw
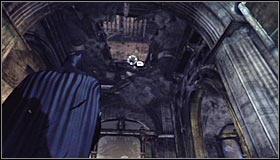 | 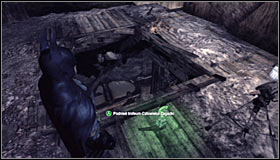 |
Start exploring the lowest level of the War Room. Look around the ceiling and you should note that there's a big hole at once spot #1. Reach it with the Grapnel Gun and afterwards pick up the Trophy #2.
TROPHY 20
Gadgets used: Disruptor - Jam Firearm
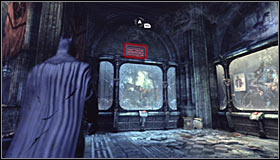 | 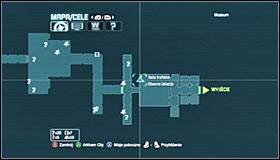 |
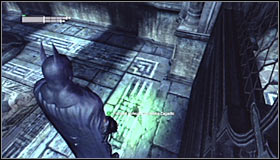
Start off south-east of the Trophy, in the dinosaur room to be precise. Search the north-west corner of the room to find a ventilation shaft entrance #1 #2.
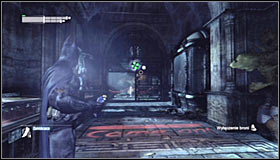 |  |
Go through the shaft, thanks to which you will find yourself south of the destination. Equip the Disruptor and use in on the turret hanging from the ceiling #1, therefore blocking it. Now you can head north and pick up the Trophy #2.
TROPHY 21
Gadgets used: Freeze Blast, Batclaw
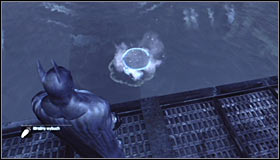 | 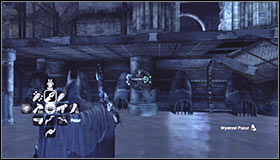 |
If you intend to collect this Trophy during your first visit at the Museum, you just need to jump down onto the fragile ice. Otherwise, you will need to pull a platform towards yourself or use the Freeze Blast to create an ice float #1.Regardless of the chosen method, turn east and find the hatch which you can open using the Claw #2. The Trophy is hidden inside.
TROPHY 22
Gadgets used: Explosive Gel, Freeze Blast
 |  |
Stand in the middle part of the War Room and head north-west. If it's your first visit, you will have to use the Explosive Gel to blow up the wall #1. Otherwise, you will be able to move on at once #2.
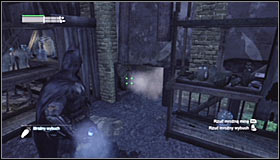 | 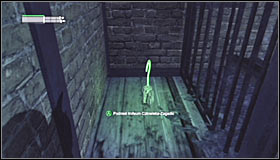 |
Stop after reaching the north-west corner. In order to reach the Trophy, you need to have the Freeze Blast. Shoot at the pipe from which steam is coming out #1 and seal it. Afterwards crouch and reach the Trophy #2.
TROPHY 23
Gadgets used: Disruptor - Mine Detonator
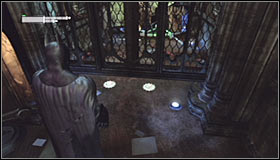 | 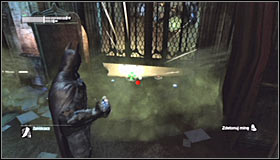 |
After reaching the destination, you should note that the gate is only partially raised and that there are two proximity mines set below it #1. Take out the Disruptor and use it to detonate them both #2.
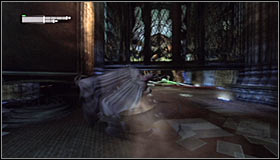 | 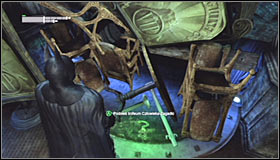 |
Afterwards perform a slide underneath the gate #1. After reaching the new area, take a look around for the Trophy #2.
You are not permitted to copy any image, text or info from this page. This site is not associated with and/or endorsed by the developers and the publishers. All logos and images are copyrighted by their respective owners.
Copyright © 2000 - 2026 Webedia Polska SA for gamepressure.com, unofficial game guides, walkthroughs, secrets, game tips, maps & strategies for top games.
