Batman Arkham City: Batman trophies (16-24) Steel Mill
TROPHY 16
Gadgets used: Remote Electrical Charge, Batclaw
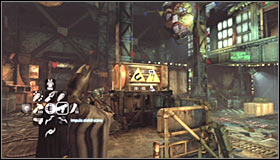 |  |
Start off in the main room of the Loading Bay, north of where the Trophy is. Equip the Remote Electrical Charge and aim at the engine in the very middle of the room #1. Start alternating between pressing RB and the right trigger, therefore sending opposite charges and setting the big hook into motion #2.
 | 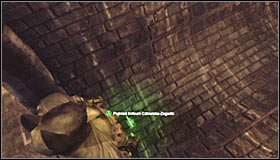 |
You need to swing the hook enough for it to hit the big fan on the southern wall #1. Afterwards you can use the hook to get there. You will find the Trophy right after reaching the tunnel #2.
TROPHY 17
Gadgets used: Remote Electrical Charge
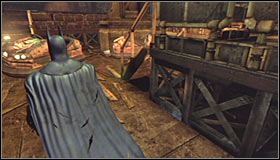 | 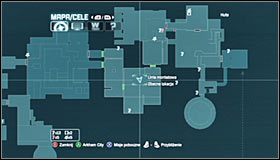 |
Start off in the room north of the Trophy, to be precise in the area where the electric cars are #1 #2.
 |  |
Prepare the Remote Electrical Charge and shoot at the magnet beside the northern wall from a safe distance #1. You need to cause it to attract the cars #2.
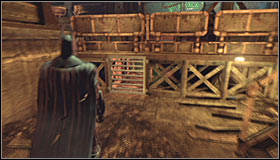 | 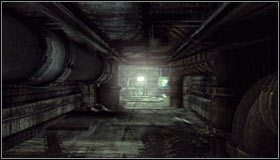 |
Go down, turn south and note that moving the cars has led to unlocking the ventilation shaft entrance #1. Pull out the grate and enter the shaft #2.
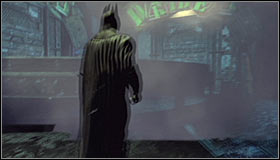 | 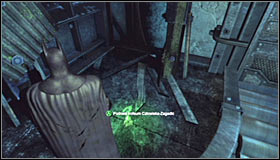 |
You need to reach the shaft exit #1. Go across the inactive assembly line and pick up the Trophy in the corner #2.
TROPHY 18
Gadgets used: Batclaw
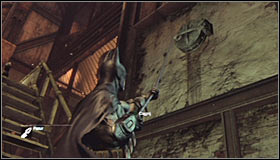 | 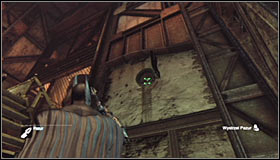 |
Examine the southern wall. Find the hatch which you can open with the Batclaw #1 and afterwards use it again to grab the Trophy #2.
TROPHY 19
Gadgets used: Batclaw, Remote Controlled Batarang
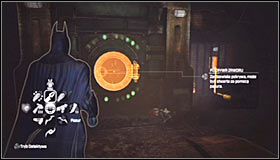 | 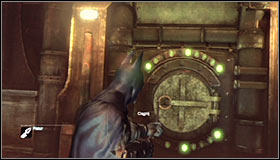 |
Stat off nearby where the Trophy is hidden, searching for an interactive hatch #1. Use the Batclaw and open it #2.
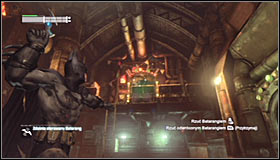 | 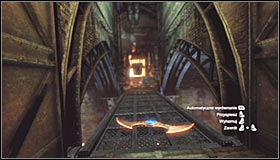 |
Now equip the Remote Controlled Batarang turn to the north and throw it at the balcony above you #1. Afterwards make the Batarang fly towards the bridge #2. Notice - if the passage is blocked, you will first need to reach the bridge (from the west) and open the gate using the Cryptographic Sequencer.
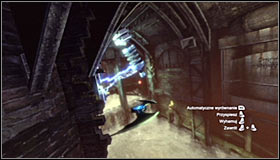 | 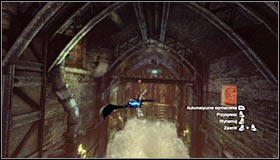 |
Turn the Batarang left, leading it into towards the area with electrical discharges #1. Fly beside the discharges to electrify the Batarang and afterwards turn it around #2, once again leading it towards the bridge. It's best to just press the left and right trigger to do it.
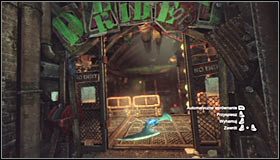 | 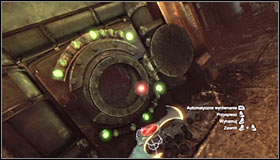 |
Now you need to return with the Batarang to the area in which Batman is, so turn south #1. Now comes the hardest part, as you will have to fly the Batarang into the tunnel on the left, accessible thanks to opening the hatch #2.
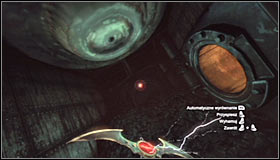 | 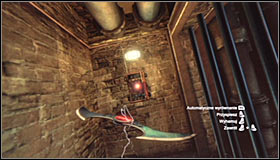 |
Be ready for a sharp turn right #1, helping yourself by slowing down the Batarang (left trigger). Eventually you should hit the fuse box at the end of the corridor #2.
 |  |
Note that the grate that has been blocking access to the Trophy is now raised #1. Head there and collect your prize #2.
TROPHY 20
Gadgets used: Explosive Gel
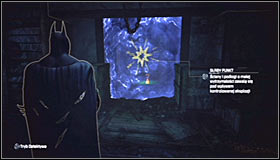 | 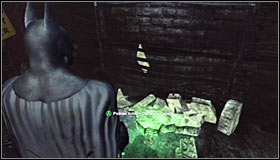 |
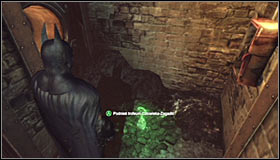
Get to the Boiler Room, which has been described in the Hot and Cold walkthrough. Stand south of the Trophy and use the Explosive Gel to destroy the fragile wall fragment #1. Pick up the Trophy #2.
TROPHY 21
Gadgets used: Remote Electrical Charge, Batclaw, Line Launcher
 | 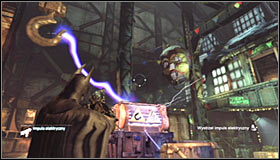 |
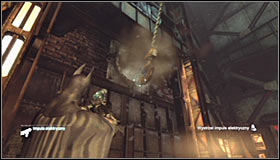
Start off in the main room of the Loading Bay, north-east of the Trophy. Equip the Remote Electrical Charge and shoot at the engine in the very middle of the room #1. Now alternate between pressing RB and the right trigger to send opposite charges and therefore set the hook into motion #2.
 | 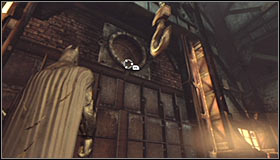 |
You need to swing the hook enough for it to hit the big fan in the southern wall #1. Afterwards use the Grapnel Gun to get there #2.
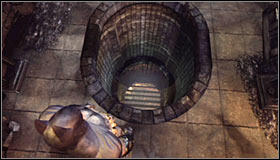 | 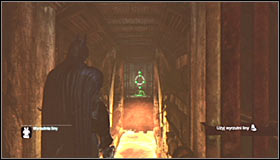 |
Head south and afterwards turn west, jumping into the hole #1. Approach the ledge, equip the Line Launcher and shoot into the wall in the distance #2.
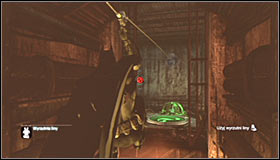 | 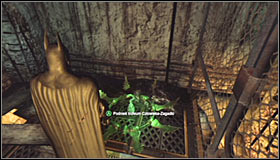 |
End the ride on the pressure plate #1. Afterwards collect the Trophy from the open cage #2.
TROPHY 22
Gadgets used: Remote Electrical Charge, Freeze Blast
 | 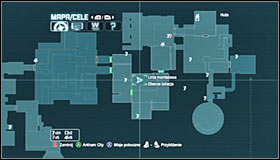 |
Start off in the room east of the Trophy, inside the room with the electrical cars to be precise #1 #2.
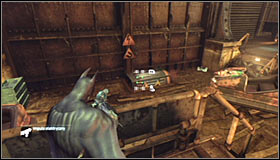 | 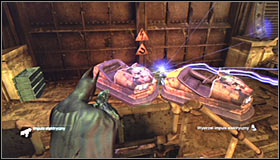 |
Prepare the Remote Electrical Charge and shoot at the magnet beside the northern wall from a safe distance #1. You need to cause it to attract the cars #2.
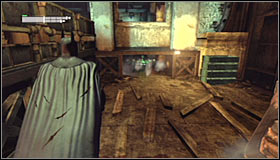 | 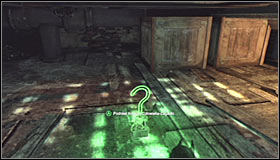 |
Afterwards go down and turn west to note that the passage leading to the collectible has been unlocked #1. Use the Freeze Blast to seal the pipe. Afterwards crouch and head for the Trophy #2.
TROPHY 23
Gadgets used: Remote Electrical Charge
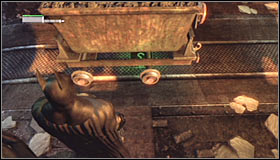 | 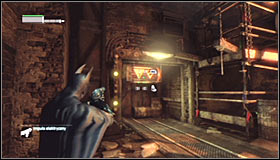 |
The Trophy is found below the mine car #1 and unfortunately you can't collect it at once. Prepare the Remote Electrical Charge and shoot at the electromagnet on the left #1.
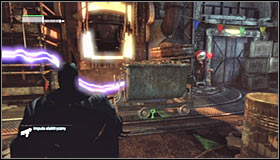 | 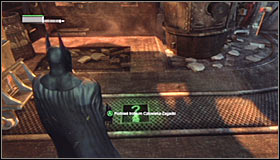 |
Use the magnet to move the car #1, therefore unlocking access to the Trophy #2.
TROPHY 24
Gadgets used: Batarang, Line Launcher
 | 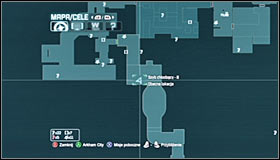 |
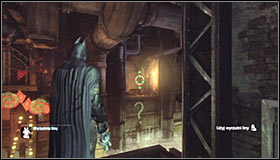
Start off south of the Trophy, on the other side of the river. Locate the question mark which you can hit with the Batarang #1 #2.
 | 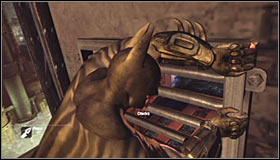 |
Note that hitting the question mark has led to the grate above him to raise. Equip the Line Launcher and shoot there #1. After reaching the new ledge, turn left and pull out the ventilation shaft grate #2.
 | 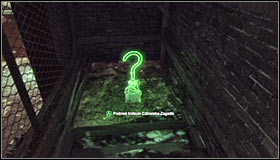 |
Now you can enter the shaft #1 which will take you to where the Trophy is hidden #2.
You are not permitted to copy any image, text or info from this page. This site is not associated with and/or endorsed by the developers and the publishers. All logos and images are copyrighted by their respective owners.
Copyright © 2000 - 2026 Webedia Polska SA for gamepressure.com, unofficial game guides, walkthroughs, secrets, game tips, maps & strategies for top games.
