Batman Arkham City: Shot in the Dark - p. 1
Beginning
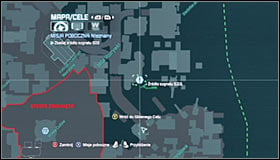 | 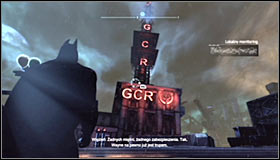 |
You will be informed of the possibility to approach this mission after s new SOS signal appear on Arkham City map #1. It can be found in the eastern part of town, in the Amusement Mile district nearby the bridge leading to the Industrial District. After reaching the area, find a broadcasting building with GCR neon signs #2 and glide there.
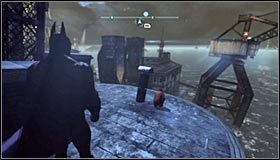 | 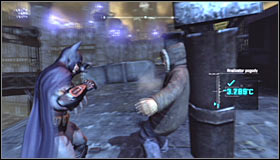 |
After reaching one of the higher level of the leaned tower, find the Political Prisoner #1 and speak with him. After a rather short conversation, he will be killed by an unidentified sniper #2.
Examining the first crime scene and its area
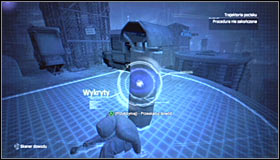 | 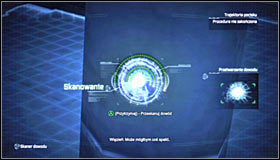 |
Finding the shooter is your next task. In order to do that, turn on the Evidence Scanner (LB). you have to find the small chimney in which the bullet has ended #1. Hold down A and wait for the scanning process to end #2.
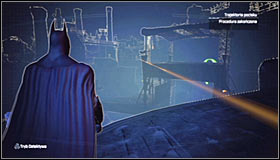 | 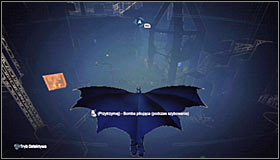 |
Just like with the other missions, you will now have to use the view of the bullet's trajectory and find where the shot was fired from #1. Head towards the Industrial District, south from where you are #2.
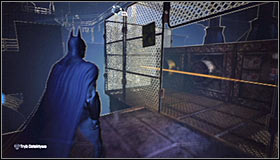 | 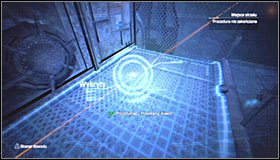 |
You need to reach a small, fenced area on one of the roofs in the northern part of the Industrial District #1. There you will have to use the Evidence Scanner once again. Locate the bullet shell on the ground #2, press A and wait for the scan to end. Batman will establish that the sniper he's looking for is Deadshot.
Examining the second crime scene and its area
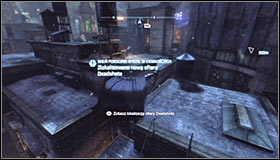 |  |
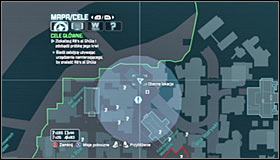
You will be able to resume this mission after receiving information that the second Deadshot victim has been found #1. At the same time note that its approximate location has been added to the map #2, so you will have to find the exact place yourself.
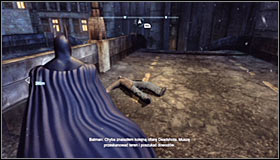 |  |
The body of the sniper's victim is lying on the destroyed part of the highway #1 #2. Of course be careful, as there might be enemies in the area.
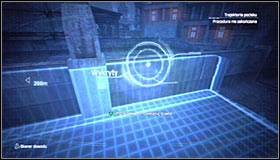 | 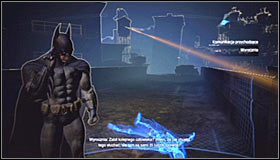 |
As you have probably guessed, you need to turn on the Evidence Scanner. Take a look at the wall and find the bullet #1. Hold down A until you finish scanning. It will lead to the bullet's trajectory to be displayed #2.
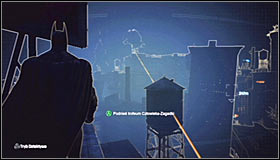 | 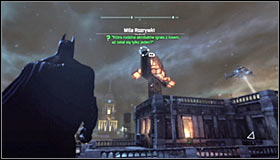 |
Head south-east, passing by a water tower through which Deadshot's bullet has passed #1. Your goal is reaching the wall of the Gotham Casino #2.
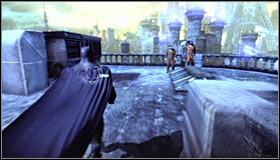 | 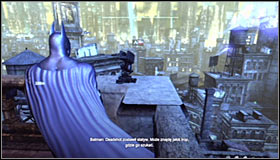 |
The roof of the casino will be guarded by a few inmates #1, which you will of course have to take care off. Afterwards examine the south-west corner of the roof and you will find a tripod used by Deadshot #2.
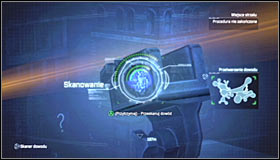 | 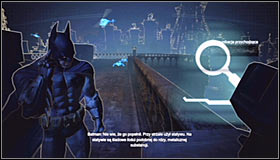 |
Once again turn on the evidence scanner. You of course have to take a closer look at the tripod #1 by holding down A. Listen out to the conversation with the Oracle regarding the traces of a rare substance found on the tripod #2.
Examining the third crime scene and its area
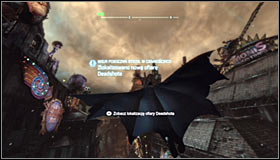 | 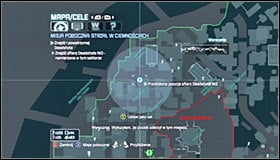 |
Just like before, you have to resume playing the game and wait for the information about Deadshot's third victim #1. This time you will have to take a look around Park Row #2.
 | 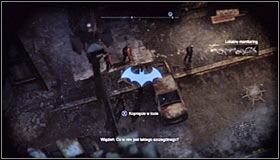 |
The body is in the western part of the park, nearby the wall separating Arkham City from the rest of the world #1. You can distinguish it by a group of inmates gathered around #2.
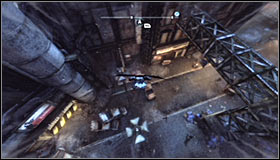 | 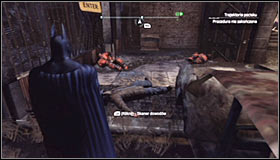 |
It would be of course good to attack them from above, using the element of surprise #1. Finishing them off shouldn't be hard, though one of them might be equipped with an armour and you will have to take it into account. After the fight's over, approach the body behind the car wreck #2 and activate the Evidence Scanner.
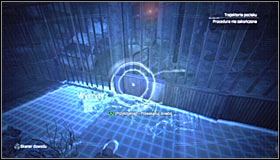 | 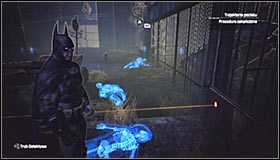 |
Traditionally, you will have to find the place where the bullet has landed. This time it will be the lower part of the metal fence #1. Press A and wait for the scanning process to finish. Listen out to the conversation with the Oracle and start searching for the place from where the shot was fired #2.
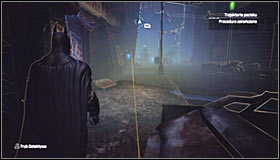 | 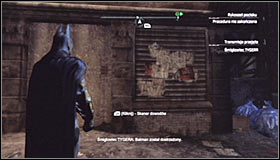 |
Curiously, you won't even have to get off ground at first, but only head east #1. You have to reach the place where Deadshot's bullet hit #2. Turn on the Evidence Scanner.
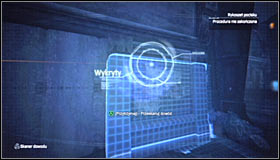 | 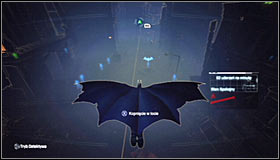 |
Scan (by holding down A) the trace on the wall #1 to establish that Deadshot was able to kill the last victim with a ricochet. Head further east, eventually getting off the ground #2.
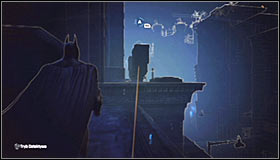 | 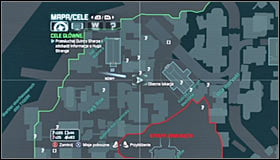 |
You have to reach the roof pointed by the bullet's trajectory #1 #2. Listen out to Batman's comment.
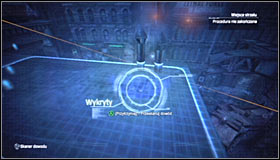 | 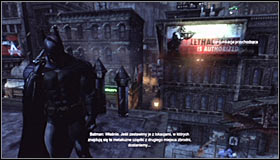 |
Follow the game's suggestion and turn on the Evidence Scanner. You have to scan the place where Deadshot has been lying #1, causing the snow to melt. Wait for the scanning to end and listen out to another conversation with the Oracle #2. This time Batman will be able to narrow down Deadshot's location to three substations found throughout the city. Examining each of them will be your next objective, which you will be able to start right off.
- Batman: Arkham City Game Guide
- Batman Arkham City: Game Guide
- Batman Arkham City: Side missions
- Batman Arkham City: Introduction
- Batman Arkham City: Watcher in the Wings
- Batman Arkham City: Fragile Alliance - p. 1
- Batman Arkham City: Fragile Alliance - p. 2
- Batman Arkham City: AR Training
- Batman Arkham City: Shot in the Dark - p. 1
- Batman Arkham City: Shot in the Dark - p. 2
- Batman Arkham City: Identity Theft
- Batman Arkham City: Remote Hideaway
- Batman Arkham City: The Tea Party
- Batman Arkham City: Heart of Ice
- Batman Arkham City: Hot and Cold
- Batman Arkham City: Enigma Conundrum (riddles 1-9)
- Batman Arkham City: Enigma Conundrum (riddles 10-15)
- Batman Arkham City: Enigma Conundrum (riddles 16-17)
- Batman Arkham City: Cold Call Killer
- Batman Arkham City: Acts of Violence
- Batman Arkham City: Side missions
- Batman Arkham City: Game Guide
You are not permitted to copy any image, text or info from this page. This site is not associated with and/or endorsed by the developers and the publishers. All logos and images are copyrighted by their respective owners.
Copyright © 2000 - 2026 Webedia Polska SA for gamepressure.com, unofficial game guides, walkthroughs, secrets, game tips, maps & strategies for top games.
