Skyrim: Under Saarthal - p. 2
New main objective: Find the danger within Saarthal

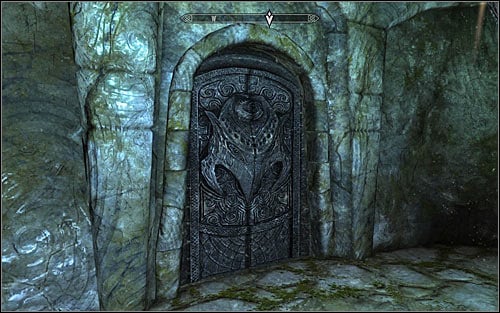
Head towards the northern exit (screen above). It's locked, so you will need to pull the TWO chains on its sides. Only afterwards will you be able to open the door leading to the proper part of the Saarthal ruins.
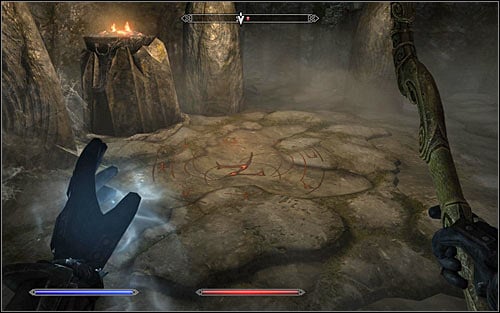
After reaching the next part of the ruins I'd recommend saving your game, as there's another difficult fight waiting for you. At first you will have to eliminate a normal Draugr. Look out for the nearby runic flame trap (screen above). You can detonate the rune from a distance or just avoid it, hoping to use it in the next fight. Unfortunately, in the second option you have to consider the danger of your clumsy team member activating the trap.
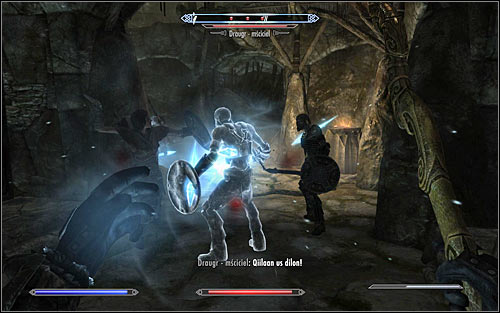
Soon more Draugrs (including a Draugr - Wight) will attack you, though you will most of all have to look out for the Draugr - Scourge (screen above). The monster is very resistant and can also deal high damage, so you will have to use your best skills, Shouts, magic and weapons, healing your hero and replenishing mana when it fall down too low. Note - Don't hope to safely attack the Scourge with ranged attacks, as it will probably use a bow by default.

After the battle ends, use the stairs leading onto the upper level. Look around for two chests or head towards the only possible exit, located in the eastern part of the room (screen above). Move onwards, but be ready to deal with a Draugr - Wight on your way. Soon you should reach the first puzzle in this location.

The puzzle will require you to interact with six pillars. You will have to turn them so that they show the proper signs. Stand as shown in the screen above (opposite to the locked grate) and approach the pillars in the order below:
1) Approach pillar 1. By default it shows a fish, but the plate behind it suggest that it should be an hawk. Turn the pillar so that is shows an hawk.
2) Approach pillar 2. By default it shows an hawk, but the plate behind it suggest that it should be a snake. Turn the pillar so that is shows a snake.
3) Approach pillar 3. By default it shows a snake, but the plate behind it suggest that it should be a fish. Turn the pillar so that is shows a fish.
4) Approach pillar 4. By default it shows a fish and the plate behind suggests the same, so you don't have to change anything.
5) Approach pillar 5. By default it shows a snake, but the plate behind it suggest that it should be an hawk. Turn the pillar so that is shows an hawk.
6) Approach pillar 6. By default it shows a fish, but the plate behind it suggest that it should be a hawk. Turn the pillar so that is shows an hawk.
Afterwards pull the lever to raise the grate.
Save your game and only afterwards enter the southern room. You will have to fight a mini-boss in the form of a Draugr - Deathlord (screen above). Use the fact that the monster is a warrior and try to keep it at distance. Also be sure to use your best powers, spells and items, as the Draugr is very resistant. Afterwards examine the body, collecting the very precious and useful for the warrior, Ebony Battleaxe.
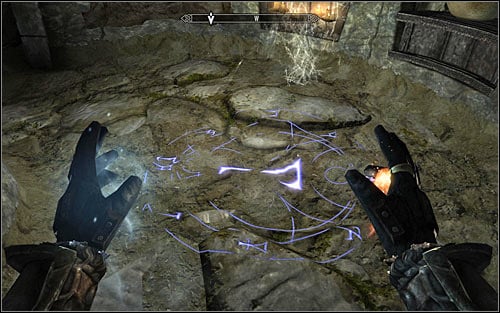
Go up the stairs and head to the southern door. Look out for the two traps in the nearby corridor (screen above), as activating them might electrocute you. I'd suggest destroying them from a safe distance.

Destroying both traps will let you access the room with another puzzle. Stand as shown in the screen above, opposite to the locked grate. Approach the pillars in the suggested order:
1) Approach pillar 1 (second from the left). By default it shows a snake, but the plate behind suggests that it should show a fish. Turn the pillar so that it shows a fish. Ignore the fact that by turning this pillar you have also turned the others. It's just important to approach them in the order presented in this guide.
2) Approach pillar 2 (first from the left). By default it shows an hawk, but the plate behind suggests that it should show a snake. Turn the pillar so that it shows a snake.
3) Approach pillar 3 (second from the right). By default it shows a snake, but the plate behind suggests that it should show an hawk. Turn the pillar so that it shows a hawk.
4) Approach pillar 4 (first from the right). By default it shows a snake, but the plate behind suggests that it should show a fish. Turn the pillar so that it shows a fish.

The proper pillar arrangement can be seen in the screenshot above. If you made a mistake, remember to repeat everything in the above order, as only that way you will avoid the problem on multiple pillars moving at the same time. Pull the lever to use the newly unlocked passage.

Soon enough you should be joined by Tolfdir, so consider waiting for him. Look out for the pressure plate in the corridor, as it activates a trap (poison arrows). Your objective is reaching the big door (screen above) and enter the room behind. Save your game, as the final battle in this quest is waiting for you.
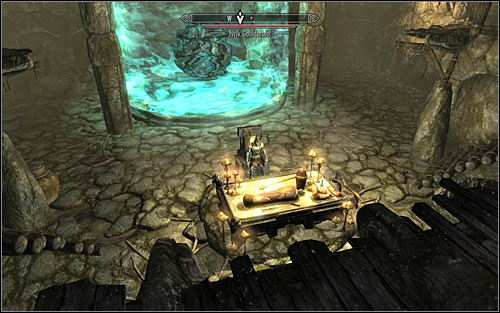
Temporarily ignore the magic sphere in the distance, as before you can take a closer look at it you will have to fight Jyrik Gauldurson (screen above). Don't attack him at all in the beginning, as your attacks will only do minimal damage. Instead, wait for Tolfdir to note that the boss is very resistant and take away part of him power.
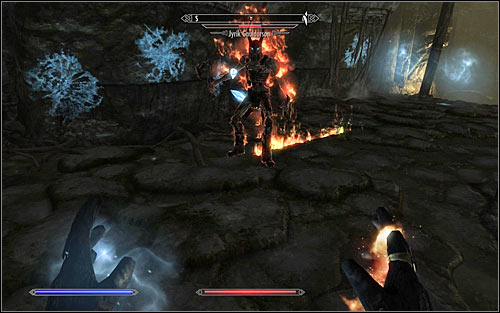
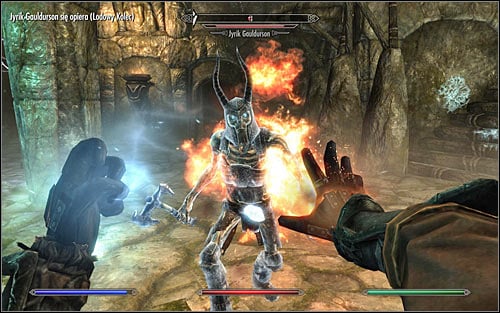
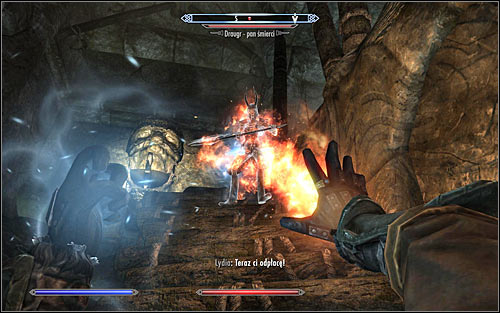
Start attacking the boss only after Tolfdir tells you that he was able to weaken Jyrik. You can of course use standard spells, powers, Shouts and magic items, but there's also an easier way of eliminating him. Note that Jyrik alternates between using fire and ice spells. The key to winning is therefore attacking him with the opposite element. If you see, that Jyrik is about to use fire spells (screen 1), attack him with ice and with fire if he's using ice (screen 2). Regardless of the chosen tactic, you need to deplete the boss' of his hp bar completely.
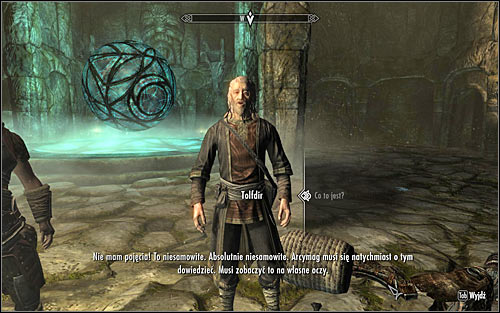
Be sure to examine Jyrik's body, as you will find the valuable and very useful Gauldur Amulet Fragment. Apart from that, you can take the Writ of Sealing, connected with one of the side quests. In the end approach Tolfdir and talk with him about the sphere that you found here (screen above). Tolfdir will want to stay here and will send you to tell the Arch-Mage of what you found.
New main objective: Talk to the Arch-Mage
Luckily you won't have to go through the whole ruins again, as you can use the door behind the magic sphere (screen above). Cross the narrow corridor. After reaching the new room, approach the Word Wall to learn the Word of Power - Ice, Ice Form. Apart from that, be sure to check the chest containing precious artifacts (inter alia the Adept Robes of Restoration).

Go through the western door (screen above), thus returning to Saarthal Excavation. Afterwards interact with the handle to reach one of the previously visited rooms. Head to the exit, therefore reaching the surface.
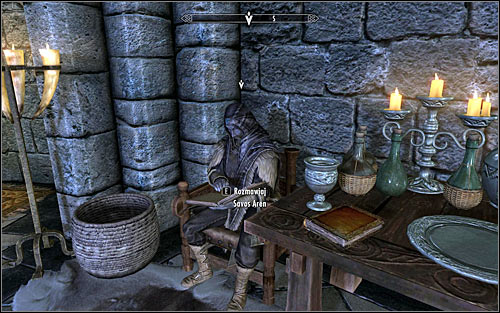
Open the world map and head to College of Winterhold. Afterwards go to the Hall of the Elements and use the previously locked left door, leading to the Arch-Mage Quarters. Go up the stairs and find Arch-Mage Savos Aren (screen above). If it's your first conversation, you're in for a short introduction. Otherwise, you will be able to inform him of the finding at once. The Arch-Mage will want you to take care of investigating the origin and meaning of the sphere, therefore sending you to Urag gro-Shub. You will also receive a reward, the Staff of Magelight.
College of Winterhold quest unlocked: Hitting the Books
- The Elder Scrolls V: Skyrim Game Guide
- Skyrim: College of Winterhold quests
- Skyrim: Introduction College of Winterhold quests
- Skyrim: First Lessons
- Skyrim: Under Saarthal - p. 1
- Skyrim: Under Saarthal - p. 2
- Skyrim: Hitting the Books - p. 1
- Skyrim: Hitting the Books - p. 2
- Skyrim: Good Intentions
- Skyrim: Revealing the Unseen - p. 1
- Skyrim: Revealing the Unseen - p. 2
- Skyrim: Revealing the Unseen - p. 3
- Skyrim: Containment
- Skyrim: Staff of Magnus - p. 1
- Skyrim: Staff of Magnus - p. 2
- Skyrim: Staff of Magnus - p. 3
- Skyrim: Eye of Magnus
- Skyrim: Rejoining the College
- Skyrim: Shalidor's Insights
- Skyrim: Onmund's Request
- Skyrim: J'Zargo's Experiment
- Skyrim: Arniel's Endeavor - p. 1
- Skyrim: Arniel's Endeavor - p. 2
- Skyrim: Aftershock
- Skyrim: Alteration Ritual Spell
- Skyrim: Illusion Ritual Spell
- Skyrim: Destruction Ritual Spell
- Skyrim: Conjuration Ritual Spell
- Skyrim: Restoration Ritual Spell
- Skyrim: Miscellaneous Restocking Soul Gems
- Skyrim: Miscellaneous Enchantment Fetching
- Skyrim: Miscellaneous Valuable Book Fetching
- Skyrim: Miscellaneous Out of Balance
- Skyrim: Miscellaneous Brelyna's Practice
- Skyrim: Miscellaneous Tolfdir's Alembic
- Skyrim: Miscellaneous Velehk Sain's Treasure
- Skyrim: College of Winterhold quests
You are not permitted to copy any image, text or info from this page. This site is not associated with and/or endorsed by the developers and the publishers. All logos and images are copyrighted by their respective owners.
Copyright © 2000 - 2026 Webedia Polska SA for gamepressure.com, unofficial game guides, walkthroughs, secrets, game tips, maps & strategies for top games.
