Skyrim: Finding Esbern
On this page of the guide for TES V: Skyrim a walkthrough of the further part of the main quest A Cornered Rat is presented. From our guide, you'll learn where to find Esbern. The main character has to go to the Ratway and navigate their way through the maze of this underground location.
- New main objective: Search The Ratway for Esbern's hideout
- New main objective: Find Esbern in The Ratway Warrens
- New main objective: Talk to Esbern
New main objective: Search The Ratway for Esbern's hideout
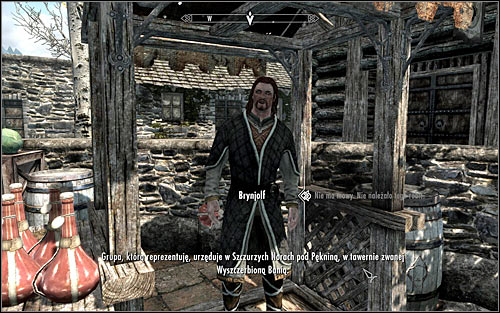
Brynjolf will share with you information on Esbern's hideout during your first conversation, assuming you successfully persuaded him, worked with the Thieves Guild or completed A Chance Arrangement. Curiously, in the last case, it doesn't matter if you managed to steal and plant the ring or were caught by the guards. You can also solve the case in a completely different way, by heading to the hideout without talking with Brynjolf and finding Esbern on your own.
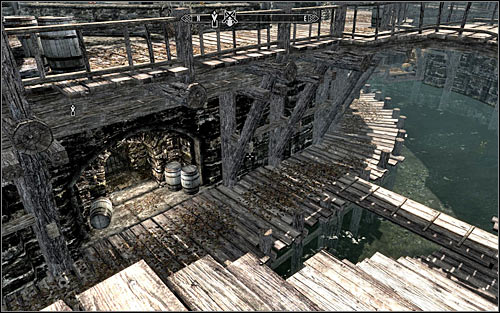
Locating the sewer entrance might prove difficult at first, as it's on the lower level of the city. I'd suggest using the stairs south of the passage marked by the game (screen above). After getting below, you just need to approach the door and therefore reach The Ratway.
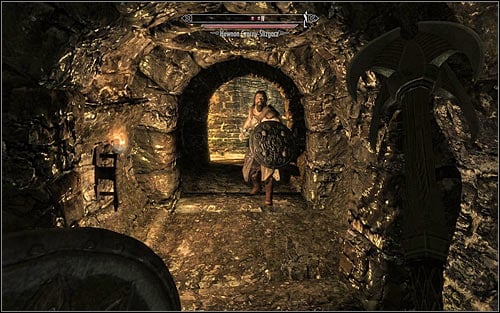
Begin exploring The Ratway. Soon enough you will come across Hewnon Black-Skeever and Draff (screen above). You will have a chance to avoid fighting them, if only you have a high enough Speech skill and use persuasion, but you will more likely be attacked by them immediately. Adjust your tactic depending on who you're fighting with at the moment. As the battle will take place in a narrow corridor, you can also use the Unrelenting Force Shout. Search the bodies of the defeated enemies and return to exploring the sewers. Eventually you need to reach the raised drawbridge. Ignore it and jump onto the lower level.
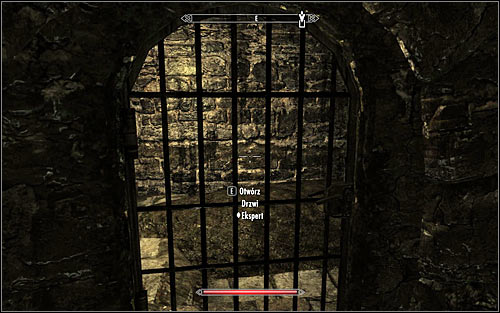
There are two paths leading to the next location. The shorter one implies having to open the secured eastern gate (screen above). If you can't open it or want to explore the area more thoroughly, use the western door. Look out for the first trap connected with that passage, in the form of spikes coming from the side after you open the door.
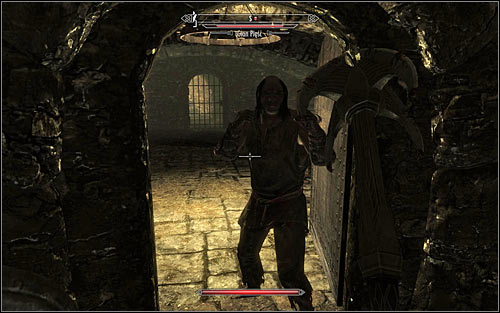
If you have chosen the longer path, you need to take into account that you will have to eliminate Skeever and Gian the Fist (screen above). The second one prefers close combat, so try to attack him from a distance if he causes you problems. Inside the room where Gian was you will also have to look out for bear traps, either avoiding or disarming them. Luckily even if you fall into one, you won't lose too much health. Continue onwards. On your way you will come across one more trap, connected with the pressure plate on the stairs leading onto the upper level.
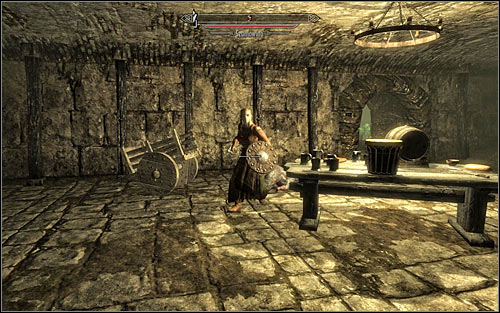
Both paths described above lead to the same room, inside which you will have to get rid of a lowlife (screen above). Afterwards be sure to search the table for the Beggar book, boosting your Pickpocketing. Use the door leading to the underground inn, Ragged Flagon.
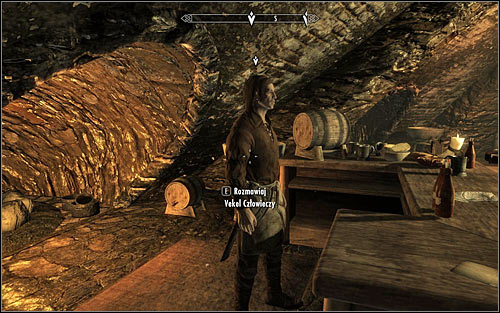
You will now have to establish Esbern's exact whereabouts and you will have a few options. The most obvious is talking with the bartender, Vekel the Man (screen above). Depending on your liking, you can either pay him for the information, use a developed Speech and persuade him or challenge him for a fist fight. The less obvious option implies speaking with Brynjolf, though he will reveal Esbern's hideout only if you completed A Chance Arrangement side quest. In both cases you will learn that Esbern can be found in The Ratway Warrens. You won't have to talk with any of them if you're a member of the Thieves Guild, as Brynjolf will tell you where you should look for Esbern before you enter The Ratway.
New main objective: Find Esbern in The Ratway Warrens
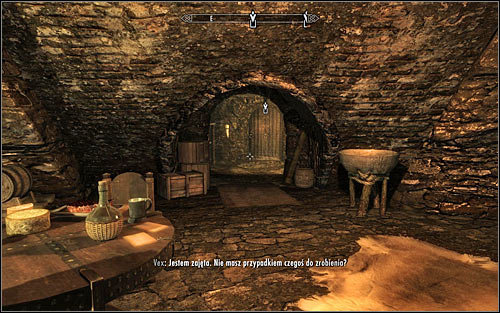
Head to the south-east part of Ragged Flagon, finding the path to The Ratway Vaults (screen above). Don't worry about the different name of the location, as you will have to pass through it to reach the Warrens. It would be good to save your game after reaching the new area, as you're in for a rather demanding fight.
You will encounter the first group of enemies almost right after entering the Flagon. I'd recommend first taking care of the Thalmor Wizard, the more considering that he will be the only one occupying the current level of the construction. Only after dealing with the mage should you take care of the Thalmor Soldiers (screen above). Look out for the one capable of using magic and try attacking the enemies in one of the narrow corridors, thanks to which it will be easier to eliminate them.
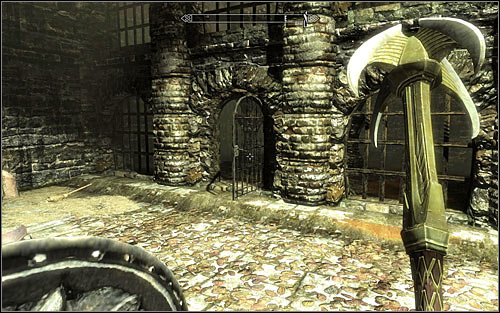
After taking care of them it would be of course worth to examine the enemies' bodies. Now, you can either jump onto the lowest level at once or explore the Vaults, starting with the corridor from which the soldier came. On your way you will come across a few valuable items and treasure chests, so keep your eyes open. Sooner or later you will reach the ground floor (screen above). Search for the southern door, leading to The Ratway Warrens.
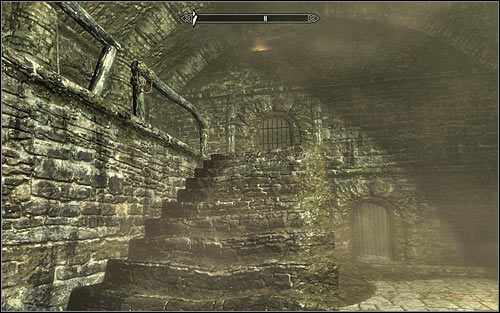
Contrary to what you might think, the Warrens isn't a large location and you won't have to worry about getting lost. Head to the middle room and go up the stairs (screen above). You don't need to talk with the people in the cells at all. What's more, most of them would be aggressive towards you.
New main objective: Talk to Esbern
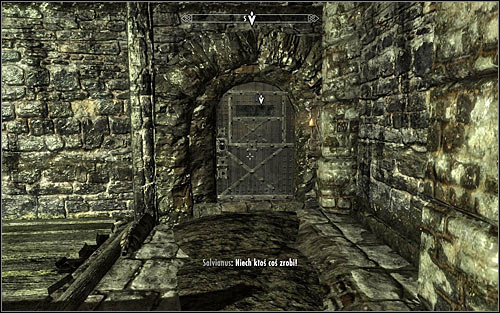
Approach the marked cell (screen above) to initiate a conversation with Esbern. You can convince the old man of your good intentions in a couple ways, i.e. trying persuasion (Speech), telling him that you're the Dragonborn or using the password (remember the 30th of Frostfall) received from Delphine. Wait for Esbern to open the cell and get inside for the proper conversation. Esbern will tell you of the threat of the dragon Alduin and that the world can only be saved by the Dragonborn. Eventually you will learn that you need to escort Esbern to Riverwood.
Main quest unlocked: Alduin's Wall
You are not permitted to copy any image, text or info from this page. This site is not associated with and/or endorsed by the developers and the publishers. All logos and images are copyrighted by their respective owners.
Copyright © 2000 - 2025 Webedia Polska SA for gamepressure.com, unofficial game guides, walkthroughs, secrets, game tips, maps & strategies for top games.
