Skyrim: Heading to Bleak Falls Barrow
This page of The Elder Scrolls V: Skyrim guide contains the first part of a walkthrough for the ruins of Bleak Falls Barrow as part of the main quest under the same name. Our guide tells you where to find Bleak Falls Barrow, how to reach it and how to get through the initial rooms of the ruins.
New main objective: Retrieve the Dragonstone
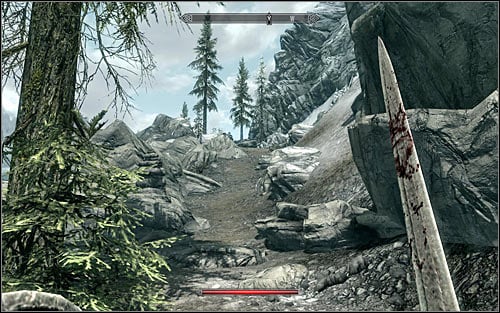
Bleak Falls Barrow is on top of a mountain west of Riverwood. If you have already been there, you can use fast travel to get there. Otherwise you will have to get there on your own and it would be good to begin in Riverwood. I'd also recommend activating The Golden Claw side mission (received from Lucan Valerius found inside Riverwood Trader's house), as you can complete it together with the main quest in question. Use the northern village exit and afterwards the bridge across the river. After getting north of Riverwood and exactly east of Bleak Falls Barrow, find a part leading to the top of the mountain (screen above).
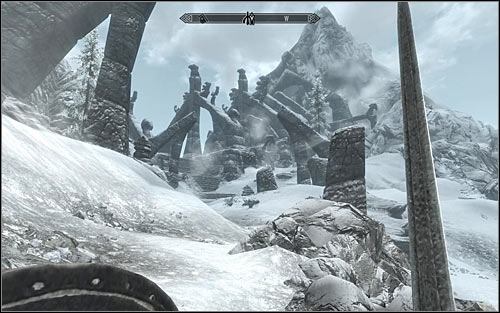
I'd suggest staying very cautious, as after reaching a small tower you might get attacked by a group of Bandits. Remember to take care of the archer first. Eventually you should reach the top of the mountain and therefore Bleak Falls Barrow (screen above). Here you will have to eliminate a few Bandits as well, but you shouldn't have too many problems with them. After you're done with them, locate the gate leading into Bleak Falls Temple.
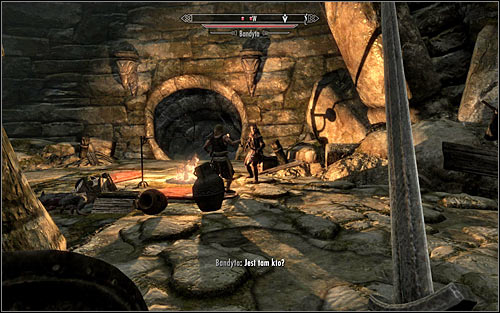
Head west and be ready to take care of another group of Bandits nearby the temple entrance (screen above). Afterwards take a look around for a locked chest and use the western passage. You will travel a linear corridor for quite a while, so you won't have to worry about getting lost.
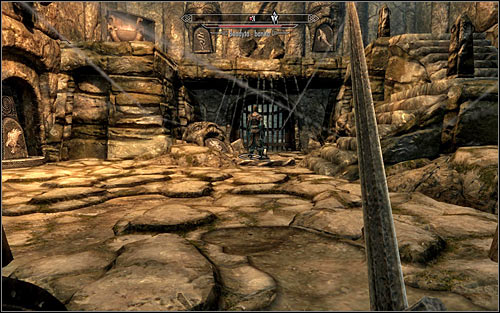
Eventually you should reach a room inside of which you will note a Bandit Outlaw. You can of course attack him (he's a bit more resistant than the standard Bandits) or stay behind and note that his attempt to activate the switch which raises the gate ended up with activating a trap (screen above). You will therefore have to solve an easy puzzle.

Go to the room with the dead Bandit and turn left. You will have interact with the pillars here in order to arrange the shapes in the same order as the ones above the locked gate (left and right) and the destroyed one lying beside the lever (middle). The solution can be seen on the screen above - the left and middle pillars need to show a snake and the right one a fish. Approach the lever. Pulling it should unlock the passage.

After reaching the new room, take a look around for a chest and the Thief book, increasing your Pickpocket skill level. Afterwards head towards the stairs which lead onto the lower level. Be careful however, as while you're descending them you will be attacked by Skeevers (screen above). Those monsters aren't particularly resistant and don't deal big damage, but fighting them is made harder because of their agility.
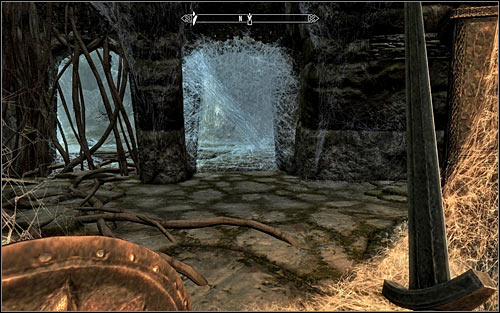
After eliminating all the Skeevers, go to the very bottom. Head east and afterwards turn north. You should note that the access to the next room is blocked by spider-web (screen above) which can be destroyed by any type of weapon or magic. I'd suggest saving your game here, as after entering the new room you will get attacked by a mini-boss - Giant Frostbite Spider.
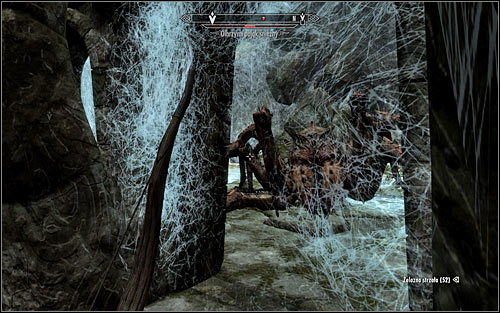
The best method of getting rid of the beast is attacking it from a distance, as while you're standing in the previous room it won't be able to hit you (screen above). You will only have to dodge the venom it spits and use a ranged weapon or magic. Trying to defeat the monster in direct combat might prove more difficult. Keep an eye on the health and stamina bars and regenerate them or retreat to a safe spot if needed.
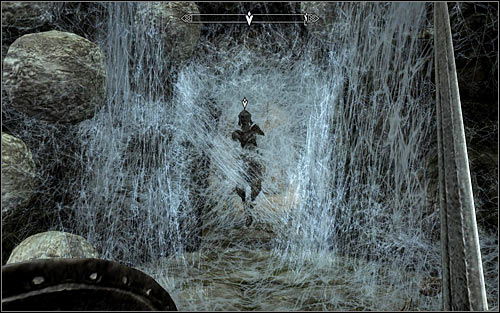
Once the fight's over, approach the man who was imprisoned by the spider - Arvel the Swift (screen above). You can talk with him, which is a part of the previously mentioned The Golden Claw side quest, or free him at once by destroying the spider-web. Arvel will run away, therefore unlocking the passage to the further part of the temple.
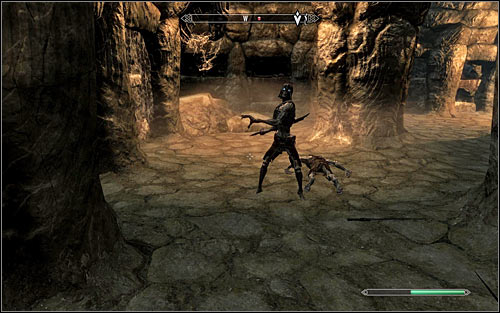
Head west. After reaching a big room serving as a crypt, you will encounter the Draugrs for the first time (screen above). These creature can be destroyed with ordinary weapons or basic magic spells, though they're of course stronger than the Bandits you've encountered until now. I'd suggest attacking the Draugrs one at a time, making use of the narrow passages and environmental obstacles to your advantage.
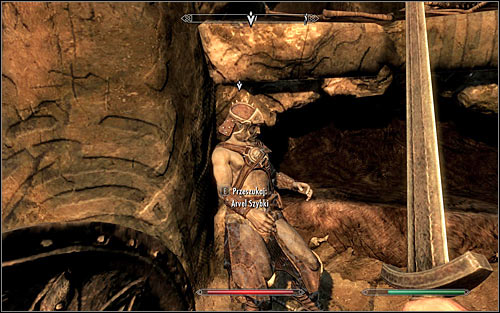
After the fight, take a look around the room for Arvel's body, who apparently wasn't swift enough (screen above). Examine his body, above all collecting The Golden Claw Arvel's Journal. Now head north, but LOOK OUT for the pressure plate on the ground, activating a hard to dodge trap. It's not the end of trouble, as after reaching the northern room you will have to fight with a much stronger Restless Draugr. Try to increase your cold resistance before the fight and attack him in direct combat, stopping him from using spells. You can increase your chances by attacking the Draugr before he moves out of his place of rest.
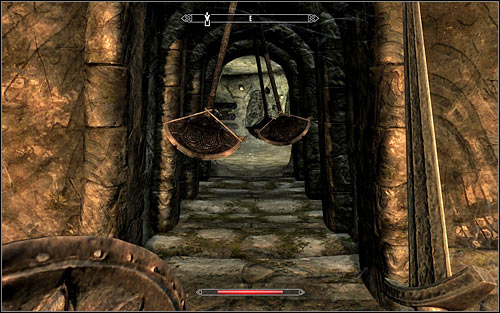
Head east and be ready for eliminating a couple ordinary Draugrs. Eventually you should reach a corridor with moving blades (screen above). Depending on your taste, you can either try sprinting or slowly moving and crouching if needed. Afterwards start going through the catacombs, eliminating the Draugrs you come across on your way. It's good to retreat a bit each time, thanks to which you can reduce the risk of getting attacked by an overwhelming group of monsters.
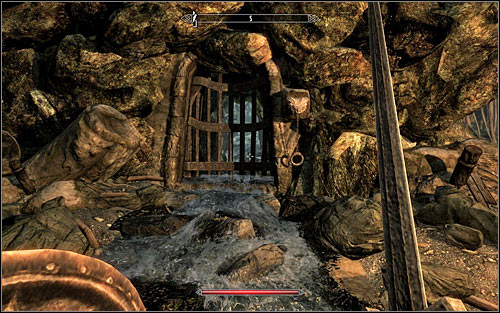
Eventually you should reach a room with a waterfall. Fight with one more Draugr and afterwards locate a chain which you can pull (screen above), therefore pulling up the grate. Head south and afterwards east. Don't forget to check out the chest you come across on your way and afterwards head south again.
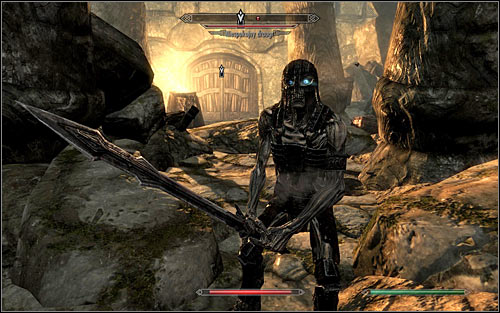
After reaching a snow-covered bridge, defeat a single Draugr and consider jumping down for a locked chest. Eventually you should find yourself in the last room of the temple. You will have to fight another Restless Draugr (screen above), so be very careful. As he's equipped with a melee weapon, you should probably keep him at distance. After getting rid of him, search for another locked chest and open the gate leading inside Bleak Falls Sanctum.
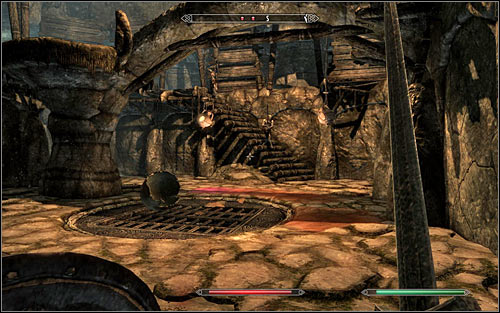
Follow the only possible path and you will reach another corridor with blades. Carefully avoid the traps and get ready to fight a group of Draugrs (screen above) after reaching a bigger room. Just like before, it would be worth to attack at least one Draugr before he's ready to fight. Afterwards, head onto the upper level and cross the bridge west. Open the iron door that you come across and you should reach the second puzzle.

The idea here is interacting with the three circles and the key to solving it is understanding the hint found in Arvel's Journal which can be read from the inventory. The hint in the last sentence, to be exact. Now if you take a look at The Golden Claw (Misc), you should note that it contains the proper order of the symbols. The full solution can be seen on the screen above - the upper ring needs to show a bear, the middle an insect and the lower an owl. In the end use the Claw itself, thanks to which you will unlock the passage.
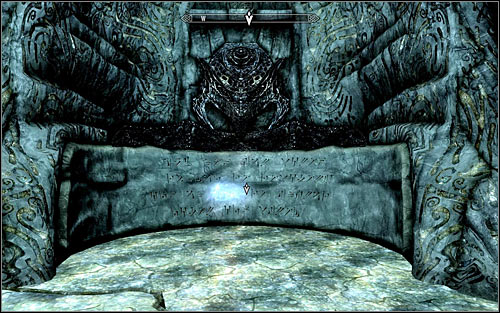
Head west and eventually you should reach a vast cave. Head towards the altar and you should find a chest containing some precious treasures. Search the area of the altar, turn around and approach the large plate (screen above), thanks to which you will learn the first Word of Power - Force, Unrelenting Force.
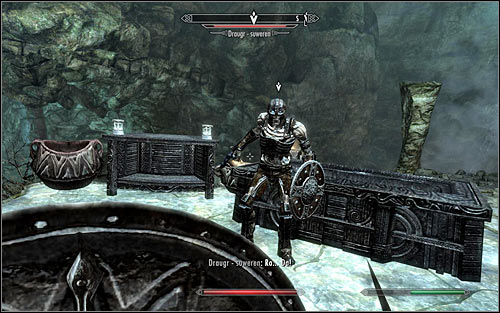
Be sure to save your game, turn around and return to the altar. You will now have to fight one of this quest's mini-bosses, the Draugr Wight (screen above). The monster is a warrior, so if you're playing as a mage or a thief, it's extremely important to keep him at distance, slowing his moves if possible. If, on the other hand, you're playing as a warrior, you will need to regenerate your stamina bar often and additionally, because of the enemy's shield, many attacks won't succeed. After the fight, be sure to check the Draugr's body to find, inter alia, the Dragonstone. Note! The stone has a weight of 25, so if your character is already overloaded, you might have to consider getting rid of some of the items you're carrying.
New main objective: Deliver the Dragonstone to Farengar
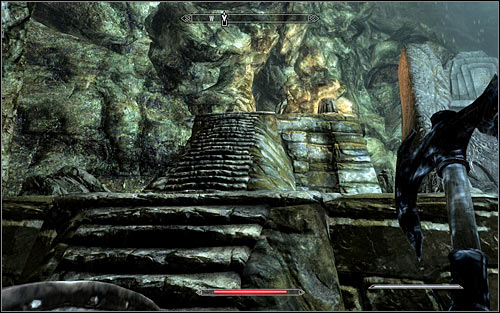
In order to leave Bleak Falls Barrow, you luckily won't have to follow the same path. Instead, use the stairs (screen above) and afterwards the tunnel going west. Eventually you should reach a handle. Use it and go through the newly unlocked passage. Reaching the surface shouldn't take you too long.
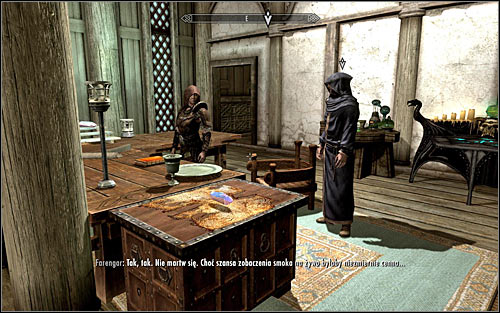
You can now open the world map and use fat-travel to reach Dragonsreach. Once again enter Jarl's castle and head to the room in which you met with Farengar (screen above). Wait until he finishes talking with Delphine and he will focus his attention on you. Your conversation will be disrupted by the arrival of Irileth, who will inform that a giant Dragon has been spotted nearby Whiterun.
Main quest unlocked: Dragon Rising
You are not permitted to copy any image, text or info from this page. This site is not associated with and/or endorsed by the developers and the publishers. All logos and images are copyrighted by their respective owners.
Copyright © 2000 - 2026 Webedia Polska SA for gamepressure.com, unofficial game guides, walkthroughs, secrets, game tips, maps & strategies for top games.
