Skyrim: Revealing the Unseen - p. 3
New main objective: Focus the Oculory

Use the path leading to the upper console (screen above). Ignore it however and focus on the books on the left shelf. You should most of all take the Spell Tome: Frostbite and Spell Tome: Flames. Open your inventory, go to Books and click on each of them to make sure that you know Frostbite and Flames.

Now press TAB, choose Magic and Destruction. You need to activate both of the above spells (Frostbite and Flames), each of them assigned to a different hand. For example, press the left mouse button after selecting Flames and the right button after selecting Frostbite (screen above).

Close the window and return downstairs, standing beside the Oculory lens (screen above).
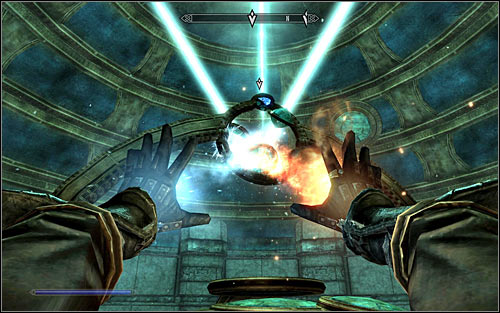
Press BOTH mouse buttons while aiming at any lens (screen above). Note that therefore you set the whole construction in motion, causing the light beams reflected by the lens to move.

You main objective in this part of the puzzle is using magic until the lens are in such a position that each of the reflected light beams points at a different part of the multi-story ceiling. In the above example, beam 1 hits the lower part of the ceiling, beam 2 the middle and beam 3 the upper part.

Afterwards return to console at the upper part of the room (screen above). Note that it has three buttons and you can interact with them in any order, though I'd suggest starting with button number 1 (first from the left) to keep a certain order.

Note that pressing the button caused the mirror on the ceiling to move. You need to keep repeating this until the mirror is in a position in which it reflect a light beam (screen above).
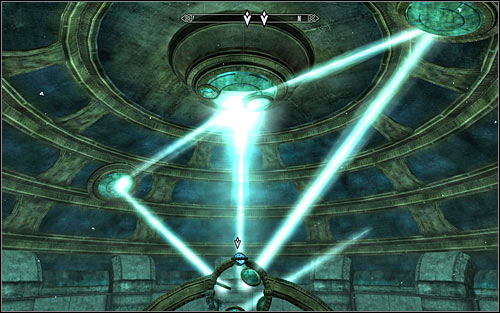
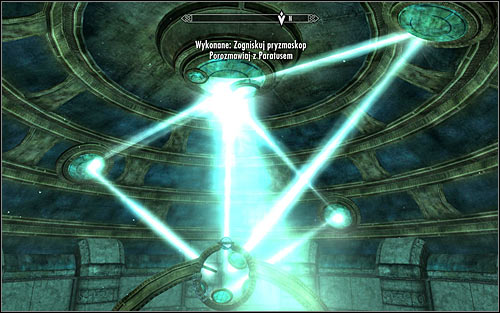
You need to do the same with the two other buttons. Keep pressing button 2 (the middle one) until the middle mirror start deflecting light (screen 1). In the end start pressing button 3 (first from the right) for it to deflect a beam as well (screen 2).

The full solution can be seen in the screenshot above. Beam 1 has to be deflected by the lower mirror, beam 2 by the middle and beam 3 by the upper one.
New main objective: Talk to Paratus
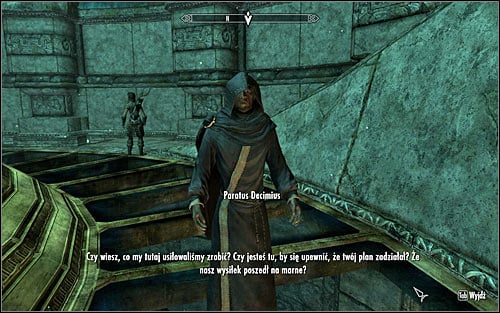
Go down and approach Paratus (screen above), who will be mad that he didn't get a satisfying result and will blame you for it, stating that the disturbance has its origin at the College. As you might have guessed, it's all because of the Eye of Magnus. In the end Paratus will mention the Labyrinthian as the possible location of the Staff of Magnus.
New main objective: Report to Savos Aren

Return to the only possible Oculory room exit. Head east and afterwards turn south, where you will be stopped by Nerien, who will tell you to return to the College as fast as possible (screen above). Use the southern door to return to the surface.
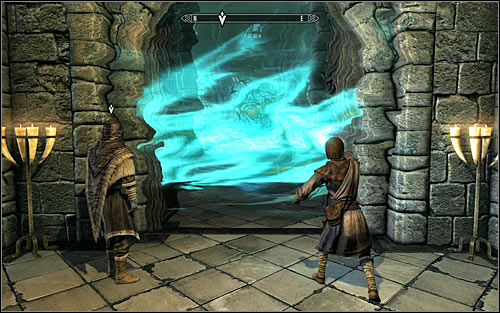
Open the world map and head to the College of Winterhold. After getting there, go to the Hall of the Elements and note that during your absence Ancano created a protective barrier, blocking other Mages from accessing the Eye of Magnus (screen above).

Approach the Arch-Mage who will ask you for help in deactivating the barrier. Use any offensive spell to help the Mages in weakening the barrier which should soon disappear. Approach Ancano (screen above). You don't need to attack him, just watch a short cinematic which will end with the main hero losing consciousness.
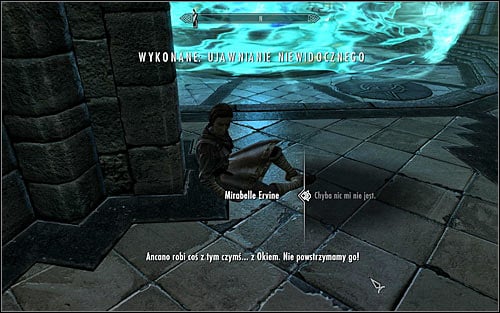
After regaining consciousness, you will speak with Mirabelle Ervine (screen above), who will tell you that Ancano needs to be stopped. The first step will be finding the Arch-Mage who was thrown back because of the explosion and now probably needs help.
College of Winterhold quest unlocked: Containment
- The Elder Scrolls V: Skyrim Game Guide
- Skyrim: College of Winterhold quests
- Skyrim: Introduction College of Winterhold quests
- Skyrim: First Lessons
- Skyrim: Under Saarthal - p. 1
- Skyrim: Under Saarthal - p. 2
- Skyrim: Hitting the Books - p. 1
- Skyrim: Hitting the Books - p. 2
- Skyrim: Good Intentions
- Skyrim: Revealing the Unseen - p. 1
- Skyrim: Revealing the Unseen - p. 2
- Skyrim: Revealing the Unseen - p. 3
- Skyrim: Containment
- Skyrim: Staff of Magnus - p. 1
- Skyrim: Staff of Magnus - p. 2
- Skyrim: Staff of Magnus - p. 3
- Skyrim: Eye of Magnus
- Skyrim: Rejoining the College
- Skyrim: Shalidor's Insights
- Skyrim: Onmund's Request
- Skyrim: J'Zargo's Experiment
- Skyrim: Arniel's Endeavor - p. 1
- Skyrim: Arniel's Endeavor - p. 2
- Skyrim: Aftershock
- Skyrim: Alteration Ritual Spell
- Skyrim: Illusion Ritual Spell
- Skyrim: Destruction Ritual Spell
- Skyrim: Conjuration Ritual Spell
- Skyrim: Restoration Ritual Spell
- Skyrim: Miscellaneous Restocking Soul Gems
- Skyrim: Miscellaneous Enchantment Fetching
- Skyrim: Miscellaneous Valuable Book Fetching
- Skyrim: Miscellaneous Out of Balance
- Skyrim: Miscellaneous Brelyna's Practice
- Skyrim: Miscellaneous Tolfdir's Alembic
- Skyrim: Miscellaneous Velehk Sain's Treasure
- Skyrim: College of Winterhold quests
You are not permitted to copy any image, text or info from this page. This site is not associated with and/or endorsed by the developers and the publishers. All logos and images are copyrighted by their respective owners.
Copyright © 2000 - 2025 Webedia Polska SA for gamepressure.com, unofficial game guides, walkthroughs, secrets, game tips, maps & strategies for top games.
