Skyrim: A Daedra's Best Friend - p. 1
Activating the quest
Quest requirements: This quest can be completed only after reaching level 10. I'd suggest putting it off in time, as you will need to fight some difficult enemy mages, additionally usually Vampires.
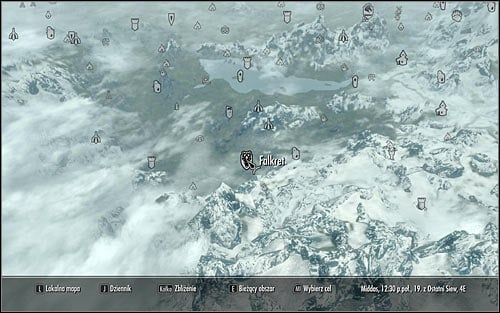
Start off by heading to Falkreath. It can be found in the southern part of the map (screen above) and in case you haven't discovered it yet, it would be best to begin at Riverwood and head south-west.
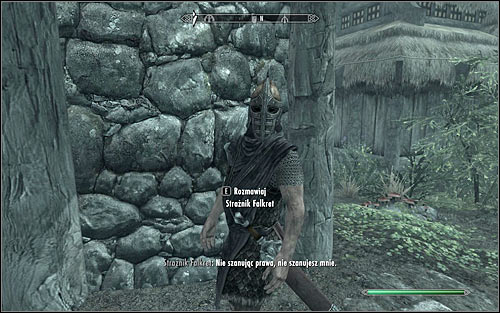
After reaching Falkreath, you can move to activating this quest at once or dedicate some time to learn of it officially. If you choose the latter option, speak with one of the Falkreath Guards (screen above). He will tell you that a blacksmith named Lod is looking for his dog, therefore unlocking Miscellaneous: Speak to Lod.
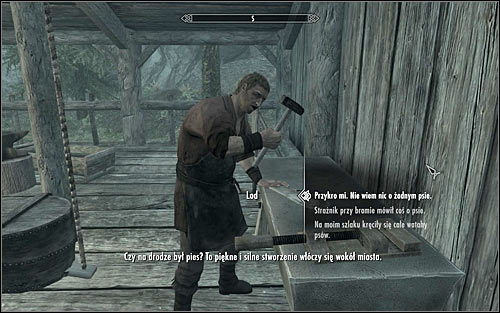
Lod's house is in the south-east part of Falkreath and depending on the time of the day the blacksmith might be inside (the house will be most probably locked then) or working outside (screen above). Speak with him to learn that he could use a dog for company. Lod will give you some meat for the dog, though if you have high Speech you can persuade him to give you 25 gold. The game will therefore unlock Miscellaneous: Find the dog outside Falkreath.

Head south-west, out of town and stay on the main road. Eventually you will reach a place where you will meet a dog named Barbas who will quite surprisingly speak to you. He will tell you that he's trying to settle things with his real master, Clavicus Vile, the Daedric Lord of wishes. You will be asked to accompany Barbas to the Haemar's Shame in order to speak with Clavicus.
Heading to Haemar's Shame
New main objective: Travel with Barbas to the shrine of Clavicus Vile

Barbas should head towards the destination at once, though I wouldn't suggest you go there on foot, as it's a long way from where you are. It's much better to use fast travel, so open the world map. Haemar's Shame can be found in the southern part of Skyrim (screen above) and it's easiest to get there by beginning in the nearby village of Ivarstead.
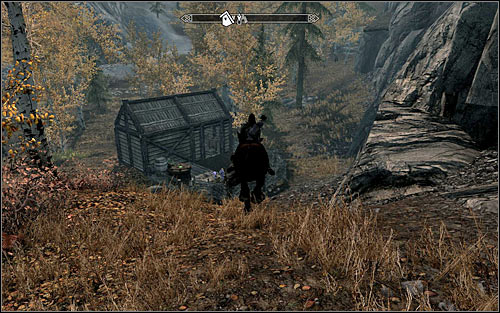
From Ivarstead head south, afterwards turn south-west and eventually west. You will know you're heading the right way from the fact that you will go pass the Honeystrand Cave and Alchemist's Shack (screen above). Look out for wild animals (including wolves and bears) that quite often appear in this area.
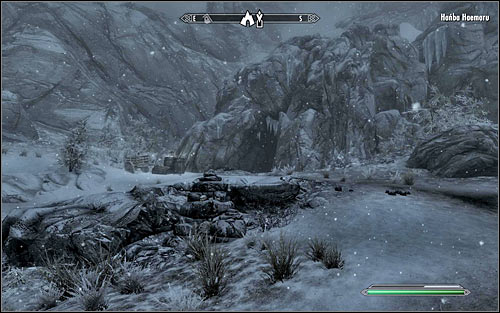
Eventually you should reach a mountain path leading west. Follow the only possible road, thanks to which you will soon reach the entrance to Haemar's Shame (screen above). Save your game, head inside and start exploring the ice cave. You will come across the first enemy in the very next room and it will most probably be a Vampire. Eliminate him, check the upper balcony and head into the eastern corridor.
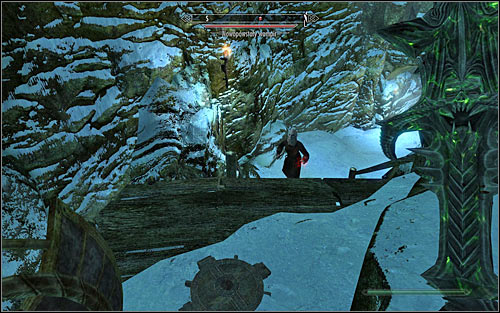
Another Vampire should cross your way again (screen above). Through all the fight here, it's worth to remember that the vampires can suck life out of living creatures. After finishing the quest I'd also recommend making sure the main hero doesn't meet all the "requirements" to become a vampire and heal while it's still undeveloped. Afterwards move onwards through the cave, looking out for the nearby pressure plates which activates a trap.
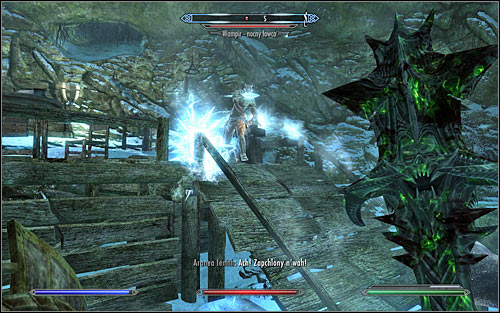
New enemies occupy the next big cavern and as you battle them you should most of all focus on quickly eliminating the Vampire Nightstalker (screen above). Most of all because the stronger vampire types in this location, just like necromancers, are capable of returning their fallen comrades to life. Examine the area and afterwards go into the western tunnel.
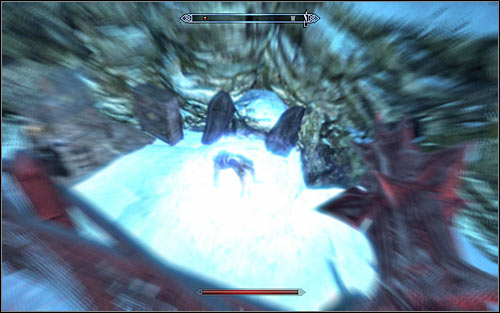
Be ready for another battle. Depending on your liking, you can attack the enemies from above (screen above) or jump down and fight them directly. Looking out for the strongest Vampire, the Mistwalker, will be important here as well. After the fight, don't forget to check the southern storage room and only afterwards head north, reaching the Haemar's Shame entrance.
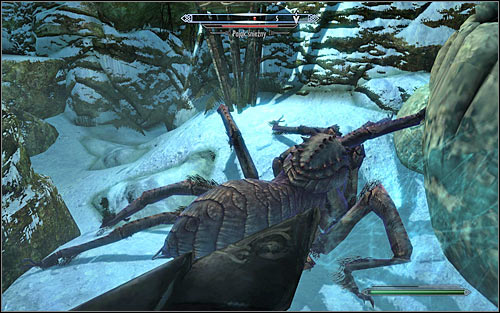
Follow the linear corridors, being ready to fight with Frost Spider (screen above). Soon you should reach a slightly bigger room which you should examine thoroughly. Head further, taking care of a single Vampire on your way. You can't get lost in this part of the caves as well.
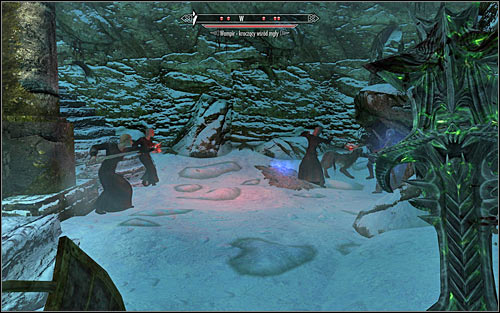
If you haven't arrived here with Barbas, the dog will be fighting Vampires in the last southern cave (screen above). Otherwise, you will be able to attack them by surprise.
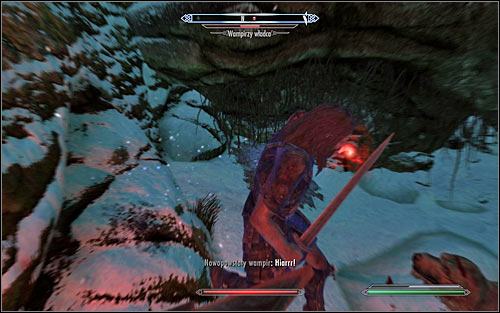
Move on to attacking them, focusing on the stronger kinds of Vampires and especially the Master Vampire (screen above). Don't let them surround you and try to eliminate them one at a time, so that they don't have time to regenerate. After the fight, check the bodies of all the Vampires and look for a chest on the upper balcony which holds a number of precious items.
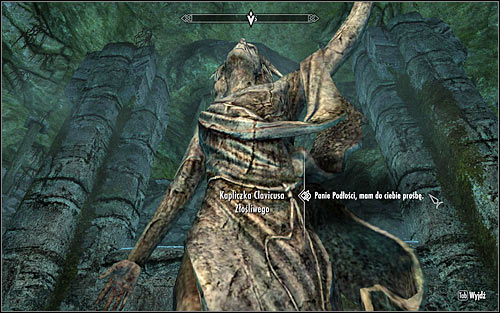
In the end approach the large statue of Clavicus Vile (screen above) and interact with it to speak to the Daedric Lord. The only reasonable request from the list is the first one, i.e. suggesting that Clavicus should bury the hatchet with Barbas. Clavicus won't hide the fact that he doesn't like Barbas too much and at the same time will give you mission of recovering a certain powerful axe.
- The Elder Scrolls V: Skyrim Game Guide
- Skyrim: Daedric quests
- Skyrim: Introduction Daedric quests
- Skyrim: Discerning the Transmundane - p. 1
- Skyrim: Discerning the Transmundane - p. 2
- Skyrim: Discerning the Transmundane - p. 3
- Skyrim: Ill Met By Moonlight - p. 1
- Skyrim: Ill Met By Moonlight - p. 2
- Skyrim: The Taste of Death - p. 1
- Skyrim: The Taste of Death - p. 2
- Skyrim: The Black Star - p. 1
- Skyrim: The Black Star - p. 2
- Skyrim: The Black Star - p. 3
- Skyrim: The Mind of Madness - p. 1
- Skyrim: The Mind of Madness - p. 2
- Skyrim: The House of Horrors
- Skyrim: The Cursed Tribe - p. 1
- Skyrim: The Cursed Tribe - p. 2
- Skyrim: The Only Cure - p. 1
- Skyrim: The Only Cure - p. 2
- Skyrim: The Only Cure - p. 3
- Skyrim: A Daedra's Best Friend - p. 1
- Skyrim: A Daedra's Best Friend - p. 2
- Skyrim: The Break of Dawn - p. 1
- Skyrim: The Break of Dawn - p. 2
- Skyrim: A Night to Remember - p. 1
- Skyrim: A Night to Remember - p. 2
- Skyrim: Waking Nightmare - p. 1
- Skyrim: Waking Nightmare - p. 2
- Skyrim: The Whispering Door
- Skyrim: Pieces of the Past - p. 1
- Skyrim: Pieces of the Past - p. 2
- Skyrim: Pieces of the Past - p. 3
- Skyrim: Boethiah's Calling - p. 1
- Skyrim: Boethiah's Calling - p. 2
- Skyrim: Daedric quests
You are not permitted to copy any image, text or info from this page. This site is not associated with and/or endorsed by the developers and the publishers. All logos and images are copyrighted by their respective owners.
Copyright © 2000 - 2026 Webedia Polska SA for gamepressure.com, unofficial game guides, walkthroughs, secrets, game tips, maps & strategies for top games.
