Marvel's Avengers: Testing 1, 2, 3, walkthrough
Last update:
This page of our guide to Marvel's Avengers has a detailed walkthrough of the sixteenth campaign mission. During it, you activate the Starboost armor and, as Iron Man, fly into space.
- Retrieve the Starboost suit from the Technology Lab's upper floor
- Search the space station
- Find a way out
Retrieve the Starboost suit from the Technology Lab's upper floor
After securing the Ant Hill, Tony Stark returns aboard the Chimera, where he will be able to use the Pym Particles to launch his Starboost armor and travel into space.
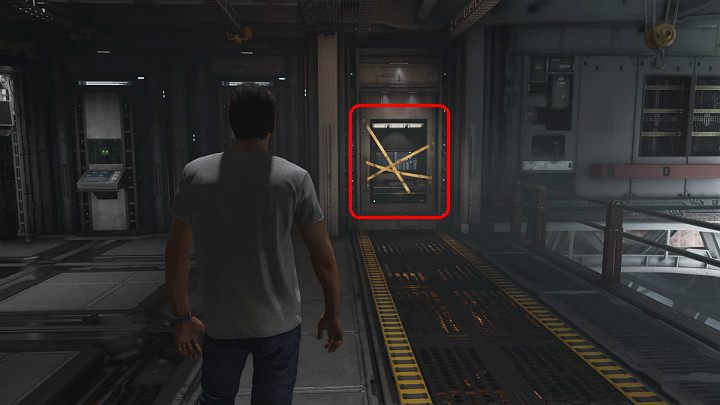
Reach the upper floor of the lab and walk to the terminal taped up with yellow tape. Grab the front part of the device and pull it out of the wall.
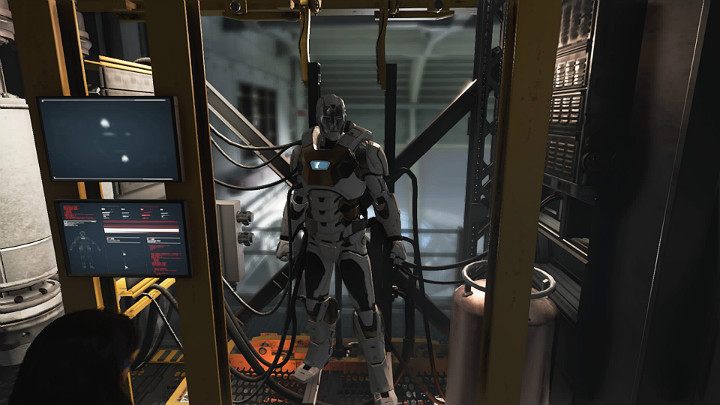
The seemingly unused terminal turned out to be Tony's retractable closet in which Starboost armor was hidden. Take your armor and prepare to fly into space!
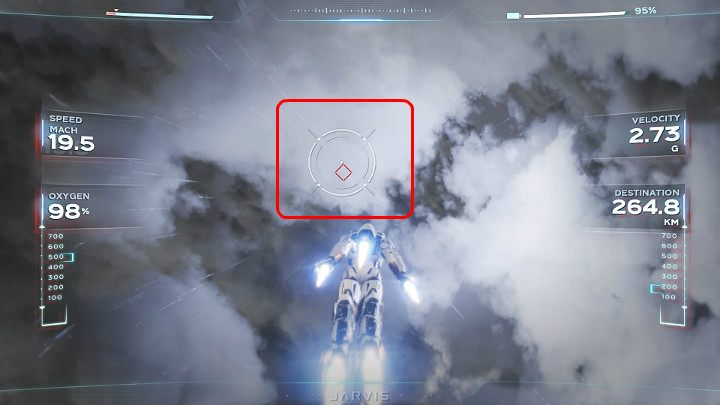
During the flight, Iron Man will be pushed in all directions by strong wind gusts. Your job is to keep the circle on the red marker. If you lose sight of the red marker, you will veer off the course and have to adjust the sight. To get to the space station safely, follow the commands displayed on the screen.
Search the space station
Starboost armor passed the test and safely delivered Tony Stark to the AIM laboratory on the space station. Now is the time to get the information you need.
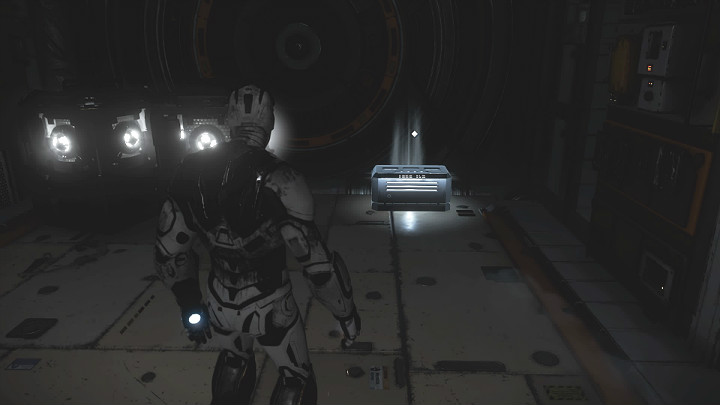
When you get out of the airlock, turn right. On the left, you'll notice a terminal. Look to the right and you'll notice that the door is locked. Open it using the nearby terminal and you'll find a silver chest with rare resources. Go back to the previous terminal.
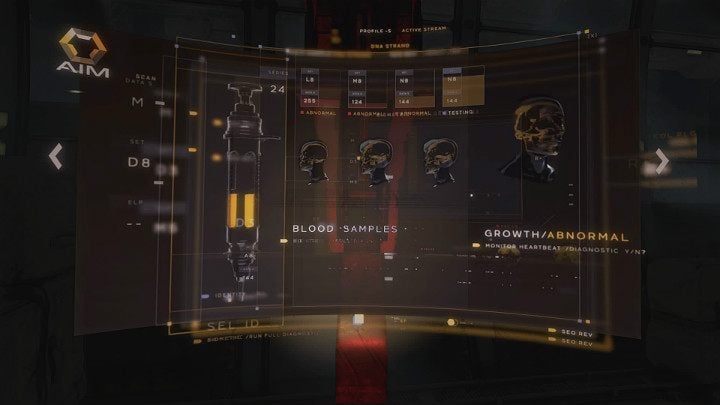
When you start it, you'll learn some facts about Tarleton. You'll also be able to open the passage on the right. Further down the corridor, you will find another terminal that opens the next airlock.
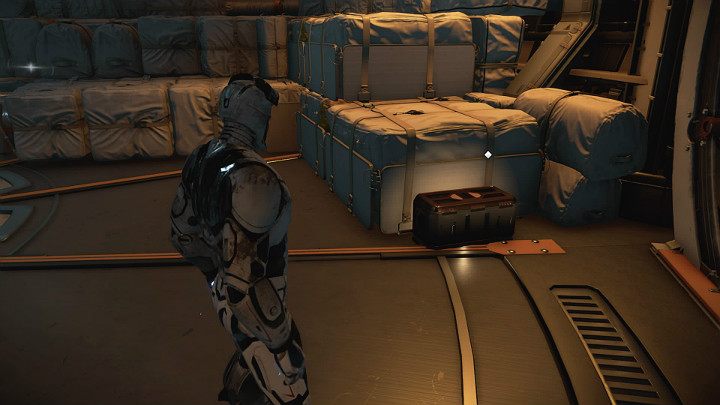
When you reach a circular room, look for a gear chest - it is located to the right, just in front of the tightly sealed packages. Collect items and take the corridor on the right to the upper level of the space station.
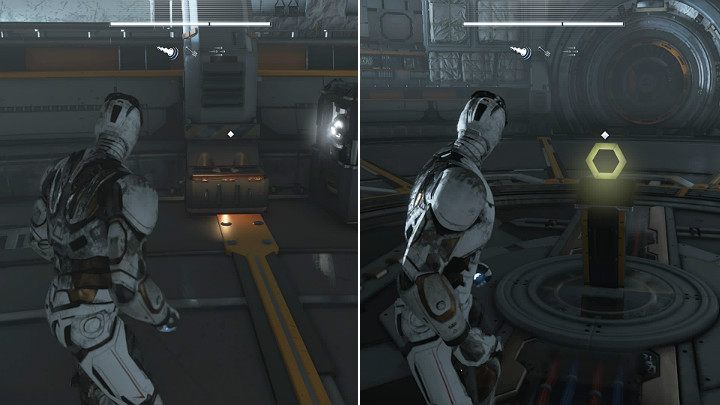
You'll find a resource chest on the left, and a terminal in the middle. Use it - this will activate the security systems.
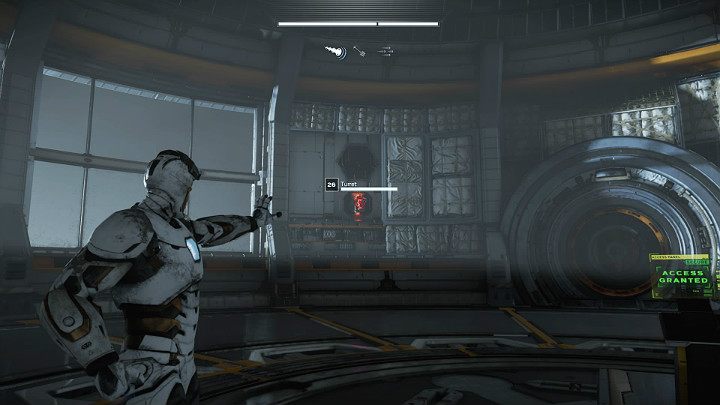
Laser guns will appear on the walls of the room - destroy them.
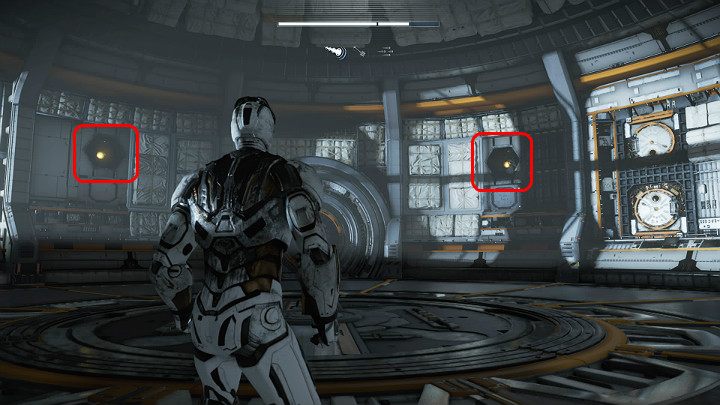
Then shoot the two buttons that appeared on either side of the passage. Fly down the corridor to the lower deck of the space station and continue along the corridor.
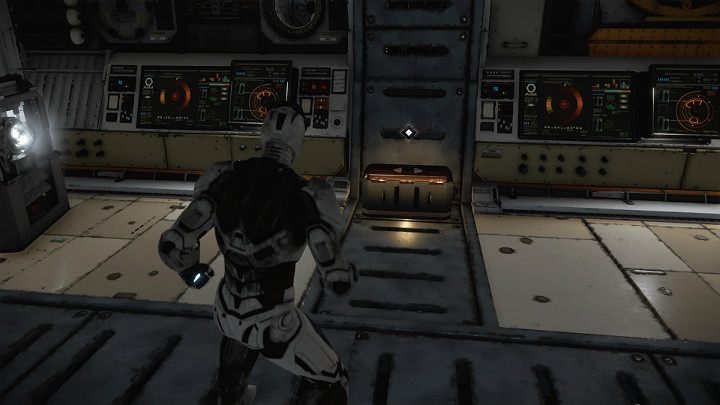
When you walk through the airlock to a small room, make sure you've collected resources from the chest that stands against the wall opposite the entrance.
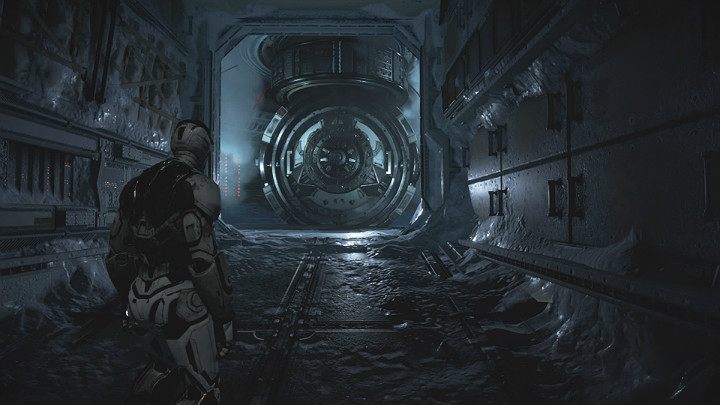
You reach a terminal that opens an airlock leading to a strange room with a cryogenic capsule.
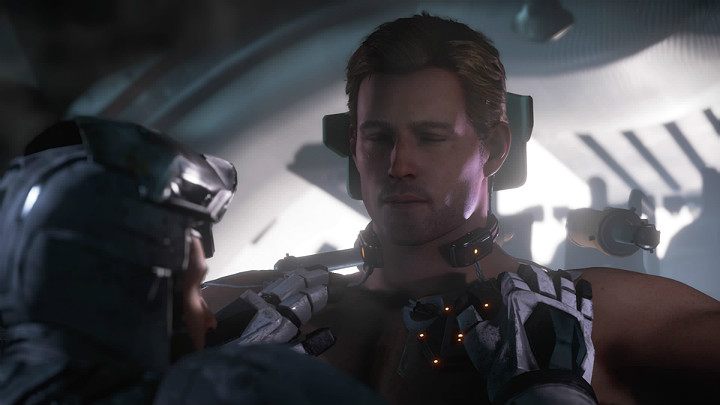
As it turns out, the capsule was not keeping the Inhumans at all, but Steve Rogers. Captain America was hooked up to various devices and then put into a coma and used for laboratory purposes by Dr. Rappaccini.
Find a way out
You don't play Tony Stark anymore. Instead, you switch to Captain America - the objective is to find a way out of the space station.
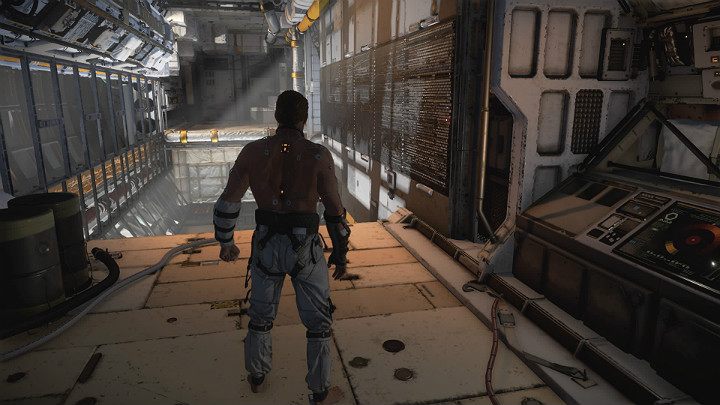
Move down the corridor on the right and complete a short tutorial. You will learn how to do a double jump with a flip, as well as how to perform a wall run. Keep moving forward and overcome the next obstacles.
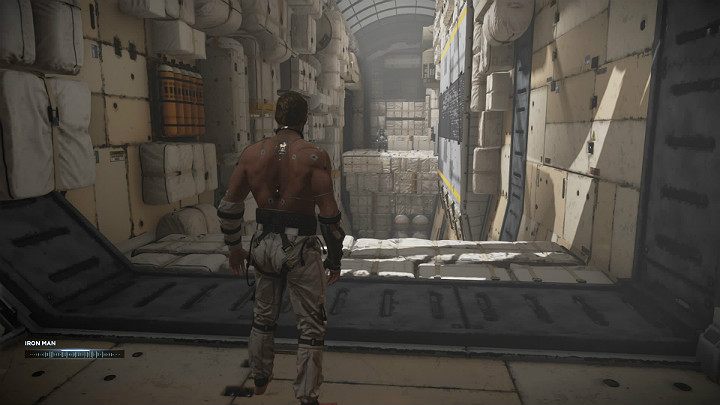
When you get to the corridor with a really big gap in the floor, you have to bounce off the wall and grab onto the one on the right side. Then you have to run on the wall again and do a double jump. That way you'll cross the corridor.
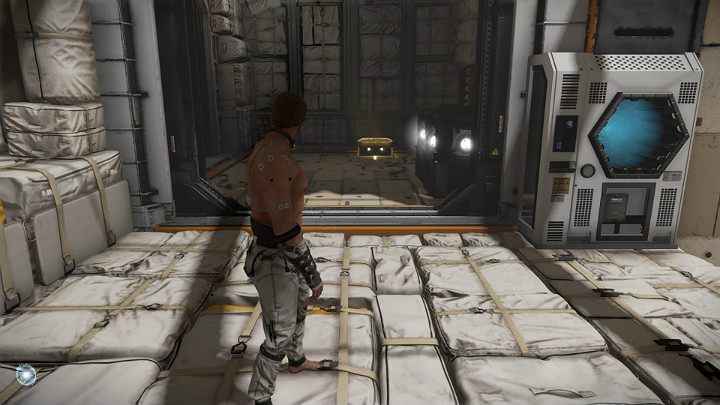
As soon as you land, turn to the right - there's a button on the wall. Hit it to open the door on its left. In a small room, you'll find a gold chest. Follow Iron Man and overcome more obstacles along the way.
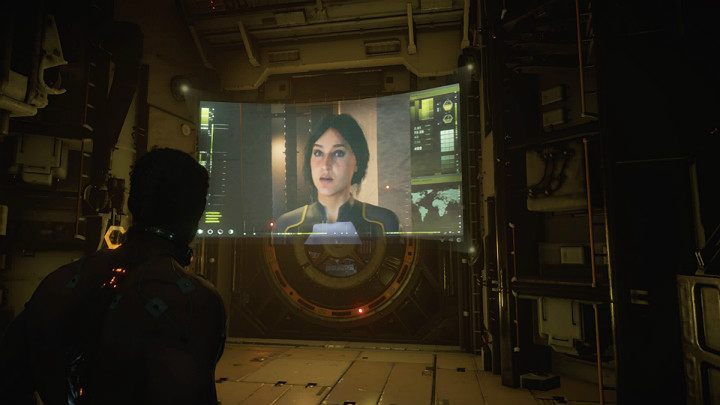
After a while, the airlock leading to the exit will close right in front of your nose. You will have a vide conversation with Dr. Rappaccini.
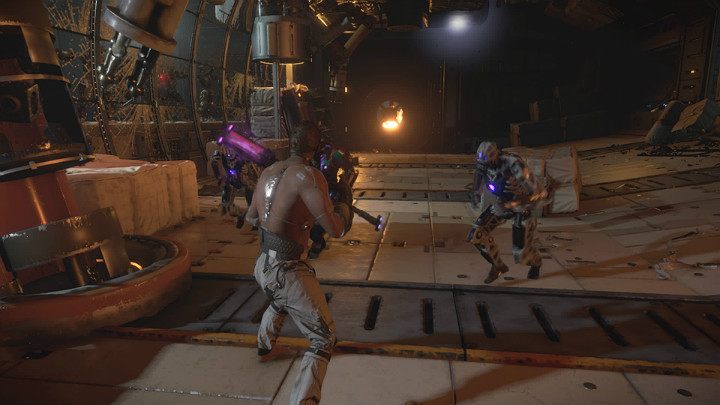
Monica is activating the self-destruct protocol - you need to get to the escape pod as fast as possible. Tony tries to hack to the locked door. Your task is to fight the Synthoids. Since you don't have the shield, use dodges and mix light attacks with heavy ones to create combos. After the fight is over, help Tony open the door.
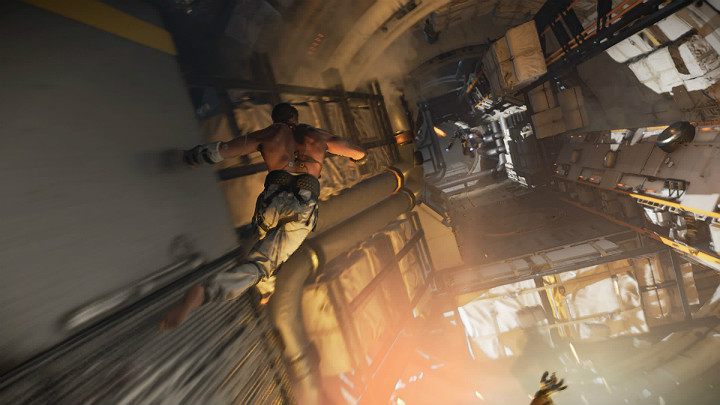
During the escape, combine double jumps with running on the walls to reach the escape pod. Avoid walking on glass, or Captain America will get sucked into space - you will have to load the last save.
When you get back to the Chimera, walk around its deck. You'll find several chests with gear for the newly unlocked Captain America. You can then go on to complete the next campaign mission called StarkTech Outfits.
You are not permitted to copy any image, text or info from this page. This site is not associated with and/or endorsed by the developers and the publishers. All logos and images are copyrighted by their respective owners.
Copyright © 2000 - 2025 Webedia Polska SA for gamepressure.com, unofficial game guides, walkthroughs, secrets, game tips, maps & strategies for top games.
