Marvel's Avengers: Armor chase, walkthrough
Last update:
On this page of our game guide to Marvel's Avengers you can find a detailed description of the ninth mission of the main story campaign. During this mission, you will have an opportunity to explore another piece of the Utah Badlands area, as well as test yourself in flying and in combat as the fully-equipped Iron Man.
Get to dropship
Jarvis has informed the Avengers that AIM has a well-equipped landing ship which can be seized in order to acquire the parts necessary to repair the Chimera production machine. It's time to get to work and get those parts!
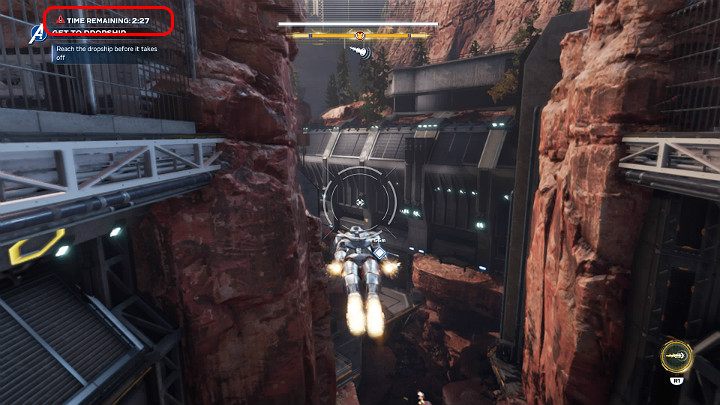
Note that this phase of the mission has been time-limited. In the top left corner of the screen there is a time counter which indicates the time you have left - in this case you have 3 minutes. When the time runs out and you fail to reach the next checkpoint, you will fail the mission.
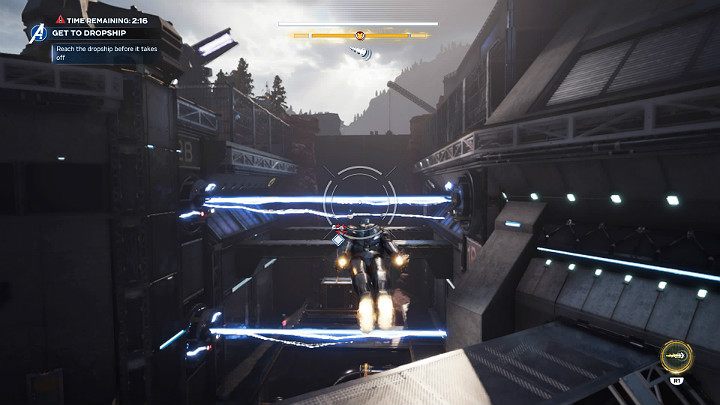
The fastest and probably best way to get through an extremely well-armed AIM facility is to simply switch to the fast-flying mode and fly between enemy turrets. Don't make short stops in order to destroy more turrets and cannons. If you get hit, you will fall to the ground and your hero can lose a lot of health points. In such case, break one of the treatment containers in order to restore some willpower.
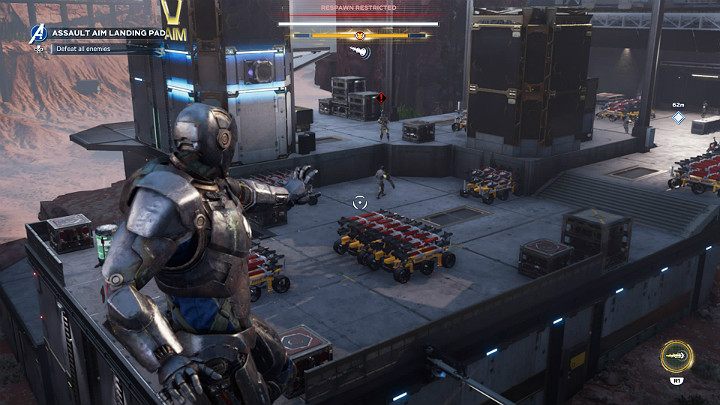
Once you reach the lift leading to the dropship, you will have to face the AIM forces. Enemy group will consists of regular units, flying units, soldiers with teleportation ability, and Elite Synthoids. After defeating all opponents, enter the elevator and get to the upper level.
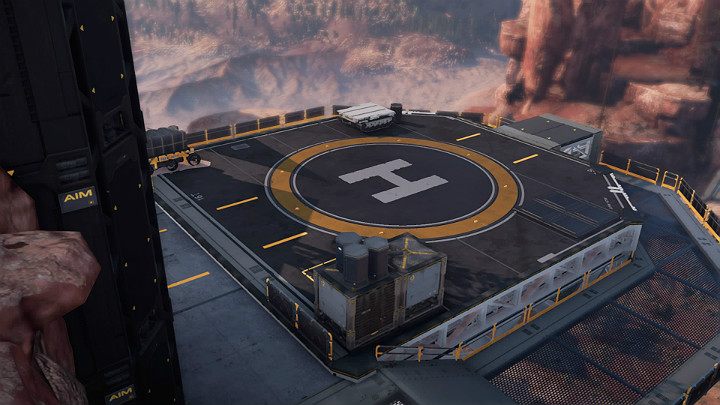
Once you reach the landing site, it turns out that AIM has managed to move the dropship to a safer, more secure location.
Intercept dropship
During this stage of the mission, you will have to walk through a deadly canyon where AIM forces has set up dozens of armed units and turrets.
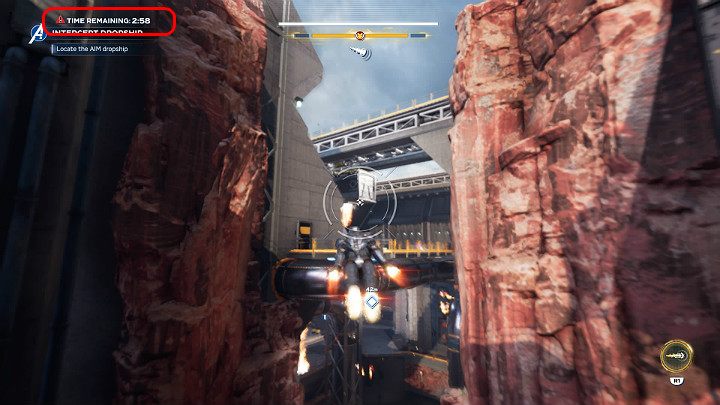
Note that this phase of the mission has also been time-limited. In the top left corner, once again, there will be a time counter - you have 3 minutes to complete this stage. If you fail to intercept the dropship in the specified time limit, then you will fail the mission.

Once again, focus on getting to your main objective. Ignore AIM turrets, glide between lasers, rockets and flamethrowers until you reach your target.
At some point, Jarvis will warn you that you have been tracked by rockets and you have to perform a dodge in the air at the right time. Pay attention to the icons with exclamation marks appearing on the screen.
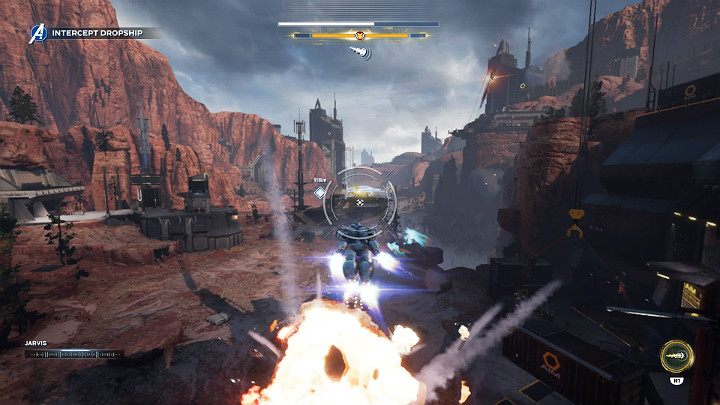
As soon as you arrive to the landing zone you will watch a short cutscene. Armor chase mission will end.
After returning to Chimera, go to the production machine in the technology lab and create Iron Man's armor mark II - this will give you access to the heroic skills of this hero. After performing this simple task, you can proceed to the next story mission - Alone Against AIM.
- Marvel's Avengers Guide
- Marvel's Avengers: Game Guide
- Marvel's Avengers: Walkthrough
- Marvel's Avengers: Utah Badlands
- Marvel's Avengers: The road back, walkthrough
- Marvel's Avengers: House Call, walkthrough
- Marvel's Avengers: Armor chase, walkthrough
- Marvel's Avengers: The Dogs of War, walkthrough
- Marvel's Avengers: Breakout, walkthrough
- Marvel's Avengers: To stand alone, walkthrough
- Marvel's Avengers: Agony and the Ant Hill, walkthrough
- Marvel's Avengers: Utah Badlands
- Marvel's Avengers: Walkthrough
- Marvel's Avengers: Game Guide
You are not permitted to copy any image, text or info from this page. This site is not associated with and/or endorsed by the developers and the publishers. All logos and images are copyrighted by their respective owners.
Copyright © 2000 - 2025 Webedia Polska SA for gamepressure.com, unofficial game guides, walkthroughs, secrets, game tips, maps & strategies for top games.
