Marvel's Avengers: Agony and the Ant Hill, walkthrough
Last update:
On this page of our guide to Marvel's Avengers, you can find a detailed walkthrough of the fifteenth campaign mission. In the course of this task, you will go back to the Utah Badlands to reach the AIM's facility - Meridian. In the final stage of this mission, you will face a boss - Warbot.
You can choose any hero in this mission but the best option is Iron Man. The ability to fly will allow you to quickly cover the distance between you and mission-related areas, as well as allow you to shoot opponent from the air and defeat the boss faster.
During the Agony and the Ant Hill mission, you will also have an opportunity to complete optional side objectives for which you can get additional resources and equipment. When the Tactical Awareness gets activated, all secondary objectives will be marked with question marks on the UI. We briefly explained the types and objectives of side missions, as well as what can be obtained from them. Also, we have described in detail the main objective of the mission.
- Shelter with gear and a hostage - a fortified facility on the right side of the map. You will find better quality equipment and be able to rescue a S.H.I.E.L.D. ally. To get inside, you will need to cut off the shelter's power - shoot four buttons located on a tall power tower right next to the building. The gear chest is located slightly higher in the rear of the shelter, behind the door that needs to be destroyed;
- Gear chests - when you go to the second map, you will find additional equipment boxes in the glazed rooms on both sides of the tunnel;
- Hostage - when you go to the second map, you can rescue another hostage located on the left from the main objective of the mission.
Here are the stages of the Agony and the Ant Hill mission:
Board the hypercircuit
The Avengers team returns to the Utah Badlands to break into the Meridian facility and obtain Pym particles. Thanks to them Hank Pym will be able to create an extremely useful weapon against AIM and provide Tony with the particles necessary to activate the Starboost armor.
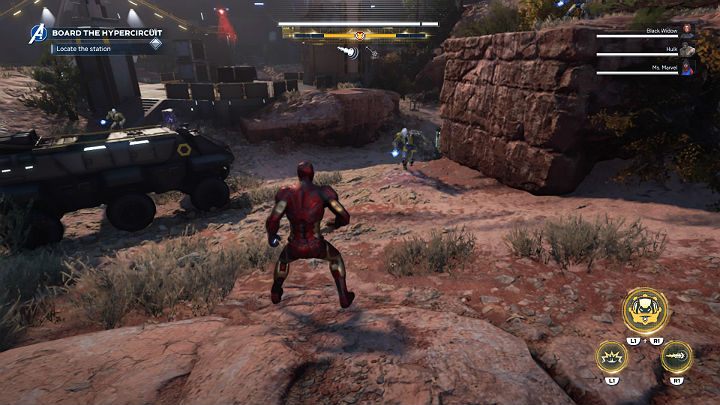
Black Widow has a clever plan and wants to get to the Meridian facility by boarding one of their hypercircuit trains. By going to the main mission marker, you'll reach the hypercircuit train station. You have to face an AIM squad.
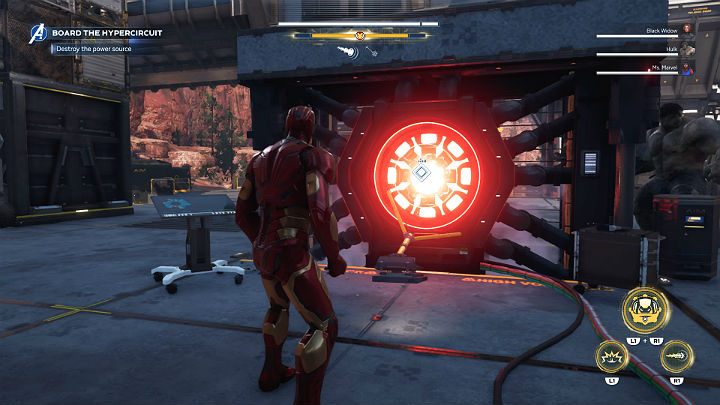
After the fight is over, you can go to the place marked on the UI to destroy the force field protecting the station.
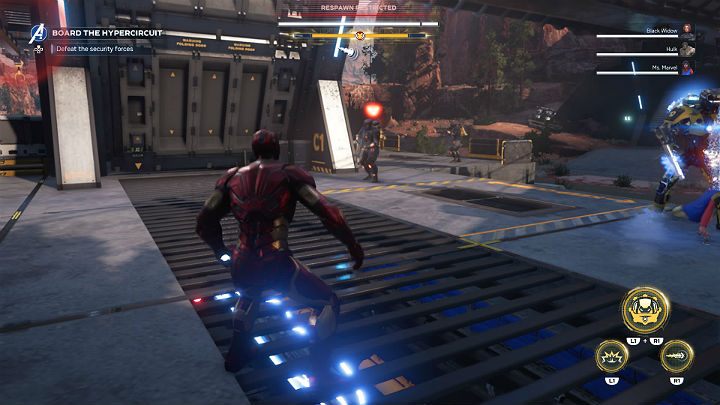
As soon as you destroy the power, the surrounding area will be overrun by enemy elite units attacking in waves. Pay special attention to Elite Synthoids with laser weapons and Elite Peacekeepers with ranged weapons - one hit with a rocket will deplete about a fifth of your health points.
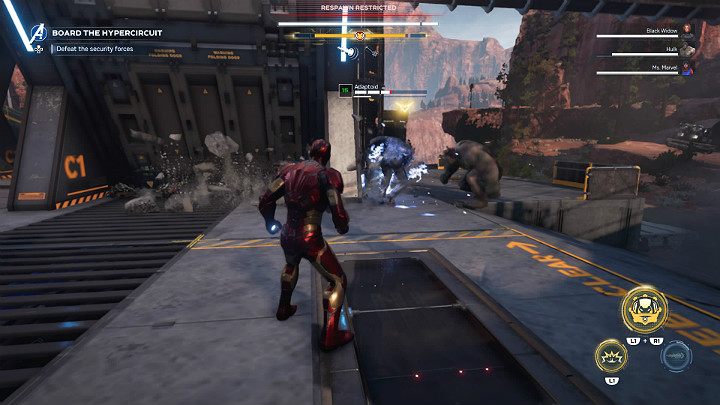
Once you've dealt with the first troops, you will be attacked by Adaptoids. Remember that these opponents have an unblockable frontal attack (laser) and can also regenerate lost health.
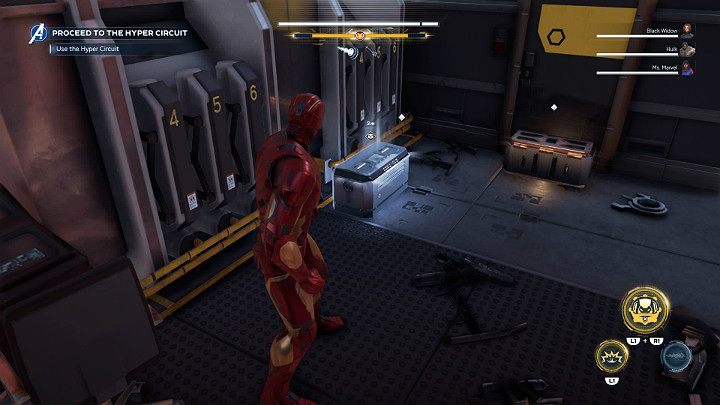
Once the fight is over, search the nearby building (you have to get on the balcony from the outside). Upstairs, you'll find a chest with special resources and a chest with gear.
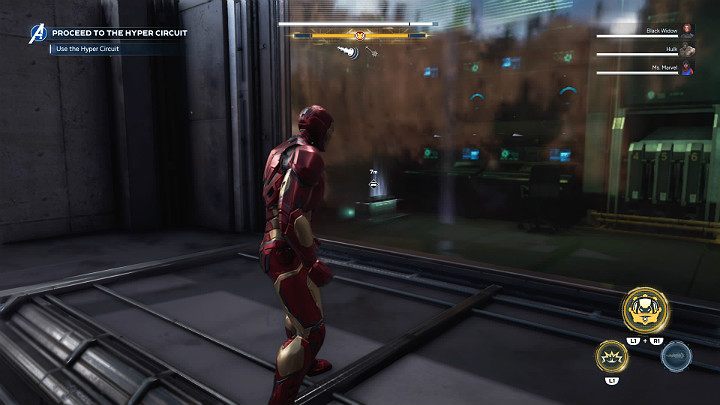
Fly to the right edge of the map and land on a hypercircuit train tunnel. There is a glass room in the wall with two hidden chests - one silver and one regular.
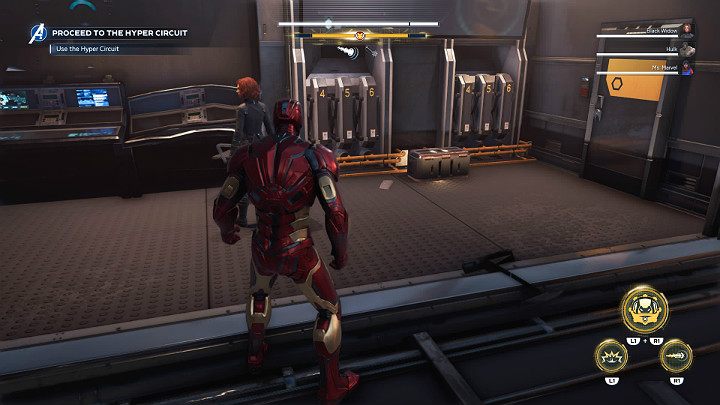
Exactly the same room is on the other side of the map. Behind the glass you will find the last chest you can get at this stage of the mission.
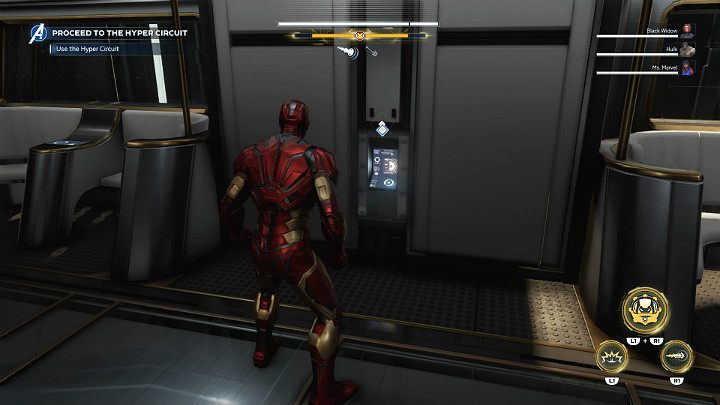
After collecting the items, take the stairs to the station, get on the train and proceed to the next stage of the task.
Retrieve Pym particles
Natasha's plan didn't quite work out. Although the Avengers have managed to reach the AIM facility, their presence was discovered.
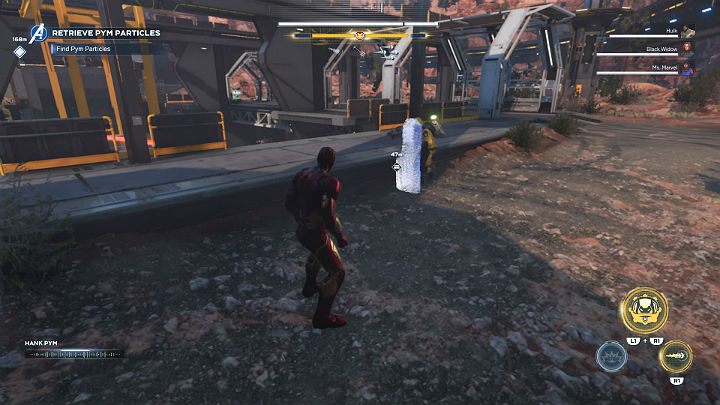
As soon as you get off the train, you will be immediately attacked by numerous enemies. There will be plenty of opponents but you won't find any elite units here.
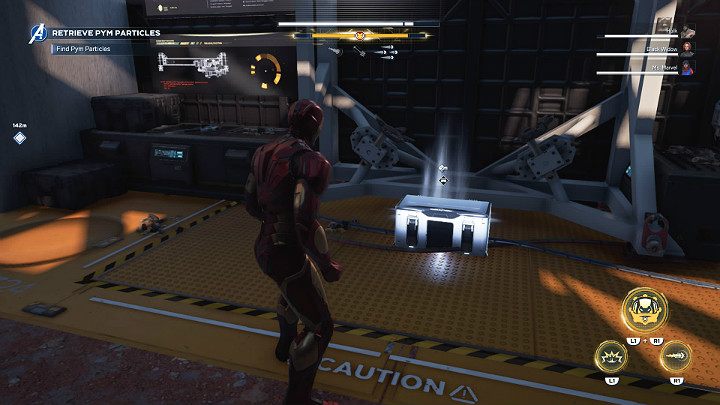
After the fight, jump down and open the special equipment chest - it is on the right in a small recess.
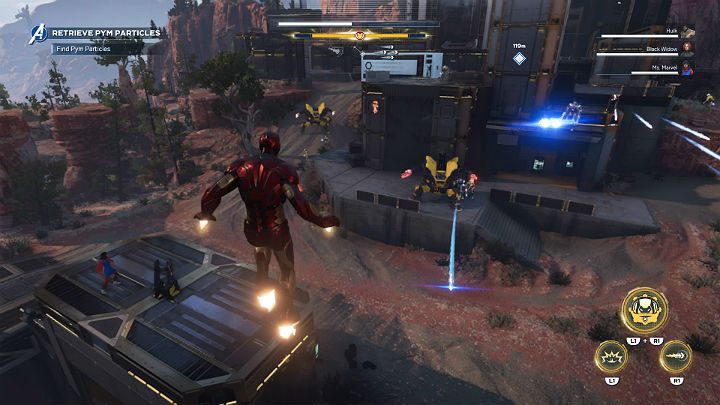
When you go towards the main mission marker, you will encounter a slightly more challenging group, which includes Stiletto Riotbots and Dreadbots. Remember that Stiletto Riotbots can block frontal attacks and also have a strong laser attack. After the fight, enter the main building.
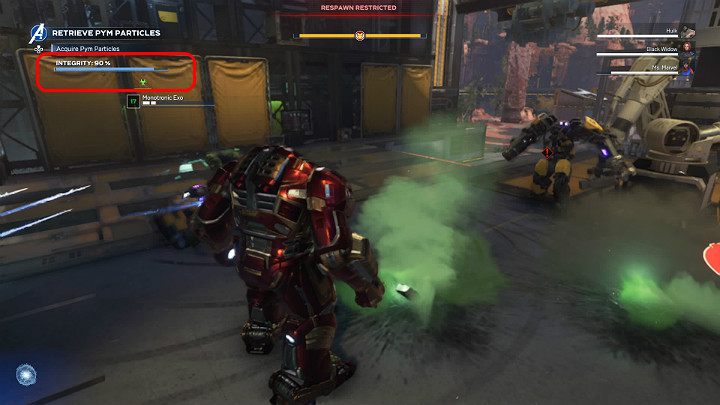
The AIM building is extremely well guarded. A squad of soldiers in exoskeletons and Elite Synthoids awaits you in front of the entrance. Note that there is an integrity counter in the top left corner of the screen that has started dropping from 100%. You have to eliminate the opponents and secure the area before it drops to 0%.
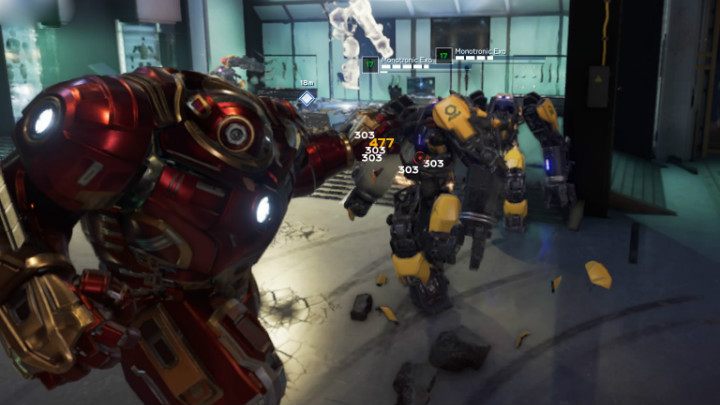
This is the best moment to activate the Hulkbuster skills. This will make the fight with the AIM forces to go much faster.
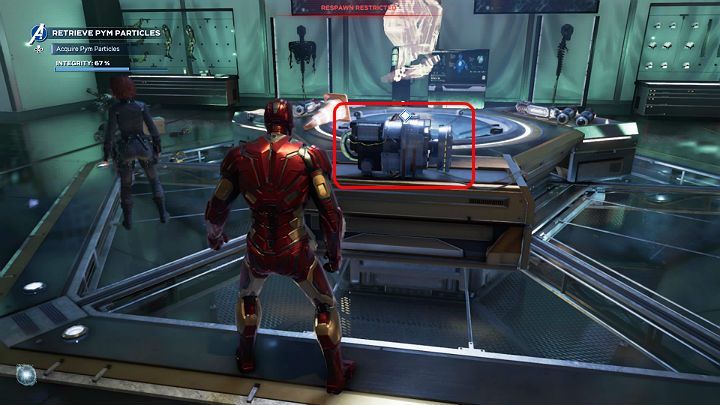
After the fight, secure the particle container, talk to Theo, and go through the portal to a hideout located near the Ant Hill to aid the resistance in their fight against AIM. Get ready to fight a boss.
Defeat Warbot - boss fight
Hank Pym's suspicions were correct - AIM quickly located the Ant Hill and sent its units out. A powerful Warbot is among them.
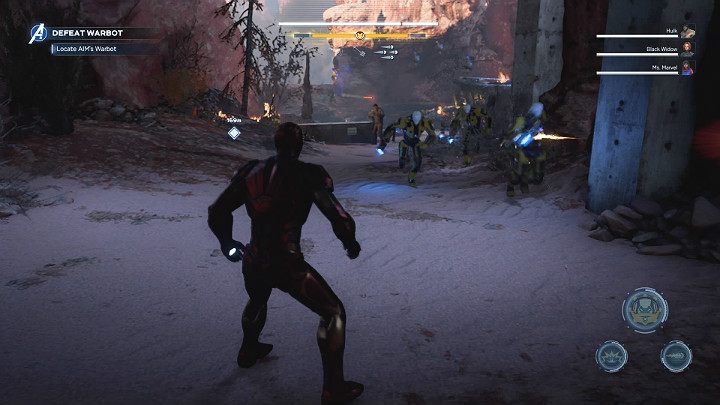
As soon as you get out of the hideout, you will face a whole bunch of Synthoids and AIM soldiers. Fortunately, there are no challenging units among them, so the fight should go smoothly. Go to the main marker to find the Warbot.
Attacking the Warbot directly will not yield any results. The only way to damage that opponent is to target its weak points to slightly lower its health bar and knock the bot down. This will give you more time to attack its exposed eye.
- Warbot - first phase of the fight
- Warbot - second phase of the fight
- Warbot - third phase of the fight
Warbot - first phase of the fight
In this phase of the fight, you must focus on destroying the Warbot's weak points. Watch out for gun turrets placed on the robot's armor.
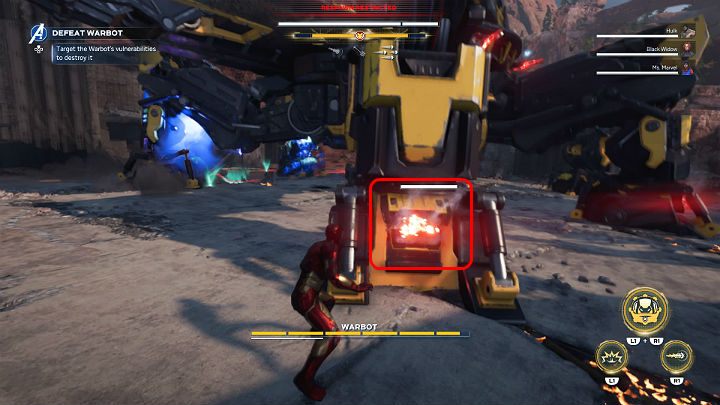
Pay attention to the overheating vents in its legs - that's your first target. There is one weak point on each leg so you have to destroy 6 of them in total.
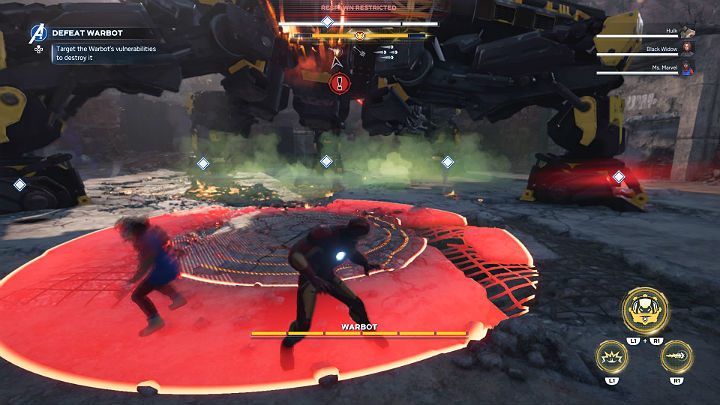
The Warbot will try to stomp on The Avengers. As soon as the machine lifts one of its legs up and a red circle appears on the ground, move away to a safe distance.
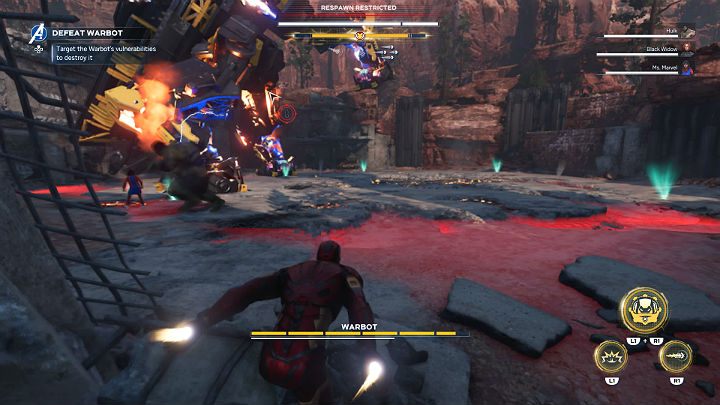
Every once in a while, the Warbot will try to turn around and perform a powerful stomp attack that will inflict massive damage on any hero who stays near it.
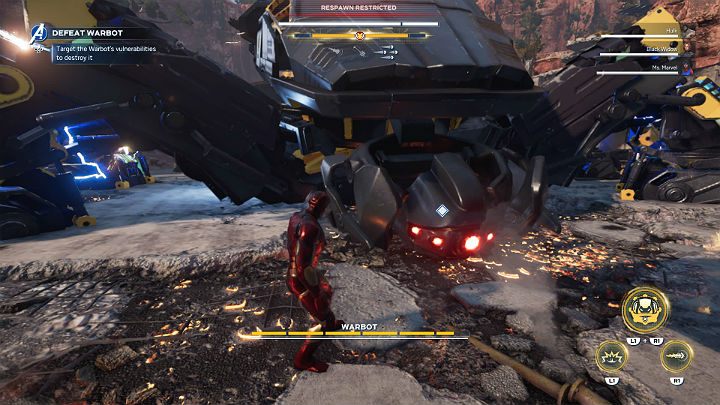
Once all the air vents are broken, the Warbot will be knocked down. Go to the spot where its head fell and start attacking its exposed eye.
Warbot - second phase of the fight
In this phase, the Warbot will reveal the next weak points. You will have to destroy them. Watch out for gun turrets and rocket cannons mounted on the robot's armor.
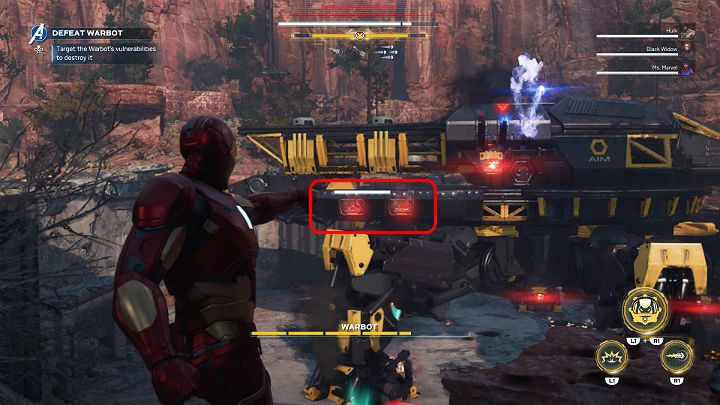
This time, the side vents and the vents on the inside of the legs will overheat. If you play as Iron Man, you can easily attack them from a distance and avoid enemy's projectiles. By the time you deal with all the side air vents, your team might be able to take care of the ones at the bottom.
If you are playing as Iron Man, you can aim between two side vents to damage both parts at once.
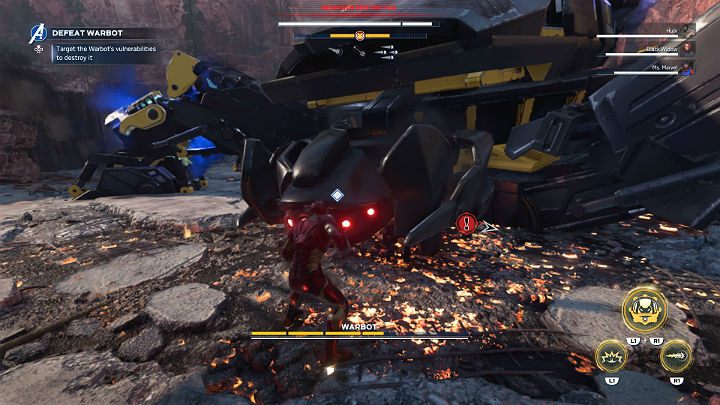
Once all of the vents are broken, the Warbot will be knocked down again. Go to the spot where its head fell and start attacking its exposed eye.
Warbot - third phase of the fight
In the final phase of the fight with the boss, you will have to destroy all the vents you have damaged during the previous two phases. The Warbot will have a powerful frontal laser attack - don't let it surprise you. You should also watch out for the rockets it will fire from the cannons on its back.
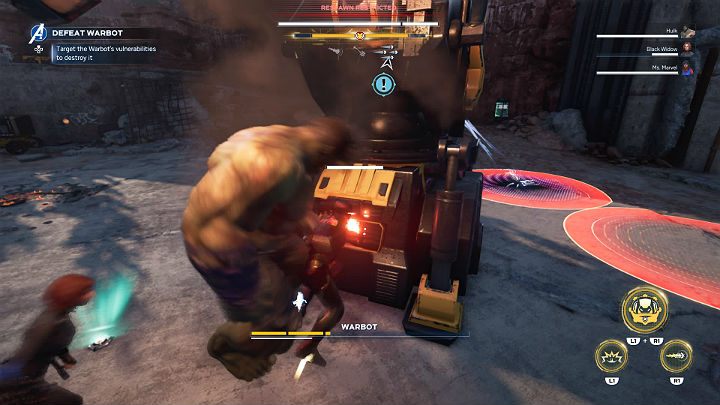
The vents on the front and back legs can be destroyed one by one - when one is destroyed, move on to the next leg.
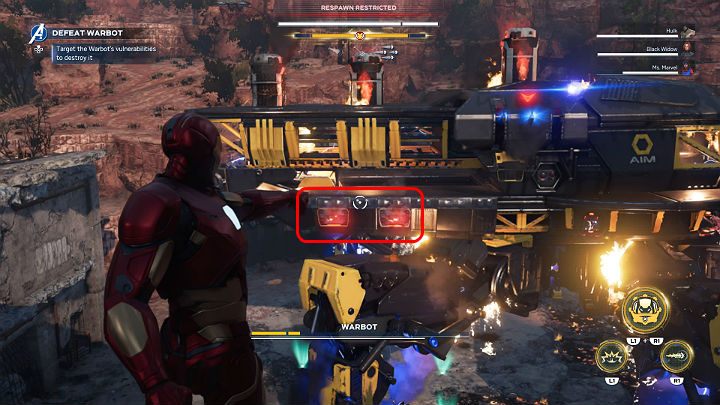
After that, you will have to deal with the central vents. You can shoot them from a distance or land on the opponent's legs and smash them with melee attacks. Remember that aiming between two vents will allow you to destroy them at the same time.
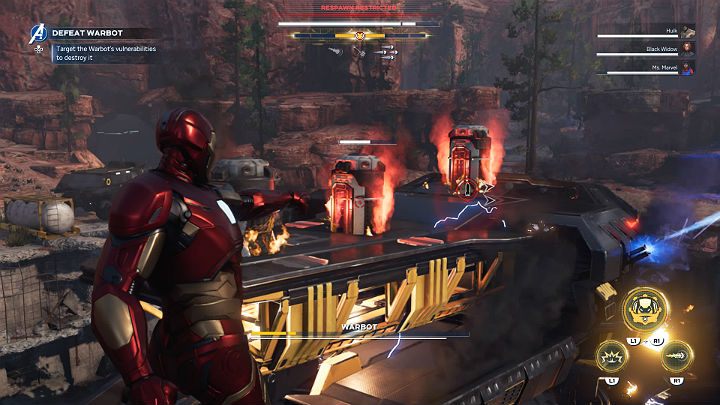
Lastly, hover near the Warbot and destroy 3 pods on its back to knock the machine down again.
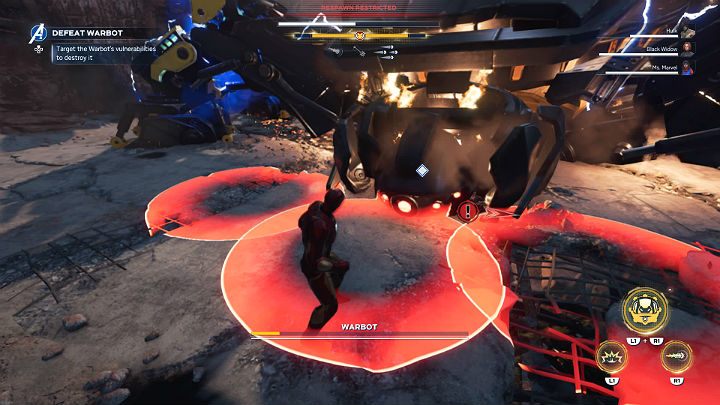
Go one last time to where the head fell and finish the boss off. The opponent will try to fight - red circles on the ground inform you where the rockets will land.
- Marvel's Avengers Guide
- Marvel's Avengers: Game Guide
- Marvel's Avengers: Walkthrough
- Marvel's Avengers: Utah Badlands
- Marvel's Avengers: The road back, walkthrough
- Marvel's Avengers: House Call, walkthrough
- Marvel's Avengers: Armor chase, walkthrough
- Marvel's Avengers: The Dogs of War, walkthrough
- Marvel's Avengers: Breakout, walkthrough
- Marvel's Avengers: To stand alone, walkthrough
- Marvel's Avengers: Agony and the Ant Hill, walkthrough
- Marvel's Avengers: Utah Badlands
- Marvel's Avengers: Walkthrough
- Marvel's Avengers: Game Guide
You are not permitted to copy any image, text or info from this page. This site is not associated with and/or endorsed by the developers and the publishers. All logos and images are copyrighted by their respective owners.
Copyright © 2000 - 2026 Webedia Polska SA for gamepressure.com, unofficial game guides, walkthroughs, secrets, game tips, maps & strategies for top games.
