A3 | World A
Stashed for Later (green)

First get the key, you must slip next the metal ball and get to the location shown on the picture. Open the door that can be found nearby, take the jammer and use it on the stopped ball.
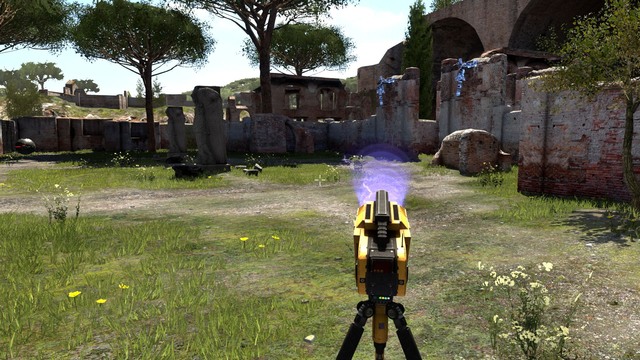
Move two jammers so that you could use them on the turrets. Watch out for the moving balls and in case of trouble use the jammer to stop them.
Locked Me UP, Swallowed the Key (yellow)
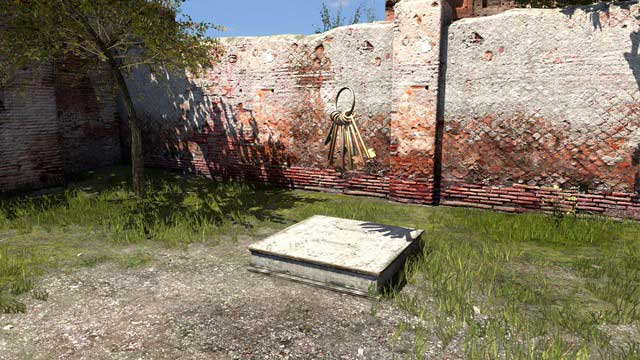
First take the key that can be found in the first part of the level. Open the door and use the jammer on the turret.

When moving forward keep the two devices and set them on the doors so that you can get through while keeping both of them. Use one of them on the turret, the other one on the doors before the sigil.
A Bit Tied Up. (yellow)
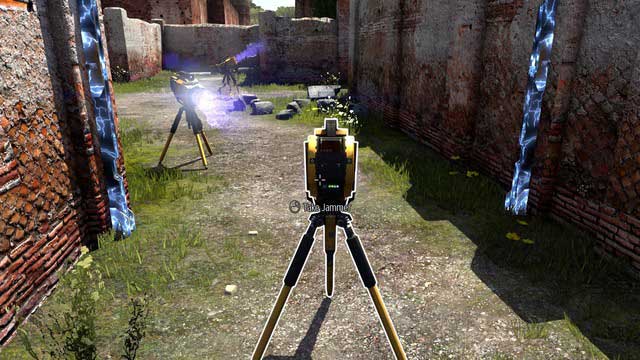
Set the jammers so that it is possible to move them on the other side of the wall. Watch out for ball and turret. Do it gradually, so that two jammers always face two metal objects. Get them to the door and open it with the method learnt before.
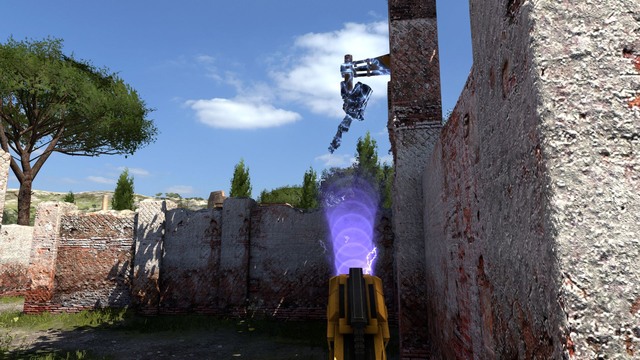
Set the remaining jammers on the turrets on both sides and get the sigil. Watch out especially for the left turret, it is easy to miss that one.
An Escalating Problem (red)

Take the jammer and lock the ball as shown on the picture, move forward and use the jammer on the door so that you could catch it from the stairs on the right side.
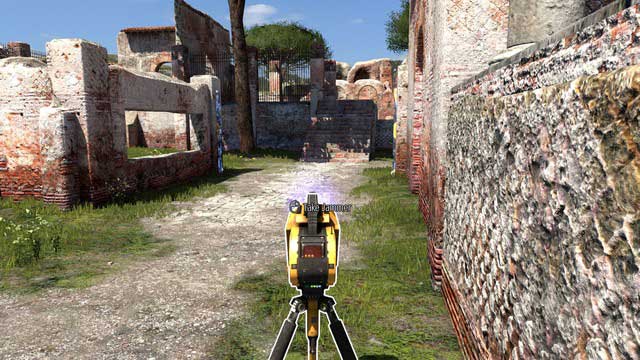
Take the jammer from the upper ledge, get the key that can be found in the further part of the location. Watch out for metal balls.

Open the door that can be found near the turret and guide the ball so that the short circuit with the turret occurs. Then take the red sigil.
You are not permitted to copy any image, text or info from this page. This site is not associated with and/or endorsed by the Devolver Digital or Croteam. All logos and images are copyrighted by their respective owners.
Copyright © 2000 - 2025 Webedia Polska SA for gamepressure.com, unofficial game guides, walkthroughs, secrets, game tips, maps & strategies for top games.
