A1 | World A
Your task is to collect sigils and other items in order to get to another location or world. You start in any order you want. In this guide the tasks will be solved in the default order suggested by the developers.
Only the Two of Us (green)
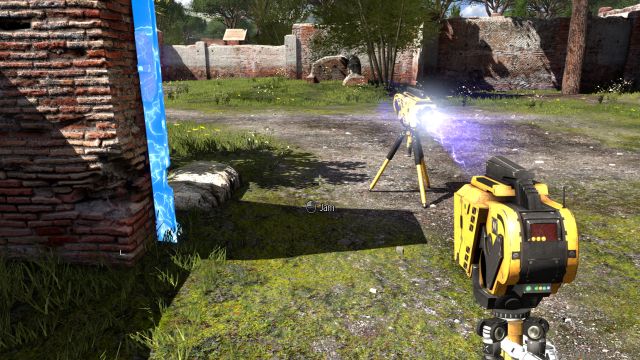
Set both jammers so they will face the door, thanks to that you can go further and take one device with you. It's a very useful move that you should remember.
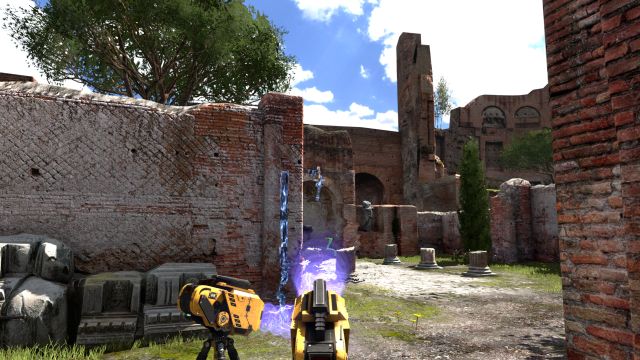
Take the last jammer from under the door and use it on the next one, aim the second device at the turret. Rest of the road is safe and you can take the first sigil.
A Switch Out of Reach (green)
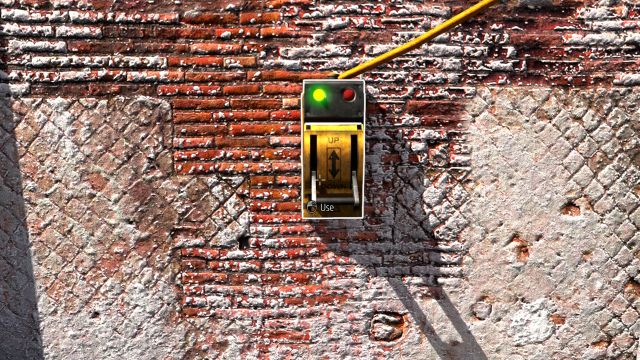
Use the Jammer on the turret and turn it off with the switch on the left side. Take the Jammer and aim it at the ball. Rest of the road to the sigil will be clear.
Outnumbered (green)
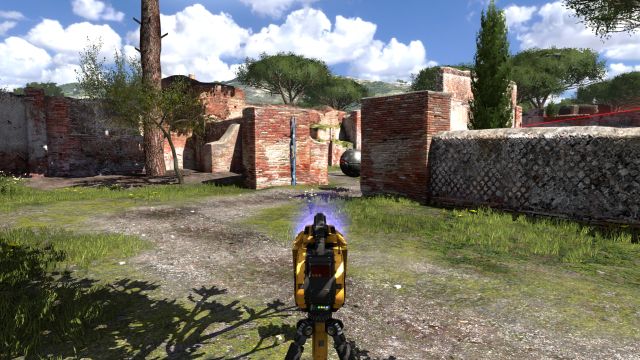
Release the metal ball with the jammer so that the path to the sigil become clear. Then aim it at the turret and take the sigil.
Striding the Beaten Patch (green)
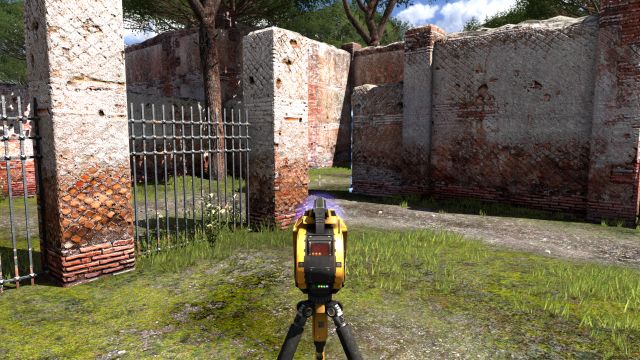
Get the jammer by entering very quickly to the right side, set is so that the metal ball will be locked behind the doors and you can safely get the sigil.
Peephole (yellow)
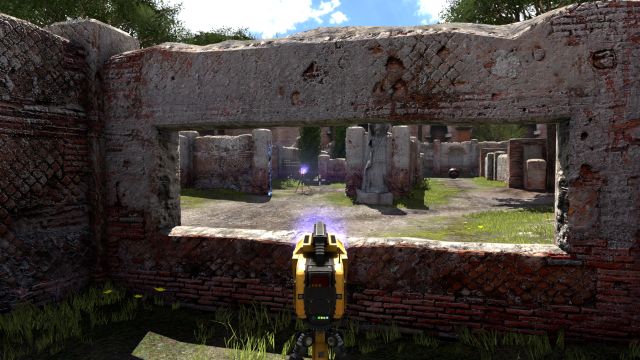
Use two jammers on single doors, then take the jammer that lies behind the doors and aim it at the metal ball. The Jammer that lies at the beginning of the level aim at the second ball and take another sigil.
Poking a Sleeping Lion (green)
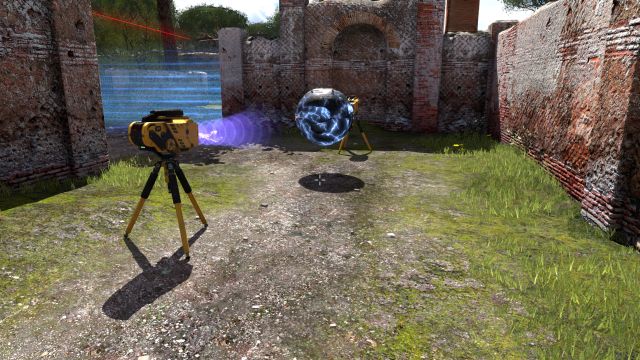
Use two jammers on the metal ball, take the jammer that lies closer to the wall and aim it at the turret, the other one use at the doors.
Trio Bombasticus (yellow)
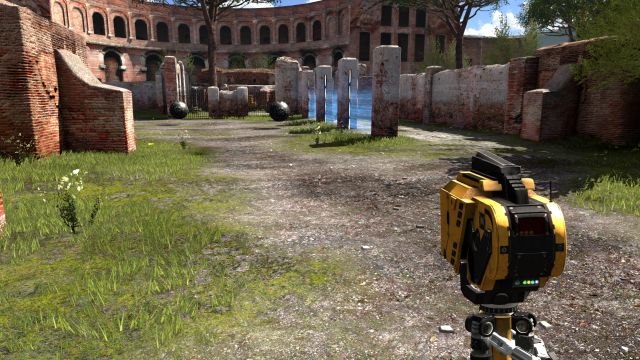
Use the jammer so all of the metal balls are released and unable to return. Then walk near the wall and take the sigil.
You are not permitted to copy any image, text or info from this page. This site is not associated with and/or endorsed by the Devolver Digital or Croteam. All logos and images are copyrighted by their respective owners.
Copyright © 2000 - 2025 Webedia Polska SA for gamepressure.com, unofficial game guides, walkthroughs, secrets, game tips, maps & strategies for top games.
