Sekiro Shadows Die Twice: Sunken Valley Walkthrough
This page in our guide to Sekiro: Shadows Die Twice contains the walkthrough for Sunken Valley, one of the main regions in the game. Read our walkthrough to learn how to reach Sunken Valley, find the secrets and unique items, and all the boss fights taking place in this region.
- How to reach Sunken Valley?
- Exploring Sunken Valley
- Mini-boss: Snake Eyes Shirafuji
- Reaching the Gun Fort
- Mini-boss: Long-arm Centipede Giraffe
- Optional exploration of the caves
- Opening the Gun Fort's exit door
- Boss: The second encounter with the Giant White Snake
- Going through Bodhisattva Valley
- Main boss: Guardian Ape
- Finding Lotus of the Palace
How to reach Sunken Valley?

You shouldn't have problems with reaching Sunken Valley. You need to go to the back section of Castle Ashina and find the bridge with two enemies (see the picture above). You can eavesdrop their conversation. You can reach the back of the castle by climbing or by using the "legal" way - after defeating Genichiro Ashina.
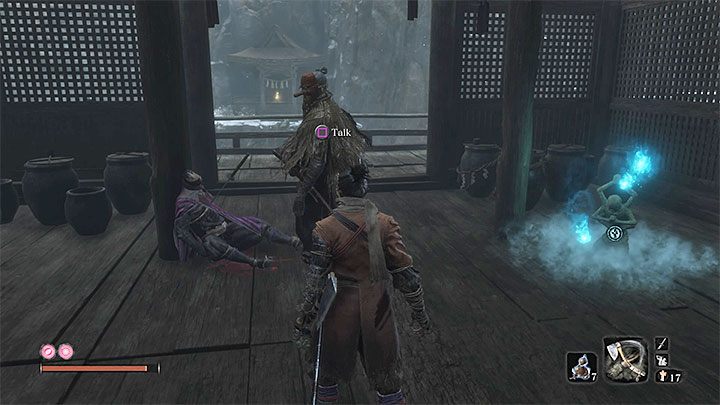
After reaching the snowy terrains, follow the narrow path surrounded by tall grass. Eliminate weak apes standing in your way. Reach the larger building:
- You meet Tengu of Ashina again. If you have already unlocked one of the final skills from any of the texts (the skills that are in the far right, e.g. Shadowrush), Tengu will give you Mushin Esoteric Text. Thanks to this book, you will be able to unlock more powerful versions of the "final" skills.
- Great Serpent Shrine Sculptor's Idol. This one appears in the Ashina Castle tab - you haven't entered Sunken Valley yet.
Exit the building and jump down on the lower ledges - you will reach Sunken Valley. Under-Shrine Vally Sculptor's Idol is nearby.
Exploring Sunken Valley
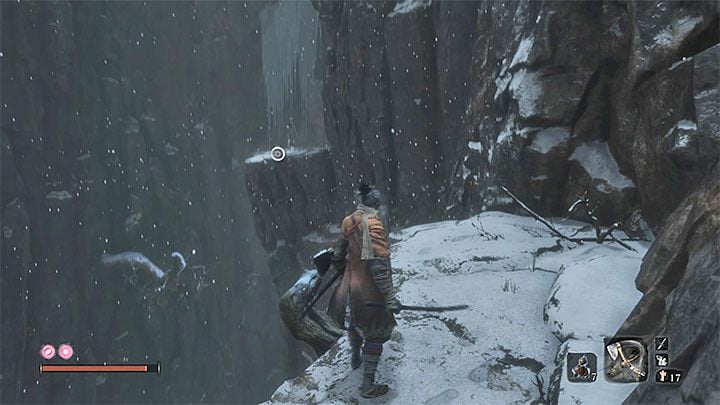
Start exploring Sunken Valley by going right - you will reach a secret area. Use the grappling hook to reach the ledge in the distance. Eliminate a few easy enemies.
Bounce off of the vertical wall, climb another ledge, and move forward by hugging the wall.
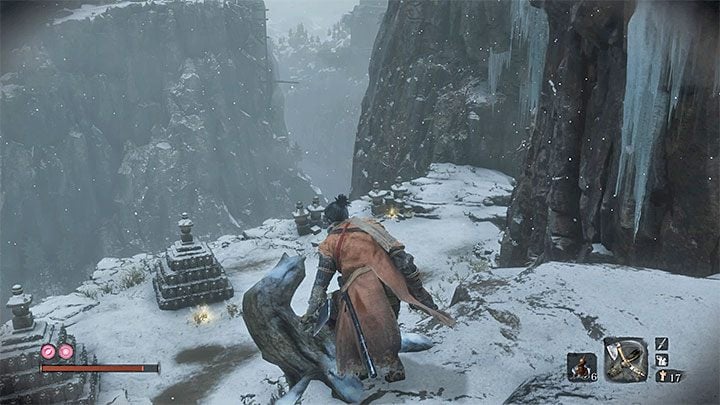
Your goal is to reach the secret location presented in the picture above. The game informs you that you are back in Ashina Outskirts. However, this location is more like a part of Sunken Valley - the only exit lead back to that location. Defeat a few enemies and then interact with the containers - one of them contains a Prayer Bead. Go back to the starting location - the fastest way is to teleport to the previously unlocked Sculptor's Idol.
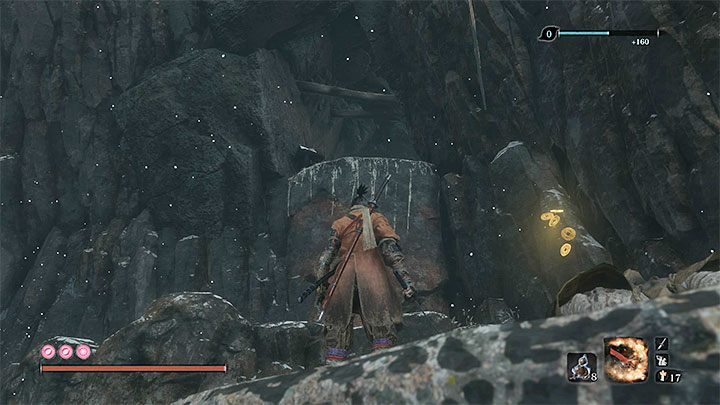
Sunken Valley is filled with enemies equipped with ranged weapons. Try to reach them fast. Alternatively, you can block their projectiles, run in slalom and jump.
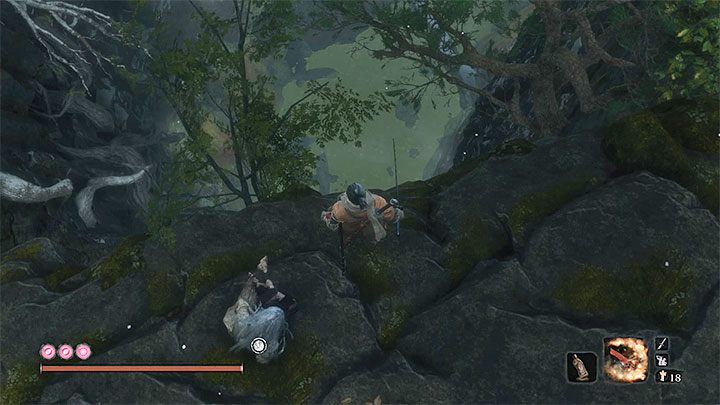
In one of the places you will be forced to use a grappling hook on the opposite shelf and quickly kill the enemy with ranged weapon. After you do so, go through a small cave. Coming out of it, grab the branches and kill another opponent. Now look up. You have to climb after the vertical walls, similar to this one from the attached image.
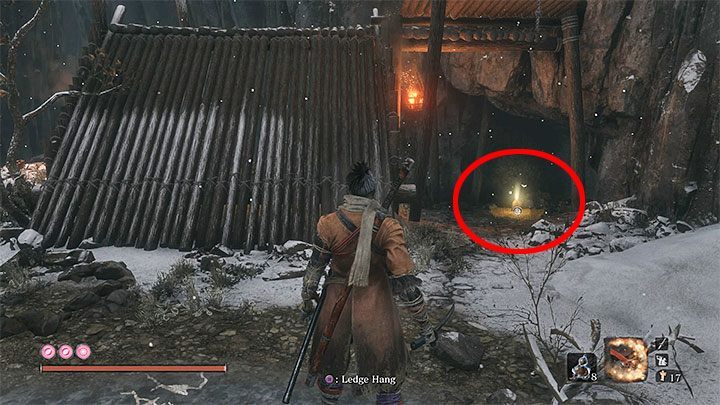
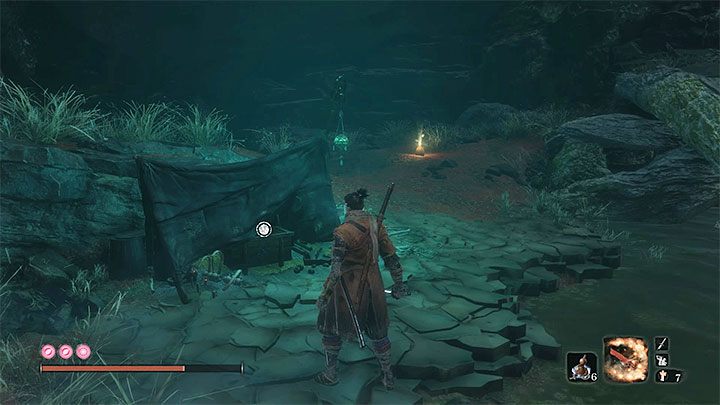
Eventually you will reach a high-located small camp from the above image. Be sure to check the container on the right, because it contains Gourd Seed.
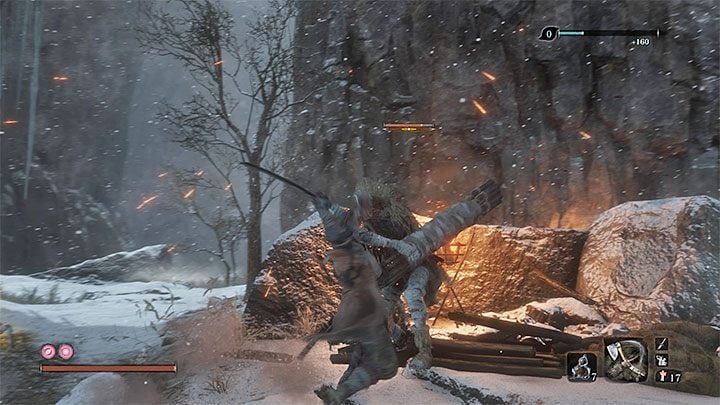
You can already go back down and continue the crossing through the main part of the valley, during which you will also encounter stronger opponents using guns. It is hard to kill them easily with just a few swings with your weapon. Look for a chance to use a stealth Deathblow on them. If you are forced to face them in a regular fight, dodge to the sides a lot to avoid cannonballs.
This region requires you to use the grappling hook a lot. One place requires you to hug the wall to move forward. Soon, you will unlock Sunken Valley Sculptor's Idol.
Mini-boss: Snake Eyes Shirafuji
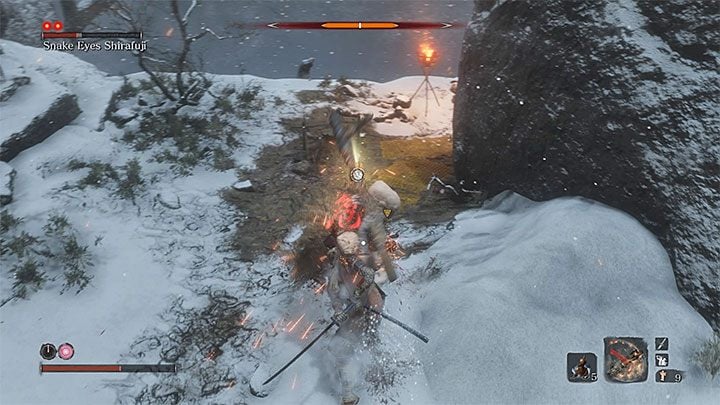
You now have to move from one small ledge to another. Your character is under fire - you can't do anything about that. The enemies are too far away. Focus on using the grappling hook - don't stop even for a moment.
Snake Eyes Shirafuji, one of the mini-bosses, stays in a camp near a large head of a statue. Focus on avoiding his cannon's attacks - both regular ones and those marked with the red icon. If you fail, Shirafuji will impale Sekiro with the cannon and deal him massive damage. Use regular attacks, your abilities or, e.g. Shinobi Firecrackers. Defeat this mini-boss to receive a Prayer Bead. The full walkthrough for this fight can be found in the Bosses chapter.
The fight with Snake Eyes Shirafuji is optional. Ignore this mini-boss if you can't defeat him now. However, you should try to either knock him down or lure out to be able to progress through the location without getting hit from his cannon.
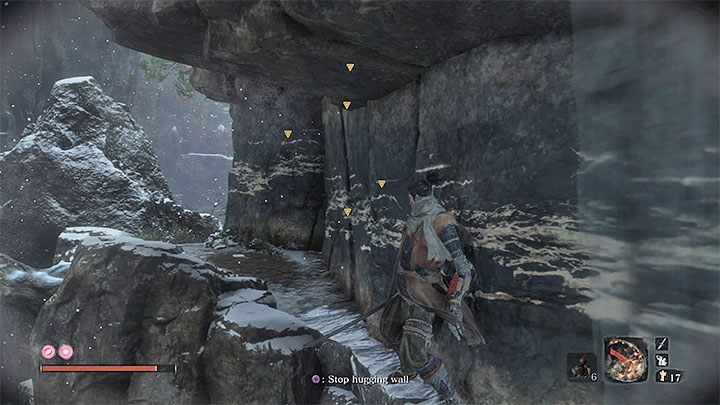
The passage to the next region is located on the left of the place where you encountered the mini-boss (see the picture above). Hug the wall to proceed.
Reaching the Gun Fort
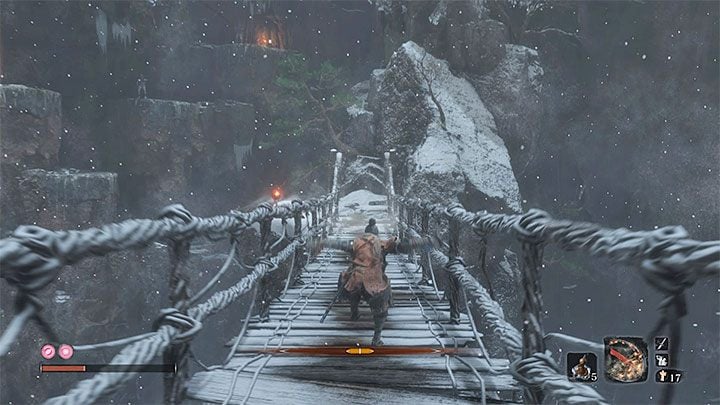
Cross the bridge. Avoid projectiles by jumping a lot. Watch out for the hole in the middle of the bridge - jump over it.
Don't stop after you reach the other side. Start climbing - keep reaching the enemies and kill them fast. Climb up to reach the Gun Fort. You can throw one of the nearby enemies into the abyss. Don't approach the Gun Front from the front. Go left - the caves are a better idea. Watch out for enemies using cannons. The Gun Fort is filled with loot kept in containers.
Mini-boss: Long-arm Centipede Giraffe
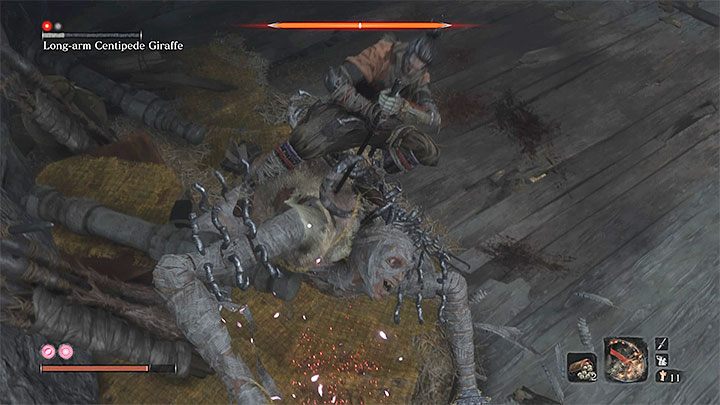
Enter the new cave and reach Gun Fort Sculptor's Idol. The narrow corridor leads to a room with another mini-boss - Long-arm Centipede Giraffe.
This mini-boss isn't difficult. Block or deflect his combos and attack when the boss stops. Long-arm Centipede Giraffe doesn't have a lot of health - taking both red dots down shouldn't take you long. This mini-boss drops a Prayer Bead. The full walkthrough for this fight can be found in the Bosses chapter.
Optional exploration of the caves
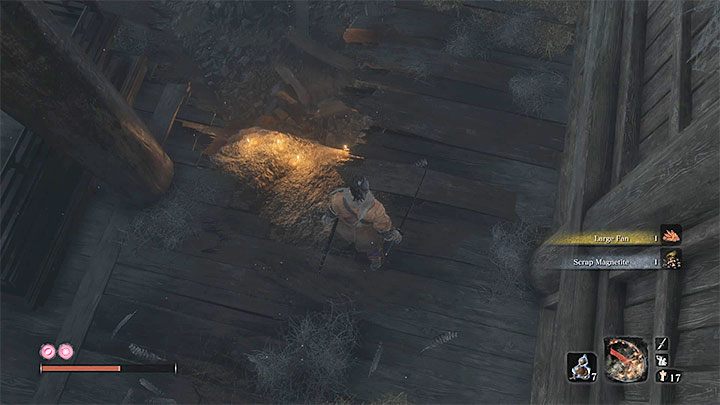
Start with opening the container in front of the large statue - inside, you will find a Large Fan (take this item back to the Sculptor). Thanks to it, you are able to craft a new prosthetic tool - Divine Abduction. Check its description in the Prosthetic Tools chapter.
The entrance to the caves is in the same place where you fought Long-arm Centipede Giraffe. It is a hole in the floor (see the picture above). Inside the caves, you will find a few monsters with blades, and lizards that can poison Sekiro. Luckily, you can kill them instantly with a Deathblow. You can also attack them when they are still on the walls.
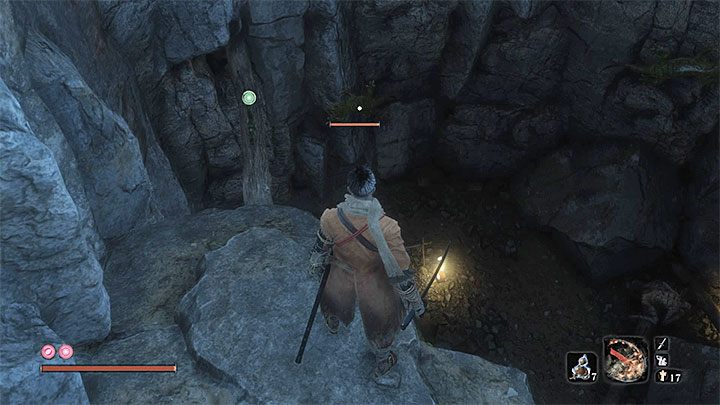
You will have to use the grappling hook a few times. Some of the hook points are right beneath the ceiling. Turn right twice to reach the most valuable loot in the caves. This area is presented in the picture above - kill the enemies and interact with all the containers. One of them will have a Prayer Bead.
Opening the Gun Fort's exit door
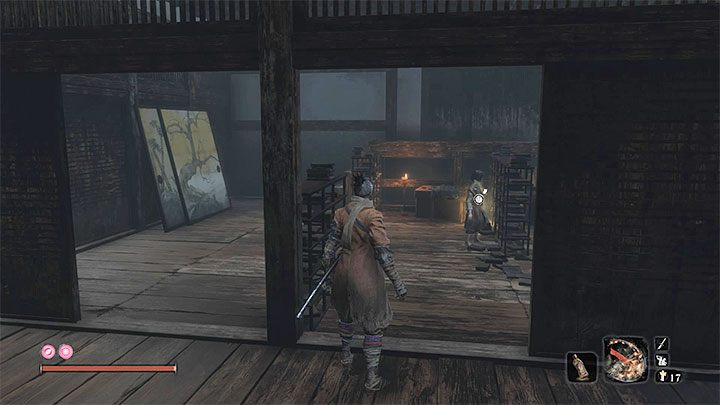
There is a locked door in the room where you fought with Long-arm Centipede Giraffe. You need a key to open it. Go back to Ashina Castle - Upper Tower - Kuro's Room Sculptor's Idol.
Check the left side. The library should be now open (you can learn about that from the note on the floor). Interact with the container next to Kuro - Gun Fort Shrine Key should be inside it.
Boss: The second encounter with the Giant White Snake
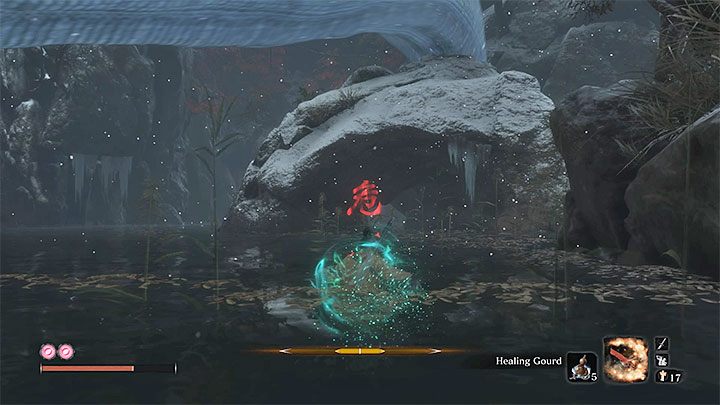
Don't rush with crossing the draw bridge. Soon, the Great White Snake will appear again (this is the same one you avoided in Ashina Outskirts). Fall back after you see the red symbol - the Snake will destroy the bridge.
Jump down into the large water tank. Avoid the snake again - dodge every time you see the red symbol. Reach the rocks presented in the picture above (they are located on the right side of the draw bridge). Sneak towards the cave's entrance. The Snake will stop attacking you. Activate Riven Cave Sculptor's Idol.
Going through Bodhisattva Valley
Use the grappling hook to move between hook points on the large statues. Defeat monkeys - they will use both melee and ranged attacks. They aren't difficult, but they are hard to stealth attack.
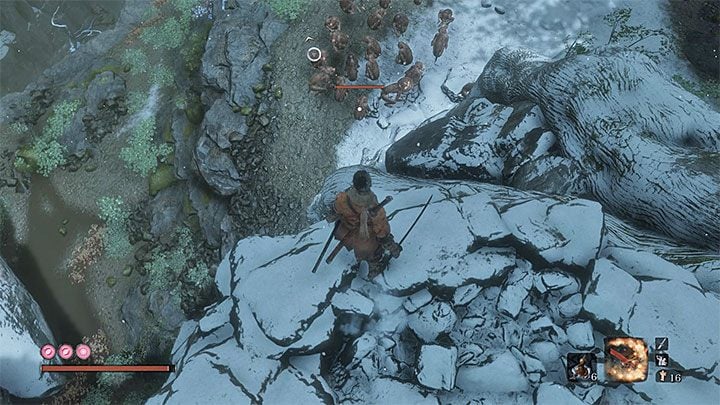
Soon, you will encounter a group of monkeys (see the picture above). Jump down on them and use an area of effect attack right after you land (e.g. Whirlwind Slash). You will defeat a lot of them without risk of losing health. If you get surrounded, use Shinobi Firecracker to scare the monkeys. Keep moving forward. Hug the wall to proceed. You will reach Bodhisattva Valley Sculptor's Idol.
Main boss: Guardian Ape
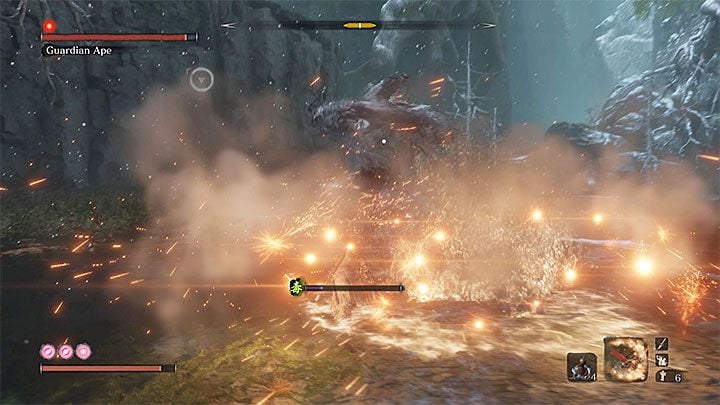
The Guardian Ape stays in a large waterhole. You can't perform a stealth Deathblow on the monster (even when you jump from one tree to another by using the grappling hook).
In the first phase, the Guardian Ape is a beast-type enemy. The creature uses its fists to perform all of its main attacks. The boss can use slow and powerful blows as well as a series of rapid attacks, ground pounds or grab attacks. Dodge those attacks that are marked with the red symbol. The best way to defeat this boss is to use Shinobi Firecrackers at the right moment. This will scare the monster. When that happens, get behind the Guardian Ape and start attacking it.
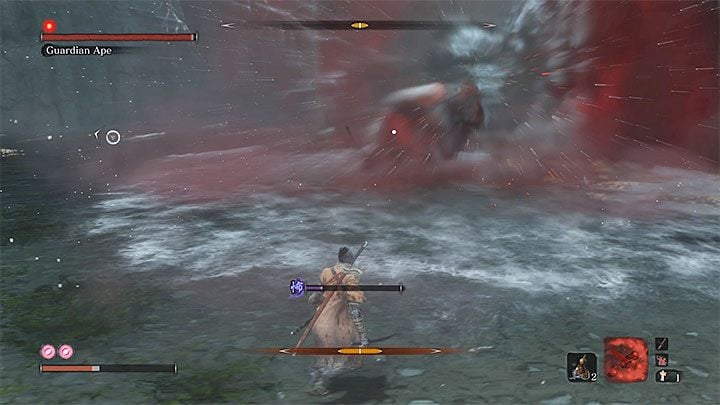
In the second phase, the Guardian Ape will use a melee weapon. You can deflect the majority of the boss's attacks. Parry the monster's strongest attack to knock it down. Keep attacking the Guardian Ape until it gets up. Swings marked with a red icon are the exception - you need to jump over these attacks. Move away from the boss when you notice that it is about to roar (see the picture above). This attack inflicts Terror status effect - it will either deal you a lot of damage or kill.
Defeat the Guardian Ape to receive two rewards - Memory: Guardian Ape (increases your attack) and Slender Finger (you need it to craft Finger Whistle prosthetic tool). The full walkthrough of this fight can be found in the Bosses chapter.
Finding Lotus of the Palace
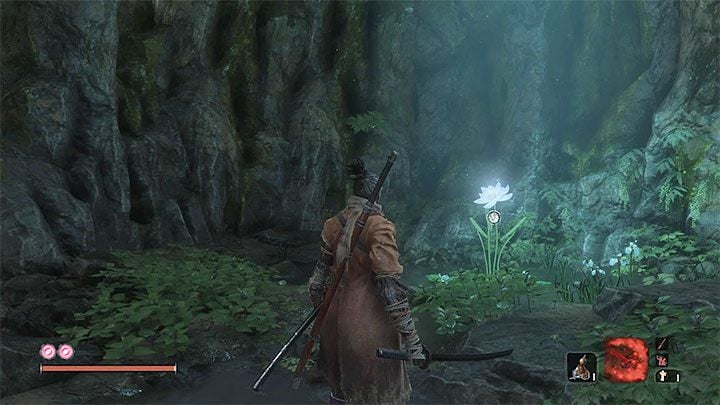
You can find this item after the defeat of the Guardian Ape. The passage to that item was blocked with fog. This is also a chance to unlock Guardian Ape's Watering Hole Sculptor's Idol.
Go through the passage on the left side of the Sculptor's Idol. You will reach the place with Lotus of the Palace. This is a quest item that can be delivered to Kuro in Ashina Castle (there is a total of three items that can be delivered to the boy).
This is the last thing you can find in Sunken Valley. There are no passages to other locations here. The main reason to visit this place was to get Lotus of the Palace.
Additional zones: Polluted River and Cave with Great Serpent
All of the above areas were connected with getting to Guardian's Ape lair, but the Sunken valley has additional two large zones. You don't need to explore them during your first visit to the valley. It is better to refrain from this until, as a result of the passage of the main storyline, the hero unlocks the technique of the Puppeteer ninjutsu (it is a reward for killing Folding Screen Monkeys in the Halls of Illusion in the Senpou Temple).
You can start with sculptor idol Riven Cave or Bodhisattva Valley. You have to get to the lowest parts of the valley where the polluted river flows. Do not try to jump off and land from a great height, because the hero will not survive. Instead, look for something to mount that you can catch during your landing. After arriving in the area of the polluted river - avoid entering the water at all costs, cause it may start to increase your poison bar status. If you do find yourself in poisoned water, then jump a lot to limit contact with it.
During the exploration of the polluted river, beware of monkeys, which are much more resistant than those found in the main part of the valley. Some of them also wield a weapon and they're quite good at it.
In the vicinity, except containers with loot, you can find the Toxic memorial Mob camp. In addition to general items, he has a unique item - Green Mossy Gourd. It works on the same principles as the antidote, but its advantage is that its stock is restored every time you rest at the sculptor idol.
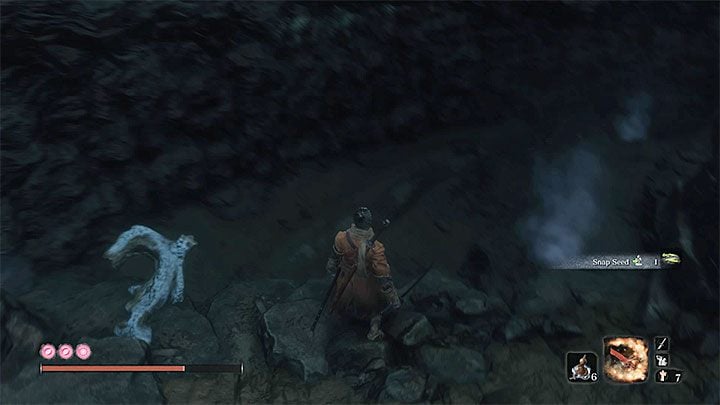
The second additional area in the Sunken Valley is a cave, which is the lair of the Great Serpent (the same one that attacked the hero after leaving the Fort). The entrance to the cave is near the Toxic memorial Mob camp.
During your exploration of the cave watch out for:
- Lizards. They're very weak, but can easily poison your hero and impose on him a negative poison status. Better kill them quickly.
- Enemies are hiding in the walls. They perform attacks marked with a red symbol. Try to avoid them by making a quick leap back or jump aside, or just staying away from them (they can't "get out" of the walls).

During the crossing through the cave you have to sneak past the sleeping Great Serpent. Do not attack him with a katana, so as not to get a lot of damage. Stop when you reach the place shown in the image. You will notice here that Great Serpent "protects" the path to the visible building in the distance.
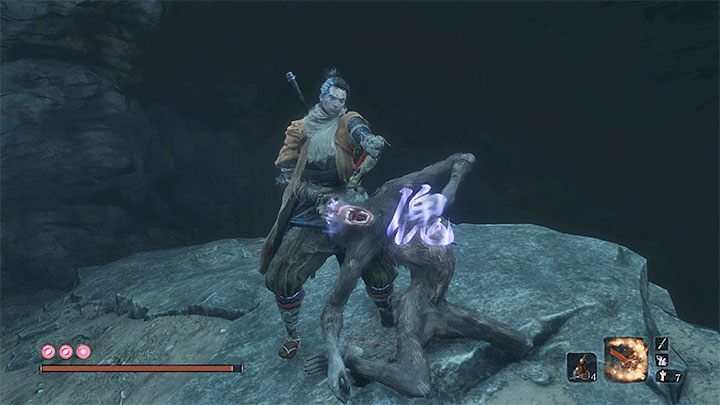
Don't try to attack the snake or rely on the sprint. Instead, jump to the barely visible left lower shelf. Make your way to the spot where the monkey shown in the image resides. Make sure that you have set as active technique your Puppeteer ninjutsu ability. Perform a deadly stab in the back on the monkey and press the attack button again (R1 / RB) in order to tame this ape. If the monkey's eyes turned blue - you have done it correctly.
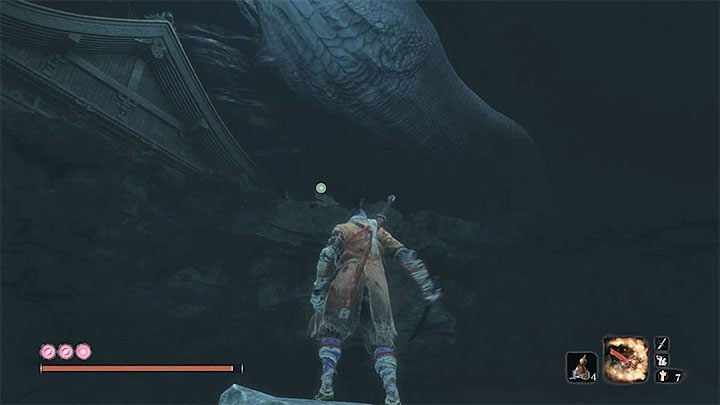
The monkey will run to the left and begin to pay attention to the Great Serpent. Use this to catch yourself to the spot shown in the image. Get to the building before the serpent decides do attack the hero. Inside the building you will find the quest item - Dried Serpent Viscera) (they will be useful to unlock one of the endings of the game).
The snake blocks the exit from the hut, so use the return idol to teleport to the previous sculptor idol.
- Sekiro Guide and Walkthrough
- Sekiro Shadows Die Twice: Walkthrough
- Sekiro Shadows Die Twice: Main story
- Sekiro Shadows Die Twice: Prologue in Ashina Reservoir Walkthrough
- Sekiro Shadows Die Twice: Dilapidated Temple Walkthrough
- Sekiro Shadows Die Twice: Ashina Outskirts Walkthrough
- Sekiro Shadows Die Twice: Hirata Estate Walkthrough
- Sekiro Shadows Die Twice: Ashina Castle Walkthrough
- Sekiro Shadows Die Twice: Sunken Valley Walkthrough
- Sekiro Shadows Die Twice: Senpou Temple Walkthrough
- Sekiro Shadows Die Twice: Ashina Depths Walkthrough
- Sekiro Shadows Die Twice: Fountainhead Palace Walkthrough
- Sekiro Shadows Die Twice: Main story
- Sekiro Shadows Die Twice: Walkthrough
You are not permitted to copy any image, text or info from this page. This site is not associated with and/or endorsed by the developers and the publishers. All logos and images are copyrighted by their respective owners.
Copyright © 2000 - 2026 Webedia Polska SA for gamepressure.com, unofficial game guides, walkthroughs, secrets, game tips, maps & strategies for top games.
