Dishonored: Exploring the Dunwall Tower First Floor

To the left of the main stairs that you use to get to the first floor, there is a small storage room with Sokolov's health elixir in it. To the right there is another, separate staircase that leads up to the second, and the third floor. Also in this case, you need to have the Dunwall Tower skeleton key collected from Esma Boyle's bedroom (the previous mission). Opposite the staircase there is another active wall of light (the above screenshot).

The good news is that the wall of light may be easily disabled or reprogrammed because, to the right there is a widely available control room (a panel and a whale oil tank- the above screenshot). Apart from that, in the room there also are ammo and a book.
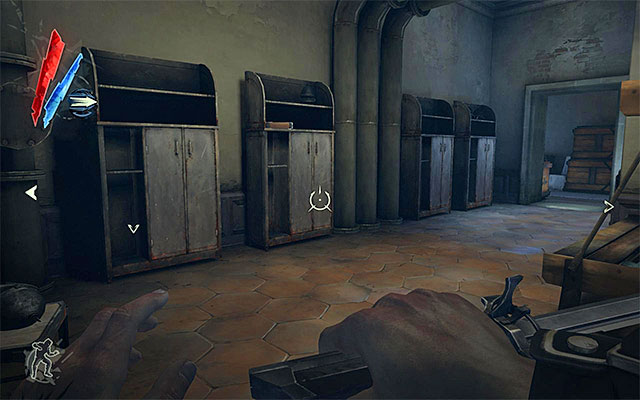
Resume your exploration of the first floor. You will be encountering guards on a regular basis here and if you plan thorough exploration the area, I recommend that you keep eliminating them. Also, try not to leave the bodies out in the open where everybody can see them because, some characters change floors and, as a result, not necessarily will you meet them right away. In the south-eastern part of the currently explored floor, there are small guard quarters (the above screenshot) and you can find there gold, a grenade, pistol ammo, a security room key and a book.
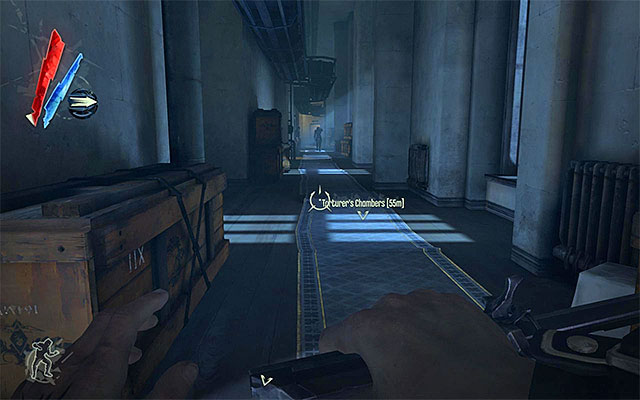
In the eastern part of the flor there is a long corridor (the above screenshot), that you can reach from the guards quarters, as well as from the staircase that couples this floor and the kitchen. The interesting thing here is that you can easily avoid or attack from hiding here. You do it by making use of the ventilation shafts beneath the ceiling. I recommend that, on your way, you take a look into three side rooms to find there gold, food and a Sokolov's health elixir.
![The eastern corridors will take you to the north-eastern corner of the first floor, and you will find here a staircase leading to the [Torturers Chambers] (the above screenshot)), i - Exploring the Dunwall Tower First Floor - Mission 6 - Return to the Tower - Dishonored - Game Guide and Walkthrough](/dishonored/gfx/word/18570750.jpg)
The eastern corridors will take you to the north-eastern corner of the first floor, and you will find here a staircase leading to the [Torturer's Chambers] (the above screenshot)), i.e. to the place in which there stays the Torturer connected with a side quest of yours. I suggest that you eliminate the person right away. After you descend to the dungeons, hide in a place where you won't be seen, and plan your further steps carefully.
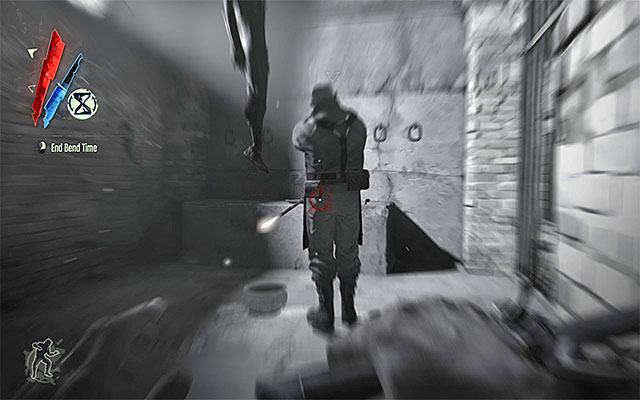
The most important piece of information, concerning the Torturer, is that he is much stronger than the other guards. Therefore, I recommend against trying to kill him with your pistol or crossbow. A single attack, even if aimed at the head, won't do no good. Instead, I recommend adopting either of two approaches. The first one of the suggested tactics assumes that you use the hold time power. What is interesting, this does not stop the enemy, but merely slows him down. When this happens, position yourself behind the Torturer, and execute him.
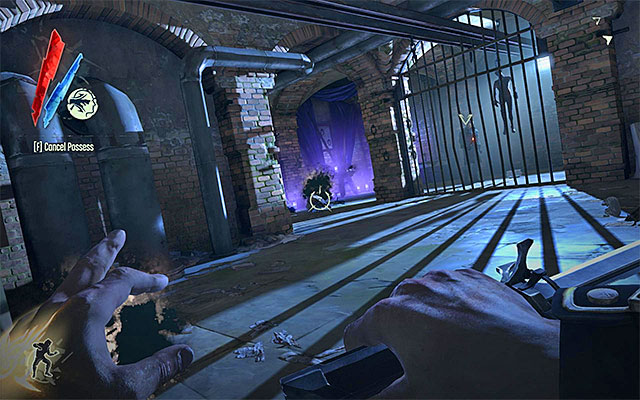
The other one of the methods is to possess one of the rats or the sleeping hound. You cannot attack the Torturer in this form, but you can easily position yourself behind him, so that, after you return o your human form, you can catch him off guard. Regardless of the adopted approach, try not to raise alarm or wake up the sleeping hound. You should aim at initiating a single direct surprise attack. After you eliminate the torturer, look around the area for gold, food, a rune and a letter (Dearie). Return now to the first floor to find a nearby book.
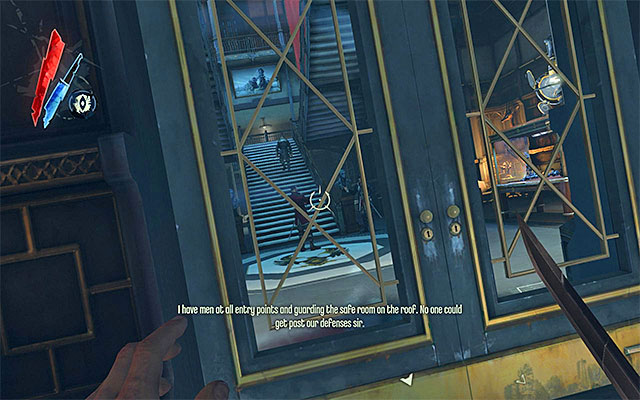
I suggest that you now explore the rooms located in the central part of the currently explored floor. Keep your eyes peeled after you near the room with the stairs to the second floor (the above screenshot). Wait again for the conversation that General Tobias is having and only then carry on with the exploration. Watch out for the nearby guards and pay attention for some valuables in cabinets. It is a good idea to return for these items only after you have secured the first and the second floor. Otherwise, the clatter of the smashed glass might alarm nearby guards. Still, you can collect two books right away.
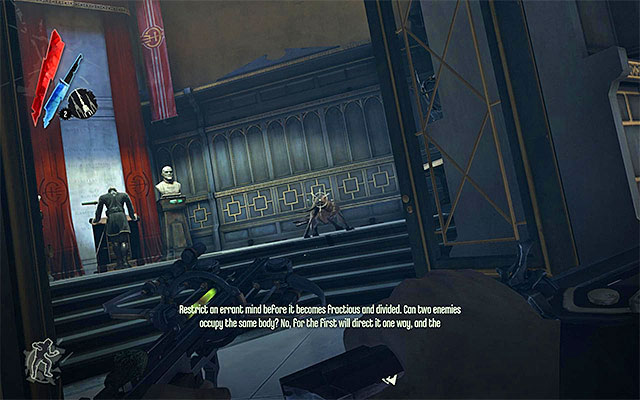
The big area in the western part of the first floor may be, actually, ignored because there is nothing interesting in here, and the spotlight over the area might make it difficult to remain in hiding. You can have a look into a small room in the north-western corner. At the same time, watch out for an overseer with a hound. If you manage to eliminate both of them, you will be rewarded with the opportunity to examine a book on the pedestal. The things that you will find here include gold, a grenade , a Piero's spiritual remedy and a note (Influences of the Outsider).
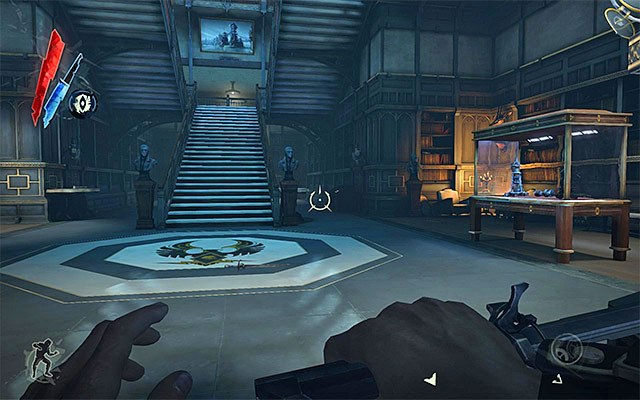
The easiest way to reach the Dunwall Tower second floor is via the stairs that General Tobias earlier stopped at (the above screenshot). What is interesting, you do not need to go all the way up the stairs, and you can stop on the landing, and use Blink to teleport over to the balcony in front of you.
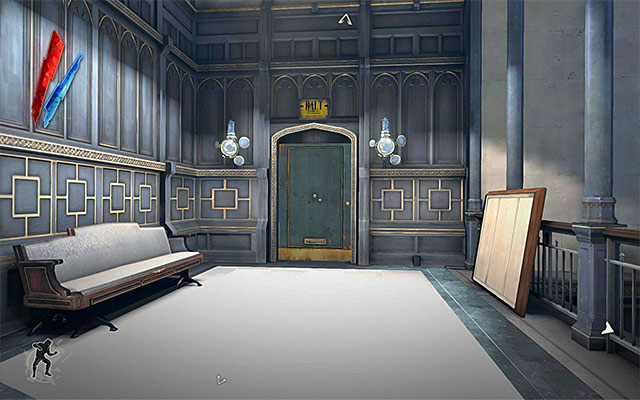
The best way to reach the second floor, if you want to remain hidden, is to go to the abovementioned, separate staircase located in the south-eastern part of the first floor. The staircase is behind the door that requires the Dunwall Tower skeleton key that you earlier collected from Esma Boyle's bedroom (the previous mission). After you unlock the door, you must remove the whale oil tank to disable the arc pylon above.
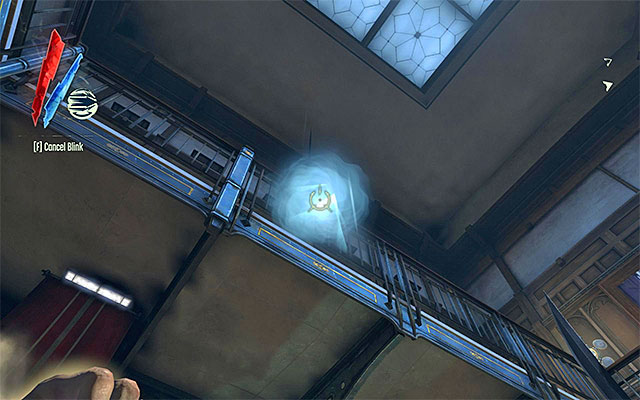
The last one of the suggested variants concerning reaching the second floor assumes that you go to the room in the north-western corner, described above, i.e. the one in which you encountered the guard with the hound. You can now use Blink (teleportation) to reach the above balcony (the above screenshot).
- Dishonored Game Guide
- Dishonored: Game Guide
- Dishonored: Mission 6 - Return to the Tower
- Dishonored: Mission plan
- Dishonored: Reaching the waterlock top level
- Dishonored: Reaching the Dunwall Tower
- Dishonored: Exploring the area around the Dunwall Tower
- Dishonored: Infiltrating the Dunwall Tower
- Dishonored: Exploring the Dunwall Tower Ground Floor
- Dishonored: Exploring the Dunwall Tower First Floor
- Dishonored: Exploring the Dunwall Tower Second Floor
- Dishonored: Exploring the Dunwall Tower Third Floor
- Dishonored: Infiltrating Lord Regent's chambers
- Dishonored: Choosing how to eliminate the Lord Regent
- Dishonored: Exploring Dunwall Tower's Roof
- Dishonored: Returning to Samuel
- Dishonored: Mission 6 - Return to the Tower
- Dishonored: Game Guide
You are not permitted to copy any image, text or info from this page. This site is not associated with and/or endorsed by the developers and the publishers. All logos and images are copyrighted by their respective owners.
Copyright © 2000 - 2026 Webedia Polska SA for gamepressure.com, unofficial game guides, walkthroughs, secrets, game tips, maps & strategies for top games.
