Dishonored: Deactivating the drawbridge spotlights

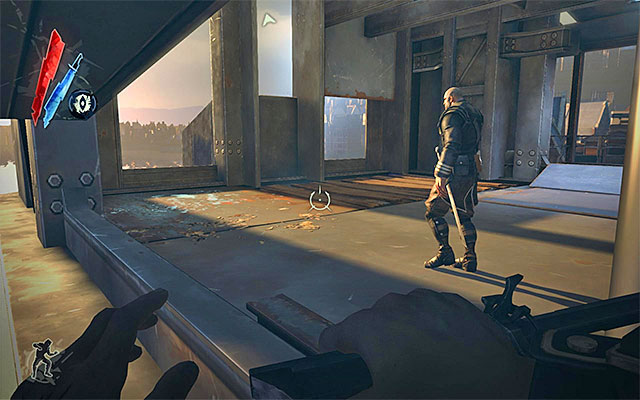
It's time to focus on the first one of the aims of the current quest. Generators, alongside with the spotlights, are located at the drawbridge's other end, on one of its higher levels. This means that if you've reached the other end by walking along one of the lower levels, you will now have to get higher. If so, be aware of the fact that you will meet another hostile officer on your way.

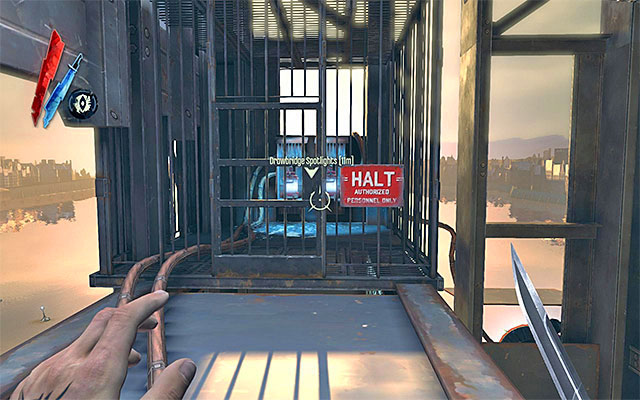
Your destination now, is the cage shown in the above screenshot. Open the door of the cage and remove the whale oil tanks from their slots. This will result in spotlights being deactivated, thanks to which, Samuel will be able to reach Sokolov's home.

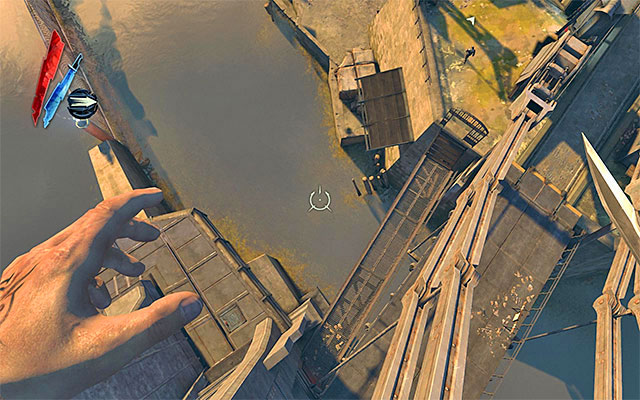
Another step to take is getting across to the other river bank. What's interesting, because you have gone around all of the barricades on the river, you can now jump into water (the above screenshot) and swim up to one of the ledges.

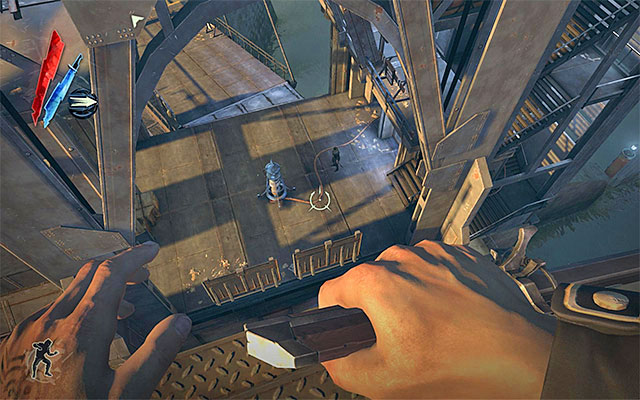
Just al well, you can make use of staircases or chains, and proceed this way towards the levels that are located below. In this case, you need to watch out for four guards and one more pylon (the above screenshot). Just like in the case of the previous pylons, also this one can be reprogrammed, shut down or you can go around it.
Note - if you intend to perform the side quest, connected with freeing the apprehended bandit, see now the subsection entitled Free Alec. If you prefer to focus entirely on the current mission, (abducting Sokolov) skip to the subsection entitled Get around the third outpost.
- Dishonored Game Guide
- Dishonored: Game Guide
- Dishonored: Mission 4 - The Royal Physician
- Dishonored: Mission plan
- Dishonored: Getting around the first outpost
- Dishonored: Getting around the second outpost
- Dishonored: Exploring Pratchett's apartment and the neighboring houses
- Dishonored: Reaching the drawbridge
- Dishonored: Reaching the other side of the drawbridge
- Dishonored: Deactivating the drawbridge spotlights
- Dishonored: Freeing Alec
- Dishonored: Getting around the third outpost
- Dishonored: Exploring the neighborhood of Sokolov's apartment
- Dishonored: Gaining access to Sokolov's apartment
- Dishonored: Exploring Sokolov's apartment
- Dishonored: Finding Sokolov
- Dishonored: Abducting Sokolov
- Dishonored: Mission 4 - The Royal Physician
- Dishonored: Game Guide
You are not permitted to copy any image, text or info from this page. This site is not associated with and/or endorsed by the developers and the publishers. All logos and images are copyrighted by their respective owners.
Copyright © 2000 - 2026 Webedia Polska SA for gamepressure.com, unofficial game guides, walkthroughs, secrets, game tips, maps & strategies for top games.
