Alpha Protocol The Espionage: Prevent Surkov's Escape
INTRODUCTION:
You can begin this mission only if you gained info on Surkov after defeating Brayko (the Assault Brayko's Mansion mission).
You can buy additional Intel for this mission (use the computer in the hideout and choose Clearinghouse). The available options are:
- An additional goal connected with intercepting some data. It's worth buying if you want to complete all the possible actions.
- The security system map. The fact it's so cheap is not coincidental, as it only shows the alarm control panels (the only camera found in Surkov's hideout will be disabled).
- Additional Intel on Surkov's men.
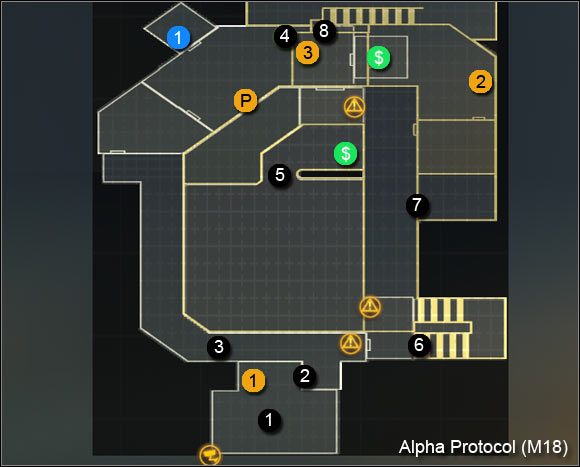
MAP:
GETTING TO THE NORHTERN PART OF THE HIDEOUT:
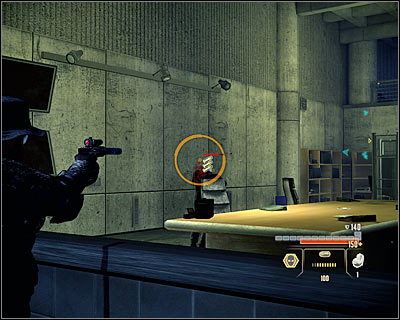
You will begin the mission in the southern part of the map (M18, 1). You can ignore the nearby camera, as it's disabled, however it's worth to break into the nearby computer (M18, 1), as this way you will gain Additional Intel on Championchik. Approach the only available door and break the security system (M18, 2). Carefully approach the main part of the hideout. If you don't mind being aggressive, you can attack the enemies from here (screen). Luckily raising an alarm won't bring any negative consequences in this case.
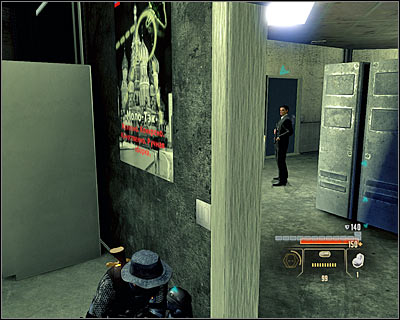
If you don't want to raise the alarm, go into the left corridor (M18, 3). Firstly you will have to eliminate one guard, with two a little further. Definitely take a look round the area - you will find the Featherweight Pistol Clip (pistol upgrade) among else (M18, 1).
SIDE MISSION - GAINING ADDITIONAL DATA:

The data can be obtained by breaking into the computer terminal located in the northern part of the hideout (M18, 4). Of course you should do it only after taking care of all the nearby enemies.
FINDING SURKOV:
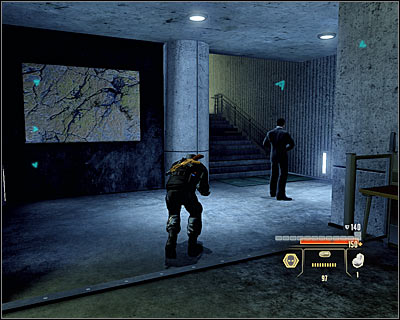
Once more approach the biggest room (M18, 5). You can act in two ways here as well - sneak or eliminate the enemies in direct combat. If you chose to stay silent, use the invisibility and firstly take care of the enemies on the upper balconies. Keep in mind that you don't need to kill all of them, you just need to get to the stairs leading onto the upper floor (screen) (M18, 6). After you get there, the game will automatically stop the action.
TALKING WITH SURKOV:
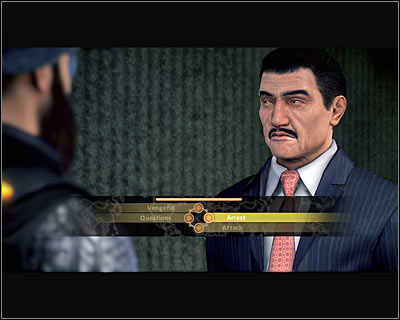
You will begin the conversation right after getting upstairs and it can end in two ways. If you choose to be professional or suave, Surkov will give you the data you need and the mission will end. If, on the other hand, you chose to be aggressive or to attack, you will have to fight Surkov's bodyguard - Championchik.
CHASING AFTER SURKOV:
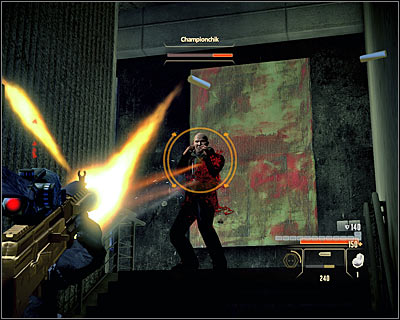
The fight with Championchik is luckily very easy. Chose a heavy weapon (an assault rifle or shotgun will work the best) and shoot the enemy from a safe distance, aiming at his head (screen). If Championchik rushes at you, start to run from him to the ground floor, while still shooting. He should die rather fast and once he does you will be able to return upstairs. Chose the passage leading through the side rooms (M18, 7) and eliminate single enemies on your way. You can break into a safe (M18, 2) to gain info on the Halbech organization and Konstantin Brayko, as well as into a computer terminal (M18, 3) which holds new data on SIE.
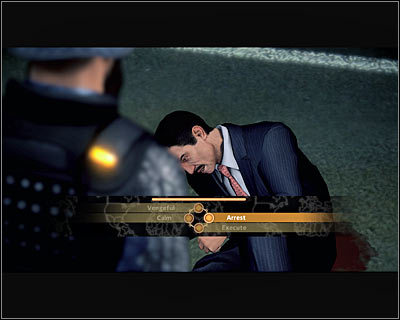
Use the northern building exit (M18, 8) and a cutscene with Surkov will automatically trigger. In this case you can chose between arresting him and completing the planned execution. After returning to the hideout, you can send the data found to one of three characters (only if you've chosen to chase after Surkov).
- Alpha Protocol: The Espionage RPG Game Guide & Walkthrough
- Alpha Protocol The Espionage: Walkthrough
- Alpha Protocol The Espionage: Walkthrough - Moscow
- Alpha Protocol The Espionage: Moscow - The hideout
- Alpha Protocol The Espionage: Assault Lazo's Yacht and Retrieve Data
- Alpha Protocol The Espionage: Contact Albatross
- Alpha Protocol The Espionage: Contact Grigori the Informant
- Alpha Protocol The Espionage: Investigate Weapon Shipments
- Alpha Protocol The Espionage: Intercept Surkov at US Embassy
- Alpha Protocol The Espionage: Contact Surkov at Moscow Office
- Alpha Protocol The Espionage: Assault Brayko's Mansion
- Alpha Protocol The Espionage: Prevent Surkov's Escape
- Alpha Protocol The Espionage: Walkthrough - Moscow
- Alpha Protocol The Espionage: Walkthrough
You are not permitted to copy any image, text or info from this page. This site is not associated with and/or endorsed by the developers and the publishers. All logos and images are copyrighted by their respective owners.
Copyright © 2000 - 2025 Webedia Polska SA for gamepressure.com, unofficial game guides, walkthroughs, secrets, game tips, maps & strategies for top games.
