Alpha Protocol The Espionage: Intercept Shaheed and Recover Missiles
INTRODUCTION:
You can begin this mission after completing two out of the three basic missions in Saudi Arabia. I'd definitely suggest completing all three of them, as you will gain more equipment and experience that way.
You can buy additional Intel for this mission (use the computer in the hideout and choose Clearinghouse), however not all may be available, depending on the choices made. The available options are:
- Additional supplies available during the mission (visible on the map as suitcases).
- A map of the area with cameras, computer system and control panels marked on it. It's definitely worth it.
MAP:
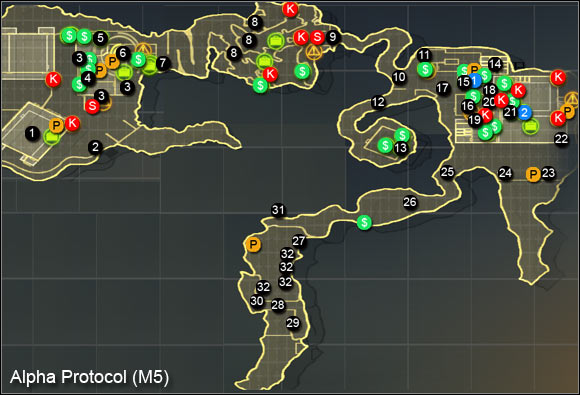
GETTING TO THE TOWER:
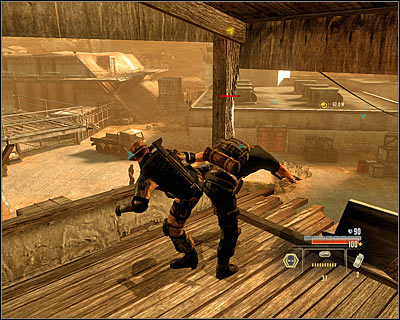
You begin the mission inside on the southern hangars (M5, 1) localized in the already examined part of the airfield. It's worth to mention that your previous actions could have lead to disabling two security cameras and the lack of elite soldiers among those protecting the tower. Go out through the south door. First of all, take care of securing the nearby sniper tower (M5, 2). Ride down the line to the side of the building if you don't want to fight the enemies. Otherwise just get down to deal with some standard guards and a machine gun post.
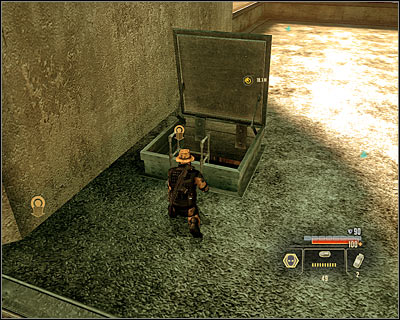
In this mission, you can get into the marked building in only three ways (M5, 3) - by using the main entrance, the secured side entrance or go up the ladder to the roof and reach a well-known hatch. The last option is by far the best, as it will allow you to surprise the enemies inside.
SIDE MISSION - TRANSFERRING THE DATA:
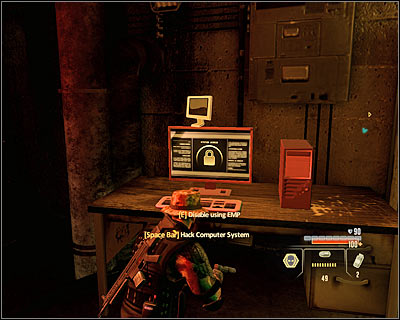
After getting inside the building, begin clearing the ground floor. You shouldn't have too much problems with it, as most of the enemies is just standing still. If you want to complete the SIDE MISSION, you have to head to the basement, find the activated computer (M5, 4) and hack into it by solving a mini-game or using an EMP charge.
FINDING THE ROCKETS:
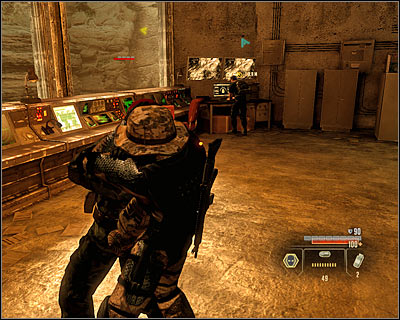
You have to get the info on the rockets' localization from the computer at the very top of the tower (M5, 5). Look out, as the staircase is being patrolled by a single enemy. Two more are being stationed upstairs, but you can take them by surprise easily. Once again you have to play a mini-game (or use an EMP charge).
PASSING THROUGH THE PLANE CEMETERY:
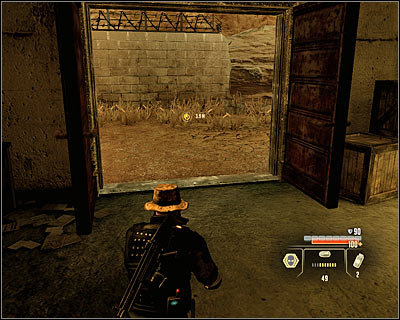
Now you can go down to the ground floor and use the newly opened northern building exit (M5, 6). After a while you should reach a closed gate. Open it using the nearby lever (M5, 7), which will allow you to get near the cemetery. Go down and take a look at the area, especially the enemy patrols. There are three possible paths (M5, 8):
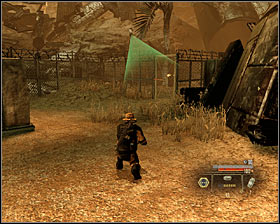 | I wouldn't advise taking the left path, unless you have the possibility to use an EMP to quickly open the gate. |
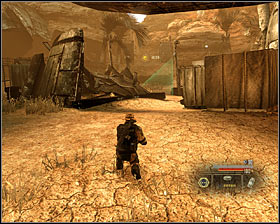 | The middle one will lead you to the target the fastest, but is heavily patrolled, so you will have to deal with the enemies. |
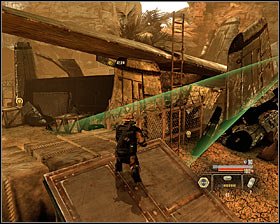 | Choosing the right path will allow you to jump over a small fence and getting to the plane's wing. Here you can wait for the camera to turn, go up the ladder and then head right. |
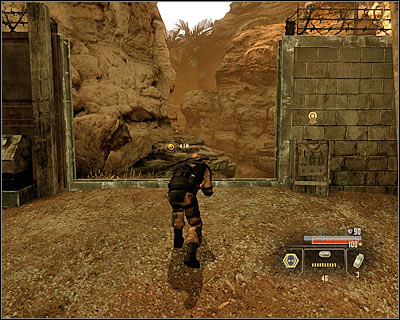
Whichever path you choose, your task is to get the gate leading to the next location (M5, 9). If an alarm gets activated in the meanwhile, you will have look out for a machine gun post and enemies appearing from the small building and open the gate manually. Normally it will be opened, so go through it. You will receive new directives once near the fork (M5, 10) localized nearby the enemy's main camp.
SOLVING THE PROBLEM OF THE LOCKED GATE:
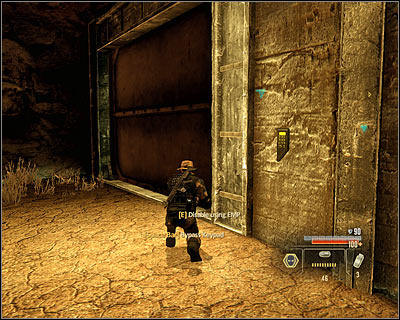
You can solve the locked gate problem in two ways. If you want to quickly get to the mission's goal, you should break into the left warehouse (M5, 11). As for further instructions, head over to the Entering the enemy camp section.
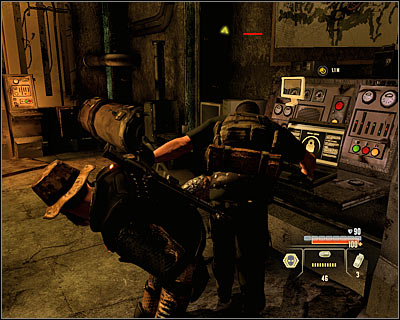
I'd definitely suggest the right path (M5, 12), eliminating one guard on your way. The good point of this way is that you will be able to collect every secret and eventually return to the left warehouse mentioned above. You have to get to a small hut. Go inside and get rid of two guards (you can do it silently). Afterwards break into the computer marked by the game (M5, 13), thanks to which you will open the main gate. You can return to the fork (M5, 10).
ENTERING THE ENEMY CAMP:
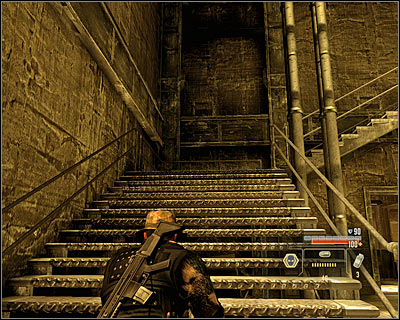
You will be able to choose from two paths once again. This time the better way is to go into the left warehouse (M5, 11), thanks to which you won't miss any important secrets. After getting inside, silently get rid of the two guards and then go up the stairs (M5, 14).
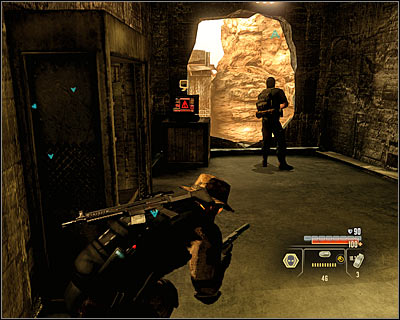
After going up the stairs, you will reach two observation point (M5, 15). Silently eliminate the two guards. You can also use the silenced sniper rifle by the left window, hack into the computer in order to sabotage the generators in the distance and take the Arm Guards (armour upgrade) (M5, 1). In the end go down the line and you will land on a roof of a small building (M5, 16).
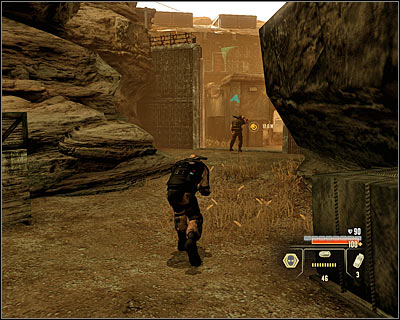
If you want to quickly get to the target, you shouldn't go into the left warehouse, but approach the main gate leading to the camp (M5, 17). The gate will be guarded by a single enemy, but you can wait until he turns back so you will be able to easily eliminate him. Use this chance to kill the other guards patrolling the area. It would be best if you didn't activate the alarm while doing it (also keep an eye on the cameras!), however you can turn it off with the control panel inside the small (M5, 16).
FINDING THE ROCKETS:
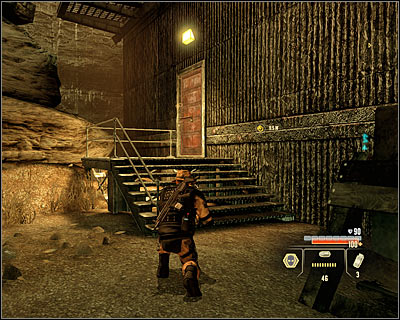
It's the first time you can choose between two ways of getting to the target. If you don't care about finding all the interactive items, it would be better to choose the northern entrance to the next warehouse (M5, 18), as you will only have to avoid one camera (and pick a lock while at it).
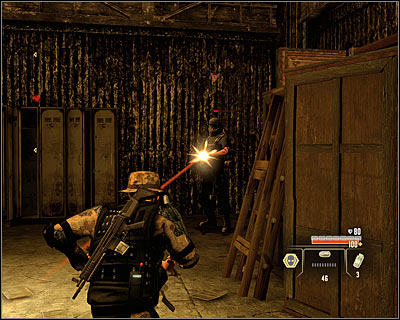
If, on the other hand, you want to collect all the interactive items, you should head to the southern entrance (M5, 19) and ready some heavy firearms. Once inside, you will have to eliminate at least three enemies. Take a look around the area and use the stairs to get to the upper balconies. Afterwards head to the entrance located below one of the cameras (M5, 20).
DISABLING THE SECURITY SYSTEMS:
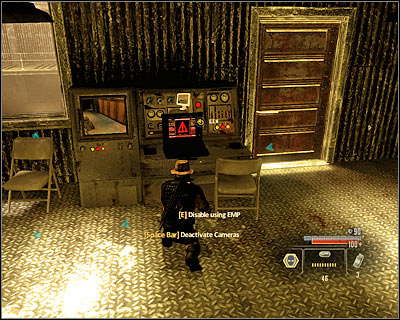
Ultimately you have to reach a small control room on the upper floor and interact with the computer (M5, 21). If you have chosen the northern entrance to the warehouse (M5, 18), you will have to use the ladder in order to get onto the balconies. On the other hand if you have chosen the southern entrance (M5, 20) you will find yourself in the very room you have to reach, so you'll reach the target easier. I'd suggest disabling the security systems before you start to fight with the enemies in the warehouse, as thanks to this all the nearby cameras will be disabled.
LEAVING THE WAREHOUSE:
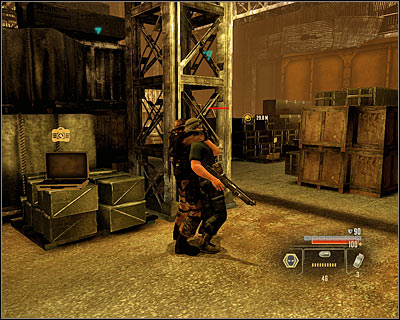
In order to leave the warehouse, you have to reach the door localized in one of the southern corners (M5, 22) and hack the security. Of course it won't be easy, as there are some enemies in the area. I'd suggest firstly taking care of the guard patrolling the upper balconies first and afterwards the ones below. Silent executions are also possible, if only you stay careful. Take the chance and take a look around the interior of the warehouse and you will find, among other, the SMG Recoil Springs (SMG upgrade) (M5, 2).
GETTING TO THE BRIDGE:
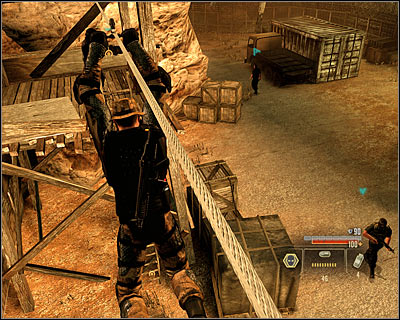
After watching a short cutscene, you get to business. I'd suggest to the top of the closer sniper tower (M5, 23) and quickly eliminating the machine gun operator. Note that you can ride down the line to the next sniper tower (M5, 24) in order to eliminate the second machine gun operator. You can get rid of enemies below using the using the machine gun or in any other way. Ultimately your goal is to get to the nearby fence (M5, 25).
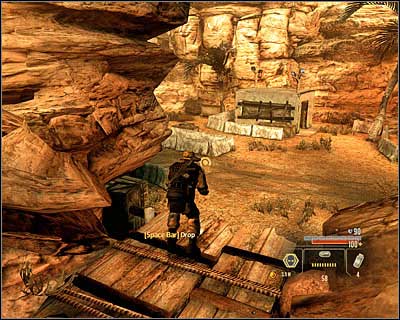
Go along the only possible path. On your way you will come across at least three enemies (M5, 26). It would be best to take care of the guard standing above first and then get rid of his friends. Eventually you will reach a bridge (M5, 27). Once there, jump down onto the lower ledge.
ELIMINATING THE LIEUTENANT (+OPTIONALLY AVOIDING DETECTION):
Before you is definitely the hardest part of the mission. You can solve the problem of the lieutenant (M5, 28) in two ways:
1) Fighting the boss - If you do intend to fight the lieutenant, he will act as a boss. You have to drain the health bar visible on the screen. Don't bother once he tells you that he can warn the incoming convoy, as it won't change much.
2) Staying in the shadows - It's definitely the harder option, as the lieutenant can notice you from faraway and there's only one path leading to him. However if you do manage to sneak up to him, you won't have to fight.
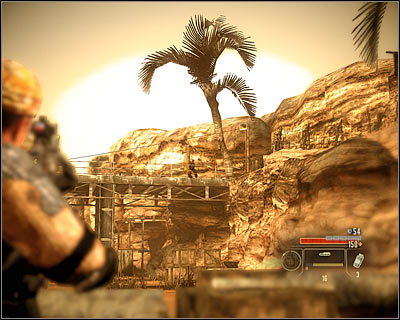
Fighting the boss: If you want to fight, begin with eliminating his closest guard (he will leave behind a random expensive item). Afterwards hide behind a good cover and begin attacking the boss. You have to stay cautious, as he uses a sniper rifle with a scope and a laser sight. I'd suggest using an assault rifle with a scope.
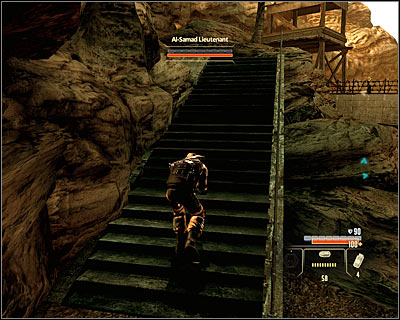
If you don't have a good rifle, you will have to decrease the distance between the two of you, so eliminate the two other enemies left and continue getting closer to the bridge. Use the stairs (M5, 29) and get up. Hide behind a good cover and finish the fight; use grenades to your advantage.
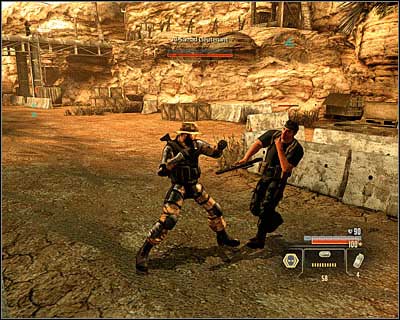
Staying in the shadows: Begin with hiding by the closest cover. Wit for the first guard to appear and silently eliminate him in close combat. Note that he left behind a valuable item (random).
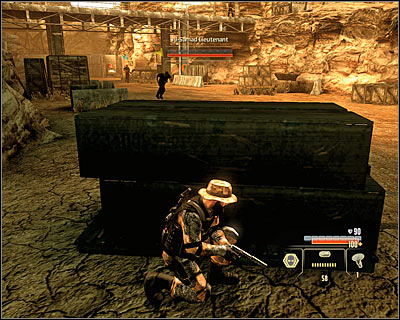
Duck behind the crates and use the sound emitter from as far as possible in order to lure him. Wait for him and eliminate him silently. Turn on invisibility if you can so you don't have to risk too much.
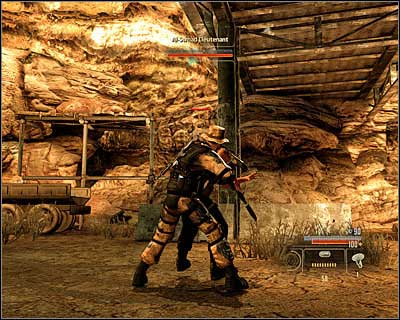
Make sure that you weren't noticed by the boss, wait for him to start moving to the side and head towards the bridge then. Once again hide near this construction. Wait for the boss and the last guard to start moving in opposite directions and get rid of the guard. For safety, try to eliminate him while under the bridge, so that the boss doesn't notice his body.
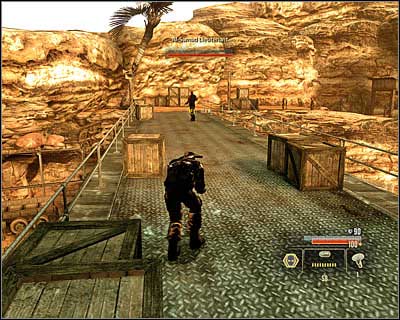
Slowly approach the path leading up (M5, 29). Wait for the boss to start moving in the opposite direction and climb up. Move towards the bridge and then approach the boss himself (M5, 28) to initiate an execution scene. In reward for silently eliminating him, you will be awarded with his gun, the Gold-Plated AR.
DESTROYING THE STRYKER:
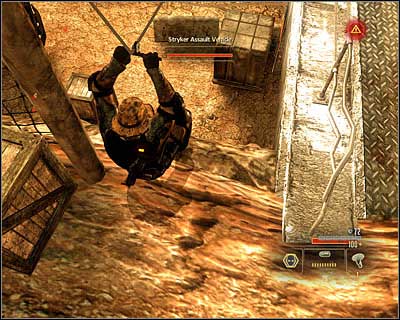
Regardless of which method you've chosen, you will begin to the left side of the bridge (M5, 30) and under heavy fire. Quickly hide, pick up the ammo and then ride down the line. I'd suggest staying here until the enemy soldiers to approach and taking care of them then. As for the sniper visible in the distance, you can pretty much ignore him.
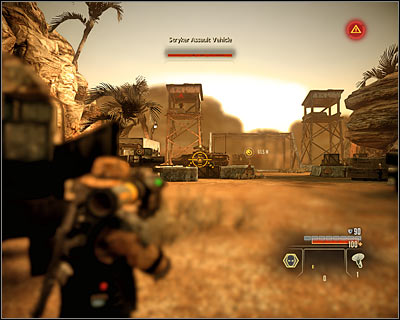
Your goal is to destroy the armoured vehicle (M5, 31); in order to do it, you have to get to the rocket launchers (M5, 32) scattered throughout the area. You have to hit the three times and find another launcher after every shot. Sprint often and you won't be that much of an easy target.
INTERROGATING SHAHEED:
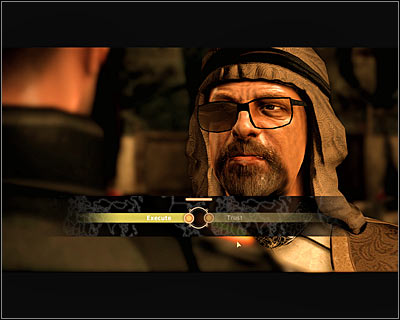
After you destroy the Stryker, there will be a conversation with Leland (choices made don't play a major role here) and afterwards the interrogation will begin. If you want to get more out of him, choose the aggressive or suave option. Also do note that you can execute him at any time during the interrogation (more on this below). In a moment you will be able to make a choice about Shaheed's faith (screen). You can:
1) Take his PDA and throw him off the bridge (Execute). It's the best option for the professional.
2) Trust Shaheed and let him live (Trust). The good point of this option is that he can contact you in the future.
Notice! This decision has an influence on the ending of the game. It would be good to keep Shaheed alive if you don't want to block one of the endings.
- Alpha Protocol: The Espionage RPG Game Guide & Walkthrough
- Alpha Protocol The Espionage: Walkthrough
- Alpha Protocol The Espionage: Walkthrough - Saudi Arabia
- Alpha Protocol The Espionage: Saudi Arabia - The hideout
- Alpha Protocol The Espionage: Bug Al-Samad Airfield
- Alpha Protocol The Espionage: Investigate Jizan Weapon Stockpile
- Alpha Protocol The Espionage: Intercept Nasri the Arms Dealer
- Alpha Protocol The Espionage: Intercept Shaheed and Recover Missiles
- Alpha Protocol The Espionage: The end of the Saudi Arabia campaign
- Alpha Protocol The Espionage: Walkthrough - Saudi Arabia
- Alpha Protocol The Espionage: Walkthrough
You are not permitted to copy any image, text or info from this page. This site is not associated with and/or endorsed by the developers and the publishers. All logos and images are copyrighted by their respective owners.
Copyright © 2000 - 2025 Webedia Polska SA for gamepressure.com, unofficial game guides, walkthroughs, secrets, game tips, maps & strategies for top games.
