Alpha Protocol The Espionage: Investigate Warehouse District Data Trail
INTRODUCTION:
You can buy additional Intel for this mission (use the computer in the hideout and choose Clearinghouse). The available options are:
- Help in breaking into the computer systems. The bright side of this option is lowering the time needed to do it. It's not really useful, especially if you like to explore thoroughly.
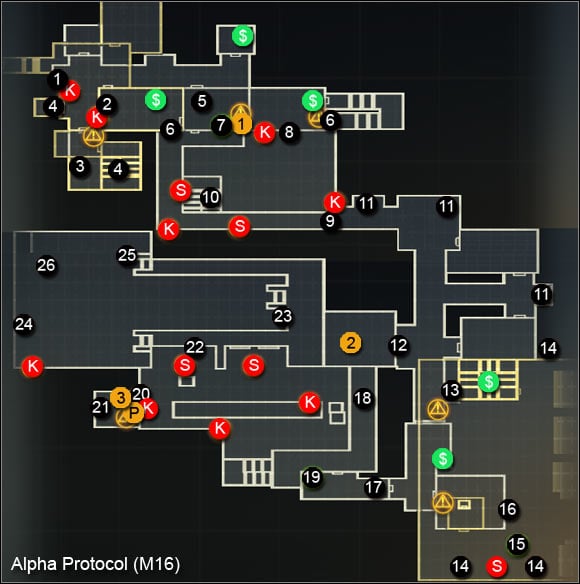
- A map with security system marked on it. It's well worth it, especially that you won't be able to disable all the cameras inside the warehouse.
- Reprogramming the turrets. It's an interesting option, but you will find computer terminal which will allow you to do the same.
MAP:
GETTING TO THE LOWER LEVEL:
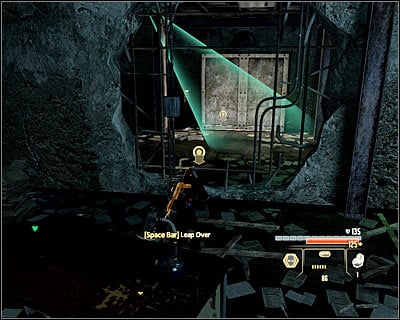
You begin the mission in a rather dangerous place (M16, 1), nearby two security cameras and a guard. If you don't mind the alarm, you can pretty much kill the guard and destroy or ignore the cameras. Otherwise kill the enemy as he stands between the cameras and afterwards go to the eastern room. From this spot (screen) (M16, 2) you will be able to jump to the other side, thanks to which you will avoid the first camera.
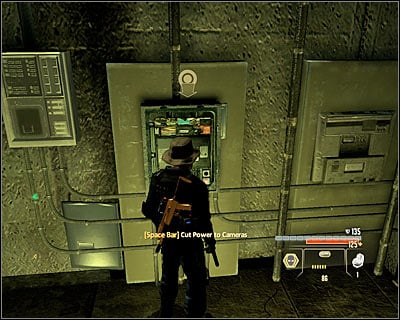
Head left, while avoiding the second camera. In the southern room there's an alarm switch and a computer terminal (M16, 3), thanks to which you can disable both cameras (unfortunately it doesn't affect the other parts of the warehouse). If you've started an alarm, you will have to use the staircase (M16, 4). Otherwise approach the elevator (M16, 4) and use the panel.
LOCATE THE POWER SOURCE:
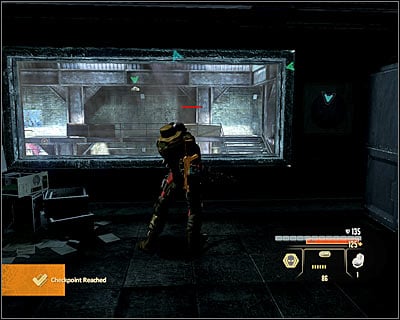
After getting to the spot, eliminate the single guard patrolling the nearby corridor. Afterward go into the southern room (M16, 5) while another enemy is inside. Get rid of him and approach the glass wall to complete this goal.
HACK INTO THREE SERVERS:
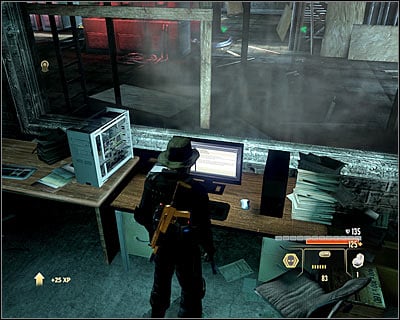
Firstly you have to reach another big part of the warehouse and to do that you can either use the stairs and break in through the door on this floor (M16, 6). I wouldn't suggest the second option if you haven't bought the turret reprogramming option. In such case, you should go down the stairs and find a computer terminal, which will allow you to do this (M16, 7). On your way you of course have to look for enemies and cameras.
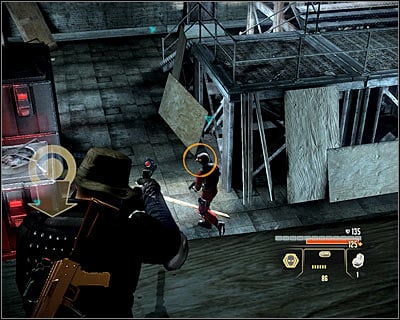
You should take care of eliminating the other enemies only after taking care of the turrets. If you don't mind being aggressive, you can begin the fight at once. However you have to know that it may cause additional enemies to show up in the area. If you want to stay hidden, it would be best to return to the mentioned door upstairs (M16, 6) and conduct fire from there. Leave the guard patrolling the opposite balcony for the end.
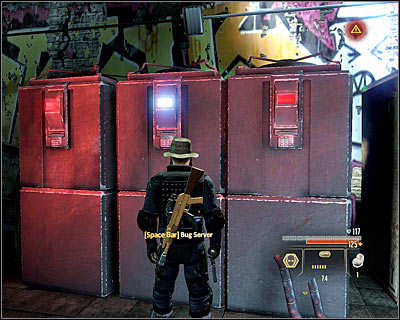
After securing the area, begin the exploration. On the ground level you can find a suitcase with Intel on Sis (M16, 1). As for the servers, which are the main goal of this mission, you can find in different parts of the room (M16, 8). Depending on whether you bought the help of the local hacker or not, you may have to hack into just one system or all three. Keep an eye on the active cameras all the time.
GETTING TO THE FURTHER PART OF THE WAREHOUSE:
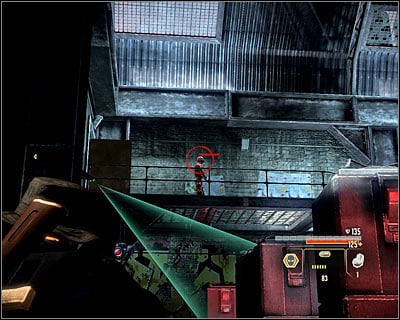
As you hack into the required amount of computer systems, a new guard will appear at the upper balcony (M16, 9). Eliminate him from a distance and using a silenced weapon (screen). Now you need to get to the door through which he came in. If you don't want to start an alarm, use the stairs (M16, 10), which will allow you to avoid the last camera.
HACKING THREE MORE SERVERS:
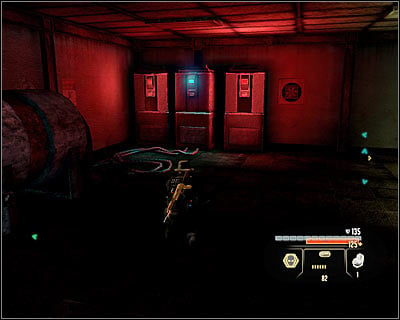
You shouldn't have much problems with finding the other three server (M16, 11). You will come across the first one right after going through the door and the other two during the exploration of the nearby corridors and rooms. Look out for the two guards patrolling this part of the warehouse. Additionally you can enter the western room (M16, 12), get rid of the third guard and take the acts with more Intel on Scarlet Lake (M16, 2).
GETTING TO THE JAMMING DEVICE:
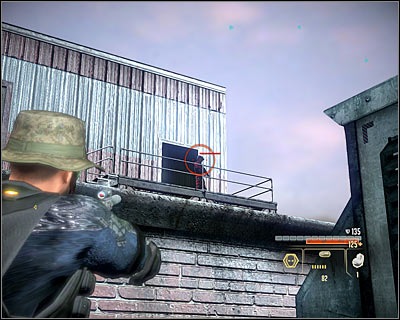
You need to get onto the warehouse's roof, so locate the passage leading to the staircase (M16, 13). Once you're on top, above you will have to look out for the enemies on the higher sections of the roof to the south and north of this spot (M16, 14). Raising an alarm is especially not suggested in the second case, as the enemies could use the stationary machine gun.
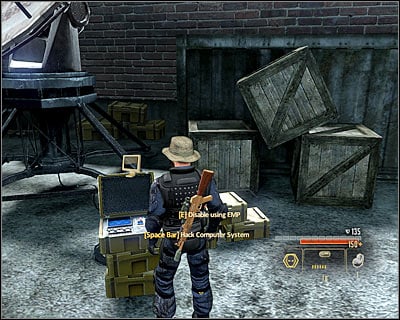
Apart from the enemies mentioned above, two more will be patrolling the section of the roof you're actually on. Try to eliminate them without raising an alarm, but it's of course not required. Make sure that you've secured the area and head to the jamming device (M16, 15). You can disable it by solving a mini-game or an EMP.
GETTING OUT OF THE WAREHOUSE:
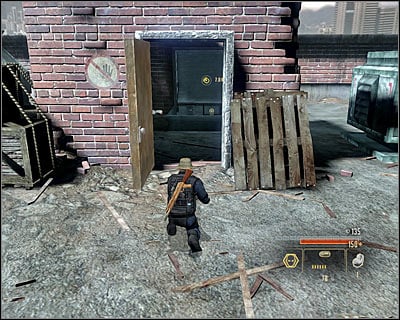
Look out, as a single enemy will appear. Hide behind the crates and wait for him to appear, unless you don't want to eliminate silently. Use the newly unlocked passage (M16, 16). After you get inside, go down the ladder, check out the area and use the nearby door to get near the next big room (M16, 17).
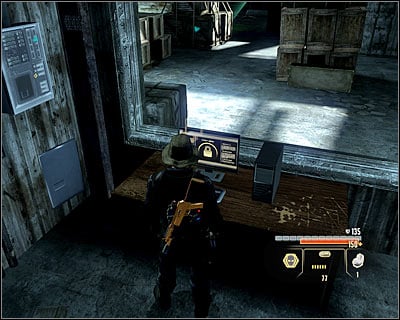
Begin with eliminating the closest guard. There are two turrets in the area and if you haven't bought the reprogramming before the mission, your main priority should be disabling them. In order to do this, use the ladder (M16, 18) to go down and then move to the southern control room, where you will find a computer (M16, 19). Successful hacking will take care of the problem.
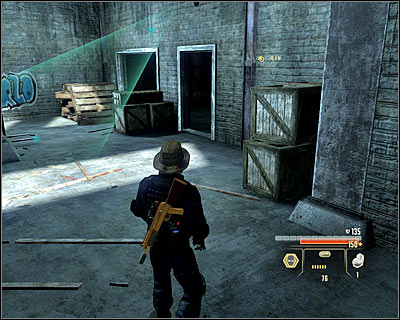
If the turrets are by default "on your side", you can begin eliminating the enemies here at once, the upper balcony would be the best place to do it from. Of course make sure that their bodies aren't found by the other enemies of the security cameras. Your goal is to get to the second control room (M16, 20). Look out, as there's a camera above the entrance. Inside you will find some Intel on the Halbech organization (M16, 3) and a switch (M16, 21) which will unlock the warehouse's door.
EVACUATION:
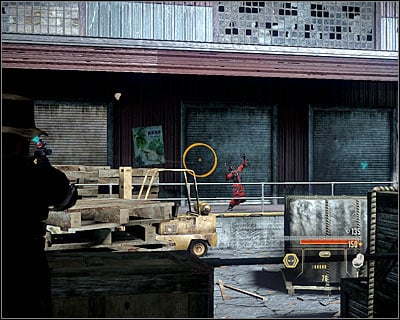
Head towards the newly unlocked warehouse exit (M16, 22). You have to be very cautious here, as the area is being patrolled by enemies and if you haven't disabled the alarm until now, there's going to lots more of them. If you don't mind brute force, make use of the grenades found in one of the containers (M16, 23). If on the other hand you want to stay hidden, you skillfully eliminate the enemies, while making sure that their bodies aren't found by the others.
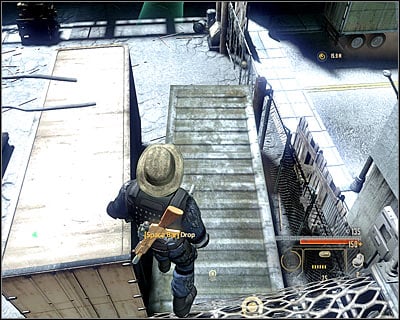
You can end this mission in two ways. If you won't want to waste time, hack the control panel located nearby one of the cameras (M16, 24). This will cause the main gate to open and most probably cause an alarm. If you prefer to say hidden, locate the ladder (M16, 25) and get to the upper balconies. Afterwards jump down onto the container (screen) (M16, 26) and jump over the fence.
CONVERSATION WITH ALBATROSS:
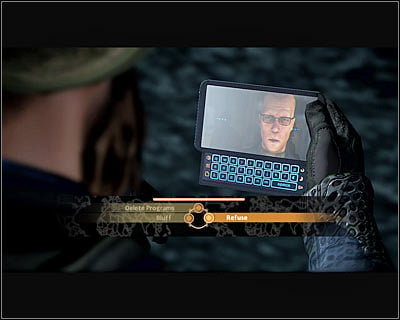
The conversation will begin right after you get out of the warehouse area. If you've already been to Moscow and killed Sis, you can angry him by mentioning it. The most important part of the conversation will be making the choice about the planted bugs (screen) - you can either (Refuse) to remove them, lie that there's just five of them, instead of six (Bluff) or accept Albatross' proposition (Delete Programs). You will improve you relations by choosing the last two options. After the mission, it's worth to check the mailbox and send the Intel collected on Halbech to one of three different persons.
- Alpha Protocol: The Espionage RPG Game Guide & Walkthrough
- Alpha Protocol The Espionage: Walkthrough
- Alpha Protocol The Espionage: Walkthrough - Taipei
- Alpha Protocol The Espionage: Taipei - The hideout
- Alpha Protocol The Espionage: Contact Hong Shi
- Alpha Protocol The Espionage: Assault Triad Headquarters in Slums
- Alpha Protocol The Espionage: Investigate Warehouse District Data Trail
- Alpha Protocol The Espionage: Contact Steven Heck
- Alpha Protocol The Espionage: Retrieve NSB Data from Grand Hotel
- Alpha Protocol The Espionage: Intercept Assassination Plans
- Alpha Protocol The Espionage: Contact President Sung
- Alpha Protocol The Espionage: Stop Omen Deng at Memorial Rally
- Alpha Protocol The Espionage: Walkthrough - Taipei
- Alpha Protocol The Espionage: Walkthrough
You are not permitted to copy any image, text or info from this page. This site is not associated with and/or endorsed by the developers and the publishers. All logos and images are copyrighted by their respective owners.
Copyright © 2000 - 2025 Webedia Polska SA for gamepressure.com, unofficial game guides, walkthroughs, secrets, game tips, maps & strategies for top games.
