Alpha Protocol The Espionage: Assault Brayko's Mansion
INTRODUCTION:
You can start this mission only after meeting with Surkov (the Contact Surkov at Moscow Office mission).
You can buy additional Intel for this mission (use the computer in the hideout and choose Clearinghouse). The available options are:
- Additional Intel on Konstantin Brayko.
- Additional Intel on the Russian Mafia.
- A map with security system marked on it. It's not very useful, as it only contains the localization of a single machine gun and some control panels.
- If you've been to Taipei, Steven Heck can deliver a big amount of polluted cocaine to the mansion. I don't suggest buying this, as it costs a whooping 10000 dollars (or little more than 6000, if you've got a discount on Hack's products).
Don't forget to take w good weapon (a shotgun or assault rifle), as there's a quite difficult fight by the end of the.
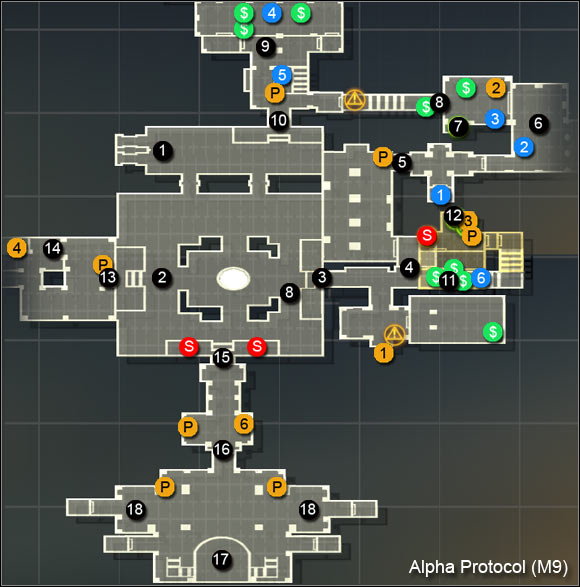
MAP:
GETTING TO THE MANSION'S MAIN SQUARE:
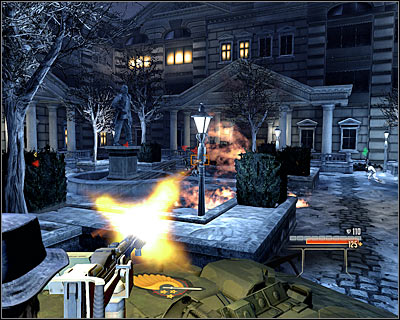
You begin the mission at the northern part of the mansion (M9, 1), onboard an armoured vehicle. You can't control the vehicle itself, so focus on shooting the enemies appearing on the way. You will eventually stop at the (M9, 2), but fortunately you will have quite some time to eliminate the nearby enemies before your character gets out. Stay cautious, as new enemies are ought to come. You can either avoid or eliminate them (for example using the southern machine gun posts). Ultimately you have to reach the mansion's main door (M9, 3) and hack the security system to get inside.
EXPLORING THE MANSION:
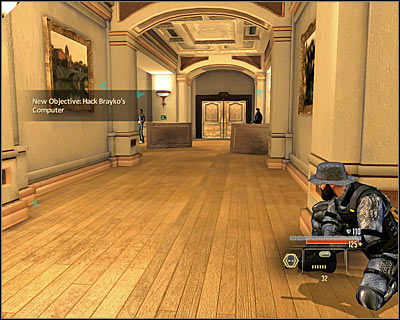
After entering the mansion, you will have to decide if you want to focus on finding connections with Halbech or on Konstantin Brayko; the choice won't have too much of an influence. You can take the chance and take a look round the southern rooms, where you will find, among else, a safe with Intel on Surkov (M9, 1). In the other case, immediately head to the entrance to a sort of an arcade room (M9, 4). Get some heavy weapon ready.
SURVIVING THE AMBUSH:
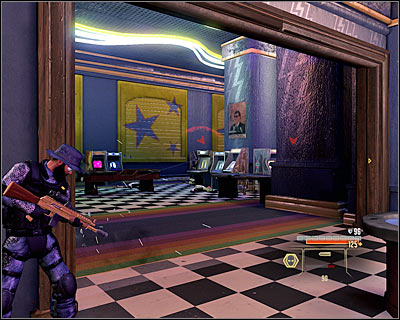
The door will lock itself right after you enter and that means you've fallen into a trap. Use your weapon to eliminate the guards appearing in the distance. Remember not to stay in one spot for too long, as they will throw grenades at you. Ultimately you have to reach the opposite (M9, 5).
HACKING INTO BRAYKO'S COMPUTER:
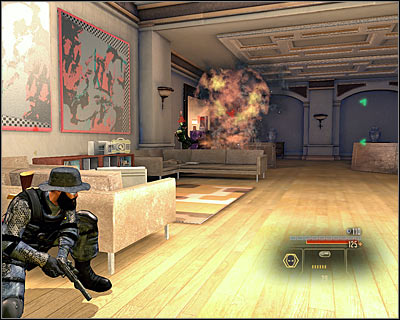
I'd suggest beginning the exploration of the new part of the mansion with checking out the small room in the south, in which you will find Extended SMG Clips (SMG upgrade) (M9, 1). In the next big room (M9, 6) you will participate in a fight between the friendly units and Brayko's bodyguards. Help yourself with grenades and don't take any risks. Afterwards take a look around for secrets, with the Assault Rifle Linear Compensator (assault rifle upgrade) among them (M9, 2).
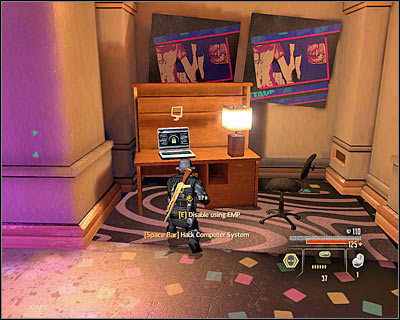
You will find more valuable items in the adjacent bedroom, for example the Printed Circuitry (armour upgrade) (M9, 3) and a box containing info about the Halbech organization (M9, 2). You don't need to kill or knock out the dancer in this room. Instead hack into Brayko's computer, found in the corner of the bedroom (M9, 7).
GETTING OUT OF THE BUILDING:
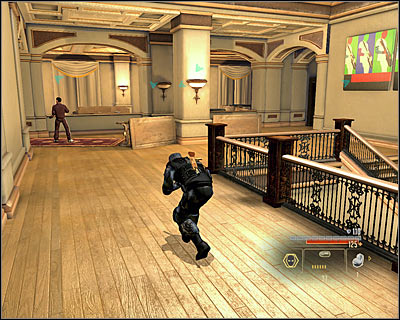
Now you need to get to the main square (M9, 2), but you of course can't follow the same path as before. Instead use the newly opened west passage (M9, 8). After a while you will reach a small (M9, 9). Begin with eliminating the guards on the upper floor and then take care of those below. Use this chance to get two new secrets - the Shock Pads (armour upgrade) (M9, 4) and the Full Choke (shotgun upgrade) (M9, 5). Now you can use the southern door (M9, 10).
COMPLETING ONE OF THE TWO SIDE MISSIONS:
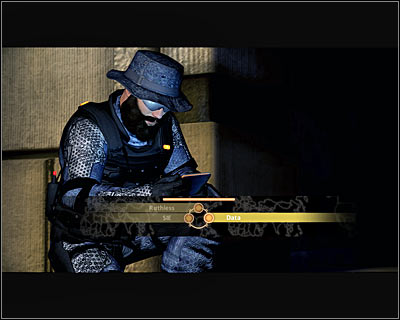
After you get out of the building, you will be contacted by Mina, informing you of the possibility to choose an additional goal (screen). You can:
1) Focus on getting to the data (Data or Ruthless)
or
2) Focus on saving SIE, who's being held captive by Brayko
Regardless of the chosen option, begin with getting rid of the new enemies who will appear on the main square (M9, 2).
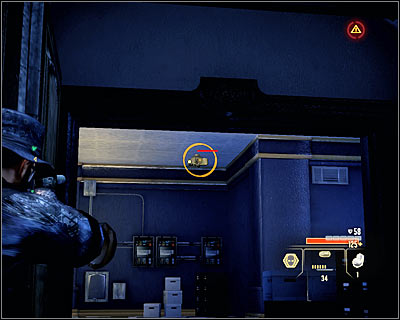
Getting to the data: Once more use the mansion's main entrance (M9, 3). Look out, as new enemies with whom you will have to deal have showed up inside in the mean time. After securing the area head towards the newly unlocked vault entrance (M9, 11) and go down the stairs. Look out for the tower inside the vault (by the ceiling), which you should destroy while shooting from a cover.
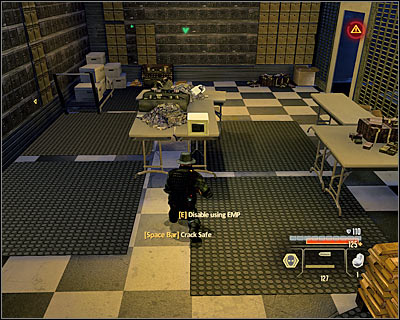
Take a look round the area. Hacking into the computer on the right (M9, 3) will give you new info on Championchik, while breaking into the main computer (M9, 12) will open the vault. Take all the items from inside, including the cash from the safe (screen) and the SMG Recoil Nullifier (SMG upgrade) (M9, 6). Look out, as once you get out of the vault some new guards will show up, which you of course will have to get rid of.
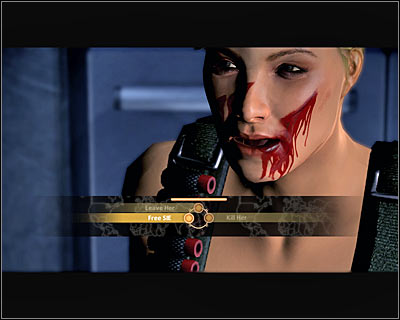
Saving SIE: Head to the previously inaccessible entrance to the guest house (M9, 13). Inside there will be four guards, who it would be good to eliminate without using grenades. After you secure the area, a cutscene with SIE will automatically pop up (M9, 14) - you can save her (Free), kill (Kill) or leave her be (Leave). Take the briefcase with new info on Brayko before leaving this location (M9, 4).
GETTING TO BRAYKO'S HIDEOUT:
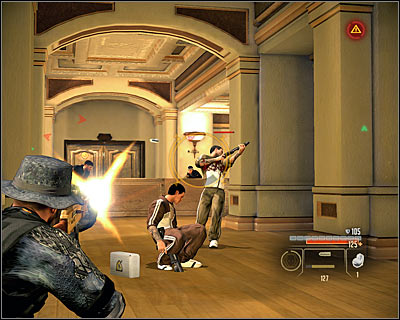
You now need to head to the entrance to the newly unlocked southern part of the mansion (M9, 15). The adjacent corridor will be quite heavily defended. Use incendiary grenades on them, you will come across similar items soon enough. Use the chance to take the briefcase with info on Brayko (M9, 5) and patch up your character. Enter the last room of the mansion (M9, 16). After a quite interesting intro and a short conversation, you will begin a "rock" fight with Brayko.
THE FIGHT WITH BRAYKO:
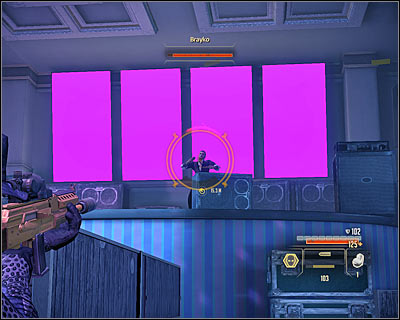
The fight is divided into two basic phases, with the first being definitely easier and shorter. Hide behind any available cover and begin attacking the boss, who will be probably hiding somewhere around the main scene (M9, 17). Just like in the previous fights, you first need to get rid of Brayko's armour; luckily it will be regenerating quite slowly. After you take around 1/6 if his health and short cutscene will occur and the second phase of the battle will begin.
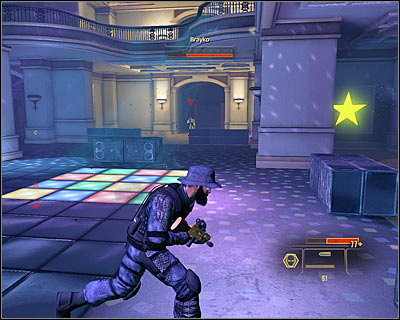
The second phase consists of three parts, which will continuously keep on repeating one after another. The first part will look just like before, so just shoot the boss. Afterwards it will be enriched with enemies appearing on the sides of the room (M9, 18). You have to get rid of them rather fast. Use incendiary grenades, as you can find more of them on the main scene.
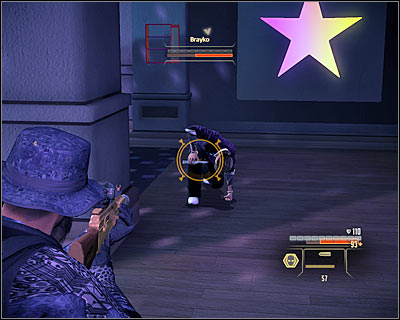
In the second phase Brayko starts to madly attack you after he takes some drugs. You have to run from him, because once he gets to you he will start using his knife, which will rapidly drain your armour and health. Continue avoiding him until he gets tired and kneels down. QUICKLY attack him, as it's the part when you can deal the most damage.
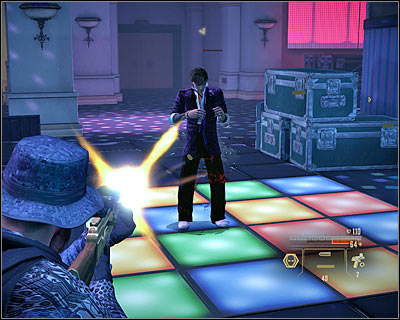
During the part the boss will run onto the upper balconies and attack from there. Some normal enemies can appear as well. Generally if you don't have a good long-range weapon, just wait behind a cover until this part ends, hoping for some armour regeneration. You have to keep on attacking the boss until he loses his whole health bar. First aid points and weapons found on the sides of the room will surely help go get through the fight.
INTERROGATING BRAYKO:
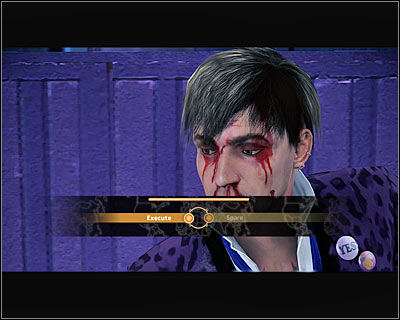
During the last cutscene involving Brayko, it's worth to make him give you some information on the Helbech organization, thanks to which you will learn about Surkov's potential betrayal and activate the Prevent Surkov's Escape mission. As a reward, you will also gain Brayko's SMGs. The last important decision is deciding Brayko's faith (screen). You can either spare him (you will gain 75000 dollars this way) or execute him (you could have done it from the beginning, but this way you'd lose the chance to gain the valuable information). After the mission ends, you will see the further part of the conversation with Leland and will also learn about Surkov's bodyguards and the fictional Molotek corporation from Mina.
- Alpha Protocol: The Espionage RPG Game Guide & Walkthrough
- Alpha Protocol The Espionage: Walkthrough
- Alpha Protocol The Espionage: Walkthrough - Moscow
- Alpha Protocol The Espionage: Moscow - The hideout
- Alpha Protocol The Espionage: Assault Lazo's Yacht and Retrieve Data
- Alpha Protocol The Espionage: Contact Albatross
- Alpha Protocol The Espionage: Contact Grigori the Informant
- Alpha Protocol The Espionage: Investigate Weapon Shipments
- Alpha Protocol The Espionage: Intercept Surkov at US Embassy
- Alpha Protocol The Espionage: Contact Surkov at Moscow Office
- Alpha Protocol The Espionage: Assault Brayko's Mansion
- Alpha Protocol The Espionage: Prevent Surkov's Escape
- Alpha Protocol The Espionage: Walkthrough - Moscow
- Alpha Protocol The Espionage: Walkthrough
You are not permitted to copy any image, text or info from this page. This site is not associated with and/or endorsed by the developers and the publishers. All logos and images are copyrighted by their respective owners.
Copyright © 2000 - 2025 Webedia Polska SA for gamepressure.com, unofficial game guides, walkthroughs, secrets, game tips, maps & strategies for top games.
