Alpha Protocol The Espionage: Investigate Ruins Transmission
INTRODUCTION:
You can buy additional Intel for this mission (use the computer in the hideout and choose Clearinghouse). The available options are:
- Info on the weapons depots' localization. This option will be available only if you've chosen to arrest Nasri during the Saudi Arabia campaign.
- Contact Shaheed. Of course it will be only available if you've released him during the Saudi Arabia campaign. You will be able to ask Shaheed for help and he will warn his men of your arrival. It's not very useful, as it will only allow you to avoid one group of enemies.
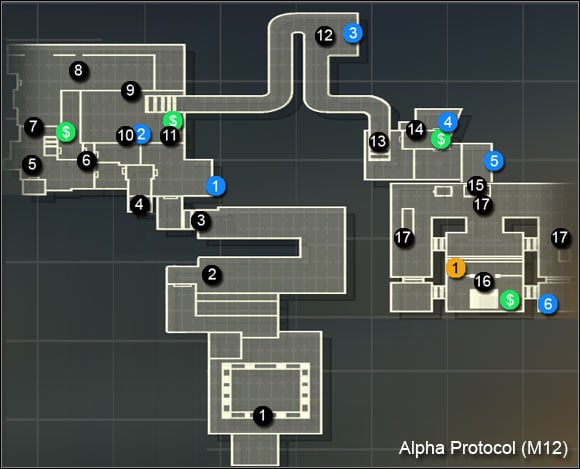
MAP:
EXPLORING THE RUINS' ENTRANCE AREA:
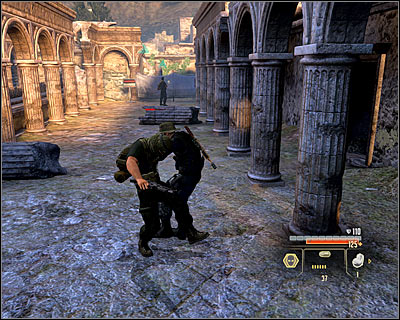
You begin the mission in the southern part of the location (M12, 1). There are three Al-Samad terrorists in the area (M12, 2). If you've releases Shaheed and asked for his help, they won't attack and you'll be able to pass right next to them. However the more probable turn of events is that they will be hostile. Luckily you can attack them silently and in fact it shouldn't be too hard. In order to get to the next location, you have to jump over the wall at the marked location (M12, 3).
SIDE MISSION - PLANTING EXPLOSIVES AT THE FIRST WEAPON DEPOT:
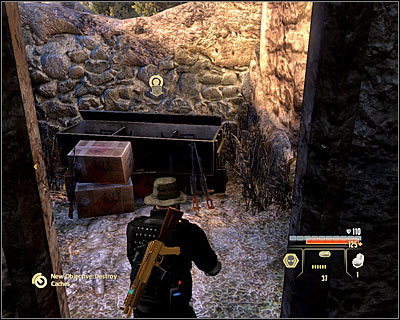
It would be wise to take care of the guard patrolling the area right after you jump over the wall. After you eliminate him, search the area for the Reinforced Pistol Components (pistol upgrade) (M12, 1). You will the first weapons to the south-west from here (M12, 4). Press the action button to plant the explosives. Also keep in mind that you will complete this goal only after finding all three of them.
EXPLORING THE WESTERN PART OF THE RUINS:
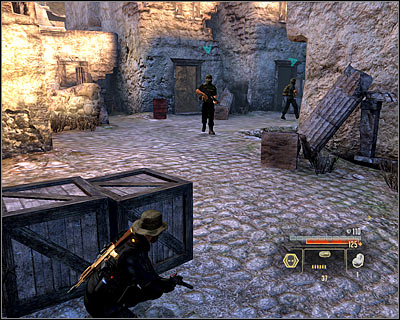
Head west. The next big location will be patrolled by three enemies (M12, 5) and depending on the choices made until now they will be terrorists or Marburg's men. You can eliminate the first enemy silently, but the two others will be harder to get this way. If you don't mind using force, consider shooting the nearby explosive barrel. You can also try to avoid the enemies by going through the northern buildings (M12, 6). Either way, you have to get to the passage leading to the further part of the ruins (M12, 7).
SIDE MISSION - PLANTING EXPLOSIVES AT THE SECOND WEAPON DEPOT:
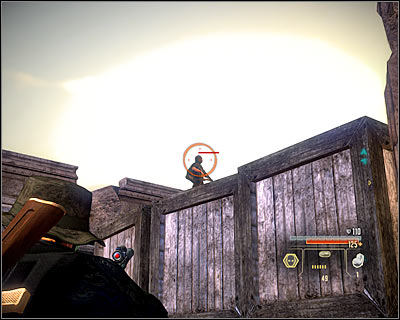
Upon getting to the new location (M12, 8) you should firstly eliminate the enemy patrolling the upper terrain (screen). Take care of his friend afterwards. Approach the area to the south-east of your position (M12, 9). Here you will also meet two enemies and one of them can be surprised. After securing the area search for the second weapon depot (M12, 10) and plant a charge there.
DESCENDING INTO THE CATACOMBS:
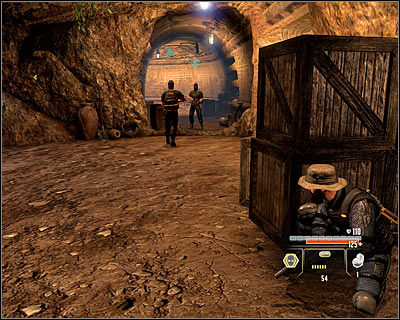
Luckily you don't have to search too much, as the ladder leading to the catacombs is very near (M12, 11). Begin with taking the Vented Pistol Action (pistol upgrade) (M12, 2) and begin exploring the catacombs. At first you won't meet many enemies. They will only guard the biggest area of the catacombs (M12, 12) and eliminating them shouldn't be too problematic. Use this chance to take the Lighter Rifle Stock (assault rifle upgrade) (M12, 3) and head towards the catacombs exit (M12, 13).
SIDE MISSION - PLANTING EXPLOSIVES AT THE THIRD WEAPON DEPOT:
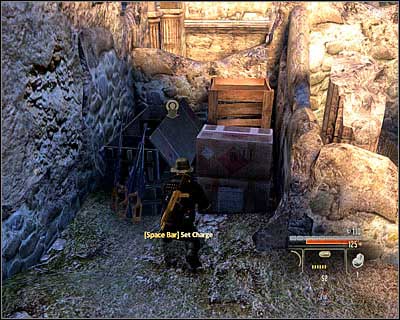
Note that if you hurry, you can surprise and silently eliminate the two guards patrolling the area. Otherwise take care of them in a direct fight, while trying not to alarm the guards at the last part of the ruins. Search the area for more secrets - Custom Shotgun Grip (shotgun upgrade) (M12, 4) and the SMG Recoil Nullifier (SMG upgrade) (M12, 5). You can find the last weapon depot to the north-east from the catacombs (M12, 14).
HACK COMM ARRAY:
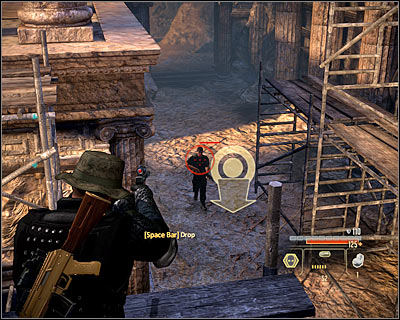
Now you can head towards the last part of the ruins (M12, 15). I'd suggest eliminating the nearby guards, as new ones will appear in a while and additionally you wouldn't be able to search the area. It's best to surprise the enemies from the upper balconies, throughout which you can freely jump (screen). After the fight, search for the Ultralight Barrel (M12, 6) and a suitcase with Intel on Madison Saint James (M12, 1). Eventually break into the computer terminal marked by the game (M12, 16).
DEFEND THE ARRAY:
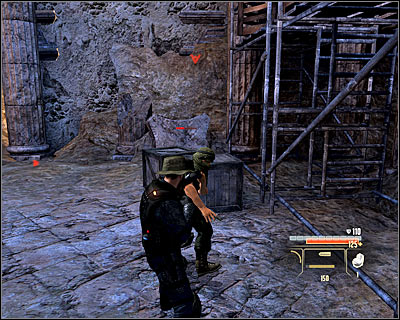
A quite hard task is before you. You have to protect the terminal (M12, 16) and don't allow anyone to approach it. The enemies will income from three different sides (M12, 17), but there shouldn't be more than five of them in the area at once. During this battle it's worth to use the fact that the enemies will have to jump down from the balconies, so you can surprise them in direct combat (screen).
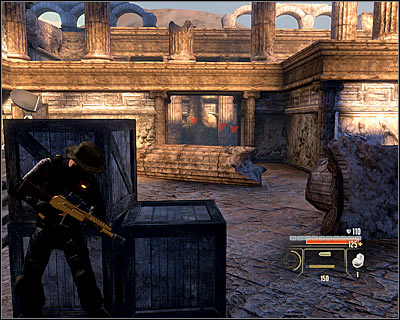
In the further part of the fight it's worth to hide behind one of covers nearby the terminal (screen) and defend from there. Of course use grenades against bigger groups of enemies. You have to keep fight until you receive a message about the success of the mission (it should occur after defeating all the terrorists).
After returning to the hideout you will have the chance to talk with Madison (note that you can ask her an additional question regarding the attempt to cover up the desire of finding Thorton). Of course take a look at your e-mails - you can reply to a message from the person to whom you've sent the Intel on the Halbech corporation, read a message from Shaheed (only if you let him go) and collect the Intel on the previously chosen bureau employee from Mina.
- Alpha Protocol: The Espionage RPG Game Guide & Walkthrough
- Alpha Protocol The Espionage: Walkthrough
- Alpha Protocol The Espionage: Walkthrough - Rome
- Alpha Protocol The Espionage: Rome - The hideout
- Alpha Protocol The Espionage: Bug CIA Listening Post
- Alpha Protocol The Espionage: Intercept NSA Intelligence
- Alpha Protocol The Espionage: Intercept Jibril Al-Bara at Chateau
- Alpha Protocol The Espionage: Contact Jibril Al-Bara
- Alpha Protocol The Espionage: Contact Halbech Informant
- Alpha Protocol The Espionage: Contact Madison Saint James
- Alpha Protocol The Espionage: Investigate Marburg's Villa
- Alpha Protocol The Espionage: Investigate Ruins Transmission
- Alpha Protocol The Espionage: Investigate Delivery at Warehouse
- Alpha Protocol The Espionage: Intercept Marburg at Museum of Art
- Alpha Protocol The Espionage: Walkthrough - Rome
- Alpha Protocol The Espionage: Walkthrough
You are not permitted to copy any image, text or info from this page. This site is not associated with and/or endorsed by the developers and the publishers. All logos and images are copyrighted by their respective owners.
Copyright © 2000 - 2025 Webedia Polska SA for gamepressure.com, unofficial game guides, walkthroughs, secrets, game tips, maps & strategies for top games.
