Alpha Protocol The Espionage: Intercept Marburg at Museum of Art
INTRODUCTION:
You can buy one item from the Intel category (use the computer at the hideout and choose Clearinghouse) - a map of the museum's security systems. It's well worth it, especially considering that it costs just a little above 1000 dollars.
MAPS:
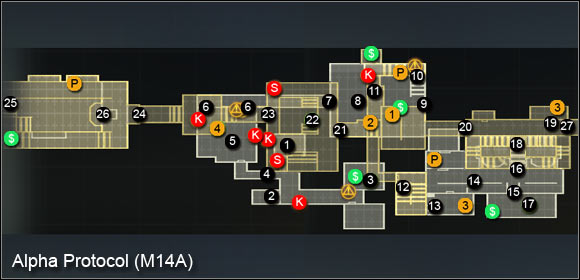
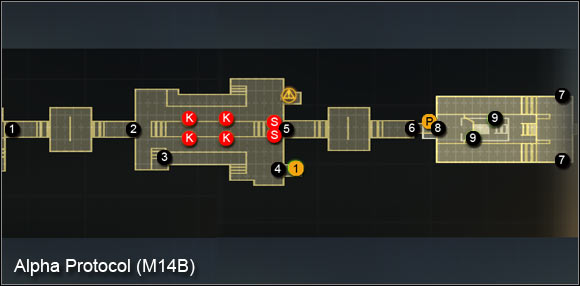
DISABLING THE SECURITY CAMERAS:
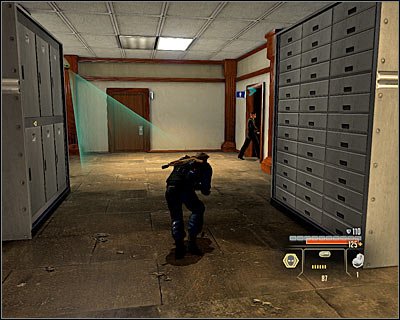
You will learn about Madison's abduction and afterwards the mission will start. You begin in an elevator (M14A, 1). Head south and eliminate the guard patrolling the area as he enters the toilet (screen) (M14A, 2). Now move to the east, passing beneath one of the security cameras. Enter the northern room and break into the computer found here (M14A, 3), thanks to which you will disable all the cameras at the museum.
GETTING TO THE STAIRS LEADING TO THE BASEMENT:
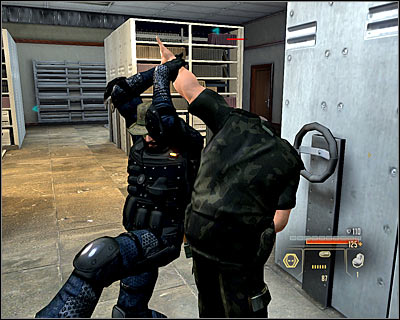
Backtrack to the starting point and choose the previously unchecked corridor (M14A, 4). Look out, as the next room (M14A, 5) is being patrolled by two enemies. Try to eliminate them without raising an alarm. Afterwards choose one of the two exits (M14A, 6) and head east. Ultimately you need to reach the locked door (M14A, 7) which you can open by solving a mini-game or using an EMP (I'd suggest leaving them for later).
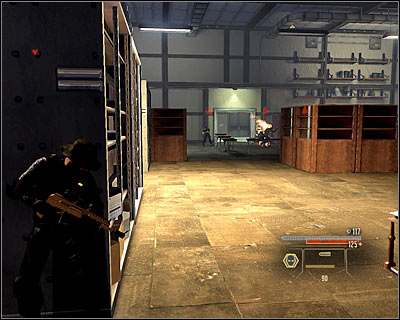
There's a couple of enemies in the next room (M14A, 8) and eliminating them can be very hard - they're standing really close to each other. Additionally after you reach the middle part of the room, some more enemies will come out of the elevator (M14A, 9), which will further complicate the situation. I'd suggest using grenades or going up the ladder onto the balcony and shoot them from there.
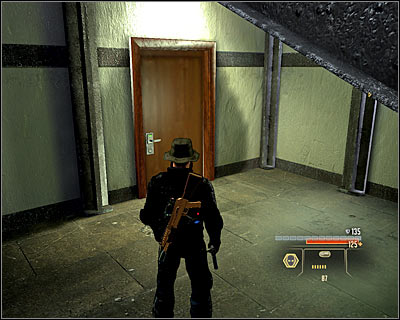
If you want to avoid being detected at all costs, focus on the enemies' actions. Ultimately you have to get to the door localized in the upper right corner of the room (M14A, 10). Take a look around the area before you use them - you will find, inter alia, a computer with a saved e-mail (M14A, 1) and a suitcase with Intel on Alpha Protocol (M14A, 2).
GOING DEEPER INTO THE MUSEUM:
Go down the stairs and go through the only possible passage (M14A, 11) leading to the further part of the museum. You don't have to sneak here, as the nearest guard is by the next set of stairs (M14A, 12). No need to eliminate him silently, but it's of course possible. Go up the stairs into a small room (M14A, 13) and search for a disc with Intel on the new action of the Halbech organization (M14A, 3).
HELPING THE MUSEUM'S EMPLOYEES:
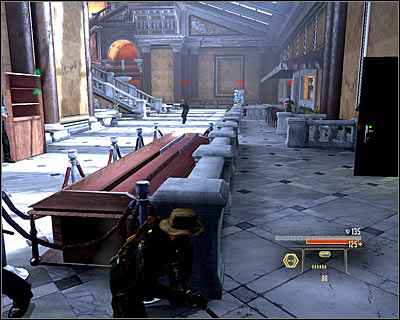
The museum employees and Marburg's men will be fighting in the next part of the museum (M14A, 14). You of course can help the employees - it's not absolutely necessary, as you won't receive any bonuses for keeping them alive. Apart from the nearby enemies, you also have to look out for those hidden at the cafe (M14A, 15) and those by the stairs (M14A, 16).
SIDE MISSION - FIND EVIDENCE:
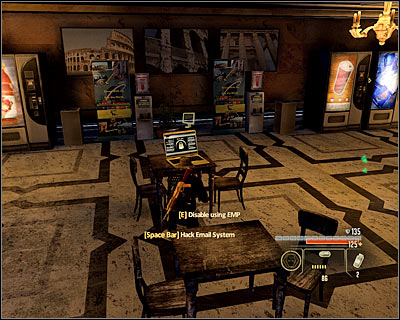
After the fight's over, go to the cafe (M14A, 15) and look for a laptop (M14A, 17). Hacking it will allow you to complete the additional mission. Additionally you can check out the e-mail left on the laptop.
MAKING A CHOICE ON THE FURTHER PART OF THE MISSION:
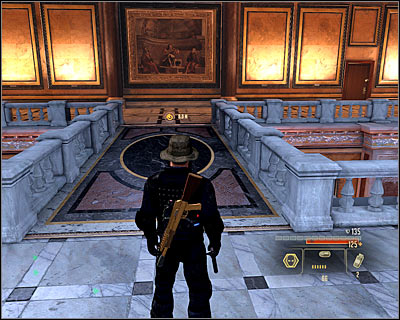
Head towards the stairs (M14A, 16). After getting upstairs (M14A, 18) and listening the Marburg's speech, you have to make a very important choice. You can:
1) Go save Madison, knowing that this way you will lead to the detonation of the bombs at the museum.
2) Go find the bombs knowing that this way you will lead to Madison's death.
Unfortunately you can choose only one option, as after you go the either the east or the west wing, to door will lock behind you.
SAVE MADISON:
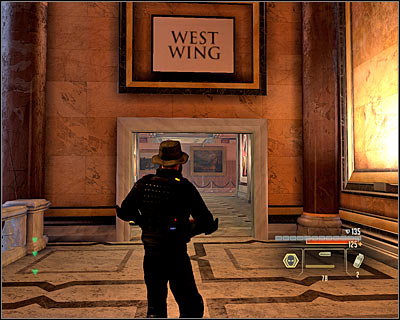
Begin with breaking into the storage located on this floor (M14A, 19), thanks to which you will find a suitcase (M14A, 3) with additional Intel on Conrad Marburg. If you have been successfully collecting Intel on him, you should now unlock a perk which will provide you with a bonus during the fights with him. Take the passage leading to the western wing (M14A, 20). Head forward, you will bump into enemies only after getting to the big room (M14A, 21).
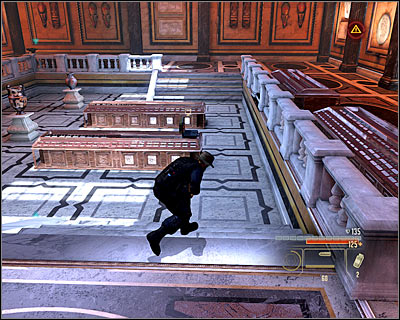
Begin with eliminating the closest guard. The next ones might be more cause more difficulties, but try to stay the this spot. After eliminating the enemies, head towards the computer (M14A, 22). Look out for the mine by the descent, which will detonate if you get too close to it. Break into the computer (mini-game or EMP) in order to disable the other mines planted in this part of the museum.
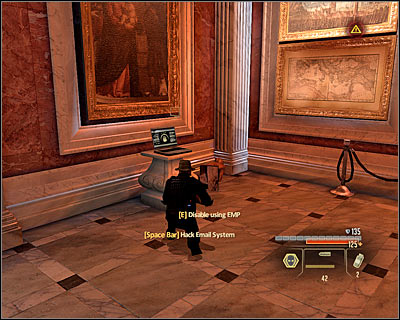
The next location (M14A, 23) is accessible through two corridors with turrets by them. Inevitably you have to destroy at least one of them, use explosives for that; move on. On your way you can break into one more computer (M14A, 4) to read an e-mail. Eventually you will reach the last room of the museum (M14A, 24).
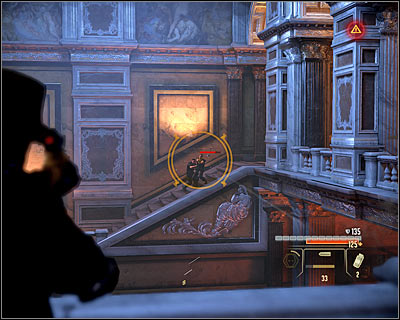
Begin to eliminate the enemies here. Two of them should be patrolling the upper balconies and the other two should be below for now. Look out for the grenades thrown by the enemies. Afterwards check out the balconies to find a first aid kit and a grenade. Head towards the stairs leading to the lower level (M14A, 25).
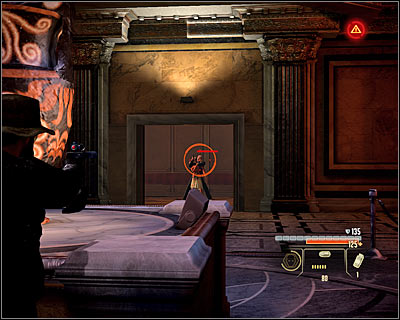
Note that a couple enemies came out of the nearby elevator (M14A, 26). One of the will stay in the middle and hold Madison at gunpoint. Begin with eliminating those enemies who aren't standing by the elevator. At the same point keep sure that your attacks don't kill your friend (refrain from using grenades nearby her). After you eliminate all the enemies, approach the last one who's standing in the elevator. Hold down the right mouse button in order to perform a precise shot (screen) and save Madison. The game will now display a cutscene with Marburg. You can attack him at once, or talk first.
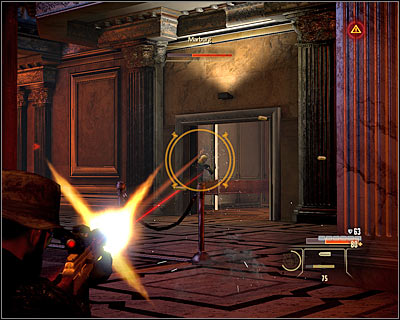
The boss battle with Marburg is quite hard and can be played in two basic ways. If you don't have the weapons and abilities to fight him directly, eliminate just one of his guards. Leave the second one alone so that no one new replaces him. Hide behind covers near the boss and attack him with using the right mouse button so that you can fire more accurately. Just like before, you have to destroy his armour and continue attacking so that it doesn't get regenerated (luckily it's a quite slow process).
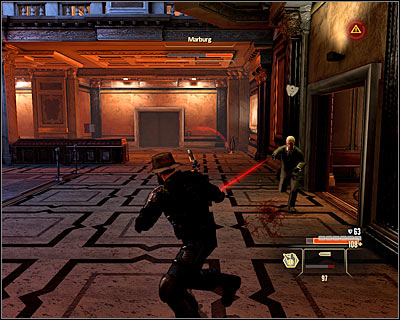
If you do have the weapons and abilities to fight him directly, always begin with eliminating his two bodyguards. That should make him chase you. Run away, as in a direct fight you would lose your amour immediately. You can shoot at him while he's going after you or throw him some explosive surprises. After the chase, hide to regenerate armour and reload your weapon. Repeat this formula while looking out for Michael's health. Regardless of the chosen tactic, the fight will end once Marburg is left with around 1/3 of his health.
DISARMING THE BOMBS:
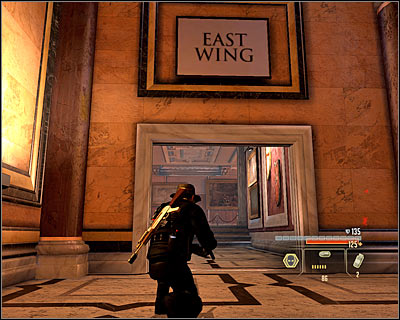
Begin with breaking into this room's storage room (M14A, 19), thanks to which you will find a suitcase (M14A, 3) with new Intel on Conrad Marburg. If you have been successfully collecting Intel on him, you will unlock a perk which will provide you with a bonus during the fights with him. Chose the passage leading to the eastern wing (M14A, 27) (M14B, 1). Head forward, as you will bump into enemies only after reaching the big room (M14B, 2).
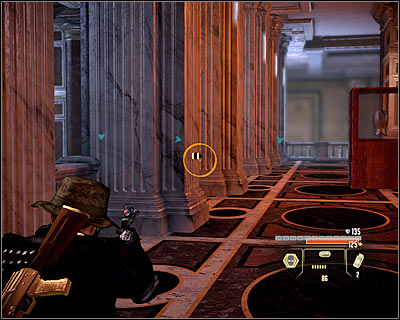
You have to be very careful here, as there are lots of move-sensitive mines in the area. You can recognize them by their yellow colour and you can detonate them from a distance. I'd suggest choosing the quite safe southern balcony (M14B, 3). On the way you will have to eliminate the enemies, but there won't be too much of them.

Use the chance and get to the southern control room (M14B, 4). Inside you will find a computer (M14B, 1), hack into it and unlock a new message. Approach the exit (M14B, 5). Note that if you place yourself correctly, one of the nearby turrets will destroy the other. Quickly destroy the second one and then head to the last room of this wing (M14B, 6).
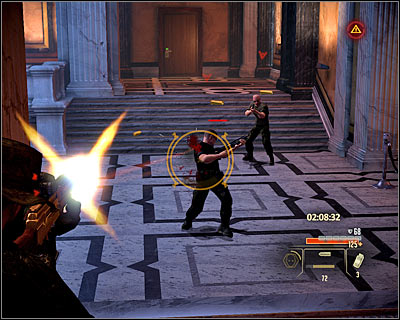
Enter the room and a timer will start - you will have three minutes to disarm both bombs. If you have at least two EMPs at your disposal, you don't have to hurry. In the other case you have to quickly eliminate the enemies, without conserving items. Use the chance to take a look inside the two rooms upstairs (M14B, 7), thanks to which you will find, inter alia, a first aid kit.
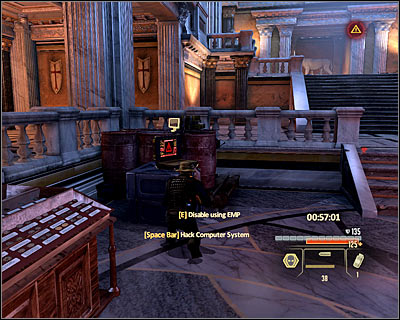
Head down and get ready to get rid of new enemies, who will run out of the elevator (M14B, 8). Use grenades to your advantage, especially if the enemies are close to each other. After securing the area, head towards the bombs (M14B, 9). You must disable each of the charges by hacking into a nearby computer terminal. If you have EMPs, you will get it done almost immediately. In the other case, you have to solve the well-known mini-games, which will of course take some time. A cutscene will play, during which Madison will get executed. You can attack Conrad at once or talk with him first.

The boss battle with Marburg is quite hard and can be played in two basic ways. If you don't have the weapons and abilities to fight him directly, eliminate just one of his guards. Leave the second one alone so that no one new replaces him. Hide behind covers near the boss and attack him with using the right mouse button so that you can fire more accurately. Just like before, you have to destroy his armour and continue attacking so that it doesn't get regenerated (luckily it's a quite slow process).
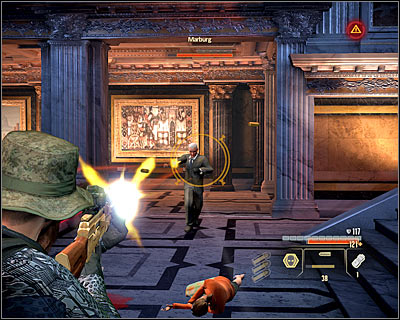
If you do have the weapons and abilities to fight him directly, always begin with eliminating his two bodyguards. That should make him chase you. Run away, as in a direct fight you would lose your amour immediately. You can shoot at him while he's going after you or throw him some explosive surprises. After the chase, hide to regenerate armour and reload your weapon. Repeat this formula while looking out for Michael's health. Regardless of the chosen tactic, the fight will end once Marburg is left with around 1/3 of his health.
TALK AFTER THE FIGHT:
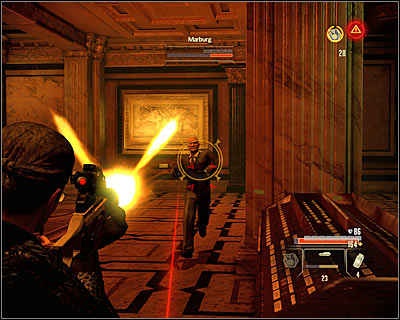
The conversation with Conrad Marburg will start right after you defeat him, regardless of whether you decided to save Madison or disarm the bombs. The conversation can end in two ways. If you choose the standard dialogue options, Marburg will escape and you will meet him once more after completing all three operations. There's also an alternative, as you can provoke Marburg to end this fight. In order to do this, choose the suave style all the time. Nothing will change during the last phase (screen), but Conrad will probably rush at you from the very beginning. Considering his shortened health bar, it shouldn't be hard.
- Alpha Protocol: The Espionage RPG Game Guide & Walkthrough
- Alpha Protocol The Espionage: Walkthrough
- Alpha Protocol The Espionage: Walkthrough - Rome
- Alpha Protocol The Espionage: Rome - The hideout
- Alpha Protocol The Espionage: Bug CIA Listening Post
- Alpha Protocol The Espionage: Intercept NSA Intelligence
- Alpha Protocol The Espionage: Intercept Jibril Al-Bara at Chateau
- Alpha Protocol The Espionage: Contact Jibril Al-Bara
- Alpha Protocol The Espionage: Contact Halbech Informant
- Alpha Protocol The Espionage: Contact Madison Saint James
- Alpha Protocol The Espionage: Investigate Marburg's Villa
- Alpha Protocol The Espionage: Investigate Ruins Transmission
- Alpha Protocol The Espionage: Investigate Delivery at Warehouse
- Alpha Protocol The Espionage: Intercept Marburg at Museum of Art
- Alpha Protocol The Espionage: Walkthrough - Rome
- Alpha Protocol The Espionage: Walkthrough
You are not permitted to copy any image, text or info from this page. This site is not associated with and/or endorsed by the developers and the publishers. All logos and images are copyrighted by their respective owners.
Copyright © 2000 - 2025 Webedia Polska SA for gamepressure.com, unofficial game guides, walkthroughs, secrets, game tips, maps & strategies for top games.
