Alpha Protocol The Espionage: Investigate Weapon Shipments
INTRODUCTION:
You can buy additional Intel for this mission (use the computer in the hideout and choose Clearinghouse). The available options are:
- Getting Additional Intel on Dimitri Dragan.
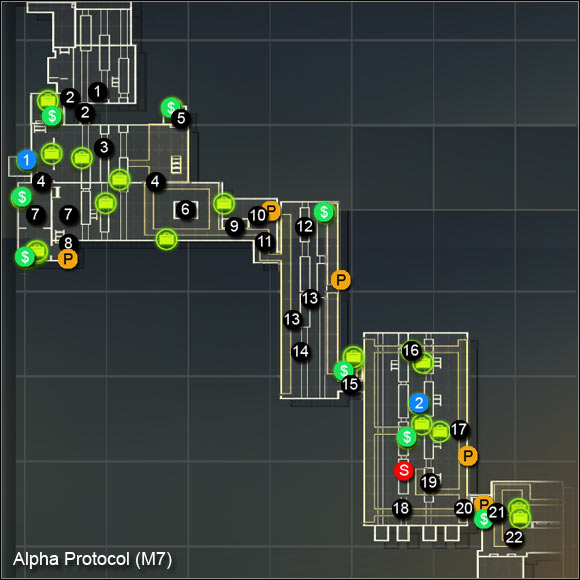
- Learning the position of all the lockers on the map. It's an interesting option, as you won't have to look around the whole area. All the lockers will be marked as suitcases on your map.
- Snipe rifle drop. If you choose this option, you will be able to use a sniper rifle to clear out one of the last locations. Just like in Saudi Arabia, you won't be able to take the sniper rifle with you afterwards.
- Additional Intel on the VCI organization.
MAP:
TALKING WITH SIE:
The mission begins untypically, with a talk with SIE. If you've already been to Rome and killed the main boss there, you will gain 2 rep points at the very beginning. You can act in two ways - agree to cooperate until you find Dmitri or refuse to do so. I definitely don't recommend the second option, as you will have the chance to put SIE's trust to the test later on, and for now you could use her help. You will be able to appreciate the advantages of working with SIE in just a minute, as she will help you eliminate the first group of enemies (assuming you agreed on the cooperation) (M7, 1). In the other case, you will have to deal with them yourself.
GETTING THROUGH THE COMBAT ZONE:
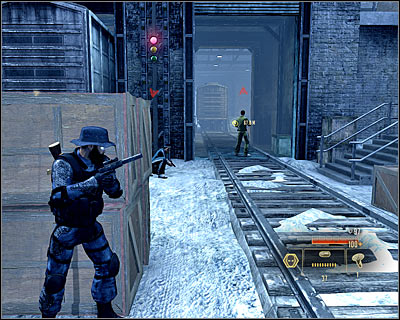
Two different paths lead to the nearby hall (M7, 2). The main tunnel isn't a good choice, as you would find yourself in a quite uncomfortable place. It's better to choose the right door, thanks to which you will be able to surprise the enemy troops (screen). If you agreed to work with SIE, remember not to attack the mercenaries dressed in white, as they work for her. Try to clear out the whole hall (M7, 3) before taking any further actions. Additionally you will find the Featherweight SMG clips (SMG upgrade) in one of the side rooms (M7, 1).
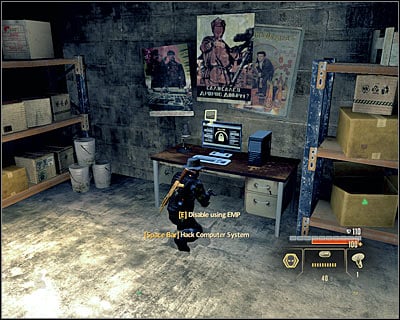
Once more you have to choose from two paths (M7, 4). If you choose the western path, you will just have to hack a security system at the gate. The bad side of this choice is that you would have to dodge snipers more. As for the eastern path, in order to use it you first have to get to a small room and hack into the computer (M7, 5) in order to unlock the door. The upside of this choice is that you will end up on a balcony near the group of sniper (M7, 6), thanks to which you will be able to easily eliminate them.
SIDE MISSION - GETTING THE CLIENTS LIST:
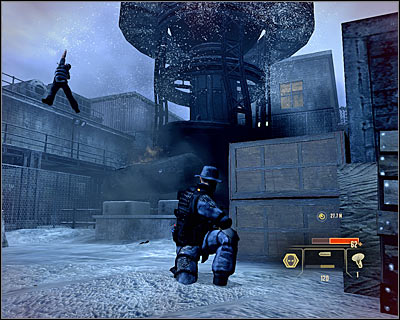
Regardless of the path chosen, you should devote some time to eliminate all the nearby soldiers, those inside the western building and those patrolling the outside as well (M7, 7). Keep an eye on the two snipers mentioned before in particular (M7, 6). If you don't want to risk too much, just shoot the gas canister below the tower (screen). It will cause a huge explosion and the snipers will die as a result. Wait for more enemies to appear and eliminate them as well. Head to the computer (M7, 8) only once the area is secured.
GETTING TO THE CRANE ZONE:
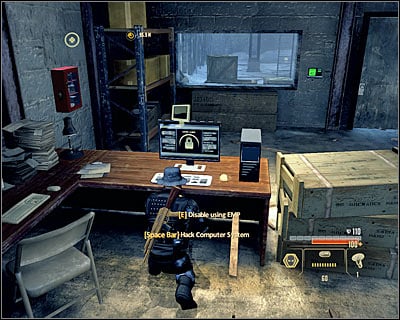
Head to the only available path leading to the next location and eventually you will reach a locked gate (M7, 9). Break the security system and you will find yourself in a room with a guard, so be careful. Get rid of the enemy and then use the computer (M7, 10) which will unlock the further path. Before you get to the crane, you will have to choose if you want to stay below or use the ladder (M7, 11). I'd suggest the second option, as it will be easier to avoid or eliminate the enemies.
GETTING THROUGH THE BARRICADE:
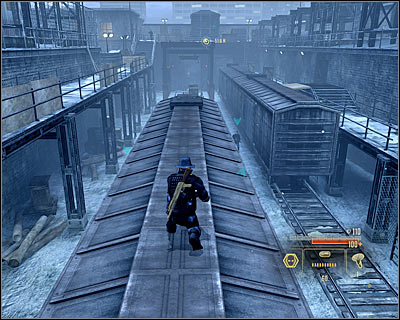
You will learn about the need to get through the barricade soon after getting to the new location. Ultimately you have to reach the crane's control panel (M7, 12), which of course won't be too easy. The enemies can either patrol the terrain below or stay on the balconies. Dodging them will be more difficult in the second case, so you probably will have to use guns or eliminate them in close combat. You should stay on the balconies and jump onto the train cars at the right moments (M7, 13). In the end use the ladder, while looking out for the guards patrolling the area around it. Use the control panel to activate the crane.
GETTING TO THE WEAPONS CARGO:
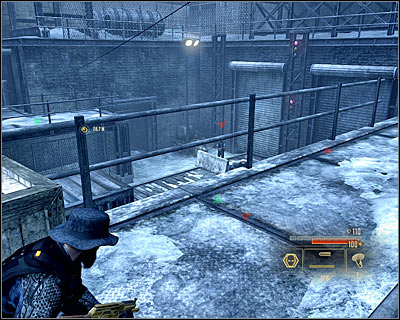
The crane will activate right after you use the control panel. Make sure you duck and try to eliminate the enemies on the way. After it stops (M7, 14), I'd suggest quickly getting out, as the enemies can throw grenades inside. Try to eliminate all the enemies from the upper balconies. Remember to avoid killing her SIE's men if you're working with her. Afterwards go down and use the passage leading to the train (M7, 15).
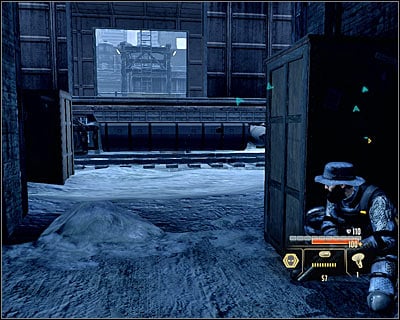
Upon getting to the new location, you will have to look out not only for the enemies, but also for the trains which will appear from time to time on the rails on both sides of the station. It's very important, as they are moving at a very high speed and you will only have around two second to get off the tracks upon hearing the signal. I'd suggest getting to the upper balconies, from where it will be easier to plan further moves. You can get to the cargo in two ways - aggressively or quietly.
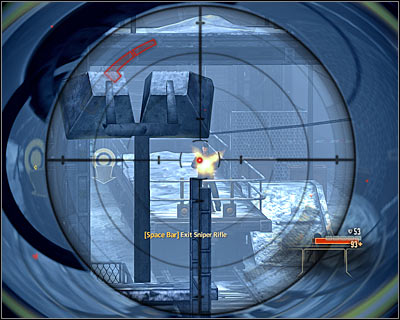
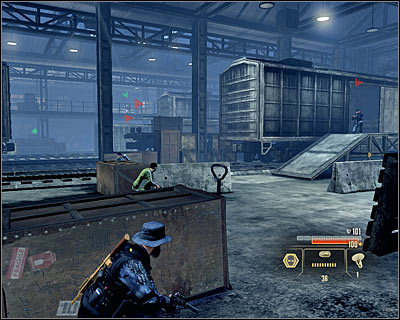
Aggressive option: If you want to eliminate all the nearby enemies, I'd suggest getting to the sniper rifle which you could have bought before the mission started (M7, 16). You should firstly take care of the machine gun (screen) and move to the other enemies later. Try to eliminate all the visible enemies from this spot and only then go down (for example using the nearby line) to get rid of the others.
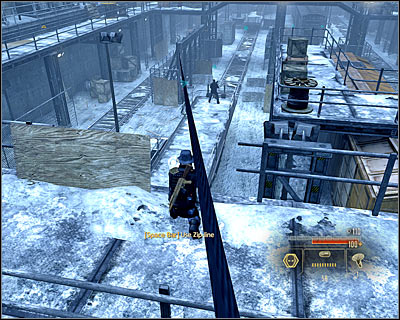
Silent option: If you don't intend to attack the enemies, you should stay at the upper balconies and move clockwise. You will bump into some enemies around the middle (M7, 17). Ultimately you have to reach the southern balconies (M7, 18) so that you're behind the machine gun post. Then use the ladder or ride down the line, thanks to which you will find yourself behind the operator (he shouldn't notice you).
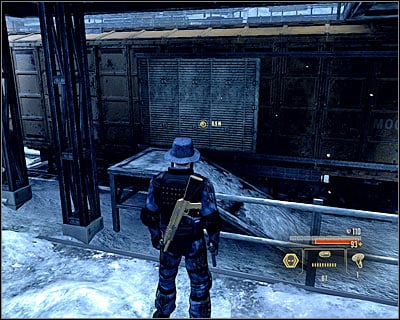
Regardless of the path chosen, pick up the Assault Rifle Muzzle Break (Assault Rifle upgrade) (M7, 2) and get to the marked car (M7, 19). Move the side door and go inside. Now you have to choose what you want to do with the weapons shipment. You can:
1) Destroy Buran - Quickly get away from the car after choosing this option, as new enemies might appear.
2) Reroute Shipment - Enemies shouldn't appear in this case and you will able to choose the destination in a moment.
LOCALIZING THE SHIPPING MANIFEST:
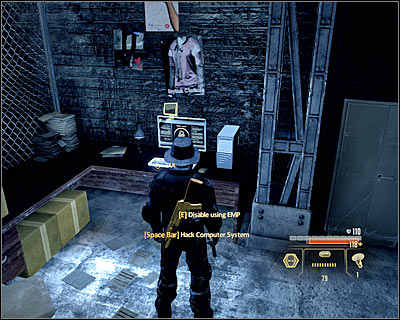
Use the southern passage leading to the new location (M7, 20), which depending on your actions until now can be unprotected, or guarded by a single enemy. After getting inside, locate the computer and hack it (M7, 21). If you've chosen to reroute the shipment, you can now choose its destination point - your hideout or Grigori's whereabouts. The second option is by far the best, as you will not only improve your relations, but also get payment and unlock new items on the black market.
DEFEATING DMITRI AND HIS MEN:
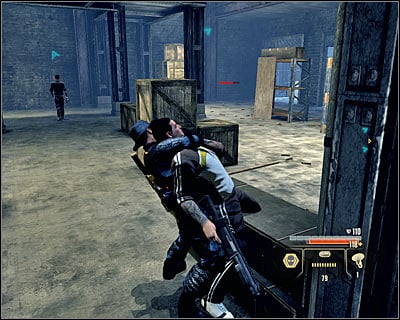
Four enemies will appear in the area after you use the computer. Two of them will enter the warehouse and the rest will stay outside. You don't need to stay hidden, as you will need to fight Dmitri either way. However do try not to use up your grenades and heavy weapons ammo, as you might need them in just a while.
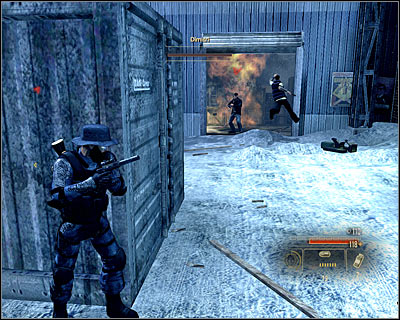
Dmitri and his men will show up right after you eliminate the fourth guard (M7, 22) and it would be wise to get ready for his attack. Throw him some grenades and then finish him off. He's much weaker than most of the bosses, so you can even eliminate his in close combat. However you need to look out for him shooting from a machine gun. Also keep in mind that his death won't end this part of the mission, as you also need to eliminate his.
MEETING SIE ONCE MORE:
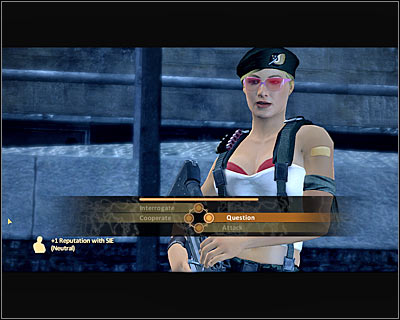
You will meet with SIE again after defeating Dmitri and his men. If you weren't hostile until now, it's not worth attacking her. On the other hand if you didn't agree to work with SIE or just want to test yourself in a fight against her, choose the attack option. It's worth mentioning that even if you do fight SIE, she won't die and you will be able to meet her again in the future.
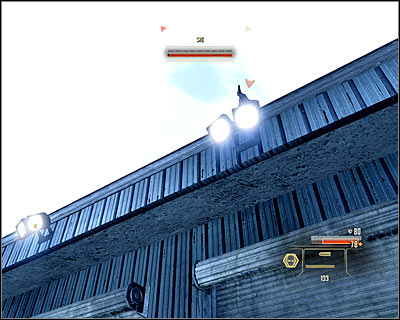
If you decided to fight SIE, quickly hide behind a cover. Notice that SIE will be usually accompanied by two mercenaries. From time to time they will use line to get close to you and you will have to quickly eliminate them in such a case. Additionally in the further part of the battle two enemies will appear above you (screen). You should back up a little and eliminate them from further.
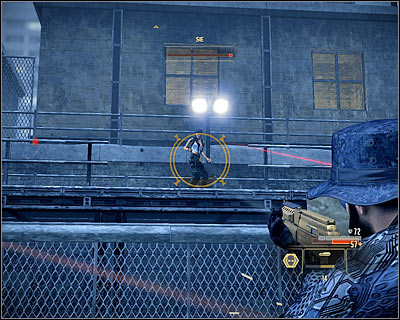
As for SIE herself, you have to use a SMG or an assault rifle (better). Additionally you should equip some special ammo so that your attacks deal more damage or pierce her amour more easily. You will find plenty of normal ammo in the area, which will additionally reappear after some time. Attack SIE with short burst of fire, firstly destroying her armour and then draining her life. Continue attacking her until you lose your own armour. Once you do, stay behind cover until it regenerates. Depending on the difficulty setting the fight can last for a couple minutes, so you have to stay patient and drain her health gradually. As I mentioned before, you won't kill SIE, as she will retreat to a helicopter once she loses all her health. You will only be able to choose a behaviour style (I'd suggest suave, if you want to improve your relations).
After getting to your hideout, don't forget to check out your e-mails:
1) If you've sent the weapons to Grigori, you can reply to his message and choose download, which will give you 30000 dollars.
2) You can reply to Scarlet's e-mail (gaining points with being professional and losing for being aggressive).
3) You can send notes on Halbech to Scarlet, to the black market merchants or to the corporation's headquarters.
4) You can reply to SIE's e-mail (gaining points for being aggressive and losing for being suave).
- Alpha Protocol: The Espionage RPG Game Guide & Walkthrough
- Alpha Protocol The Espionage: Walkthrough
- Alpha Protocol The Espionage: Walkthrough - Moscow
- Alpha Protocol The Espionage: Moscow - The hideout
- Alpha Protocol The Espionage: Assault Lazo's Yacht and Retrieve Data
- Alpha Protocol The Espionage: Contact Albatross
- Alpha Protocol The Espionage: Contact Grigori the Informant
- Alpha Protocol The Espionage: Investigate Weapon Shipments
- Alpha Protocol The Espionage: Intercept Surkov at US Embassy
- Alpha Protocol The Espionage: Contact Surkov at Moscow Office
- Alpha Protocol The Espionage: Assault Brayko's Mansion
- Alpha Protocol The Espionage: Prevent Surkov's Escape
- Alpha Protocol The Espionage: Walkthrough - Moscow
- Alpha Protocol The Espionage: Walkthrough
You are not permitted to copy any image, text or info from this page. This site is not associated with and/or endorsed by the developers and the publishers. All logos and images are copyrighted by their respective owners.
Copyright © 2000 - 2025 Webedia Polska SA for gamepressure.com, unofficial game guides, walkthroughs, secrets, game tips, maps & strategies for top games.
