Age of Wonders 3: Haunted Nirvenkiln - walkthrough
Conditions of victory:
1. Edward must survive
2. Valery must survive
3. Retrieve Melenis' Power Source
Find Melenis's Lair
Find the Power Source
Bring the Oscillator Gem to safety
Find Melenis's Lair
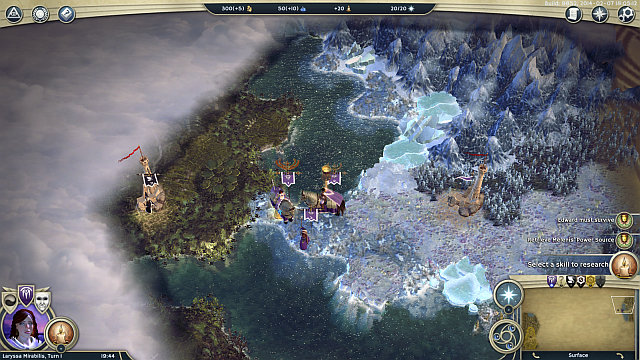
You start the mission at the Eastern end of the map. Your initial objective is to find Melenis's lair but, before you start the mission, you need to settle down in this area. Start by capturing the nearest Watchtower, and then go a bit to the North and capture your first city, which you should include in your Empire. Then, you should go to the South-West to find an independent village. At this point, you should run into the AI-controlled player - Tannah Boslarf, who is better left alone, for the time being. It is a good idea to enter an alliance with him but, you should watch out - he is not that credible. For that reason, it is better if you did not leave your city unguarded and prepare that, sooner or later, you will have to defeat him.
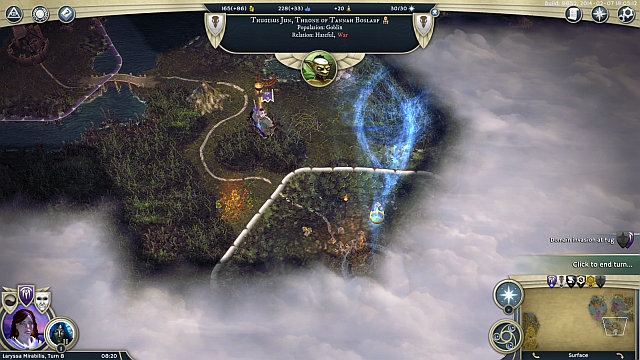
In the meantime, you should incorporate another city in your Empire, by means of the diplomatic option. If Tannah has not declared war on you, go West, towards the center of the map, while remembering to leave behind a big party, which would be capable of fighting an enemy back. Otherwise, remain in this area, train enough units, especially Goblin Swarm Darter and Battering Ram and go South of the first city, where there is the Throne City of the enemy goblins. You can also summon Wisp, using summoning spells, which will reinforce you in battle. During the siege, you should attempt to eliminate the enemy archers (Goblin Swarm Darter) first. It is imperative that you watch out for Edward. What is going to be useful here is Laryssa's spells.
Note: If Tannah did not declare war on you, you should consider declaring war on him. Thanks to this, your back will be secured and the way, deeper into the map, open.
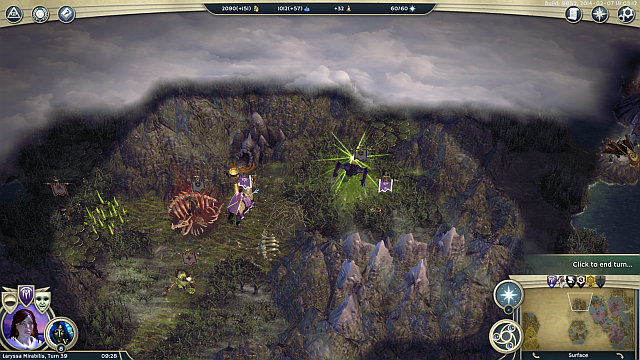
After you capture the city, continue towards the center of the map and train as many units as possible. Along your way, destroy the Monster Den, thanks to which the area will be a bit safer. Keep defeating the opponents and, to the extent it is possible, try not to lose too many units. Still, at this point, you should be secure with enough reinforcements, which you should deploy, incessantly, in the allied cities. Close to the cave that you are going towards, you will run into a strong Independent Party, consisting of Wraiths. They are difficult to defeat so, try to flank the enemies and finish them out one-by-one. This will constitute a certain test to your skills, before the final encounter in this mission, which is why you should master the tactic of fighting with these units. Finally, you will reach Melenis's lair (shown in the screenshot). Descend into the underground.
Find the Power Source
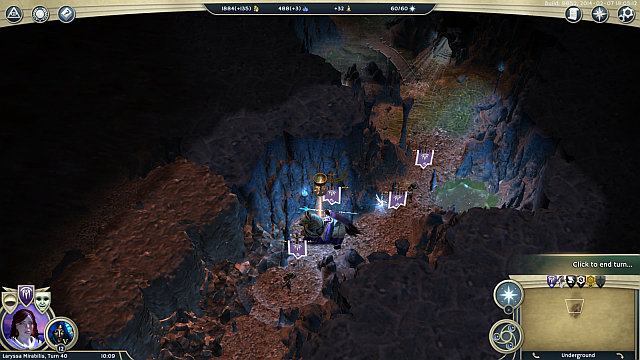
After you enter the cave, you will complete the first part of the mission and the second one will start. In the cave itself, you cannot, actually, get lost. Keep descending deeper and deeper. After a moment, you will encounter an independent town. At this moment, you will be, most probably, attacked by an army of Werlac, which is why, if you are commanding more than one army (which is advisable, if not necessary), you should make sure that they go side-by-side, which will ensure maximum advantage and cut down on your losses. There are going to be two waves, one after the other, which is why your losses need to be as small as possible, during the first one, if you want to be able to fight back the second one. After you win, go deeper into the cave or, if you want to, capture the nearby city.
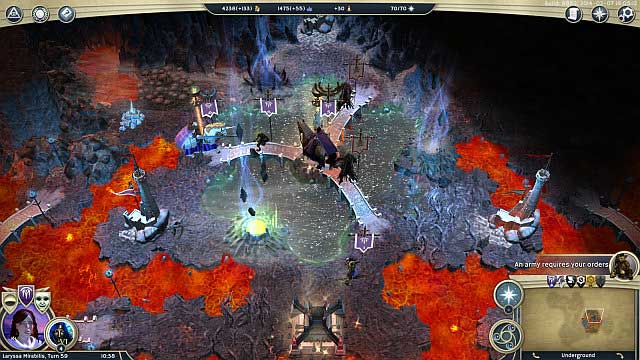
Finally, you will reach the location shown in the above screenshot. The ruins, with the 3 bridges that lead up to them, are your next destination. Make sure, however, before the attack, that you have sufficient units with you because, after you explore the ruins, you will still have to fight a battle with two strong parties, consisting of the 3x Wraith and the Wraith King. Fortunately enough, you will be aided by the armies of Valerego. Nevertheless, you will have to make sure , additionally, that also he survives.
Bring the Oscillator Gem to safety
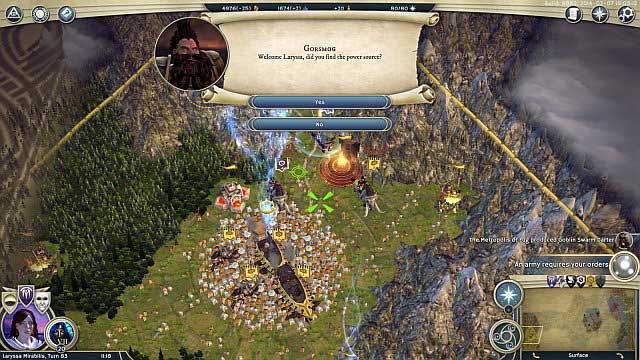
After you win, the last thing that you need to do, is take the item that you have obtained, into the safety, i.e. to the allied settlement in the South-Western corner of the map. Go towards the cave's exit. You can leave the undergrounds in two different ways - the safer one and one that requires you to fight several battles. The safer way is the one that you took to get here. This way, you will emerge in the middle of the map. The more dangerous way will allow you to gain more experience, and it is to the left of the point where you were attacked by the armies of Werlac. IF you go that way, you will resurface closer to the allied village but, right next to the Throne City of the enemy army. If you want to deal the final blow to your opponent, here is your opportunity. However, if your armies have been considerably weakened and you want to end this mission as quickly as possible, it seems that the better option is to return to the spot, where you initially entered the cave. Regardless of the way that you chose, your task is to reach the allied village, which ends this mission.
Hints
1. Upgrade your leaders at the beginning of the mission. their experience points and the levels that they gained have been transferred, over from the previous mission, which is why you can distribute their skills again. It is best to do that at the very beginning.
2. The fight with Tannah Boslarf is only a matter of time. At the beginning, when your forces are negligible, do not risk considerable losses, by taking a careless step. Also, do not wait endlessly - recruit enough units and attack at the moment convenient to you, thanks to which you will secure your back before you move on.
3. If you are suffering from the meager of units, or you find summoning reinforcements from the city tedious, and your mana supplies are high, consider researches that will allow you to summon more and more powerful units. You can summon them onto the field near the allied city (after you prepare the spell) or to the one, where one of your leaders is currently staying.
4. In the case in which you want your reinforcements delivered to the battlefield, near the cave, a good idea to transport them is to research into Basic Seafaring and transferring them over water. Although you will have to wait for the entire turn, until you get them, all in all, this way it is faster than over the land.
5. In this scenario, an excellent combination is keeping the appropriate balance between archers (Goblin Swarm Darter), and the strong cavalry (Goblin Big Beetle). Thanks to the high defense of the cavalry, they can take on the enemy at close quarters, whereas the archers will be attacking effectively, at long range.
6. The battle against Werlac is not the easiest one, which is why, before you descend into the underground, make sure that you have appropriate forces in your army, especially the units of high endurance. Also, remember that, a moment later, you will have to fight another, probably last, major battle in this mission. That is why the appropriate ensuring of reinforcements, and using the skills of your leaders will be the key to success. It goes without saying that, the more and the better units you summon/include, from the cities, the easier the final battles will be and the lower the losses.
7. After you exit the underground, watch out for your cities, because Werlac's armies will, most probably, attack them. If, however, you are only interested in completing this mission, order your units towards the allied settlement in the South-Western corner of the map, to protect your leaders against the enemy armies tyrannizing the map.
8. If, after the fights in the underground, you still have enough units and the will to fight, it is worth considering the onslaught onto Werlac's Throne City. You can expect that the battle will be interesting and, of course, that you will receive some attention-worthy amount of experience.
- Age of Wonders III Game Guide & Walkthrough
- Age of Wonders 3: Game Guide
- Age of Wonders 3: Commonwealth Campaign
- Age of Wonders 3: Northern Rebellion - walkthrough
- Age of Wonders 3: Haunted Nirvenkiln - walkthrough
- Age of Wonders 3: Machinations - walkthrough
- Age of Wonders 3: Matters of Duty - walkthrough
- Age of Wonders 3: The Rockshoal Isles - walkthrough
- Age of Wonders 3: Last Chance - walkthrough
- Age of Wonders 3: Slaying a False God - walkthrough
- Age of Wonders 3: Ending The Old Ways - walkthrough
- Age of Wonders 3: Commonwealth Campaign
- Age of Wonders 3: Game Guide
You are not permitted to copy any image, text or info from this page. This site is not associated with and/or endorsed by the developers and the publishers. All logos and images are copyrighted by their respective owners.
Copyright © 2000 - 2026 Webedia Polska SA for gamepressure.com, unofficial game guides, walkthroughs, secrets, game tips, maps & strategies for top games.
