The Last of Us 2: How to activate Photo Mode?
Photo Mode – How to activate it? Key shortcut, key features and options of photo mode
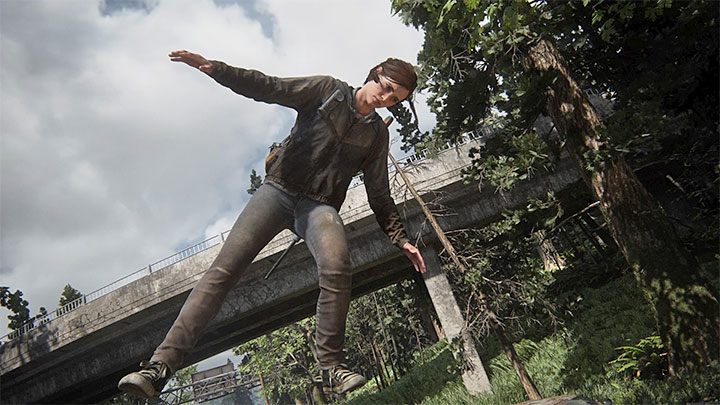
On this page of our game guide to The Last of Us 2 we explain how to activate the Photo Mode and what options the photo mode offers. TLoU 2 is a game with many beautiful locations and you may often want to take a nice photo which won't be just another screenshot from the game.

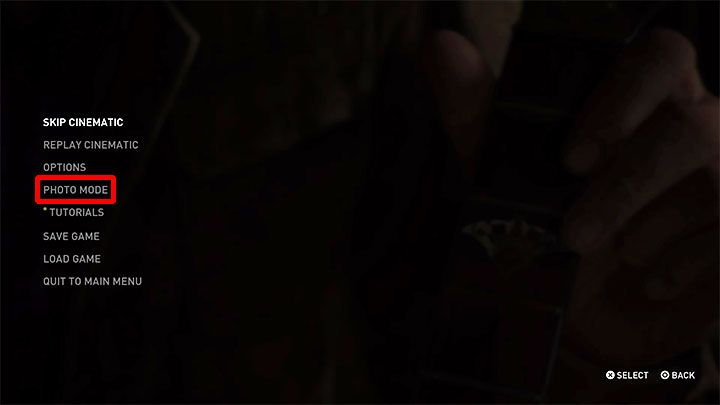
You can activate the photo mode in two ways. The first method of activation is the pause menu. After pausing the game, select the Photo Mode item from the options list.

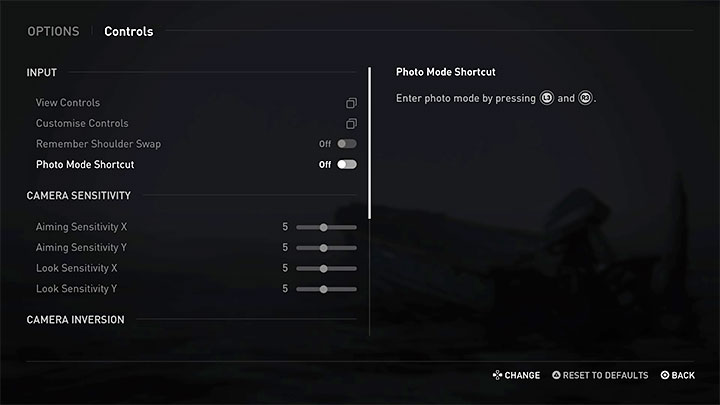
The second method of activation is to use the shortcut - L3+R3 (you have to press both analog knobs). This shortcut is disabled by default and you must first unlock it in the game options. Go to Controls and find Photo Mode Shortcut.

You can activate the photo mode at any time of the game, even during the cutscenes. However, it should be noted that activating it during the cutscene will prevent you from freely manipulating the camera.

Below we have listed the key features of the photo mode:
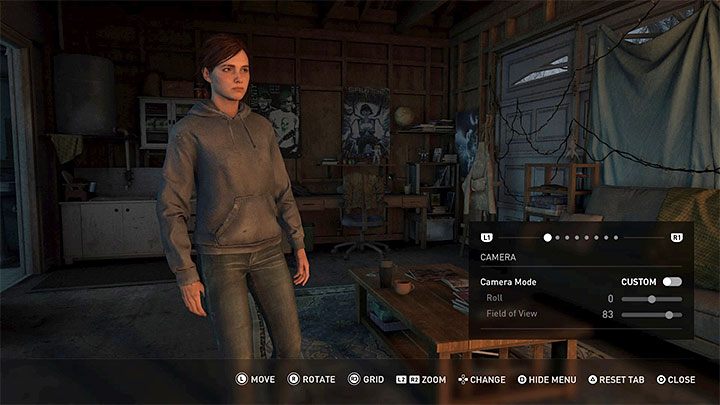
- You can move the camera freely, but it's only available during the gameplay. The game allows you to change the position of the camera in a large range, as well as tilt the camera and widen the field of view.
- You can manipulate the depth of focus to highlight the picture or objects like characters or background elements.
- You can change the level of brightness, color saturation and image sharpness.
- You can add or remove graphic filters, among others, chromatic aberration, film grain and screen blur.
- You can hide character models, for example, if you want to take a nice picture of the landscape.
- You can add frames and logos to your photos.
- After preparing a good material for the photo, press the Square to hide the photo mode interface. Only then press the SHARE button to save the photo on the console's hard drive.
You are not permitted to copy any image, text or info from this page. This site is not associated with and/or endorsed by the developers and the publishers. All logos and images are copyrighted by their respective owners.
Copyright © 2000 - 2025 Webedia Polska SA for gamepressure.com, unofficial game guides, walkthroughs, secrets, game tips, maps & strategies for top games.
