Star Wars Jedi Fallen Order: Starting tips
On this page of our guide to Star Wars Jedi: Fallen Order you will find starting tips that may help you during your gameplay. We have prepared various hints about game mechanics and problematic situations that you will have to deal with, especially during the first few hours of the game. Many of the issues described below have been discussed in more detail on separate pages of our guide and in the FAQ section.
- It is best to choose a normal level of difficulty - Jedi Knight
- Health points don't regenerate automatically
- You can't visit all locations at the very beginning of the game
- Postpone some battles and locations for later
- Practice with your lightsaber to learn how to parry attack and deflect laser bolts
- Use the holomap to navigate and identify your position
- Unlock new shortcuts all the time
- Target and lock your enemies while fighting with difficult opponents
- Check your tactical guide to learn more about your enemies
- Observe the actions of BD-1
It is best to choose a normal level of difficulty - Jedi Knight
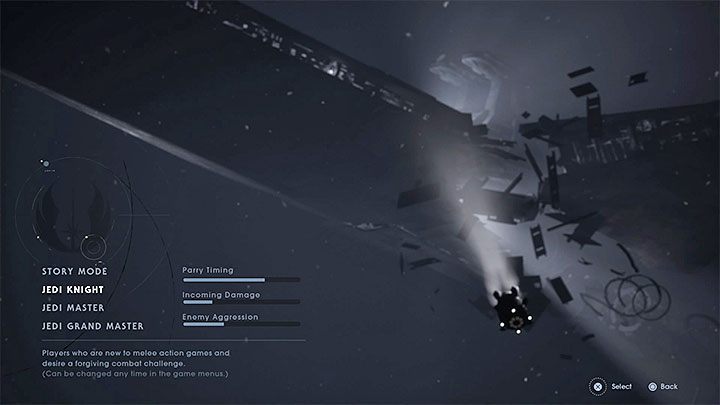
This is the best choice for completing the game for the first time. Choosing this level of difficulty should provide you with a sufficient level of challenge (especially when confronted by multiple bosses), but at the same time it should not cause any frustration. The difficulty levels differ not only in the amount of received damage, but also in the limited rate of failure when you parry enemy attacks. When playing at higher difficulty levels, you need to have a much better sense of how to parry an enemy attack correctly and not to get hit.
Important information is that the difficulty level can be changed after you start playing the game. The only requirement to change the difficulty level is to stay out of combat. In addition, the Fallen Order does not force you to complete the main campaign on high difficulty level in order to unlock the platinum trophy. You can earn a set of trophies even if you choose the story mode (lowest difficulty level).
Health points don't regenerate automatically
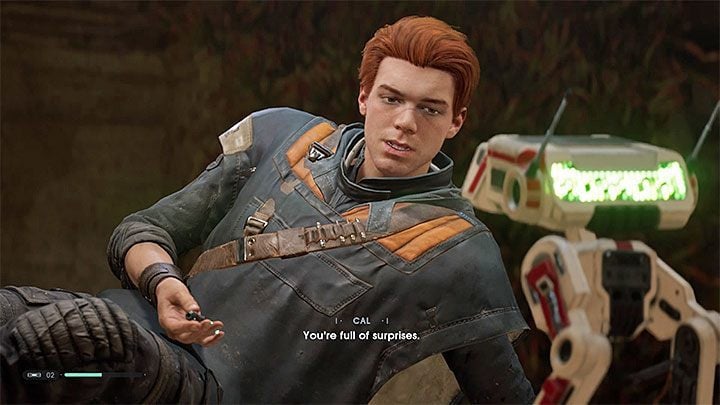
This is one of the most important features of the game and you have to remember about it from the very beginning of your adventure. Your health will not regenerate even when you're out of combat. As a result, you must often monitor your hero's health bar and react after you lose most of your health points.
Cal can be healed by a friendly BD-1 droid, although it has a limited number of stim canisters. You can increase the maximum capacity of droid treatment packs as you progress in the main story. A universal way to heal your hero is to visit one of the meditation points. If you go to rest, you will renew your health bar and Force bar. We recommend visiting a separate page of our guide How to heal my hero? which can be found in the FAQ section.
You can't visit all locations at the very beginning of the game
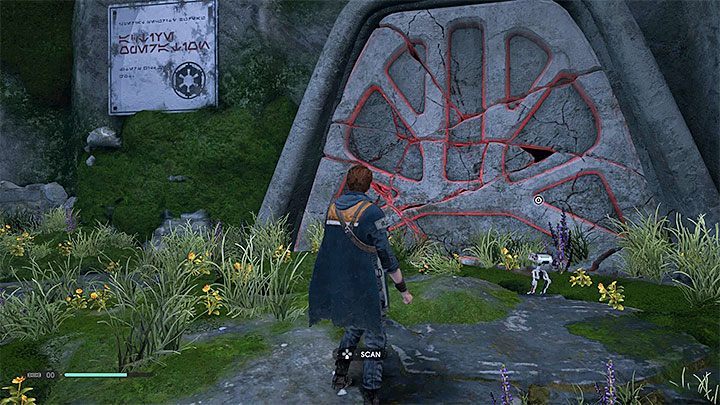
Star Wars Jedi: Fallen Order is a game that contains a lot of features of the so-called metroidvania. In other words, many areas of the game are initially inaccessible and can be visited only after you advance in the game's story and/or after you unlock new powers and skills.
In the game you can run into, among other things, closed doors, barricaded passages (highlighted in red) or high rocky ledges. It is worth remembering these places to return to them later in the game. Initially, we advise you to focus on the progress in the main story - you will gain a lot of useful powers and skills in the second and third chapter of the game. However, further improvements or skill upgrades are obtained practically until the end of the adventure. For more information on how to reach seemingly inaccessible places, check out the How to unlock closed or blocked passages? section of our guide.
Postpone some battles and locations for later
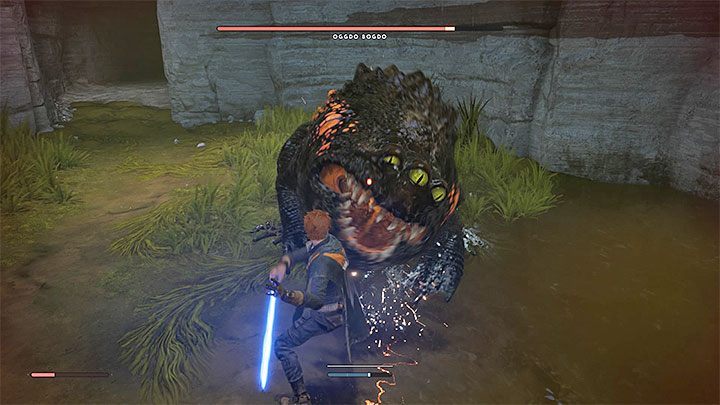
Some locations cannot be reached, while others should not be reached too early because of their high level of challenge. We're especially talking about the following places or battles:
- Lair of extra bosses - the first optional boss is a big toad Oggdo Bogdo on the Bogano planet. In the further part of the game you will fight with three additional bosses. Each of the optional bosses deals much greater damage in comparison to ordinary enemy units.
- Planet Dathomir - it will appear on the map of galaxy in the second chapter of the campaign, but it doesn't have to be explored yet. Many areas on Dathomir will also be unavailable due to the lack of appropriate gadgets.
It is a good idea to wait with all the more difficult optional activities until you purchase new skills, gain new Force powers and add more stims (free treatments) to your collection.
Practice with your lightsaber to learn how to parry attack and deflect laser bolts
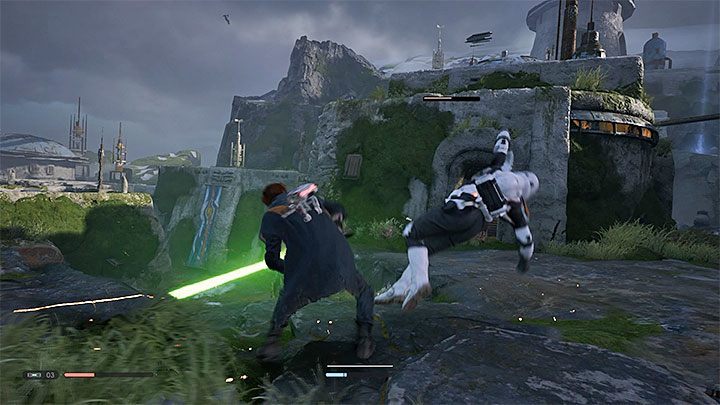
Star Wars Jedi: Fallen Order is not as hardcore title as Sekiro: Shadows Die Twice, but it's still worth spending a lot of time on melee combat training and learning how to deflect laser bolts with your lightsaber. If you don't master these mechanics, you may encounter a lot of difficulties during many battles with bosses or even stronger versions of standard enemies.
You will not find any training room in the game, but this is not a serious problem. Abandoned Village on Zeffo planet is an excellent location to practice lightsaber combat. In the village you can encounter Stormtroopers with blasters (deflect their blaster bolts) and Stormtroopers equipped with melee weapons (parry their attacks). In addition, small monsters can be found near the village and this is a great opportunity to practice all sort of evading moves during red attacks (which are impossible to block).
Use the holomap to navigate and identify your position
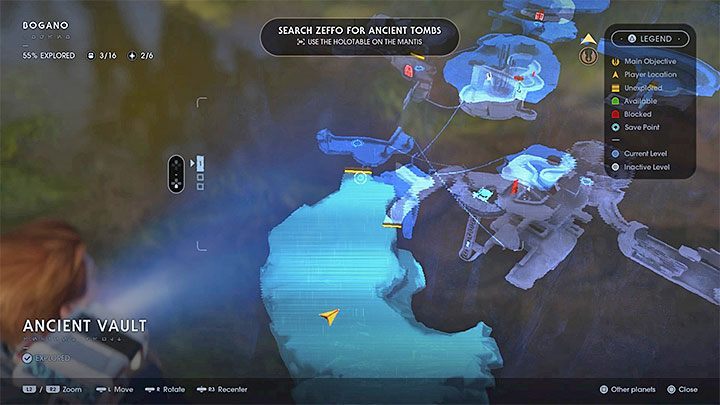
There is no arrow in the game that would show you the way to your destination. Also, Star Wars Jedi: Fallen Order doesn't offer a mini-map that is always visible on the screen. You need to make a short stop and take a look at the holomap, a three-dimensional hologram that displays the map of entire area, which updates itself as the specific planet is being explored.
Pay special attention to the yellow and green markings on the map - these are potential new paths and unknown locations that should be explored. The red color, on the other hand, indicates places that you cannot reach at the moment - it may be necessary to open the door from the other side or gain the power needed to demolish the wall.
Unlock new shortcuts all the time
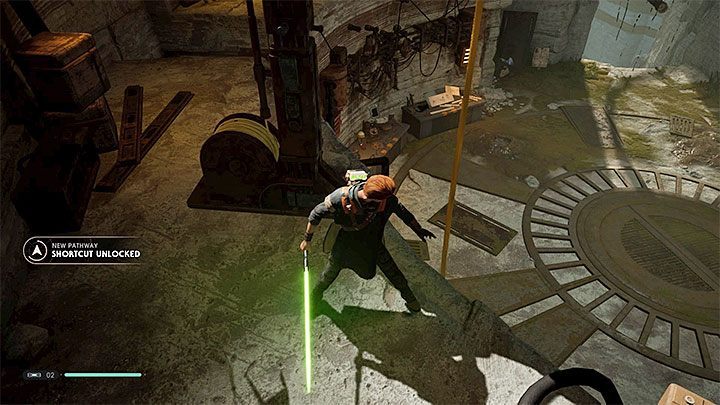
Shortcuts are new passages between locations that you can unlock as you explore them. You can create a new shortcut, for example, by hanging a rope (as shown in the screenshot above) or opening doors that were previously closed from the other side. In general, try to interact with all newly found objects and structures - many of these structures allow you to create new shortcuts.
Finding shortcuts helps a lot during your re-visits of the already-explored locations, for example, to find some collectibles. By unlocking the shortcut, you won't have to take a way around. So, you can save yourself a lot of time.
Target and lock your enemies while fighting with difficult opponents
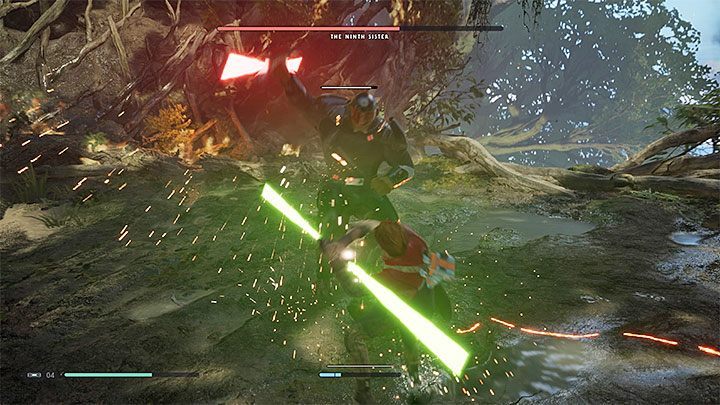
Locking the camera on a target is a feature that you don't have to use during all battles with standard enemy units, but it can be very useful during encounters with stronger enemies and bosses. Target locking system makes it very easy to react to opponent's actions. After you have locked a target, you can parry enemy attack in a much easier way. The same applies to deflection of laser bolts. Also, it will be much easier to evade or dodge enemy strike. Additionally, it reduces the risk of your opponent suddenly disappearing from sight and being able to lead out an attack for which you may not be properly prepared.
After you have locked a particular enemy, you can switch to nearby targets. This is useful if you are fighting against 2-3 enemies and you want to focus on the one that poses the greatest threat to Cal. This option is also useful during duels with large monsters. The switching function can then be used, for example, to lock the camera on a specific limb of an attacked beast.
Check your tactical guide to learn more about your enemies
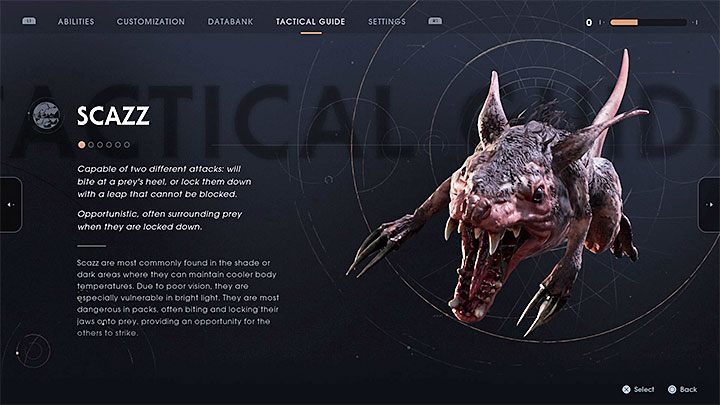
After you defeat a certain type of opponent for the very first time, then you will be able to scan the enemy. You should always scan your enemies. Scanning enemies is required to obtain one of the game trophies but its main purpose is to unlock a card with information about specific opponent or monster. It is worth noting that you do not have to scan the bosses of the game. Their information cards are automatically generated.
All unlocked cards are available in the Tactical Guide tab. Always be interested in bold text. You can find out what kind of attacks enemies have at their disposal, what other strengths they have and how to react to their unique abilities. Use this knowledge in your next battles or encounters with specific types of opponents.
Observe the actions of BD-1
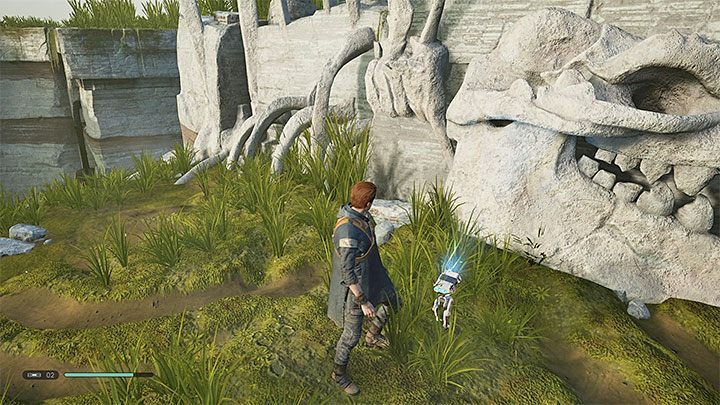
The BD-1 droid is the closest companion of the main character, who travels with him everywhere. A cute droid can help in many situations, not only when you have to ask him to inject a stim to heal your character.
Stop each time the droid jumps off the hero's back and runs somewhere. The BD-1 can independently reach, for example, an interactive device that is located somewhere in the area, or get to a spot where something can be scanned. By scanning the environment, you can deepen your knowledge of the game world and gain some XP at the same time.
- Star Wars Jedi Fallen Order Guide
- Star Wars Jedi Fallen Order: Game Guide
- Star Wars Jedi Fallen Order: Basics
- Star Wars Jedi Fallen Order: Starting tips
- Star Wars Jedi Fallen Order: Character development
- Star Wars Jedi Fallen Order: Exploration
- Star Wars Jedi Fallen Order: Ship - Mantis
- Star Wars Jedi Fallen Order: Combat
- Star Wars Jedi Fallen Order: Lightsaber
- Star Wars Jedi Fallen Order: BD-1 droid
- Star Wars Jedi Fallen Order: Enemy types
- Star Wars Jedi Fallen Order: List of powers and abilities
- Star Wars Jedi Fallen Order: Basics
- Star Wars Jedi Fallen Order: Game Guide
You are not permitted to copy any image, text or info from this page. This site is not associated with and/or endorsed by the developers and the publishers. All logos and images are copyrighted by their respective owners.
Copyright © 2000 - 2026 Webedia Polska SA for gamepressure.com, unofficial game guides, walkthroughs, secrets, game tips, maps & strategies for top games.
