Star Wars Jedi Fallen Order: Chapter 2 Tomb of Eilram Walkthrough
On this page of our guide to Star Wars Jedi: Fallen Order you will find a detailed description of the Tomb of Eilram, which has to be investigated in the second chapter of the main campaign. We have described solutions to all the mandatory environmental puzzles - there are many of those in the tomb. In the further part of our walkthrough (after unlocking the Force Push) we suggest how to leave the tomb and how to defeat the AT-ST boss.
- Arrival at the central hall of the tomb
- How to reach the location where you get the Force Push
- How to solve the puzzle with three spheres
- Leaving the tomb
- Return to the team's spacecraft
- Duel with a boss: AT-ST
Arrival at the central hall of the tomb

Use the stairs. Watch out for Skungus spiked monsters during your entire stay in the tomb. They are immobile, but can deal large amounts of damage if you come into contact with them. Don't hurry through locations where they occur and always check where you're going to jump or land.
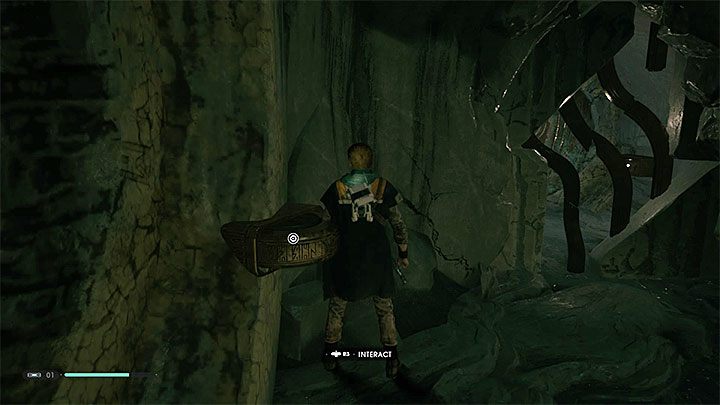
Run on the wall and take the descent to the great hall. Start by getting rid of the monsters here. The first puzzle with a sphere has to be completed here. It in transporting a sphere to a central slot. The mechanisms similar to that shown in the picture 1 will help you in solving this puzzle. Interacting with them leads to the opening or closing of an air stream that can push the sphere object. The sphere can roll into several different places and smash fragments of walls to unlock access to local secrets. Activate further tunnels until the sphere reaches the central slot shown in picture 2.
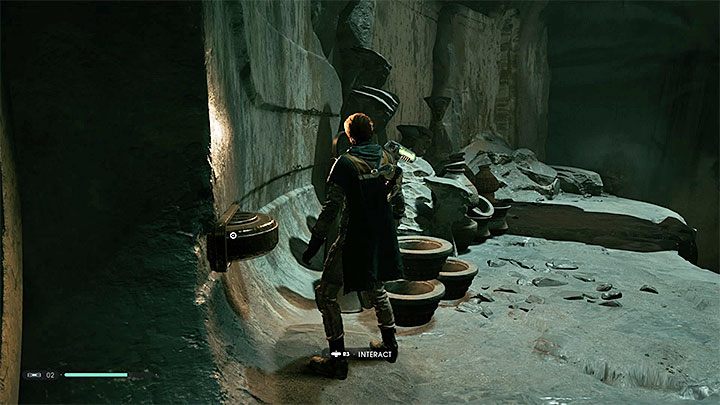
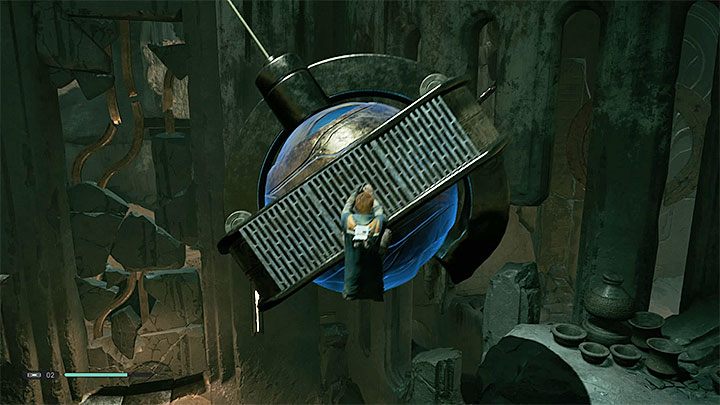
You can move on, but watch out for new monsters. Break down small obstacles and reach a room with a hanging construction with a sphere. Start by using an interactive wall. When you reach the top, use the mechanism in picture 1 to release the air flow. The central structure will start to swing. Stand on your side, jump up to it and grab its walls - this is shown in picture 2.
Jump back when you are close to a new shelf and run across the wall to where the meditation point is located.
How to reach the location where you get the Force Push
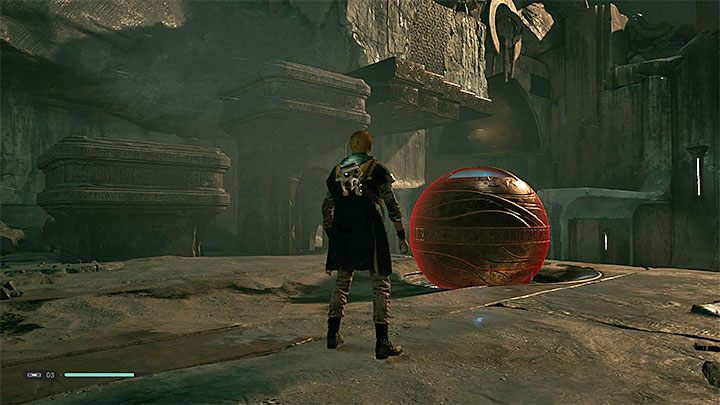
There's a guard named Tomb Guardian in the new large room. Fighting him is not obligatory, although it is worth practicing defeating this type of enemies. It's a much stronger opponent than those you have met before. Avoid ranged attacks by a guard and strong melee combat strikes, especially the red one. Seek opportunities to launch your own attacks after a guard has carried out a failed (slow) attack.
To advance further in the exploration of the vault, take an interest in the sphere located near the meditation point. Next to it is the mechanism of opening the air flow. Use it and the sphere will be pushed a few meters into the slot. On the left side, new platforms will appear (shown in the picture above). Climb on them.
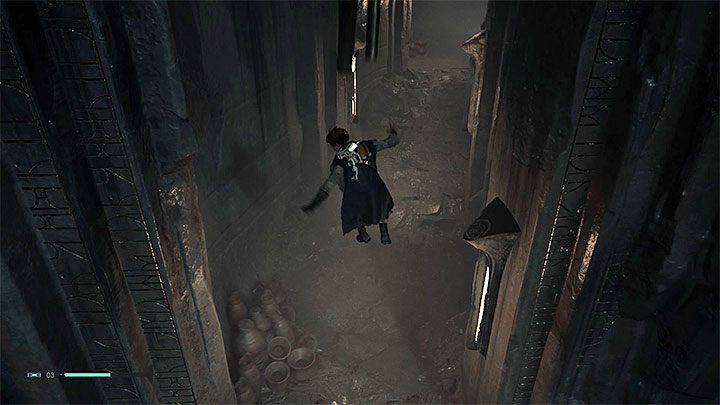
Use the climbing wall and break through small obstacles. A new difficult descent will begin, during which you have to jump perfectly to hang on a rope and then to the wall, on which you should run.
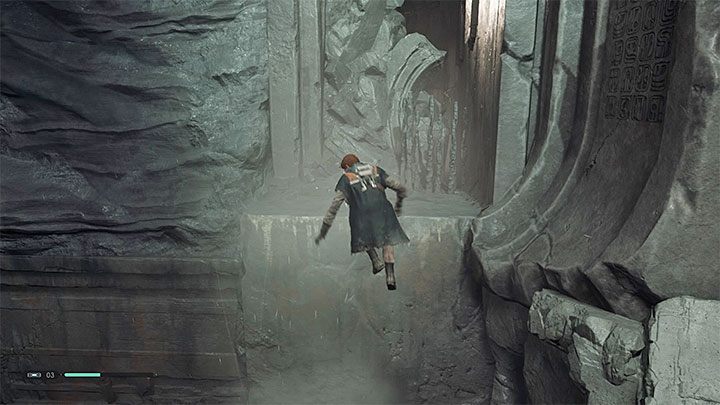
In one of the following rooms there are air streams that cannot be closed. As a result, you must make corrections when measuring each jump and position yourself a little bit on the side, because the hero will be pulled aside during the flight. In the next room, you will reach the air tunnel opening mechanism. It will push all Skungus monsters away. Move to the other end and jump (image above). Cal will be pushed by the airstream, making the jump longer.
In the new location there is another Tomb Guardian, although the guard will be weakened by exploding Skunguses. Still, don't underestimate your opponent and don't take too much risk during the duel. After winning the battle, reach the vertical stream of air and jump to the top shelf.
Use the already known mechanism to open a new wind tunnel. Jump in the direction of the shelf shown in the picture. Cal should be pushed by a horizontal air stream. Break through the little obstacles to move on.
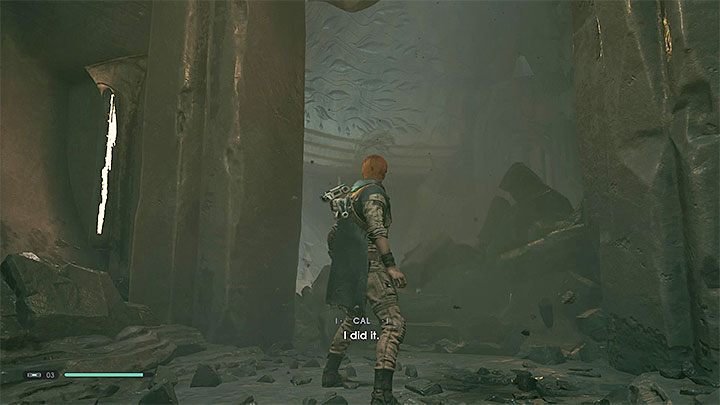
You'll be in a large corridor. Head straight ahead and touch the closed gate. When you are in a corridor with a blowing wind, go straight ahead and ignore the objects that Cal will collide with. A new flashback scene will be displayed which depicts one of the lessons of the main hero. You will unlock the Force Push power. As Yoda said - do or do not, there is no try. To complete the lesson press the button to use the new attack (R2 / right trigger on the consoles) to throw the spheres.
When you return to the tomb, use the Power Push on the central gate to demolish it (you can also use the Power Push from here on in many other places that were previously inaccessible).
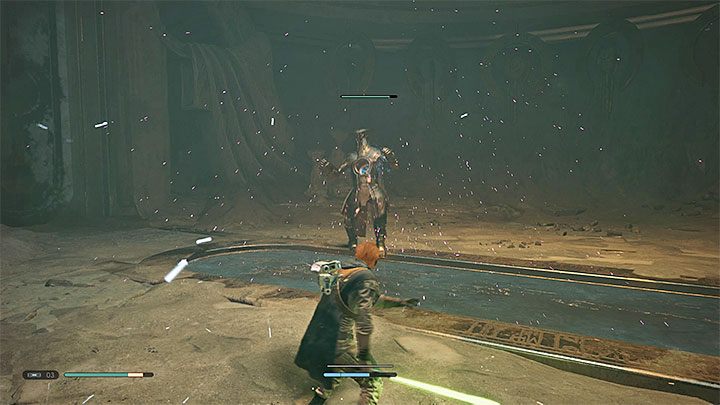
Enter the round room where you will see the new hologram recording and learn about the planet Kashyyyk as another place to explore.
After a while, a new Tomb Guardian will appear. The newly unlocked Force Push can help you win this duel - activate the Force Push when a guard is performing one of his strong attacks. This will interrupt his attack and temporarily expose him to your attacks.
How to solve the puzzle with three spheres
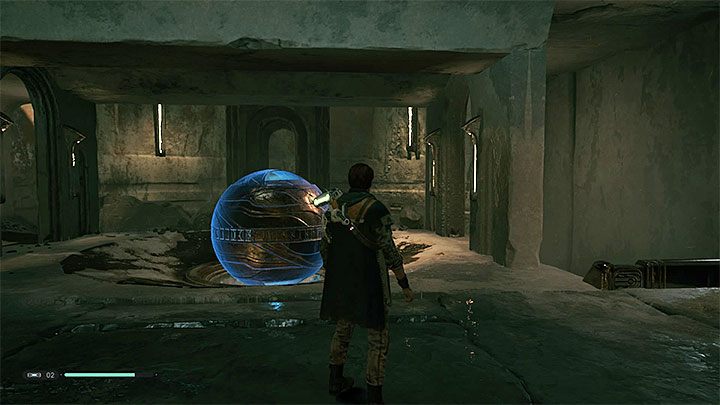
You will return to the central hall with the meditation point (note - the game has unlocked new skills to buy!) and you have to solve the puzzle of placing three spheres in the appropriate slots.
Start by positioning yourself at the first sphere, which is the one previously pushed by the air stream. You can push it through with a Force Push. Bring it to the new lower slot in the picture above. This will unlock a new passage on the right side.
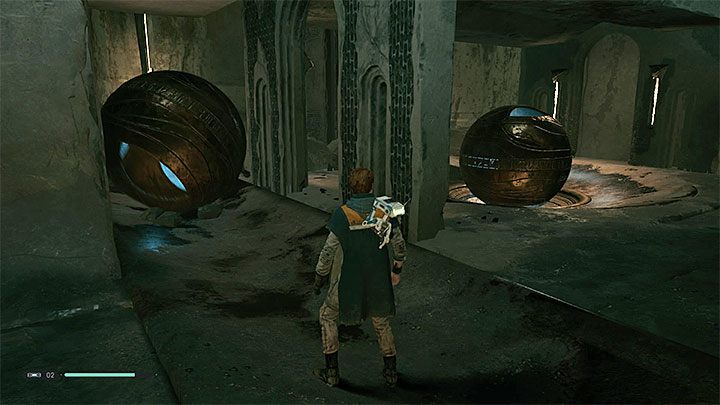
Explore a new passage. Along the way you have to grab some pieces of interactive wall and move to the left. There's a second sphere in the upper corridor. Start using the Force Push on it and get it thrown into the central room.
Guide the second sphere to the trough from the above picture - it surrounds the place where the first sphere was placed. Push the second sphere until it rolls to the "launcher" and is ejected to a higher level by an air stream. The second sphere should stop at the top slot.
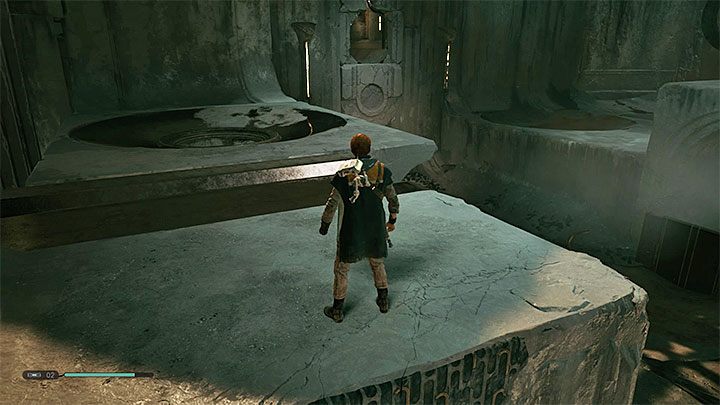
Break through to the hanging cargo room with the third sphere. Climb upstairs to use the Force Push on the cargo and release the third sphere. Then break through with it to the central hall.
As in the case of the second sphere, point the third sphere at the trough. After it starts to roll, two streams of air are going to keep it in continuous motion. Reach the place shown in the picture above, that is above the first sphere.
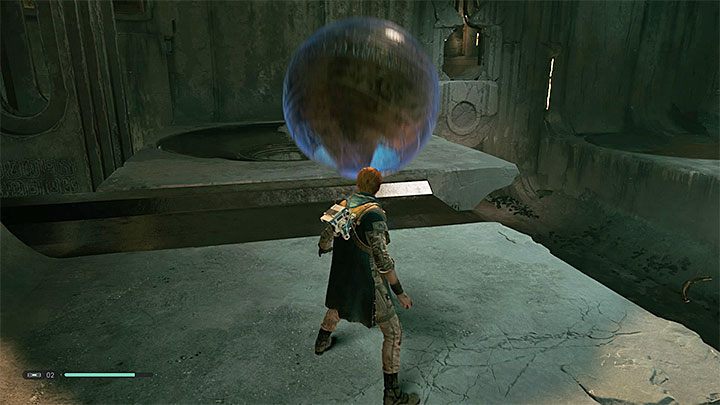
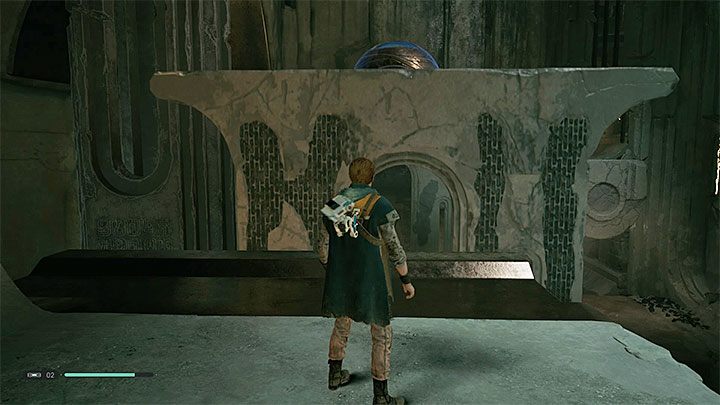
Wait until the traveling third sphere is ejected and finds itself in front of the hero. Quickly use the Force Slow to stop the third sphere (picture 1). Then use the Force Push to push the sphere into the third slot. The whole structure will rise (picture 2).
Leaving the tomb
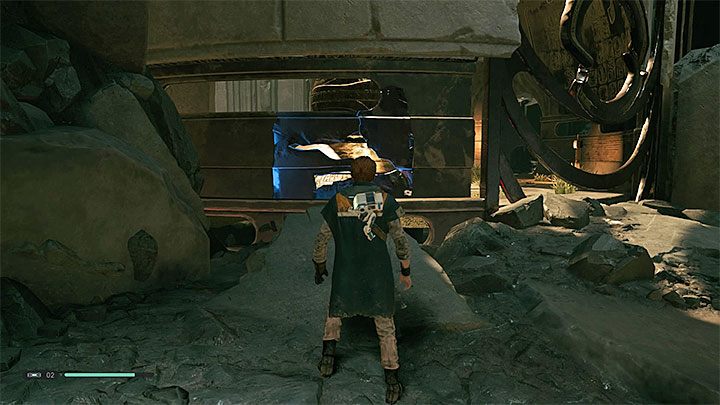
You can use the narrow climbing wall to reach the slot with the third sphere. Jump to nearby edges and climb up to a higher shelf. You can demolish the weakened part of the wall here (picture above).
You will return to the elevator room. Push the local sphere out of the slot and let it roll down. Stop on the special pile plate to set the elevator in motion and leave the Tomb of Eilram.
Return to the team's spacecraft
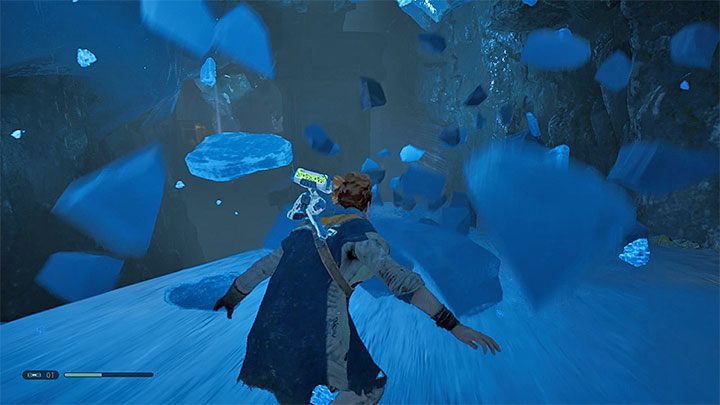
Now, you must return to the team's spaceship. Once you find yourself in the ruins, start by stopping at the meditation point. New Stormtroopers have appeared in the ruins. Take the opportunity to attack them by surprise and watch out for the Commander who can throw grenades (quickly jump off before they explode).
Go straight ahead after defeating your enemies. Destroy a wall with a Force Push and complete a new descent on an icy surface. It is quite difficult stage. In a few places you have to make a perfect jump, run on the wall or catch a rope. The hero will finally reach the Ice Caves. Right next to the place where you finished the descent there is a meditation point.
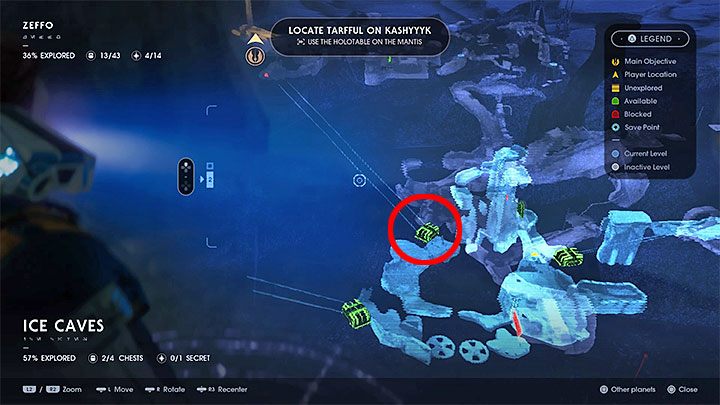
Full exploration of ice caves is not mandatory. In the caves there are three different elevators marked green on the holomap, which can take you to the surface. In order to reach the hero spaceship as quickly as possible, use the elevator marked on the attached picture.
On your way to the elevator you will meet the ice monster called Jotaz, but defeating it is completely optional. Also, watch out for the rocket launcher Stormtrooper and attack him while he reloads his weapon. Activate the elevator and wait until it reaches the surface. Be sure to rest by the new meditation point and only then go to the landing pad where you started exploring Zeffo.
Duel with a boss: AT-ST
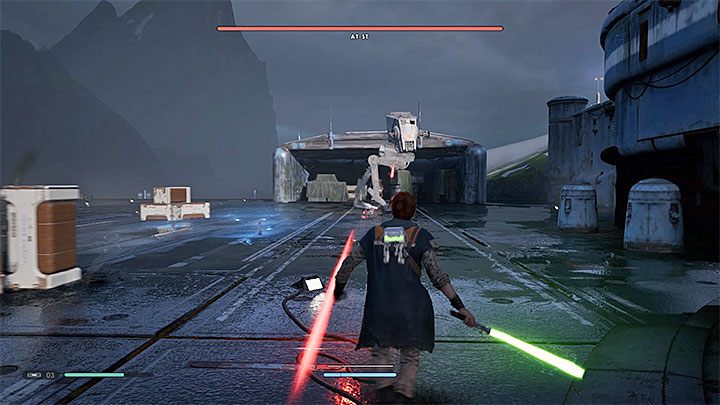
Upon arrival at the landing zone, you will be forced to defeat the AT-ST walking machine. It has three main types of attacks:
- Blaster strike - you can reflect the laser projectiles with lightsaber, but they will only cause minor damage to the AT-ST.
- Grenade launcher - coming into contact with one of the thrown grenades will electrocute the hero. You can use the Force Push to throw them at the boss.
- Missile launcher - they are homing, but they can be avoided by jumping. Alternatively, you can turn them back towards AT-ST by using the Force Push.
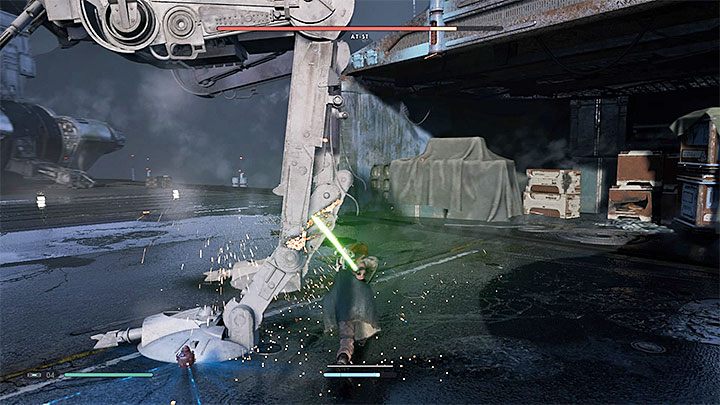
The best way to quickly weaken the AT-ST is to attack its lower mechanical legs with a lightsaber. AT-ST will not, of course, remain idle. Jump off as soon as you notice a grenade falling down next to you. Return to attacking after the grenade explodes.
After defeating AT-ST, you can board your team's spaceship and fly away from the planet.
- Star Wars Jedi Fallen Order Guide
- Star Wars Jedi Fallen Order: Walkthrough
- Star Wars Jedi Fallen Order: Main Story
- Star Wars Jedi Fallen Order: List of all missions Walkthrough
- Star Wars Jedi Fallen Order: Prologue Walkthrough
- Star Wars Jedi Fallen Order: Chapter 1 Bogano Walkthrough
- Star Wars Jedi Fallen Order: Chapter 2 Zeffo Walkthrough
- Star Wars Jedi Fallen Order: Chapter 2 Tomb of Eilram Walkthrough
- Star Wars Jedi Fallen Order: Chapter 3 Kashyyyk Walkthrough
- Star Wars Jedi Fallen Order: Chapter 3 Return to Zeffo Walkthrough
- Star Wars Jedi Fallen Order: Chapter 3 Tomb of Miktrull Walkthrough
- Star Wars Jedi Fallen Order: Chapter 4 The Prison Walkthrough
- Star Wars Jedi Fallen Order: Chapter 4 Return to Kashyyyk Walkthrough
- Star Wars Jedi Fallen Order: Chapter 4 The Ninth Sister and leaving Kashyyyk Walkthrough
- Star Wars Jedi Fallen Order: Chapter 5 Dathomir Walkthrough
- Star Wars Jedi Fallen Order: Chapter 5 Gorgara and the Tomb of Kujet Walkthrough
- Star Wars Jedi Fallen Order: Chapter 5 Ilum Walkthrough
- Star Wars Jedi Fallen Order: Chapter 5 Return to Dathomir and fighting with Malicos Walkthrough
- Star Wars Jedi Fallen Order: Chapter 6 Return to Bogano Walkthrough
- Star Wars Jedi Fallen Order: Chapter 6 Fortress Inquisitorius - game finale Walkthrough
- Star Wars Jedi Fallen Order: Main Story
- Star Wars Jedi Fallen Order: Walkthrough
You are not permitted to copy any image, text or info from this page. This site is not associated with and/or endorsed by the developers and the publishers. All logos and images are copyrighted by their respective owners.
Copyright © 2000 - 2026 Webedia Polska SA for gamepressure.com, unofficial game guides, walkthroughs, secrets, game tips, maps & strategies for top games.
