Star Wars Jedi Fallen Order: Chapter 5 Dathomir Walkthrough
This page of our guide to Star Wars Jedi: Fallen Order has a detailed walkthrough of the visit on Dathomir which takes place in the fifth chapter. The main character will fight with numerous stronger opponents and do a lot of exploration. Cal will also learn new techniques that will be useful in his adventure.
Journey to the ruins
When you return aboard the Mantis, you must select Dathomir as your next destination. If you focused only on the main plot, then this will be your first visit to this planet.
Leave the ship and go to the first area on Dathomir. You have to make a couple of jumps and catch a climbing wall. As you explore Dathomir, you will encounter new monsters that deal more damage than the creatures found on the previous planets:
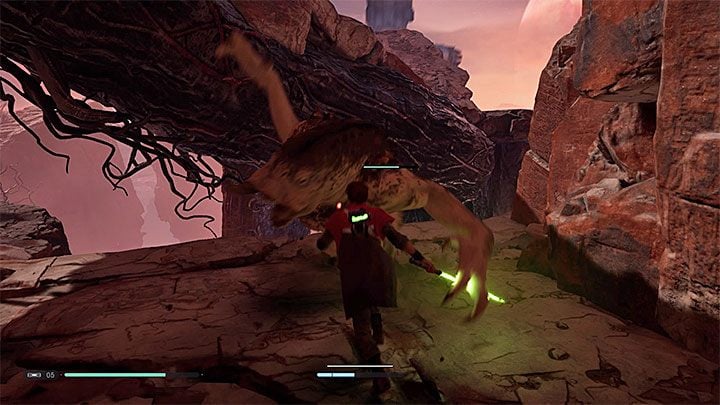
- Lesser Nydak (example in picture 1) - Look for opportunities to jump down on these big monsters. In direct encounters, you can parry their quick attacks or perform dodges and wait for an opportunity to strike. Force Slow can also help you in fighting this enemy.
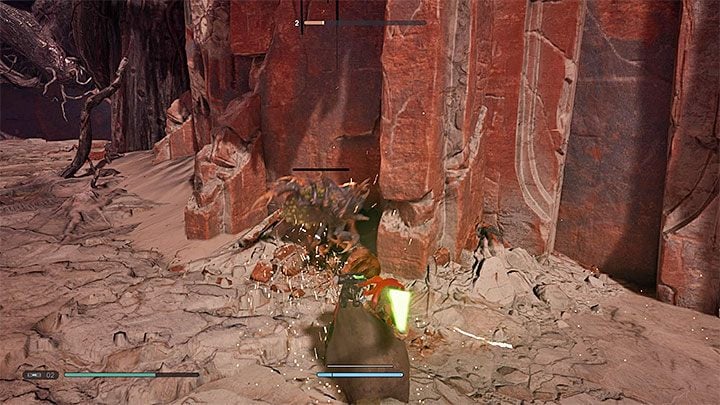
- Bane Back Spider (example in picture 2) - Avoid the spider's venomous spit as well as very fast melee attacks. These attacks can be parried or dodged to the side - only then you can proceed to counterattack. Be sure to run away from the spiders after they are dead - a poisonous cloud will appear around their corpses.
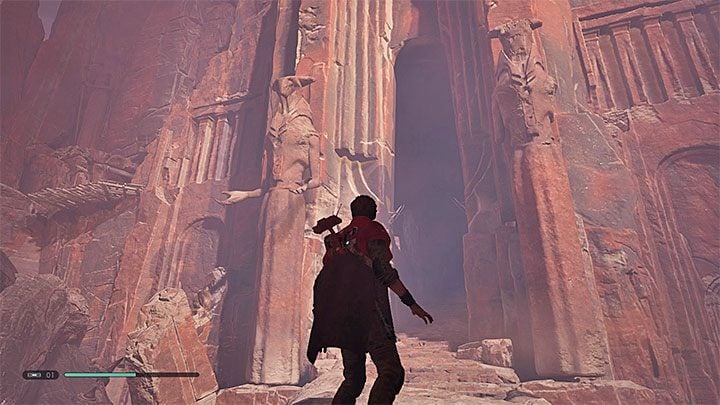
Exploring the entire starting location is optional. If you want to move the main story, head towards the path leading to the large passage between the rocks shown in the picture above.
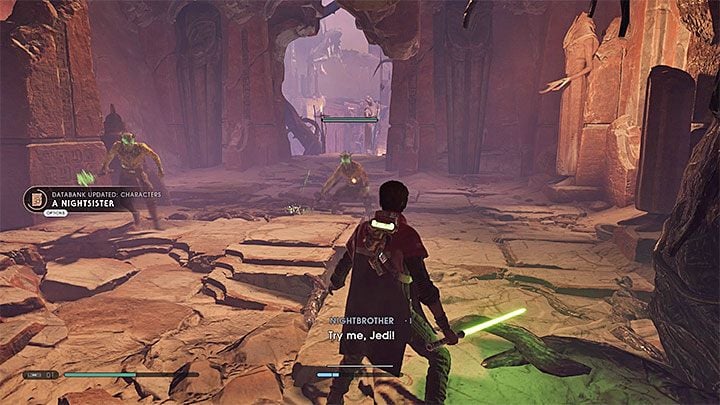
Enter the room to trigger a cut-scene. This is Cal's first encounter with a Nightsister - she will order Nightbrothers to attack the main character. Treat them as stronger version of Stormtroopers. They appear in two main variants:
- Nightbrothers with melee weapons - You can parry their regular attacks, but remember to focus on one enemy at a time. Dodge to the side or back as soon as the enemy starts a red attack.
- Nightbrothers with ranged weapons - Standard ranged attacks can be reflected (sadly, a single deflected bolt won't kill them). Watch out for charged red attacks and dodge to the side when your opponent fires a missile.
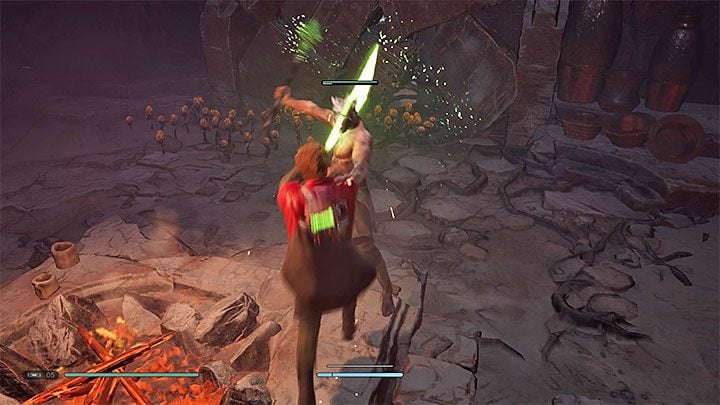
Go to the next location and use Force Pull on the hanging rope. Swing, jump to another rope and use Force Pull again (this time in flight). After making the second jump, you will find yourself near a meditation spot.
A few Nightbrothers equipped with bows will appear in the distance. You can head towards them or decide to reflect each (normal, not red!) projectile. The gate is locked - you have to turn right. Be prepared to react to surprise attacks done by the Nightbrothers equipped with melee weapons. If necessary, you can always return to the previous location.
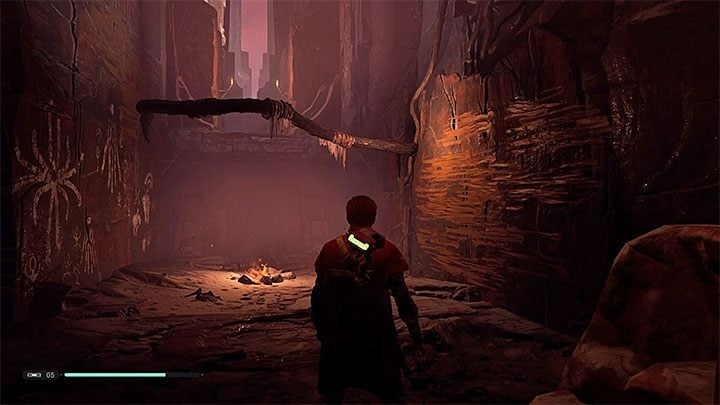
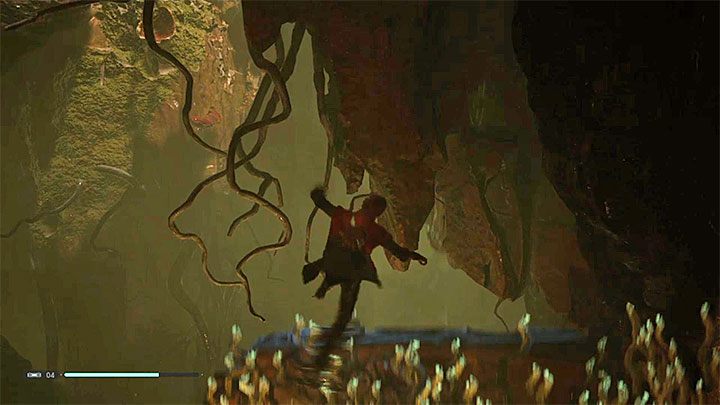
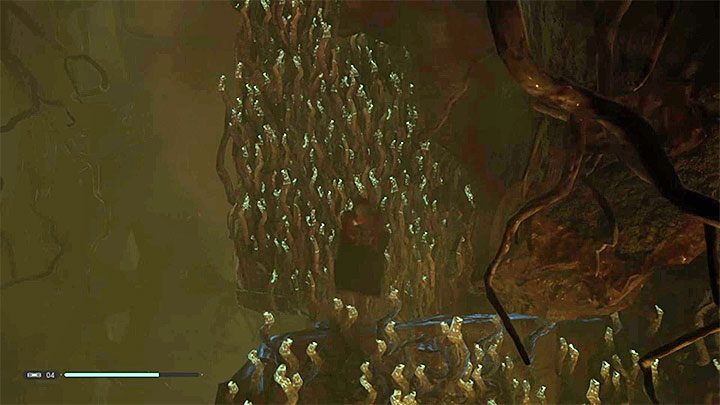
Follow the linear path. In the room presented in the picture, you need to run along the right wall and catch the branch. Then, move on the branch to get closer to the left wall. You will get to the opposite end of the room.
The next room gives you the opportunity to jump down on a spider or on an enemy warrior. Soon, you will find yourself on the opposite side of the previously closed gate. You can also unlock a shortcut.
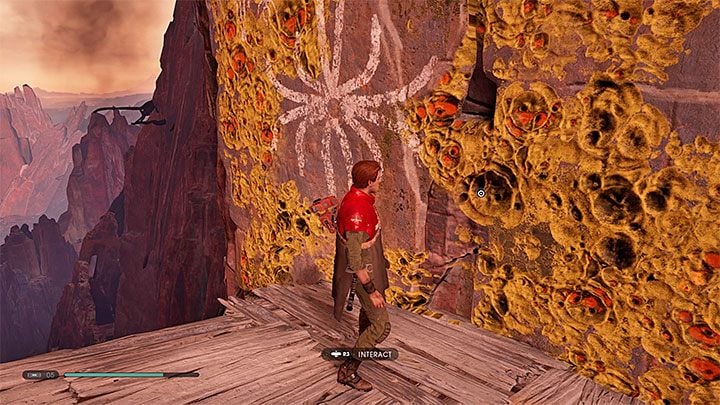
Move straight and jump to the first climbing wall. Cal will soon meet the Wanderer. Talk with him and then move forward. Deal with the new archers. Examine the yellow wall. A fragment of the shelf will crumble. It is worth noting that you can return to this place later during your exploration of Dathomir - after obtaining a new climbing gadget.
Cal will slide down. You have to avoid falling into the abyss, so watch out for places where you need to turn or make a jump. After that, climb the wall and then climb the line. You will reach a meditation spot.
Going through caves and swamps
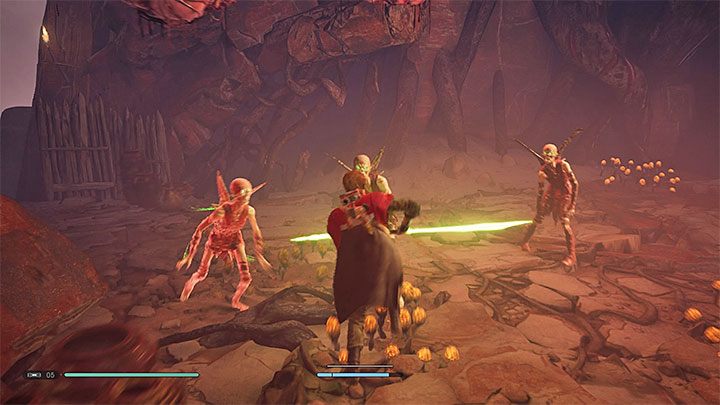
Ignore the gate you see in the distance because it is closed. Instead, choose the narrow passage where Cal has to squeeze through. This triggers a new cut-scene where the main hero meets the Nightsister again. This time, she will order Undead Nightsisters to attack Cal. They always attack in groups, and it is better to fight them using the double-bladed lightsaber. Watch out for their red attacks - they can try to jump on the hero. If they succeed, you will have to free yourself.
After the battle, go to the blue barricade and use Force Pull on it to raise it temporarily. This will open a further passage. Keep climbing. You also have to deal with new Undead Nightsisters.
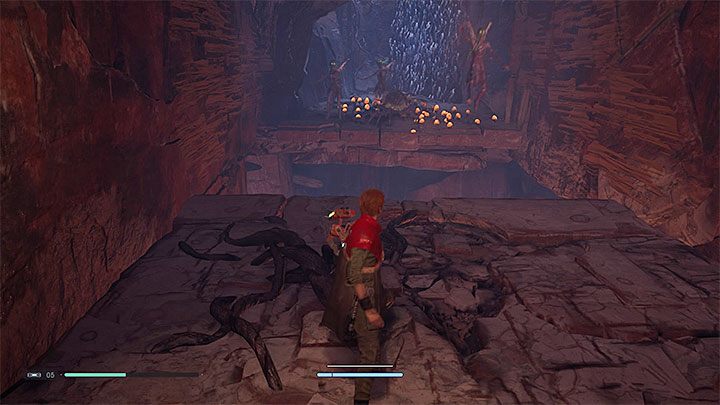
Start walking on a narrow branch. You reach the next barricade - raise it with Force Pull. Deal with the Nightsisters and get on the top shelf. There are new Undead Nightsisters on the next shelf. You can jump to them or wait for them to get to Cal. Regardless of the course of the battle, you have to climb the wall behind them. Grab the edge and move to the side.
Walk on the branch. Along the way, you will pass an elevator which you can use to go down and unlock a shortcut near the bridge you passed earlier. Choose the right passage to continue the journey. This will take you to the Nightbrothers' camp.
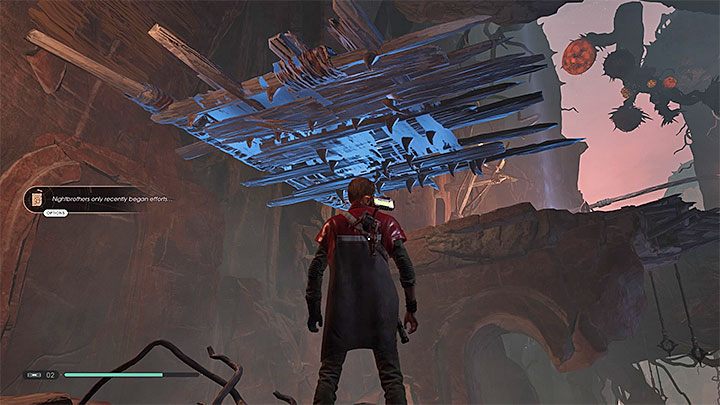
Explore the surroundings - you will be attacked by Undead Nightsisters and Nightbrothers. In addition, spiders will appear in several places. It is better to eliminate them first. Use Force Pull on the barricade in the place from the picture above and then use it to run along the wall. Jump to the top shelf to find a meditation spot.
Keep moving forward - the exit from the cave is next to the enemy using a bow. Soon, you will get to the place where you have to jump down. You will land in an arena - time to fight Nydak. Don't forget to use Force Slow on the monster. This fight isn't mandatory. Soon, you will have to solve a mini-puzzle.
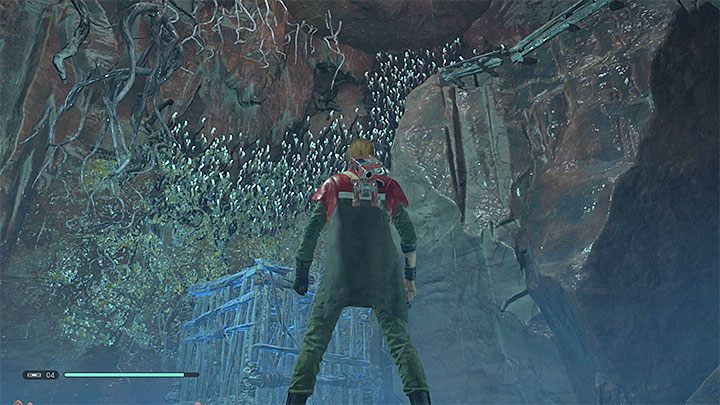
Go to the next area where you will find a large chest. To solve the puzzle, you have to start pushing the chest by using the Force. The solution to this very simple puzzle is presented in the picture - the box must be moved under the climbing wall so that Cal can jump to it.
Destroy a small fragment of the wall to open further passage. Squeeze between the rocks and follow the linear path. Once you find yourself in Nightbrother Village, use Force Pull to lower the bridge. This will allow you to move on. You are under fire so don't stop moving.
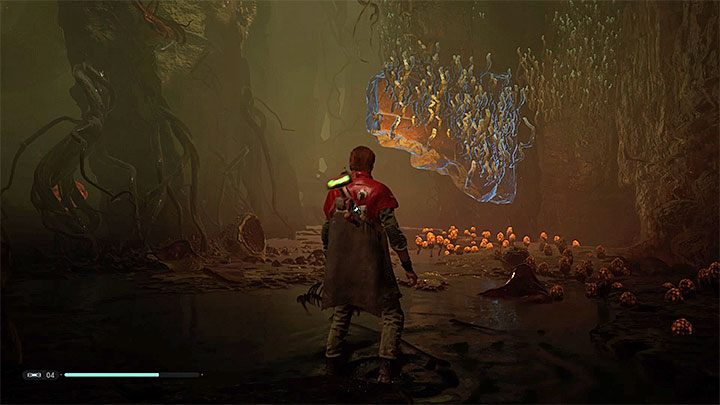
You will reach the Swamp of Sacrifice. There is a meditation spot here. During the exploration of the swamps, you can encounter Nydak and Undead Nightsisters (these fights are optional - you can run from enemies). Find the small climbing wall. This will allow you to get to higher floors.
In one of the areas of the swamp, you have to solve a more challenging puzzle. Start by finding the barricade shown in the picture. Jump to it and grab.
Perform a double jump and use Force Push while you are still in the air. Quickly grab the barricade again.
The barricade will rotate 90 degrees. Quickly perform a double jump towards the upper climbing wall. You must do this before the object returns to its original position.
Time for more climbing. At the top, you have to defeat a few Nightbrothers and Undead Nightsisters.
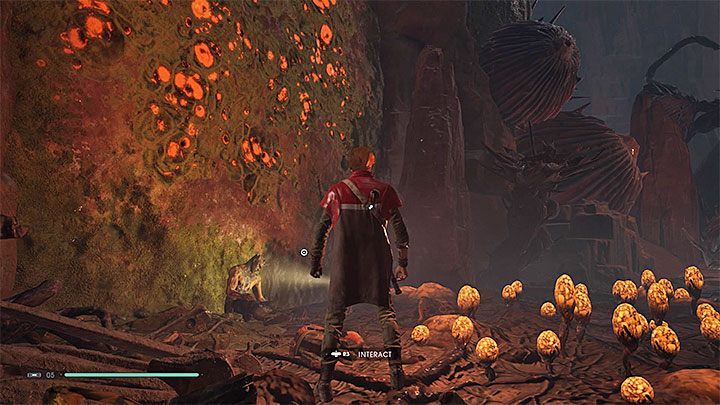
Along the way, you will pass an interactive object that can lower the rope and unlock a shortcut. This is a good idea in case of making some mistake and falling down. If you want to, you can go down and rest at the meditation spot.
The path will lead you to the dark caves, where Cal will speak to the Nightsister again. Follow the linear path and jump to the lower shelves. After entering a large cave, approach the interactive corpse. This will trigger a boss fight with Gorgara. The description of the fight with this flying creature is on the next page of our walkthrough
- Star Wars Jedi Fallen Order Guide
- Star Wars Jedi Fallen Order: Walkthrough
- Star Wars Jedi Fallen Order: Main Story
- Star Wars Jedi Fallen Order: List of all missions Walkthrough
- Star Wars Jedi Fallen Order: Prologue Walkthrough
- Star Wars Jedi Fallen Order: Chapter 1 Bogano Walkthrough
- Star Wars Jedi Fallen Order: Chapter 2 Zeffo Walkthrough
- Star Wars Jedi Fallen Order: Chapter 2 Tomb of Eilram Walkthrough
- Star Wars Jedi Fallen Order: Chapter 3 Kashyyyk Walkthrough
- Star Wars Jedi Fallen Order: Chapter 3 Return to Zeffo Walkthrough
- Star Wars Jedi Fallen Order: Chapter 3 Tomb of Miktrull Walkthrough
- Star Wars Jedi Fallen Order: Chapter 4 The Prison Walkthrough
- Star Wars Jedi Fallen Order: Chapter 4 Return to Kashyyyk Walkthrough
- Star Wars Jedi Fallen Order: Chapter 4 The Ninth Sister and leaving Kashyyyk Walkthrough
- Star Wars Jedi Fallen Order: Chapter 5 Dathomir Walkthrough
- Star Wars Jedi Fallen Order: Chapter 5 Gorgara and the Tomb of Kujet Walkthrough
- Star Wars Jedi Fallen Order: Chapter 5 Ilum Walkthrough
- Star Wars Jedi Fallen Order: Chapter 5 Return to Dathomir and fighting with Malicos Walkthrough
- Star Wars Jedi Fallen Order: Chapter 6 Return to Bogano Walkthrough
- Star Wars Jedi Fallen Order: Chapter 6 Fortress Inquisitorius - game finale Walkthrough
- Star Wars Jedi Fallen Order: Main Story
- Star Wars Jedi Fallen Order: Walkthrough
You are not permitted to copy any image, text or info from this page. This site is not associated with and/or endorsed by the developers and the publishers. All logos and images are copyrighted by their respective owners.
Copyright © 2000 - 2025 Webedia Polska SA for gamepressure.com, unofficial game guides, walkthroughs, secrets, game tips, maps & strategies for top games.
