Star Wars Jedi Fallen Order: Chapter 3 Tomb of Miktrull Walkthrough
On this page of our guide to Star Wars Jedi Fallen Order you will find a detailed walkthrough of the Tomb of Miktrull section which has to be explored during the third chapter of the main campaign (during your another visit to Zeffo planet). As in the case of the previous tomb, there are many environmental puzzles to solve here. Cal will also unlock an important new skill in the tomb - Force Pull.
- Unlocking the Force Pull skill
- Getting to the spot with a puzzle
- Solving the puzzle in the central hall
- Leaving the Tomb of Miktrull
- Confrontation with the bounty hunter
Unlocking the Force Pull skill
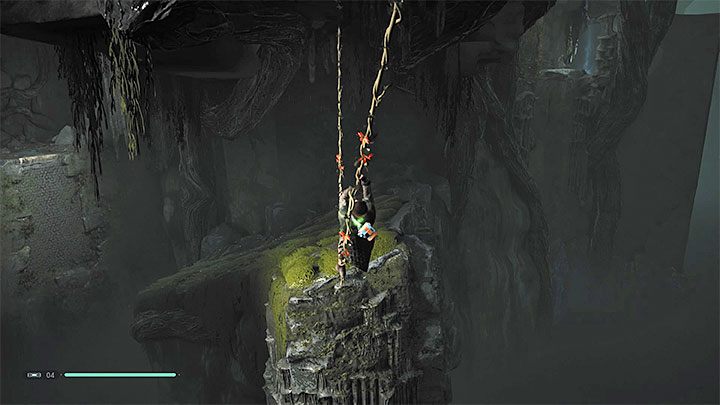
Start by squeezing through the rocks. Grab the ledge on the right side of the wall and move to the side. In one of the following areas you will find two hanging ropes to which you must jump - one after the other. Then move along the climbing wall.
One of the next rooms is occupied by Stormtroopers and Tomb Guardian. In addition to the well-known combat tactics, don't forget to help yourself by using the Force Push to stop the attacks of Tomb Guardian. After the battle, destroy a weakened wall by using the Force Push skill. You can find the wall in the area.
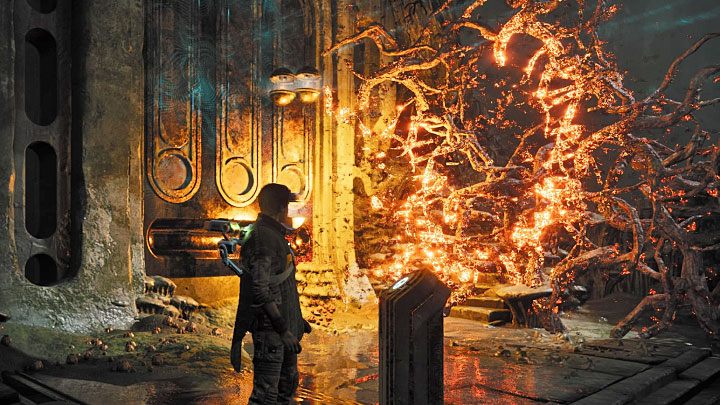
It is located in a large room, where you will have to solve a puzzle (in the final phase of your visit in the tomb). Destroy another wall and move on. Come to the pedestal and interact with it. The gravity attraction mechanism will be activated. Then, one of the lamps will set the roots on fire, thus unlocking a way to the next area.
Get to the wall full of vines and climb up to the higher level. There's a meditation point there. Right next to it there is a passage to the higher level of the hall with a hanging sphere. There is a large group of Stormtroopers in this area, but you can easily push them down. Even if they don't die due to the fall, they won't be able to get back upstairs.
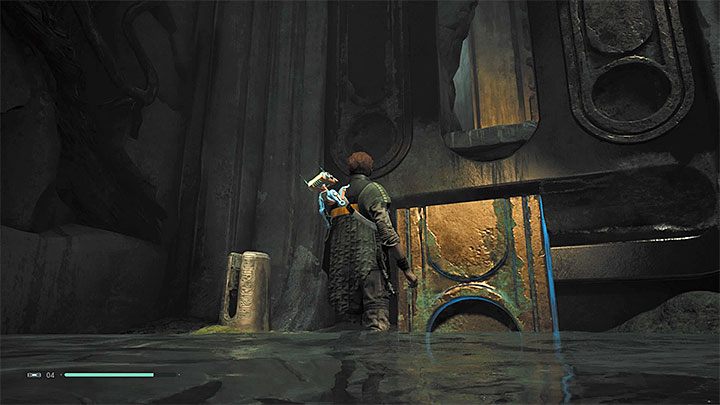
Get interested in the stone block located on the left of the entrance to the main hall. You can push it by using your Force Push skill. Push it into the place shown in the picture and you will be able to climb and walk further.
In the new corridor you will meet another Tomb Guardian, but you don't have to fight with him (neither with smaller monsters). If you decide to defeat all enemies it will enable you to stop at a new meditation point.
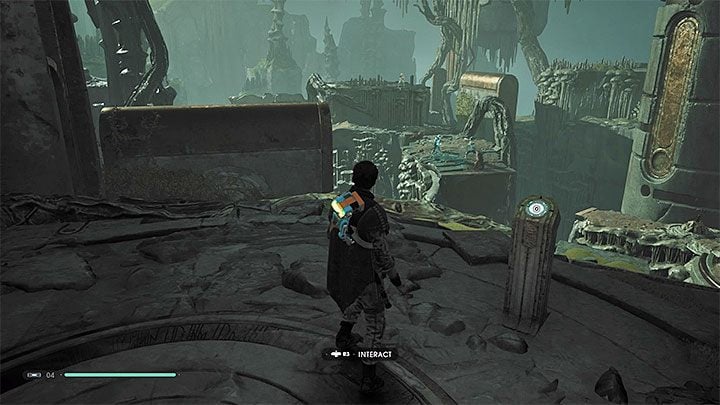
Jump on small ledges over a precipice and eliminate new Stormtroopers. Run across the wall and reach the new two hanging ropes. Swing a lot while grabbing each rope. Jump to the vine-covered wall and move to the side. Beware of new spiked monsters on which you can successfully use the Force Push skill.
Reach to the new climbing wall and then to the next pedestal. Activate the mechanism to move large objects visible in the background. Take advantage of the new passage and after bypassing / eliminating more monsters jump to the wall covered vine. Move aside and jump to the ledge with a Stormtrooper.
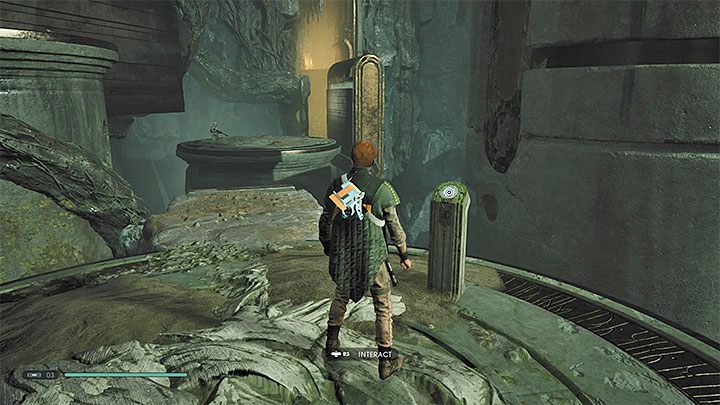
Keep going. A Purge Trooper stands at the top of one of the visible constructions. It is possible to push him into the abyss, but if you don't manage to do so, you can also defeat him in direct combat. Be careful not to fall into the abyss by yourself, because the combat area is very small.
Locate another interactive pedestal that will move some objects in the area. You can catch a vine and reach a new path behind it. At the next pedestal (shown in the picture above) start by 'summoning' the wall with vines. Re-use the pedestal and quickly run to the wall to jump on it and grab it.
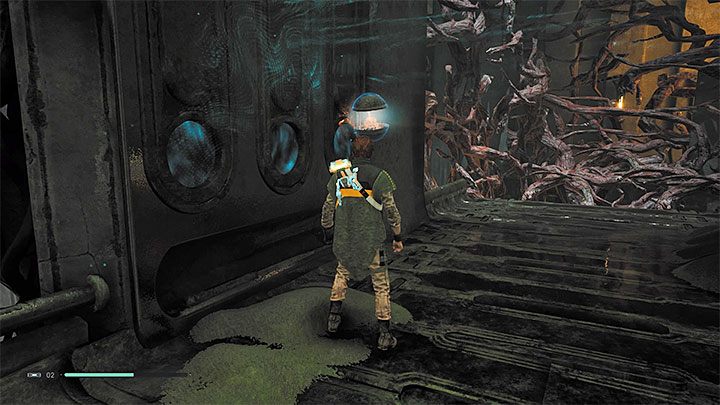
Continue your journey and climb further. One of the next ledges is occupied by a Stormtrooper equipped with a flamethrower, but you can easily jump on him. Complete a few runs on the walls.
Finally, you will arrive at a bridge at the end of which there is a passage blocked by branches. Use the pedestal to activate gravity system and then use Force Push on one of the lamps. It should collide with the branches and set them on fire. Move further on. There will be two weakened walls on the way to destroy.
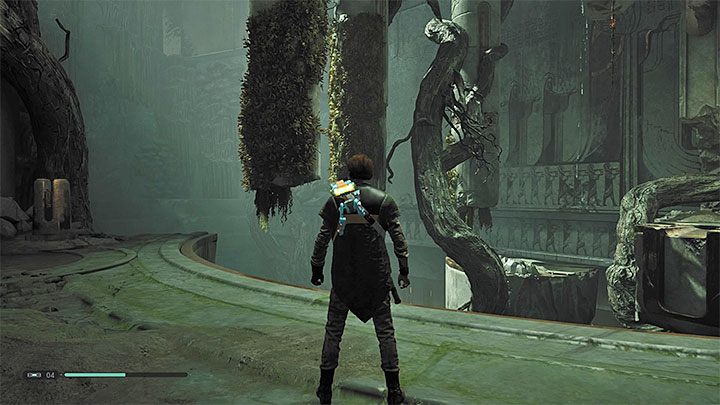
Be ready to defeat a new Purge Trooper as well as deal with a group of rats. After the battles, head to the bridge occupied by a larger group of Stormtroopers. Firstly, eliminate enemies with blasters, and only then units that use melee weapons.
The large gate is locked, so you have to turn right. Break through the wall and reach the location shown in the attached screenshot. You have to jump into the vines and always move sideways. This will allow you to make a leap to the another vines. You'll get to the other side safely. Go straight ahead when you get to the big corridor.
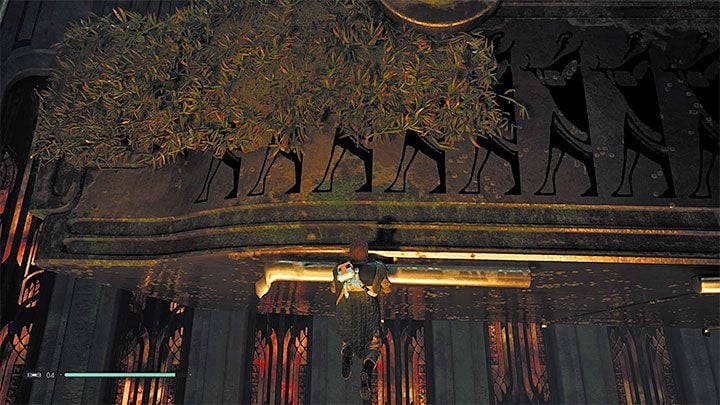
Then, you will reach the meditation point and a large platform hanging in the distance, on which many Stormtroopers are standing. You'll have to get to them. You can approach the platform from the right side. You must jump to the lower edges of the platform and move sideways until you can catch the vines and climb up.
Defeat all Stormtroopers - throw them into the abyss by using the Force Push power. It's best to duel with Purge Trooper after you defeat other enemies. After the battle a flying enemy unit will appear. Then, a new flashback scene will be displayed. Cal will recall how to use the Force Pull ability.
Getting to the spot with a puzzle
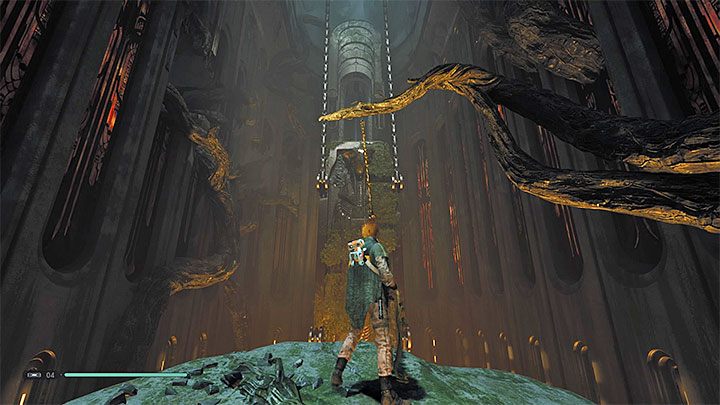
You can test your new skill right away - you have to pull a rope that is too far away to jump to it. After you grab the rope, swing on it and jump to the climbing wall. Move up.
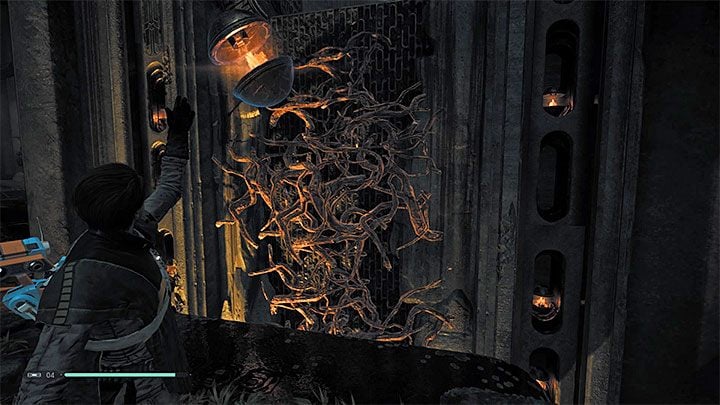
You will find yourself in front of the barricade of branches. You will have to use Force Pull once again. Pull one of the lanterns towards your character and then push it into the branches (use the Force Push immediately after using Force Pull). The combination of these two actions will ignite the roots and unlock the passage to the next part of the tomb. Use the climbing wall and return to the meditation point (it is worth noting that you have unlocked new skills that can be purchased).
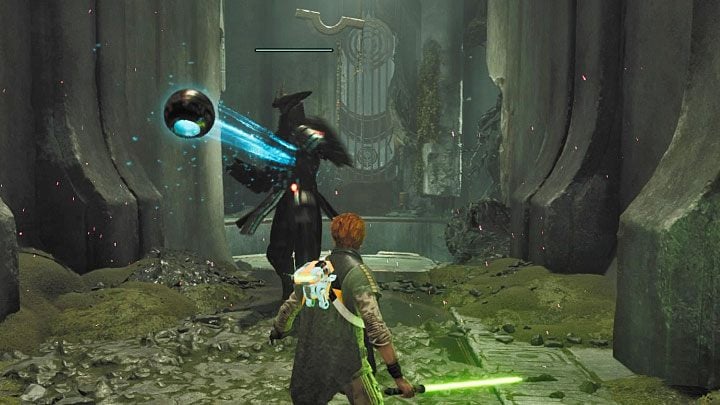
Squeeze through the rocks and move on. In the next corridor, pull flying enemy drones towards your hero and then throw them at your opponents. However, you can also get rid of Stormtroopers by using the traditional methods.
A new Tomb Guardian is waiting for you at the end of the hallway. Force Pull skill is very effective in stopping his attacks. Once you have used the Force Pull correctly, you can effectively attack the guard who becomes defenseless for a short time.
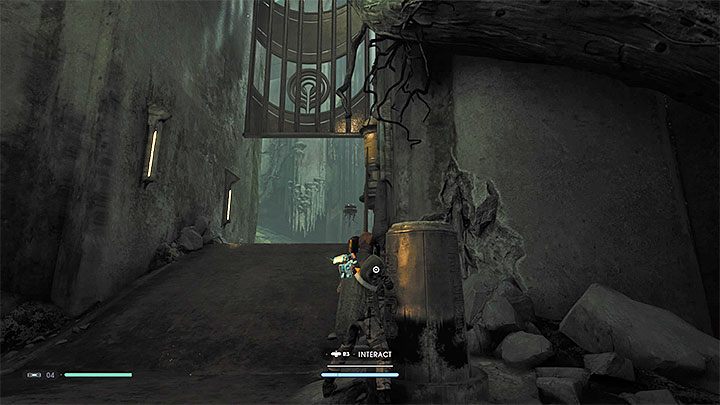
After dealing with Tomb Guardian, grab a new hanging rope. Get interested in an interactive object to the right of a closed gate. Pull the rope to yourself and move back with it. You have to take the rope to a hook - it is shown in the attached picture. After connecting the grabbed rope with a hook, you will open the gate.
Defeat all Stormtroopers and continue your journey towards the central hall of the tomb. You will have to turn left, pull a new rope and run across the wall. When you reach another closed gate, repeat the last trick of attaching the rope to the hook.
If your enemies are disturbing you while you're raising the gate, then deflect their projectiles from a distance or position yourself on the opposite side of the closed gate. After that, attack them with your lightsaber through the holes of the gate. Also, you can use the pull enemy drones strategy which has been described above.
Solving the puzzle in the central hall
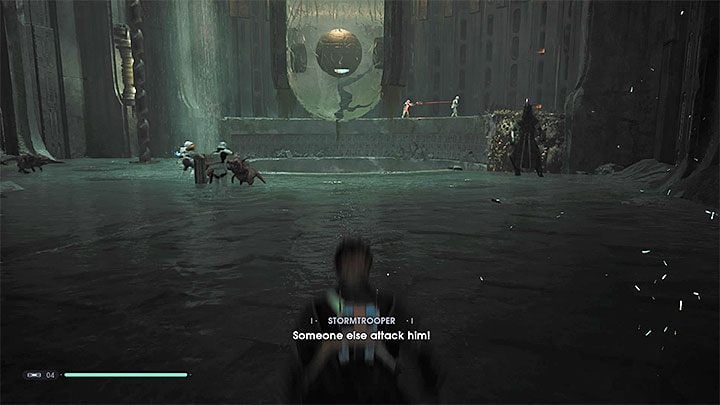
You'll return to the lowest level of the central room. You have to start by moving to the higher floor. Use the side path and the climbing wall next to the meditation point.
At the top floor (picture above), eliminate all enemies in order to solve the puzzle without any trouble. There is another Tomb Guardian here, but now it is much easier to defeat these mechanical enemies because you can use the Force Pull ability.
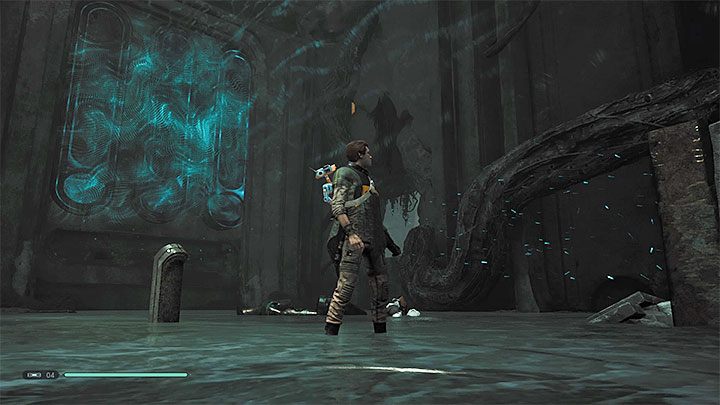
Start solving the puzzle by interacting with the left pedestal to enable the gravity attraction system in this room.
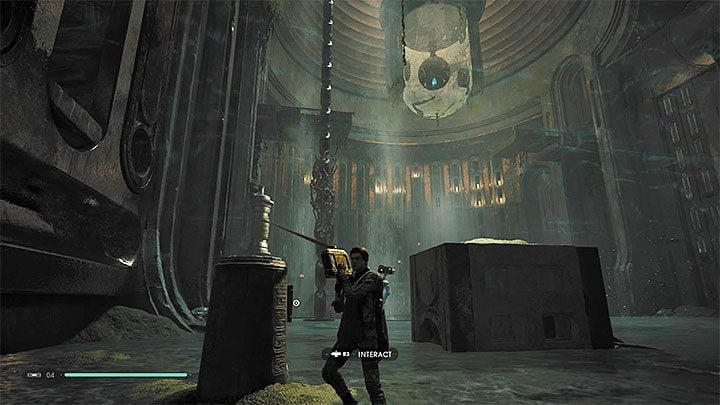
In the left part of the room find a place where you can grab the rope and attach it to the hook shown in the picture.
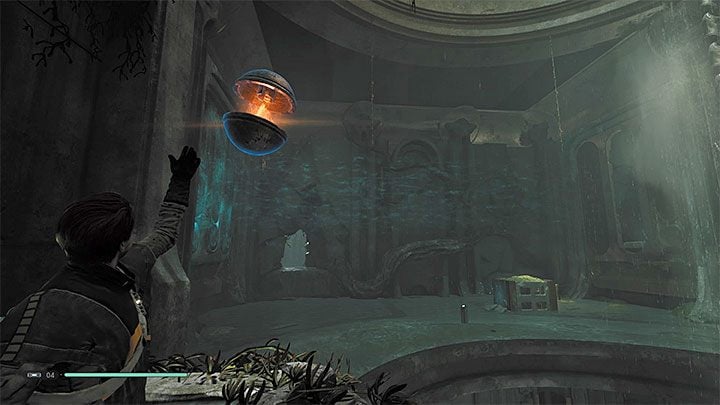
Now head to the opposite end of the room and use the Force Pull on any lantern. After you catch and hold a lantern, turn towards the area where you have activated the gravity system. Throw the lantern at this spot. The lantern cannot fly through the water, otherwise it will be extinguished.
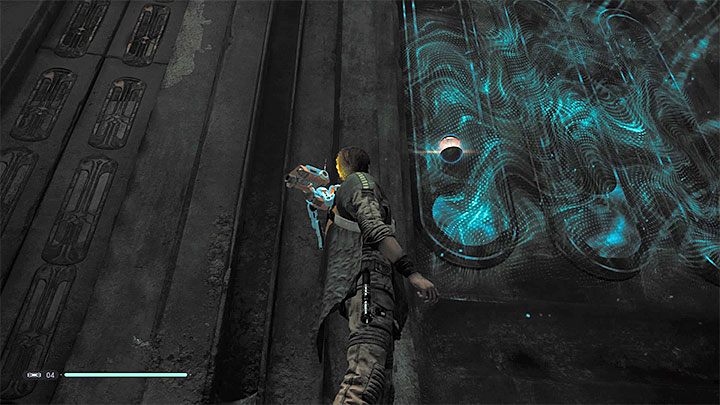
Properly thrown lantern will be pressed against the wall by gravity. Get there and catch it by using the Force Pull ability.
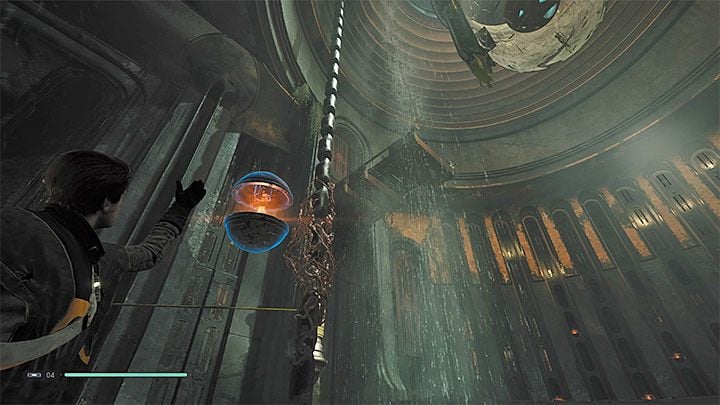
Throw the lantern at the branches shown in the picture. Wait until the fire will burn them all. The central structure will collapse to the lower level of the hall.
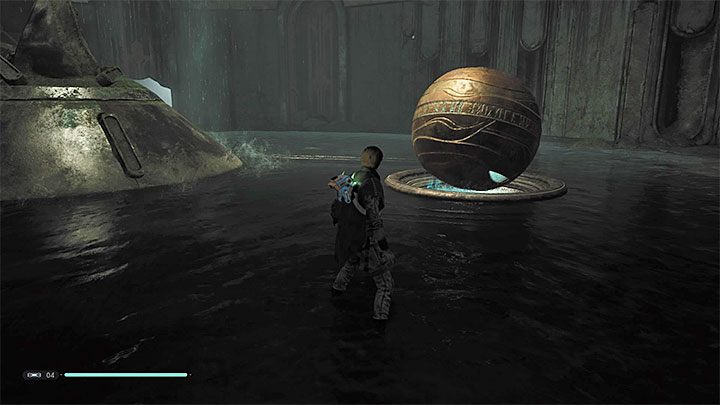
The last part of the puzzle is very simple. Start using the Force Pull or Force Push abilities to move the sphere. The sphere must stop in the proper slot.
Enter the large structure and ask BD-1 to scan the drawing from the wall. A new Eno Cordova hologram will be displayed.
Leaving the Tomb of Miktrull
You will return to the Imperial Headquarters. After that, you have to go back to the spaceship. Take the opportunity to relax at the meditation point. Run along the walls and use hanging ropes. If the rope is too far away, then pull it towards your character. You can also decide to do so while jumping. You don't have to stand on the ground.
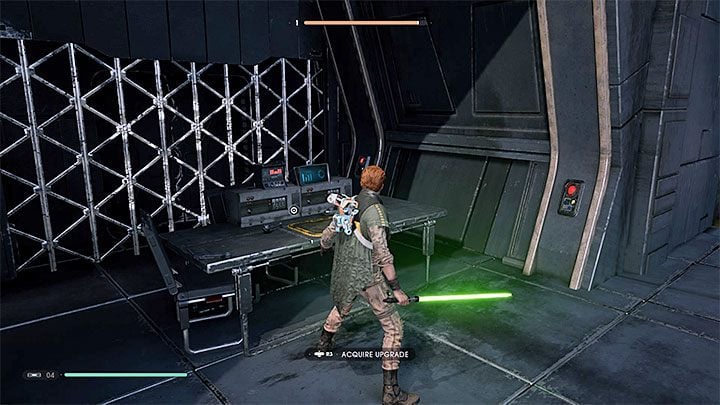
Along the way, it is worth stopping at the workbench (shown in the attached screenshot). By interacting with it you will unlock the ability to hack enemy droids. This can be very useful during next battles - from now on you can hack enemy droids and turn them into your allies. Of course, you can still use the Force Pull ability to get rid of enemy droids.
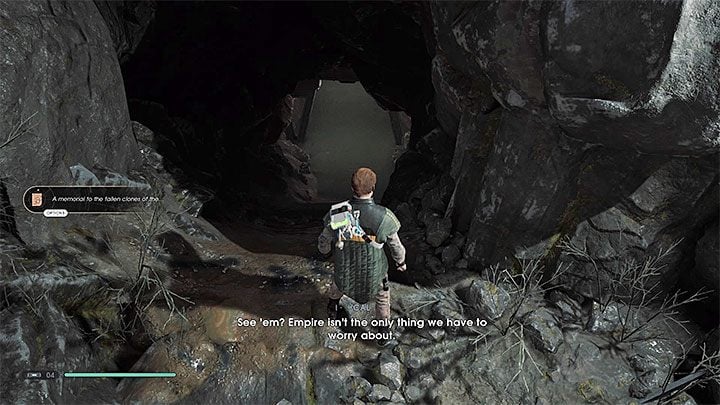
The road to your spaceship leads through the Ice Caves. It is best to return the same way to the Crash Site, which you have recently taken on your way to Tomb of Miktrull. After jumping into a water reservoir, you can explore the area on the left. There is a small entrance to the cave (check out the attached screenshot).
Walk through a partially flooded cave and you will reach the lift to the main area of the Ice Caves.
Confrontation with the bounty hunter
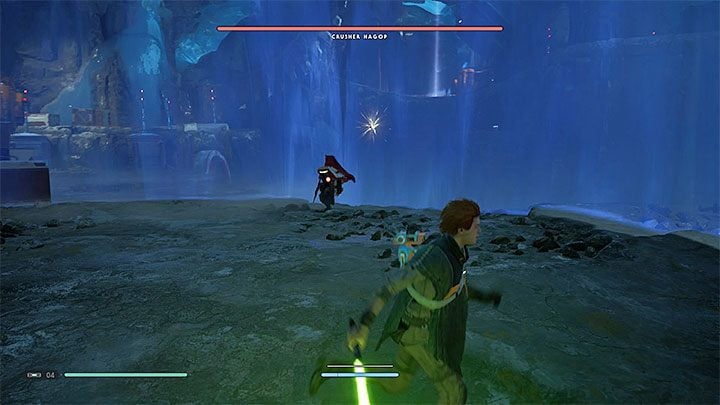
During your way to the Mantis spaceship, you will encounter an enemy bounty hunter called Crusher Hagopa. You will meet this bounty hunter in the Ice Caves. After that, you will have to duel with this boss.
- Star Wars Jedi Fallen Order Guide
- Star Wars Jedi Fallen Order: Walkthrough
- Star Wars Jedi Fallen Order: Main Story
- Star Wars Jedi Fallen Order: List of all missions Walkthrough
- Star Wars Jedi Fallen Order: Prologue Walkthrough
- Star Wars Jedi Fallen Order: Chapter 1 Bogano Walkthrough
- Star Wars Jedi Fallen Order: Chapter 2 Zeffo Walkthrough
- Star Wars Jedi Fallen Order: Chapter 2 Tomb of Eilram Walkthrough
- Star Wars Jedi Fallen Order: Chapter 3 Kashyyyk Walkthrough
- Star Wars Jedi Fallen Order: Chapter 3 Return to Zeffo Walkthrough
- Star Wars Jedi Fallen Order: Chapter 3 Tomb of Miktrull Walkthrough
- Star Wars Jedi Fallen Order: Chapter 4 The Prison Walkthrough
- Star Wars Jedi Fallen Order: Chapter 4 Return to Kashyyyk Walkthrough
- Star Wars Jedi Fallen Order: Chapter 4 The Ninth Sister and leaving Kashyyyk Walkthrough
- Star Wars Jedi Fallen Order: Chapter 5 Dathomir Walkthrough
- Star Wars Jedi Fallen Order: Chapter 5 Gorgara and the Tomb of Kujet Walkthrough
- Star Wars Jedi Fallen Order: Chapter 5 Ilum Walkthrough
- Star Wars Jedi Fallen Order: Chapter 5 Return to Dathomir and fighting with Malicos Walkthrough
- Star Wars Jedi Fallen Order: Chapter 6 Return to Bogano Walkthrough
- Star Wars Jedi Fallen Order: Chapter 6 Fortress Inquisitorius - game finale Walkthrough
- Star Wars Jedi Fallen Order: Main Story
- Star Wars Jedi Fallen Order: Walkthrough
You are not permitted to copy any image, text or info from this page. This site is not associated with and/or endorsed by the developers and the publishers. All logos and images are copyrighted by their respective owners.
Copyright © 2000 - 2025 Webedia Polska SA for gamepressure.com, unofficial game guides, walkthroughs, secrets, game tips, maps & strategies for top games.
