Ratchet & Clank: Planet Veldin - Walkthrough
On this page of the Ratchet & Clank guide, you will find a description of the tasks on the first planet - Veldin. You will find out what you need to do and what you will unlock for completing the quest. On the planet Veldin, you will have to complete a few simple tasks, and during their execution, you will learn the basics of the gameplay.
During your stay on the planet Veldin you have to complete a number of activities, allowing you to learn the basics of the game mechanics. Below you can find a detailed walkthrough of the location.
Main quest:
Training
Items to unlock:
Fusion Grenade

After starting the game, you have to sit through a long series of cut-scenes that will introduce you to the game. Afterwards, you will gain control over the main character. Your first task is to approach the hologram in front of you. This is the way in which the game informs you that you must use the Omniwrench. This tool servers the purpose of the only melee weapon in the game, and is used to activate mechanism and solve simple puzzles.
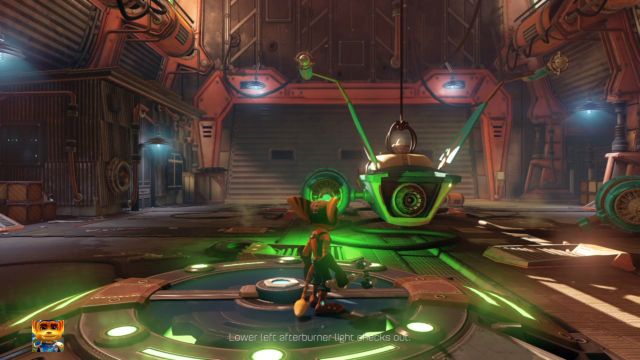
Interact with the bolt to lower the ship. Now you must direct the camera on to the highlighted parts of the ship (those flashing in red). The first one to look at is the end of the left wing, then it's the left engine, and finally the right engine. After a while the gate of the hangar will open and you will be free to venture outside. Before you do so, however, don't forget to destroy all the nearby boxes - additional bolts are always welcomed.
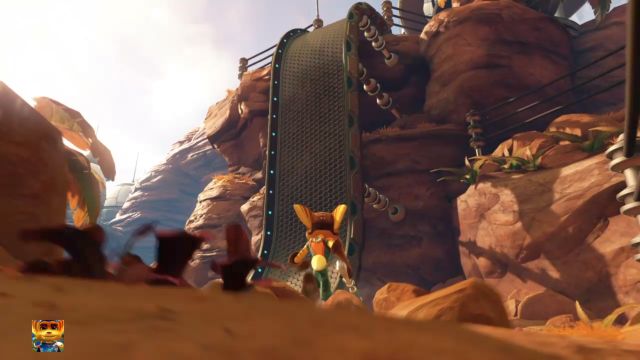
Ignore the magnetic ramp on the right side that leads upwards - to get there you will need the Magneboots, which can be acquired further in the game (more on that topic can be found in the "Equipment" section of this guide). As there's not much to do here, head straight ahead from the hangar. You will meet your first enemies here - they will be eliminated from a single hit of your melee attack.

You will soon reach a crossing - the route to the left will lead through a bridge, while the right one through a gulf. As you won't be able to get through the latter one, go to the left and through the bridge. Remember that you can destroy the railing of the bridge to acquire some extra bolts. You will stumble upon the first healing in the game (a white ball inside of a transparent box) if you need it. Climb up the ledges and jump to the other side of a hole.

Head straight ahead while eliminating the enemies and destroying any objects you stumble upon to gain bolts. You must reach a robot resembling Captain Qwark, located at the entrance to a training course. Jump above the fence and climb up. To be able to continue you must step on a green button - it will activate moving platforms. As you've probably guessed, you must reach the other side of the gulf by jumping between the said platforms. Don't rush and jump carefully, there's no time limit here.
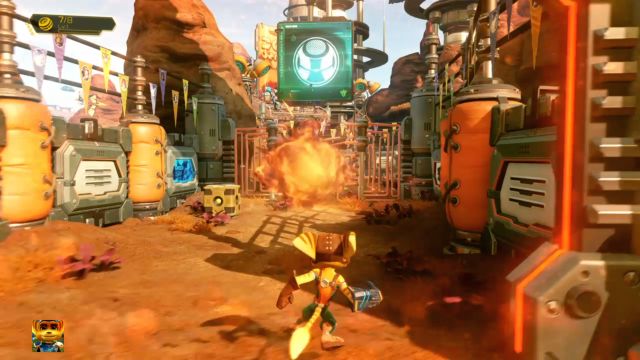
While on the next "arena", press another green button and destroy all the boxes that appear soon after. Afterwards, approach the store and interact with it. Purchase your first new weapon - the Fusion Grenade. An information about the way in which you can access your new armament will appear on the screen. You will stumble upon several grenade-refilling places along your way, where yellow boxes containing grenades will appear, in case you run out of ammo. Blast through the gate in front of your with a grenade and continue your journey.

You will now face a small group of enemies you've encountered earlier. Get rid of them with any weapon you want and destroy the next barricade with a grenade. Jump above the lava and get through another obstacle. You will arrive at a crossing - going right will lead you to the final arena, but before you do so destroy the gate on the left side. Get inside the previously restricted area and collect all the items located there. Additionally, you will collect the first Holocard in the game here - more on that can be found in the "Holocards" section.

Head to the path on the right side. Get rid of all the enemies on the arena - you should (probably) level up the main character, which will increase the health points of Ratchet by 10. Head to the bride where a long series of cut-scenes will initiate, after which an interesting plot twist will happen.
Clank's Escape
Main quest:
Escape the factory

This section initiates as soon as you complete Ratchet's training course. After the series of cut-scenes end, head to the bottom of the screen until you reach a place in which the camera changes. Hit the button on the wall and enter the newly opened passage.
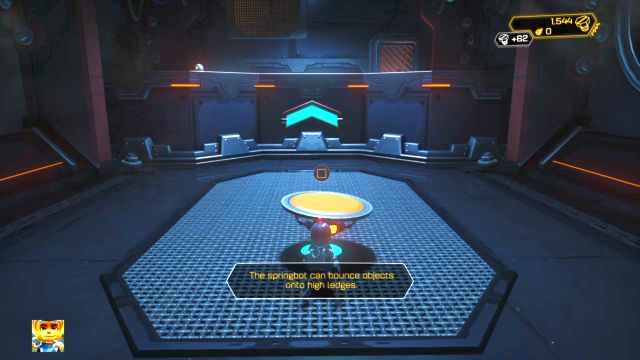
Pick up the bomb lying on the ground and hurl it into the ventilation shaft in front of you. There's a new item waiting in the middle of the room, the springbot, available only during Clank's sections. Pick up the robot and throw it next to the wall with the up-arrow on it. Jump on the springbot to get to the elevation. Pick up the bomb and hurl it into the ventilation shaft on the right side to get to the next section.
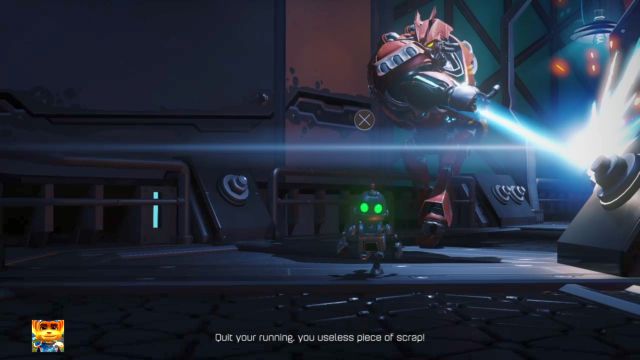
Now you must run away from the enemy - don't even think about fighting it, as you just have to run from it. Run towards the bottom of the screen while avoiding the enemy attacks. When the robot starts cutting with a laser from one side of the screen to the other, wait for the laser to be in the middle of the screen and jump above it. Do everything you can to prevent the enemy from "touching" Clank - it will end in your demise and loading of a checkpoint. When an aiming reticle appears on the ground avoid it by running back and forth. The enemy should soon be immobilized by water. Pick up the bomb lying on the ground and use it to get to the tunnel.

A new robot awaits you in this room. The Powerbot is used to power coil-like mechanisms. Pick it up and throw it near the coil in the corner of the room. The door will open, allowing you to continue your journey.

Here you will find two of the known robots. Pick up the Springbot and throw it near the elevation, with the up-arrow on the wall. Afterwards, pick up the Powerbot, get to the said elevation and throw it near the coil to activate the passage. Inside of a small room there's a button - push it by attacking it. Jump down, pick up the Springbot and throw it near the other wall to get to the next elevation. Go through the bridge you've just activated and use the bomb lying on the ground to get through the ventilation shaft.
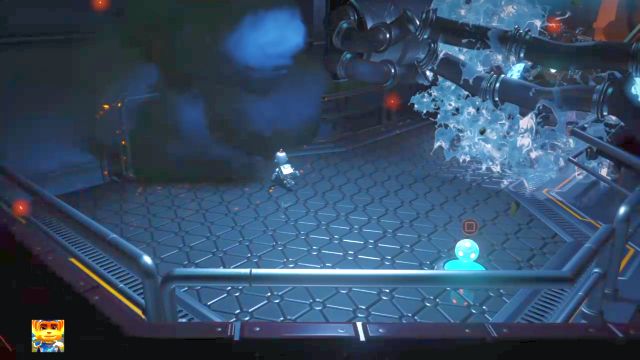
Another escape section awaits you, but this time the enemy's attacks will be quicker and more often. Reach the end of the tunnel and head to the next room with the help of the bomb. This will end this section and start a long series of cut-scenes.
Returning to the garage
Main quests:
Return to the garage
Items to unlock:
Combustor

The heroes are finally together. Your goal is to get back to the garage in which the gate started. During the journey you will stumble upon numerous illuminating monsters, but killing them is pointless - they aren't a threat to you and they won't drop any bolts.
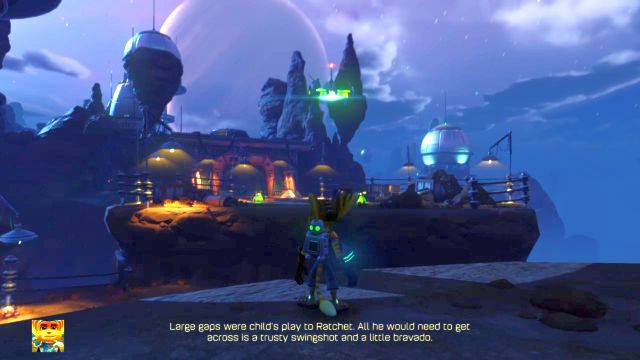
You will soon reach a wide gulf which you won't be able to cross normally - you must use your harpoon. To activate it, stand on the edge and direct your camera on the greenish object in the air. Press and hold the button shown on the screen ("circle") and Ratchet will get to the other side.
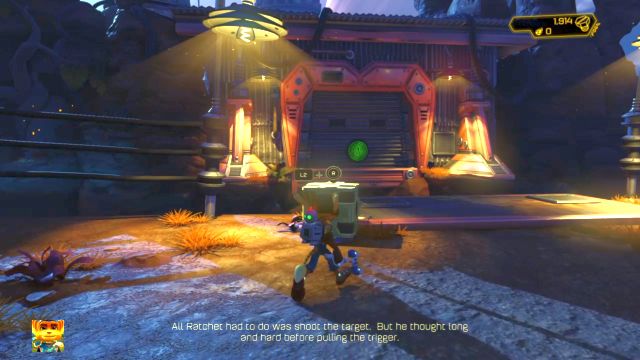
A new weapon awaits you here - the Combustor. This will be your bread and butter tool to eliminate the enemies, at least for the moment. Destroy the nearby boxes to acquire the ammo needed to fire the weapon. Afterwards, shoot at the green button on the other side of the gulf. This will open the door. Now shoot at the next green button that appeared behind the said door to draw a bridge. Stack up on the Combustor ammo and head through the newly opened passage.
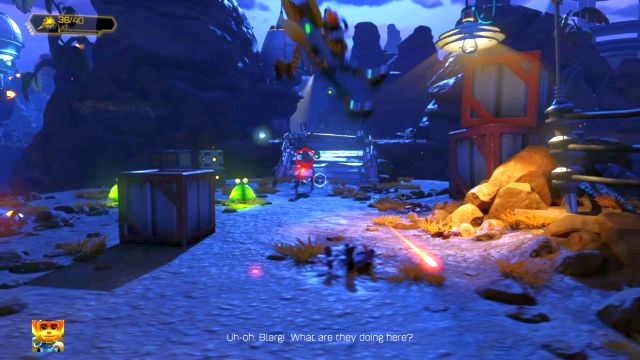
A new type of enemy, equipped with firearms, will appear here. To prevent them from hitting you use your dodges - you can activate them by holding the R2 button and pressing "cross" while directing the dodge by tilting the left analog stick. During the dodge you can shoot, as well as jump again, allowing you to change the direction of your movement. Master this as quickly as possible, as you won't survive without it for long.

Eliminate the enemy and get to the other side of the destroyed bridge with your harpoon. Clear the area and destroy numerous boxes, then head towards the abyss. You must use your harpoon yet again - grab onto the first object, swing forward, let it go and quickly attach yourself to the next one. Thanks to that you will be able to reach the other side of the abyss.

You will now stumble upon a Blarg dropship, which is a mini-boss encounter. Use the rocks standing in between you to hide from the enemy attacks and deliver your own when the ship is "reloading". Remember to use your grenades as well, as they deal a lot more damage than the shots from Combustor. After a short while the ship will explode and an object to attach your harpoon into will appear. Use it to get to the other side of the abyss.
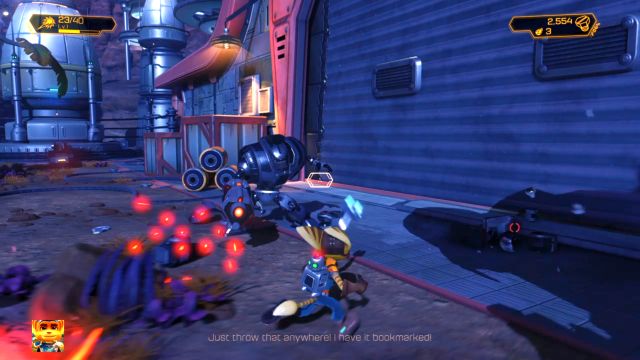
You should see the entrance to the hangar in the distance. Head towards there and eliminate a group of enemies, coupled with another Blarg dropship along the way. Get rid of the foes on the ground first and then focus all your attention on the ship. After all the enemies are gone, the entrance to the hangar will be open. Head inside and a series of cut-scenes will initiate, ending the section.
- Ratchet and Clank Game Guide & Walkthrough
- Ratchet & Clank: Game Guide
- Ratchet & Clank: Walkthrough
- Ratchet & Clank: List of planets
- Ratchet & Clank: Planet Veldin - Walkthrough
- Ratchet & Clank: Planet Novalis - Walkthrough
- Ratchet & Clank: Planet Kerwan - Walkthrough
- Ratchet & Clank: Planet Aridia - Walkthrough
- Ratchet & Clank: Planet Rilgar - Walkthrough
- Ratchet & Clank: Planet Nebula G34 - Walkthrough
- Ratchet & Clank: Planet Gaspar - Walkthrough
- Ratchet & Clank: Planet Batalia - Walkthrough
- Ratchet & Clank: Planet Quartu - Walkthrough
- Ratchet & Clank: Planet Pokitaru - Walkthrough
- Ratchet & Clank: Deplanetizer - Walkthrough
- Ratchet & Clank: Planet Kalebo 3 - Walkthrough
- Ratchet & Clank: Deplanetiser, revisit - Walkthrough
- Ratchet & Clank: Walkthrough
- Ratchet & Clank: Game Guide
You are not permitted to copy any image, text or info from this page. This site is not associated with and/or endorsed by the developers and the publishers. All logos and images are copyrighted by their respective owners.
Copyright © 2000 - 2025 Webedia Polska SA for gamepressure.com, unofficial game guides, walkthroughs, secrets, game tips, maps & strategies for top games.
