Ratchet & Clank: Planet Kalebo 3 - Walkthrough
On this page of the Ratchet & Clank guide, you will find a description of the tasks on the twelfth planet - Planet Kalebo III. You will obtain a rather peculiar weapon - Sheepinator, which turns enemies into sheep, and two gadgets, one of which will allow you to locate all the items in the game. There is also a second skateboard race in the game.
The last planet in the game, as well as the penultimate location you will visit. There's a weird weapon to acquire here - the Sheepinator - which changes enemies into ships. Additionally, you can collect two new gadgets here, one of which will mark any item you haven't collected on the map. Finally, there's another hoverboard race event on this planet. Below you can find a detailed walkthrough of the location.
Items to unlock:
Sheepinator - a weapon for purchase for 40,000 bolts.
Map-O-Matic - a gadget collected during the completion of one of the objectives.
Hologuise - a gadget required to take part in the final mission.
Objectives:
Get to Gadgetron HQ
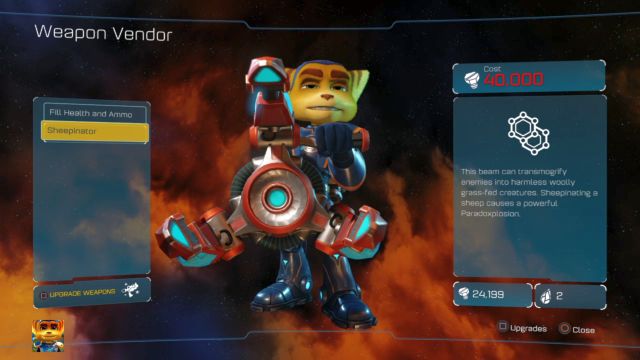
After landing on the planet, head to the nearby store. You will find a new and final weapon there - the Sheepinator. This allows you to turn the enemies into ships, which then blow up in powerful and colorful explosions. This weapon has a rather short range, but it makes up for it with unlimited ammo and high damage output.

After you're done shopping, head along the platform leading to the lower ground, eliminating the enemies on your way. After you've cleared the narrow passageway, head back to the ship and go along this path again. However, this time step on the moving floors and stand still until Ratchet reaches the end of it. Repeat it with every single one of them - you will need it for the trophy.
You should soon reach a force field, which can be taken out by hitting the button on the right side. Enter the room, which will end the objective and unlock the next one. Ignore it for now and head to the left and use the elevator to get to the upper floor.
Grind the Rail
The hardest grinding section in the game awaits you. Here you must avoid numerous traps and obstacles that can eliminate you in a single hit. Without further ado, jump on the rail and start grinding.
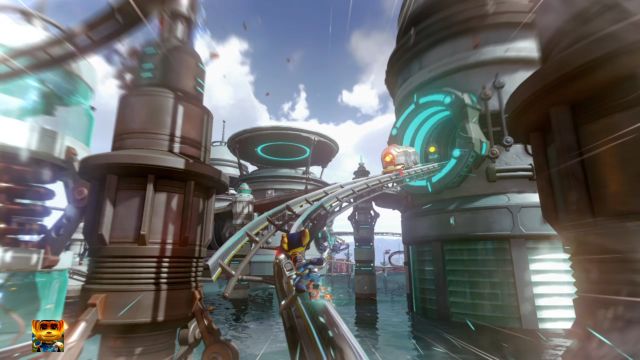
The first seconds are nothing unusual - you just have to jump above the traps and destroy the mines. Problems start upon reaching the first tunnel, from where wagons come towards you - hitting one of those will eliminate you and load a checkpoint. When you see the tunnel in the distance, jump on the left rail and get back on the right as soon as you pass the said wagon.
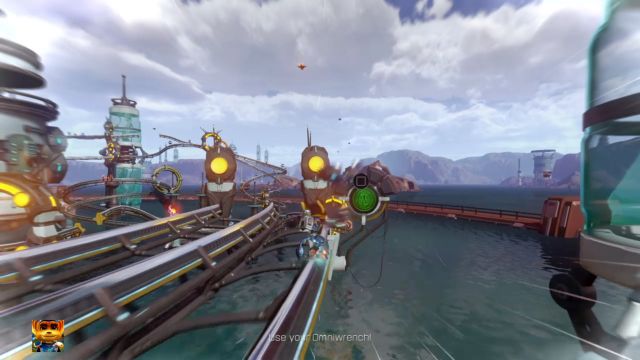
After emerging from the tunnel, a new wagon will appear on the same rail you grind on. The best way to avoid it is to simply jump above it, which is easier than you might think. Doing so will make the several following maneuvers a lot easier. Jump above the wagon and quickly jump on the rail on the right side. Hit the button on the right side and jump back on the middle rail.
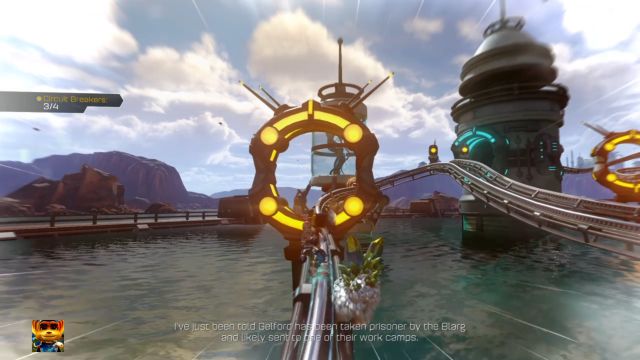
You will reach a place in which two different rails meet up - jump on the one located on the right side and continue the grind. After jumping through the gate with the trap, quickly hit the button located on the right side and continue. After going through the circular part of the rail prepare for the third button on the right side you must hit. Right after the button there's also a Raritarium deposit.
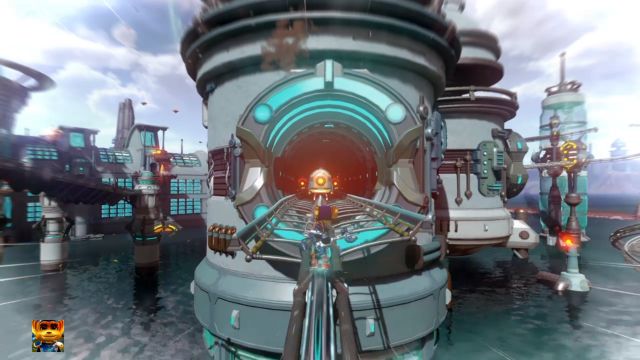
Collect the crystal and continue the grind and jump on the left rail as soon as you reach it. You will soon reach another tunnel. Jump to the rail on the right side, get back on the middle one, and jump on the right one again. Afterwards, quickly get back on the middle one, as there will be a wagon coming out of the corner - when you pass it get back on the right rail. Now jump back on the middle one, then on the right one, and get back on the middle one again.
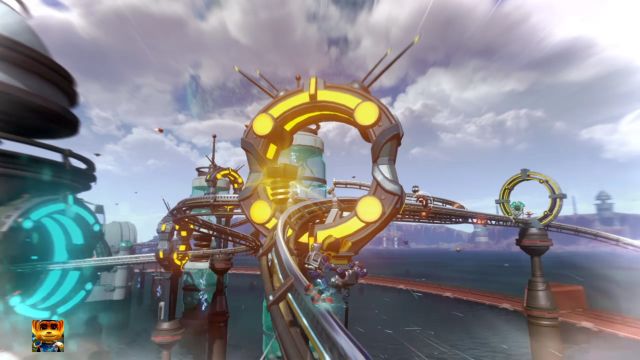
When you reach a meeting of two different rails, jump on the one located on the right side and hit the fourth and the last button. Grind along this rail and you should soon collect a Gold Bolt. Pick it up and jump on the rail on the left side. Jump through the broken part of the rail and avoid few more traps to reach your destination.
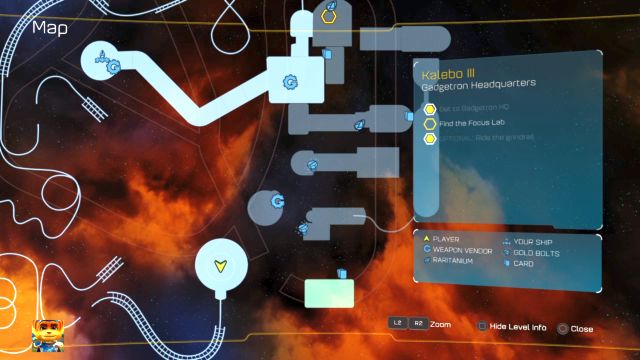
Here you can collect the gadget mentioned at the beginning of this chapter, the Map-O-Matic. Acquiring it will reveal all the uncollected items (Gold Bolts, cards, Raritarium) on every map of every planet you visited. Collect the treasure and use the nearby teleport to get to a new area. In the small room filled with sheep there's a holocard to collect. Pick it up and get back using the teleport. Afterwards, use the taxi to get back to the start of the grinding section.
Find the Focus Lab
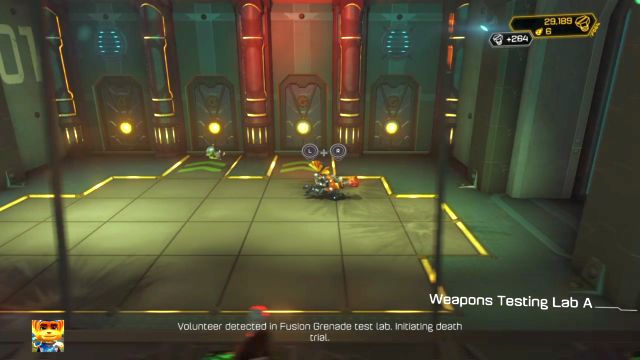
Jump down and use the mechanism located in the middle of the room to open up the passage. A small group of enemies will run out of the room - eliminate them and head to the tunnel they came through. You will end up in a trap room where you have to defeat a large group of enemies equipped with flamethrowers. Use your own variant of this weapon (Pyrocitor), as this is a good opportunity to acquire few extra Raritarium crystals.
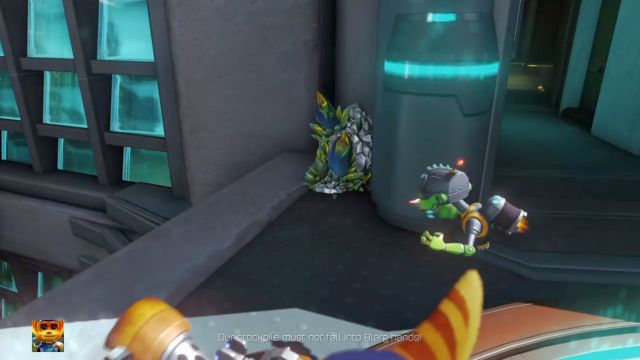
After you're done, head through the door but don't get on top of the elevator yet. Instead, collect the Raritarium crystals from the deposit located to the right of the door. Afterwards, use the elevator to reach the upper floor, eliminate the enemies and head behind one of the coils (directly in front of the elevator) - there's a holocard hidden there. When you're done, jump through the breach in the wall to get to the next location, where another group of enemies await you.
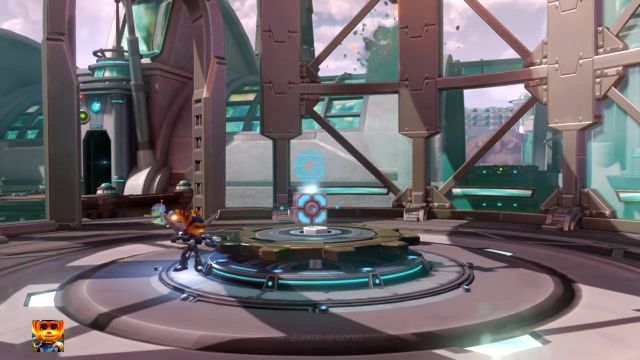
Eliminate them and continue your march to reach another traproom, exactly the same like the one before. Eliminate the robots, head to the surface and get rid of the enemies here as well. Use the harpoon to get to a small dome-like construction. Use the opportunity and visit the store to replenish supplies. Afterwards, activate the mechanism to rotate the building.
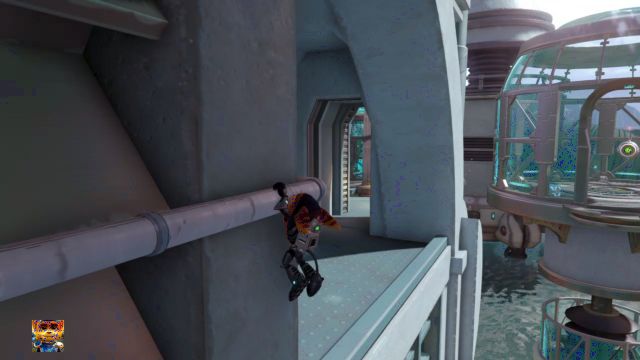
Stand on the edge from where you should be able to see another Gold Bolt. Jump down, eliminate the enemies and use the elevator to get to the upper floor. Turn to the right and grab onto the handrail on the wall - thanks to that you will be able to travel to the right and collect the Gold Bolt you just saw.
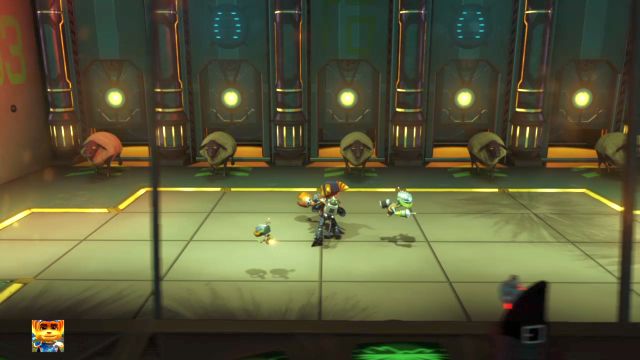
Get back to the elevator and jump on the ledge to reach the further part of this location. Eliminate the enemies and head into a corridor, where another trap awaits you. Fortunately, you only have to defeat a small number of sheep here. Do so and continue the march.
You will end up in an open space, as well as the biggest battlefield in the entire game. You have to defeat dozens of various enemies here. On the other hand, this is a perfect spot to farm bolts, Raritarium and holocards. Eliminate most of the enemies while leaving some of them alive. Afterwards, let those remaining enemies defeat you. You will respawn at the entrance, just before the encounter starts. Your health and ammo will be restored, while any resources you've collected will still be there, they won't reset. This way you can acquire a huge amount of bolts, Raritarium crystals and holocards in a very short amount of time.
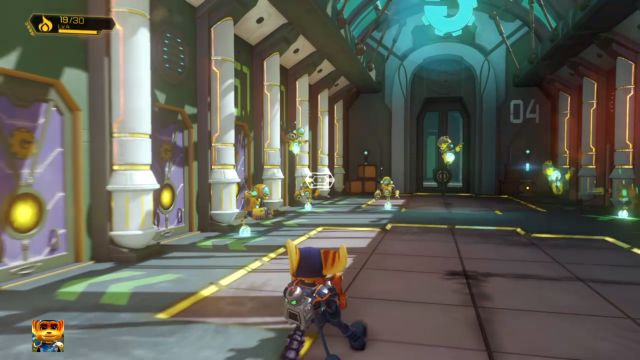
When you're done with the enemies, approach a wide passage with doors on both sides of the room. This is another trap, from which dozens of enemies will come at you. This is another perfect farming spot - remember to leave some enemies alive and let them defeat you, allowing you to repeat this section multiple times. Eliminate the enemies and go through the room to reach a new room and complete the objective.
Win the hoverboard race
Your goal now is to complete the hoverboard race, at least on the bronze level to gain the gadget you need for the final mission - the Hologuise. Before you can take part in the race, however, you must pump out the water from the stadium by interacting with the Hydrodisplacer terminal nearby.

The race is exactly the same as the one you've taken part on Rilgar - the only difference is the track. There's also a Gold Bolt to collect here. To do so, travel along the lowest part of the track and when you reach a sharp turn going under a tunnel (at about the 23-25th second of the race) jump off the ramp and land on the elevated part of the track on the right side.
Travel along this part of the track and through the gates, and at the end of it jump high into the air and travel straight ahead to land in a tunnel outlined with green lights. Inside of this tunnel you will find the mentioned Gold Bolt. You now must win the race to also acquire the Hologuise gadget.
After finishing the race you can head to the ship and on to the Deplanetiser, or take part in the silver and gold ranks of the hoverboard race. Completing the latter will reward you with a RYNO card, or to be more specific with the "VI" RYNO card. To increase the chances of success, you can use the shortcut located just after the starting line, on the right side of the track. Normally accessing it would be impossible because of the force field - to lift it you must travel through the three gates on the left side of the track, just before the entrance to the secret passage.
- Ratchet and Clank Game Guide & Walkthrough
- Ratchet & Clank: Game Guide
- Ratchet & Clank: Walkthrough
- Ratchet & Clank: List of planets
- Ratchet & Clank: Planet Veldin - Walkthrough
- Ratchet & Clank: Planet Novalis - Walkthrough
- Ratchet & Clank: Planet Kerwan - Walkthrough
- Ratchet & Clank: Planet Aridia - Walkthrough
- Ratchet & Clank: Planet Rilgar - Walkthrough
- Ratchet & Clank: Planet Nebula G34 - Walkthrough
- Ratchet & Clank: Planet Gaspar - Walkthrough
- Ratchet & Clank: Planet Batalia - Walkthrough
- Ratchet & Clank: Planet Quartu - Walkthrough
- Ratchet & Clank: Planet Pokitaru - Walkthrough
- Ratchet & Clank: Deplanetizer - Walkthrough
- Ratchet & Clank: Planet Kalebo 3 - Walkthrough
- Ratchet & Clank: Deplanetiser, revisit - Walkthrough
- Ratchet & Clank: Walkthrough
- Ratchet & Clank: Game Guide
You are not permitted to copy any image, text or info from this page. This site is not associated with and/or endorsed by the developers and the publishers. All logos and images are copyrighted by their respective owners.
Copyright © 2000 - 2026 Webedia Polska SA for gamepressure.com, unofficial game guides, walkthroughs, secrets, game tips, maps & strategies for top games.
