Ratchet & Clank: Planet Quartu - Walkthrough
On this page of the guide to Ratchet & Clank, you will find a description of the tasks on the ninth planet - Quartu. It is a quite large, multi-level location. During this stage, you will have to use your jetpack to solve some environmental puzzles and get hidden objects. There's a new weapon to get - Buzz Blades.
Head to this planet after you've cleared Batalia. This is quite a large, multi-level location. During your visit you will use your Jetpack again to solve a number of environmental puzzles and collect hidden items. There's a new weapon to acquire here - Buzz Blades. Below you can find a detailed walkthrough of the location.
Items to unlock:
Buzz Blades - a weapon for purchase for 30,000 bolts.
Objectives:
Infiltrate the Factory
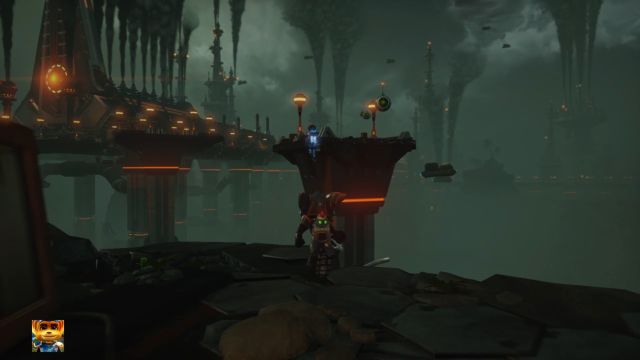
After regaining control over your character, use the nearby attachment points to get to the other side of the abyss with the help of your harpoon. You should soon reach the store where a new weapon - Buzz Blades - can be purchased for 30,000 bolts. It shoots discs that bounce off walls and enemies they hit, allowing you to damage multiple enemies at the same time. The weapon has a huge magazine and above average rate of fire. If you lack the necessary amount of bolts to purchase it, don't worry as there will be a number of additional shops on this planet.
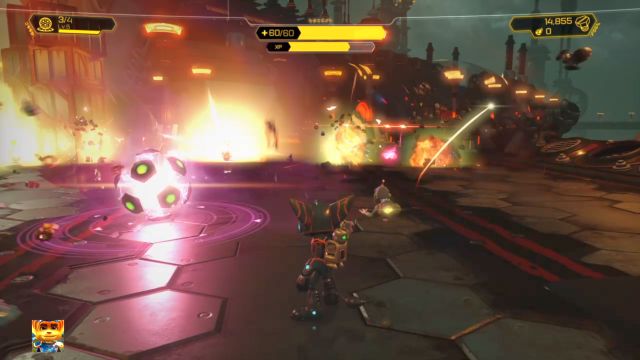
Leave the store and use the harpoon yet again to reach solid ground. A large group of enemies will await you here. Eliminate them and wait for your companion to open up further passage. Another group of enemies can be found here. If you have problems with eliminating them, use the nearby cannon which should make the task a lot easier (although depriving you of some experience points).
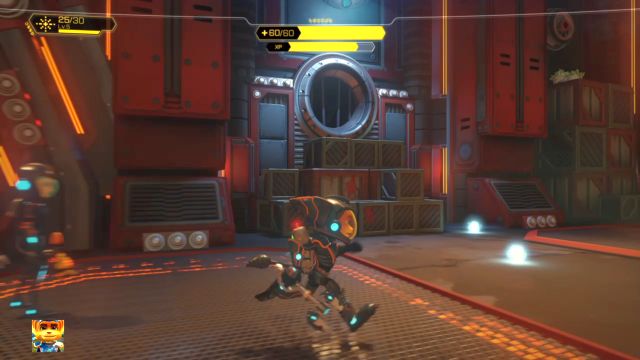
Afterwards, head to the right of the turret (while having the turret in front of you). Locate a number of boxes standing on top of each other - at the top of this box tower there will be a Raritarium deposit. Collect the crystals, jump down and approach the barred entrance to the building, located between the mentioned turret and the boxes with Raritarium on top of them.
Disable the security lasers
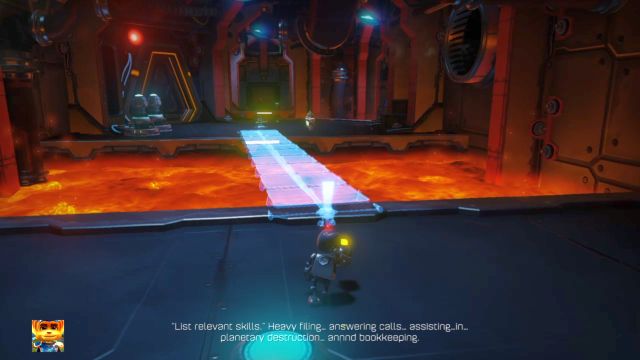
After gaining control over the robot, eliminate the enemies in the area and activate the button on the wall on the other side of the room. Ignore the holocard located behind the blocked entrance to the ventilation shaft - you will get it in a short while. Go through the newly opened passage. Pick up the robot, transform it into a Bridgebot and set up a makeshift bridge over the pool of lava to get to the other side of the room.
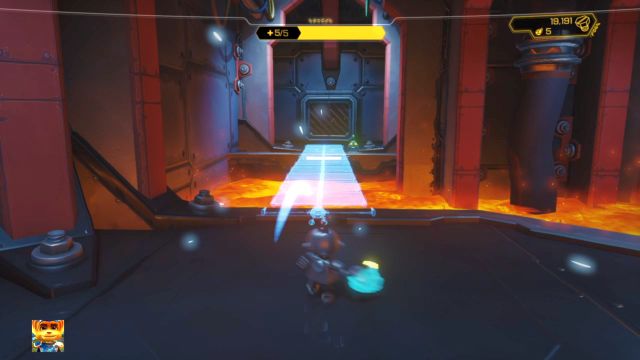
Pick up the robot on the other side, transform it into a Bridgebot and set up a makeshift bridge to reach the robot located right next to a barred entrance. Pick it up and get back to the other side of the bridge.
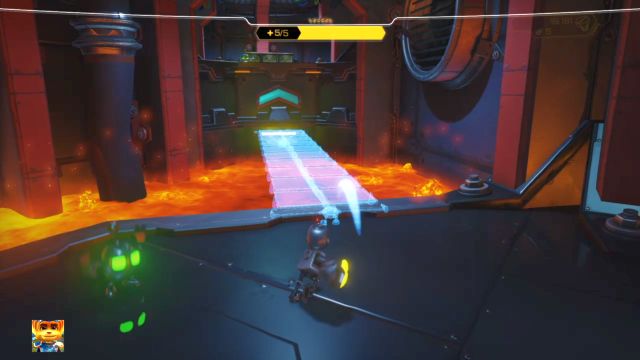
Transform it into a Bridgebot and set it up so that you are able cross to the other side leading to an elevation. Pick up the robot you've used to create the previous bridge, transform it into a Springbot and throw it right next to the up-arrow. Get on top of the elevation, collect the robot from there and get back using the bridge. Throw the robot to the ground and get back to pick up the Springbot. Go back along the bridge, throw it to the ground and pick up the one you used to create the bridge.

Transform two robots into Powerbots now and use them to charge up the nearby coils. After the entrance to the next room opens, pick up the bomb and head to the starting point of this Clank section, to the place with a holocard behind a blocked passage. Use the bomb to open up the entrance to the ventilation shaft, pick up the card and get back to the place with a pair of coils.
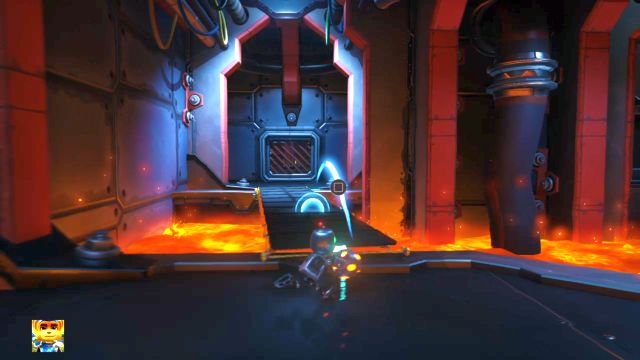
Use the one free robot (and leave the two charging the coils in peace), transform it into a Bridgebot and use it to set up a makeshift bridge towards the barred passage. Pick up the bomb, cross the bridge you've just created and open the passage to reach the next room.

A box with a group of beasts will drop down from the roof. Get rid of them and jump on the boxes located at the end of the room (the ones on the right side of the room, closer to the box the beasts came in). Run upwards and turn to the right from the force fields. Pick up the robot, transform it into a Powerbot and throw it right next to the nearby coil to power it up and open up a passage.
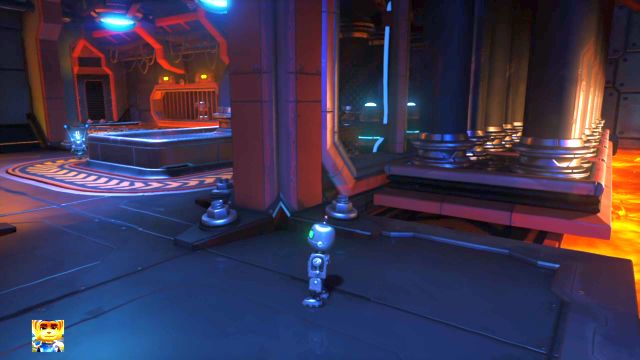
Note the blocked passage on the right side - you will soon head through it. Pick up the nearby robot, transform it into a Powerbot and throw it on the conveyor belt (the moving area on the ground, with arrows on it). Stand right next to the blocked passage and wait for the robot to reach the first coil.
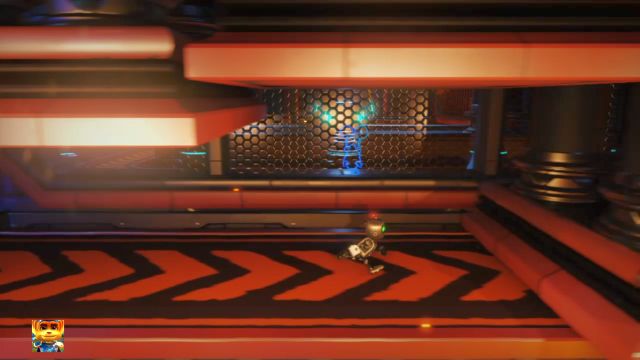
This will cause the first piston to move upwards. Get underneath it and wait for the next one to rise (lowering the first one as well) and run below it. Repeat this process until you reach the end of this passage. Press the button on the left side of this narrow tunnel (while avoiding the trap that comes from the roof), grab the nearby robot and go through the newly opened passage.
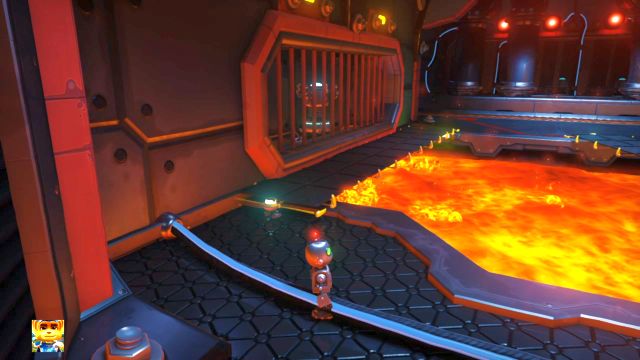
Transform it into a Bridgebot and use it to set up a bridge over the lava. Run across it, pick up the robot lying there and transform it into a Bridgebot as well. Turn around to face the place with the moving floor and set up a second bridge over the lava - this way you will have two bridges.
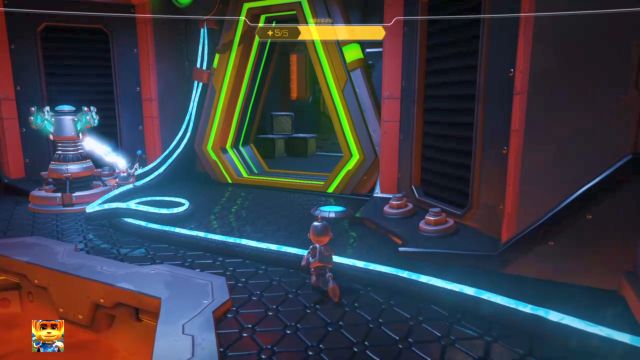
Get back to the robot you've thrown on the moving floor and set it up on the second bridge you've constructed - there's a power coil right next to it (behind a barred window). Afterwards, pick up the robot you've used to construct the first bridge (not the one with the Powerbot), go through the second bridge, transform the robot you're holding into a Powerbot and throw it right next to the coil located near the door.
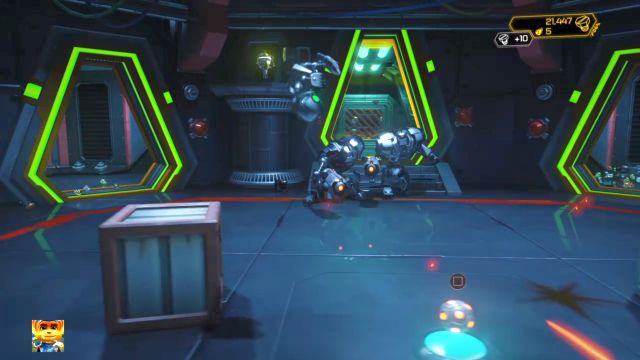
Destroy the boxes in the next room and press the button on the wall to head to another area. An encounter with a number of robots await you here. Use the bombs respawning on the ground and throw them at the enemy robots - two of them are enough to destroy a single one. One robot will emerge from the door on the left side, another from the one on the right side, and a pair will come through the one in the middle. Stay in motion while fighting the enemies to prevent them from hitting Clank.
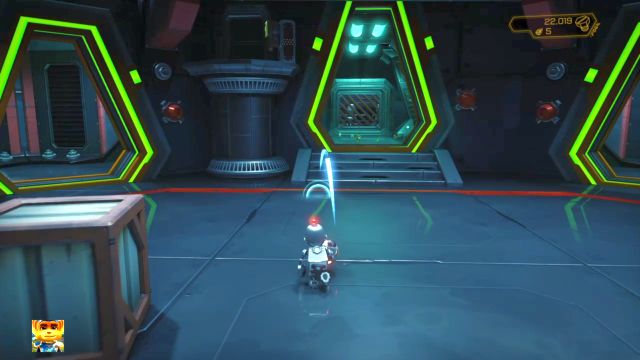
When you've dealt with them, pick up the bolts dropped by them and destroy the boxes in the rooms on the sides. Afterwards, pick up the bomb and head through the middle door. Destroy the blockade and enter the next room.
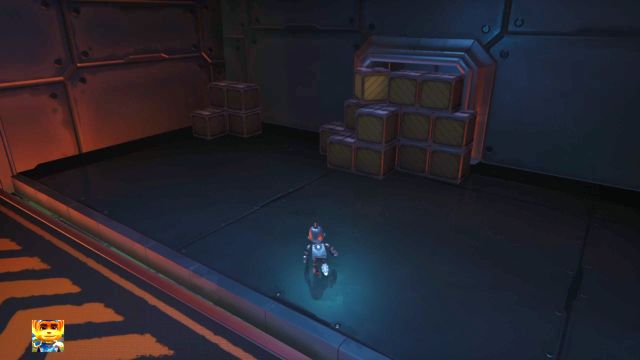
Here you will need three robots to power up the three coils. Ignore the one located on the left side, on an elevation and head to the right, in the direction of moving boxes. Here you can find two robots - both can be reached by jumping along the mentioned boxes. To the left of the robot located in the right corner of the room you will find a stack of boxes. Destroy them and collect Raritarium crystals from the deposit located in the room behind them.
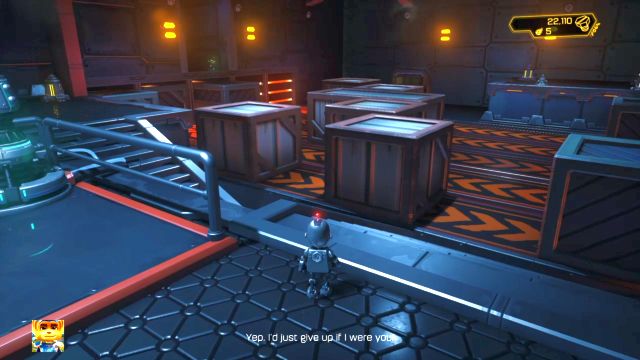
Collect the robots in any order you want and drop them right next to the coils. Before you use them to power up the electromagnet, transform one of them to a Springbot and set it up to the left of the coils (right next to the elevation with the third robot). Transform the second robot into a Bridgebot, jump onto the elevation, turn around and set up a bridge. Now transform the third bot into a Springbot and set it up at the end of the bridge you've just created.
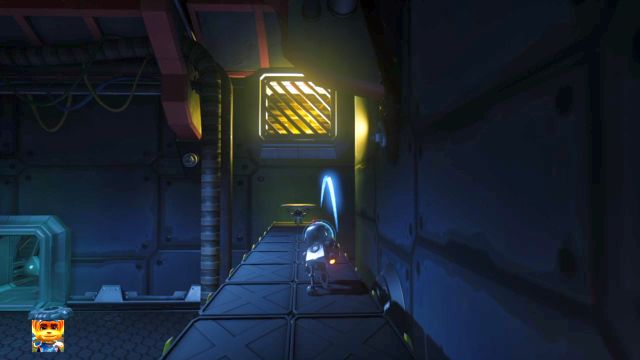
You now must get back to the room in which you've fought with the robots and pick up a single bomb. Afterwards, get back to the place you've set up the robots. Get on top of the elevation, cross the bridge and jump on the second Springbot. Now throw the bomb to open the passage leading to the Gold Bolt and pick it up.
Afterwards, transform all three robots into Powerbots and set them up next to the coils. Wait for a few seconds and press the button located near the coils to activate the cut-scene. You will soon get back to Ratchet.
Investigate the Factory
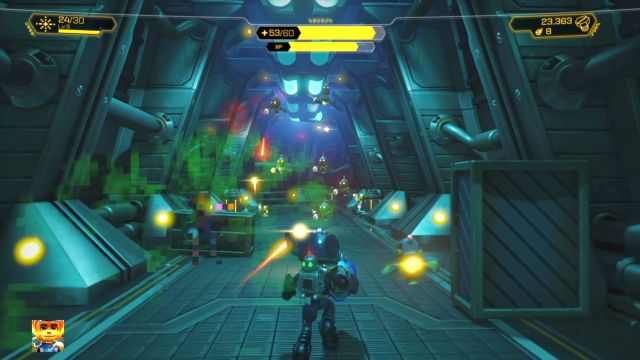
Head into the newly opened tunnel, where an encounter with an army of new enemies await you. Copies of Mr. Zurkon are trivial to defeat - a single attack of any weapon is enough to get rid of them. You can also use your own Mr. Zurkon against them - he will make a short work of them. Go through the tunnel, enter the elevator, and after a short while you will end up in a huge place. Use the opportunity and visit the nearby store.
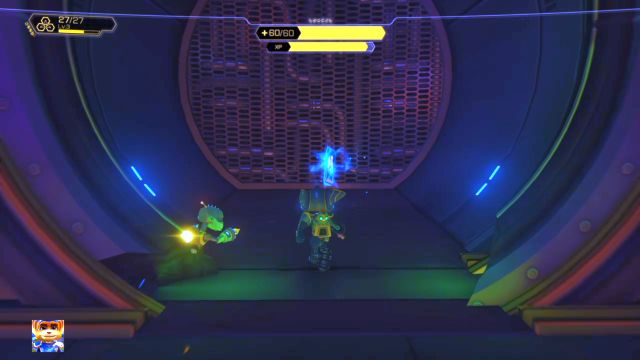
After you're done shopping, run through the moving platform while avoiding the laser traps to reach another group of enemies. Eliminate them and run through another moving platform. Get rid of enemies and mount the turret. Use it to destroy the nearby gate (just like you did on Gaspar). Inside of the room you've just unlocked the entrance to there's one of the RYNO cards - the "V" one to be exact.

Leave the room and head to the right, through the next moving platform. Get rid of the enemies, jump onto the platform and then to the conveyor belt. There will be inactive robots traveling along it as well. Destroying 10 of them will give you the "Warbots Into Plowshares" trophy. Get to the other side of the belt while avoiding the traps and jump to the right side. From here you must jump to the platform located in front of you.
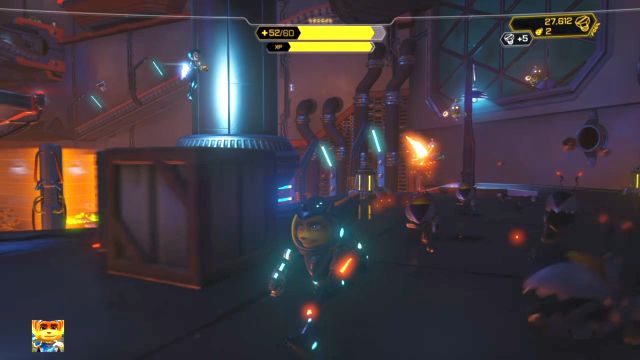
Run along the platform moving upstream and eliminate a large group of enemies. Afterwards, head to the other side of the platform you're standing on and run down across the moving platform to reach the large barrier.

Another Trespasser Puzzle awaits you here - the proper arrangement of lasers can be found on the above screenshot. After you've disabled the barrier, replenish the fuel of your Jetpack at the nearby fuel tank and fly to the upper floor.
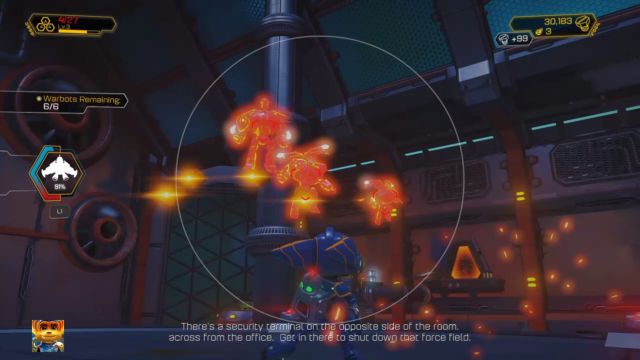
You will now be given a task to destroy a number of Warbots - the exact number you have to destroy can be checked by looking at the left side of the screen. Make use of the mobility given to you by the Jetpack and get rid of the enemies.
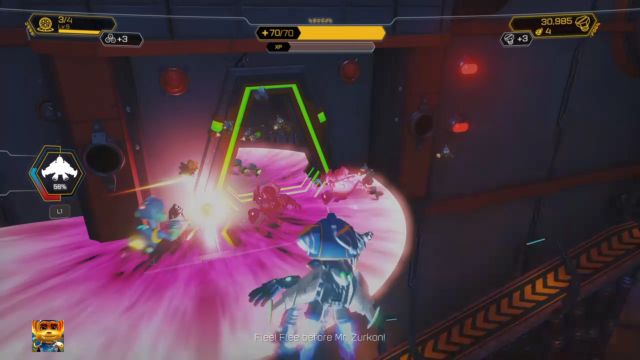
When you get rid of them, get inside a small room located on the top level - the entrance has a greenish outline. Replenish supplies at the store and press the button on the wall. It will initiate a cut-scene, after which a boss fight will start.
Boss - Mrs. Zurkon
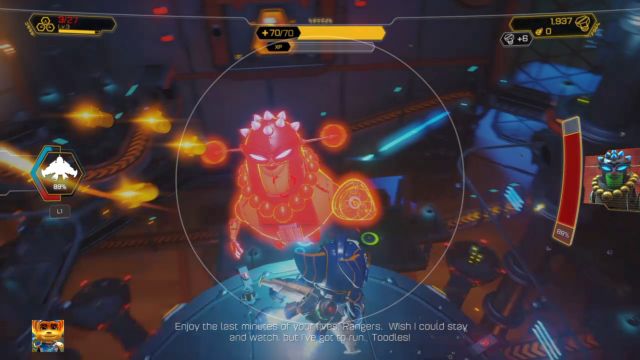
The encounter with Mrs. Zurkon is quite peculiar, as it is divided into two phases. During the first one the boss will attack using easy-to-dodge projectiles, as well as by summoning additional copies of Mr. Zurkon. This is why it's worth to use your own Mr. Zurkon here - he will get rid of smaller targets while you will be able to concentrate on the boss.

The second phase starts when the boss loses a portion of her health. Mrs. Zurkon will activate a shield resembling a honeycomb, which will block your attacks and be used to deliver her own, a lot more difficult to dodge ones. You must destroy the shield to get back to "phase one". The easiest method to achieve it is by using the Pixelizer, especially if you upgraded this weapon. If you approach the boss and attack from a sufficiently close distance, a single shot from this weapon will be enough to shatter the whole shield. You can use other weapons as well, but it will destroy the shield piece by piece, whereas the Pixelizer allows you to blast whole of it.
The enemy is quite resistant to attacks, which is why you will probably run out of ammo to your favorite weapons. However, there are numerous chests scattered around the arena, allowing you to easily replenish your supplies during the encounter. Fly around the boss to prevent Mrs. Zurkon from hitting you with one of her attacks and the encounter should quickly be over.

After the encounter ends you will be able to collect a number of items. Stand in the middle of the platform you've fought with Mrs. Zurkon on and head south-west, in the direction of an entrance with an orange outline.
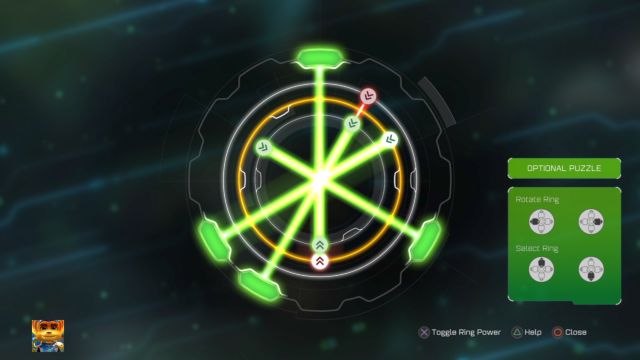
A terminal with the Trespasser Puzzle can be found here - the proper arrangement of lasers can be seen on the above screenshot. After you get through the entrance use the mechanism inside to open the next door. Fly inside, then over the lava and pick up the Gold Bolt located there.

Get back on the platform you've fought the boss on. Head to the west, to a room with a monitor inside. There's a button located inside of this area. Press it and a short cut-scene showing the location of the next Gold Bolt will initiate. When you regain control over the character, head down and fly into the tunnel located below the platform, in the middle of the room, to collect your treasure.

The last thing you can collect here are the Raritarium crystals located in the eastern section of this room. The deposit can be found inside a small room with a lot of boxes inside of it - there's a refueling station to the right of it.

After you've collected everything, head towards the huge gate located in the south-eastern section of the area. Another Trespasser Puzzle awaits you there - the correct laser arrangement can be seen on the above screenshot. After you solve it, you will end up outside of the factory, with every objective completed. You can now head to Pokitaru.
- Ratchet and Clank Game Guide & Walkthrough
- Ratchet & Clank: Game Guide
- Ratchet & Clank: Walkthrough
- Ratchet & Clank: List of planets
- Ratchet & Clank: Planet Veldin - Walkthrough
- Ratchet & Clank: Planet Novalis - Walkthrough
- Ratchet & Clank: Planet Kerwan - Walkthrough
- Ratchet & Clank: Planet Aridia - Walkthrough
- Ratchet & Clank: Planet Rilgar - Walkthrough
- Ratchet & Clank: Planet Nebula G34 - Walkthrough
- Ratchet & Clank: Planet Gaspar - Walkthrough
- Ratchet & Clank: Planet Batalia - Walkthrough
- Ratchet & Clank: Planet Quartu - Walkthrough
- Ratchet & Clank: Planet Pokitaru - Walkthrough
- Ratchet & Clank: Deplanetizer - Walkthrough
- Ratchet & Clank: Planet Kalebo 3 - Walkthrough
- Ratchet & Clank: Deplanetiser, revisit - Walkthrough
- Ratchet & Clank: Walkthrough
- Ratchet & Clank: Game Guide
You are not permitted to copy any image, text or info from this page. This site is not associated with and/or endorsed by the developers and the publishers. All logos and images are copyrighted by their respective owners.
Copyright © 2000 - 2026 Webedia Polska SA for gamepressure.com, unofficial game guides, walkthroughs, secrets, game tips, maps & strategies for top games.
