The Call of Malassa | Mission 2: The Call of Malassa - main quests
Objective: find the path to the Onyx Circle and complete the three trials
Reward: 30000 EXP, Assassin's Shoes

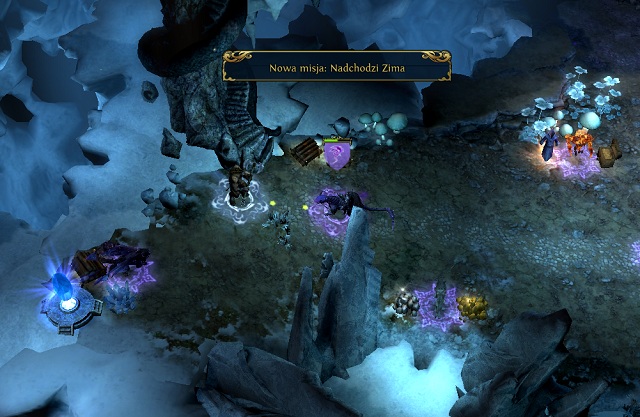
You need to hurry, as the other factions of Dark Elves aren't idly watching. You begin the game with a city (M1, 1) - you need to build as fast as possible the Hall of Heroes and unit-producing buildings. As for now you're missing resources, I'd suggest heading east of the exit (M3, X1) and activating the "Winter is Coming" side quest. After getting to the surface, take the Sawmill (M2, 1) from the enemy's hands, collect the nearby resources and immediately head back underground. If possible, you shouldn't waste time on picking up resources - that will be the task of your second hero who you will buy at the Hall of Heroes.

Now you should head towards the Onyx Circle. Go west, take over the Ore Mine (M1, 2) and head further to the north. You can visit the Ominous Chasm (M1, 3) - the units stationed there should join you. On your way you will come across Sorshan, who will confirm that the direction you're following is correct and will mention the three trials that await you. Move further north and you will be able to recruit the Stalkers stationed by the road - be sure to collect every friendly unit on your path, as you won't receive any support in the nearest time. After using the portal (M1, 4) the next part of the main mission will begin.
You are not permitted to copy any image, text or info from this page. This site is not associated with and/or endorsed by the Ubisoft or Virtuos. All logos and images are copyrighted by their respective owners.
Copyright © 2000 - 2025 Webedia Polska SA for gamepressure.com, unofficial game guides, walkthroughs, secrets, game tips, maps & strategies for top games.
