Heroes & Generals: Your first game

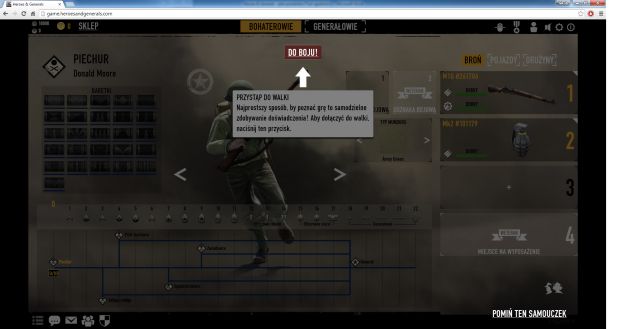
After reaching the main menu (called Game Lobby), you will have to complete an automatic mission - it's an excellent introduction, because you will be given "a tour" through all the key mechanics. That is precisely why you should read ALL the tooltips appearing on the screen - they will certainly come in handy. At the end of the "tutorial" you will be given an order to enter combat - you will be thrown in at the deep, because you will have to face other (probably more experienced) players. No sweat though - you won't be punished in any way if your team loses.
You will play in the Skirmish game mode - the task of both teams is to fill the progress bars - blue (your team) and red (enemy team) - visible at the top of the screen before the enemy team can pull it off. To do so, your team will have to seize control over a greater amount of control points than your enemies - you will need one if the enemy has none, and two, if the enemy managed to capture one. The bigger the difference in the amount of captured points, the faster the progress bar will fill in.

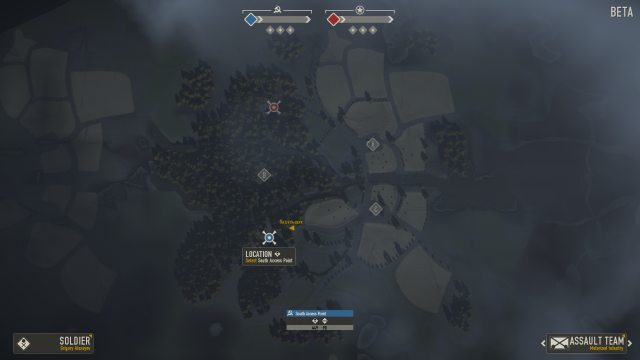
There are three control points on this map, marked as A, B and C. The B point, given it location (it's directly in between both teams' bases) will have the most action going around it - this is the point you should move to, because you will learn the most out of it that way. After the mission starts, click on the only blue icon on the map, and after the view zooms in, click on the new icon that should have just appeared to deploy your soldier to the battlefield.
Locate the B point (all the available points are always visible on your screen) and get there as fast as possible - the first several seconds of the game is often a decisive factor, which is why you should capture as many points as soon as possible. To get there faster, you can either use one of the bicycles scattered around your spawning point, or hop into a car driver by one of your teammates.
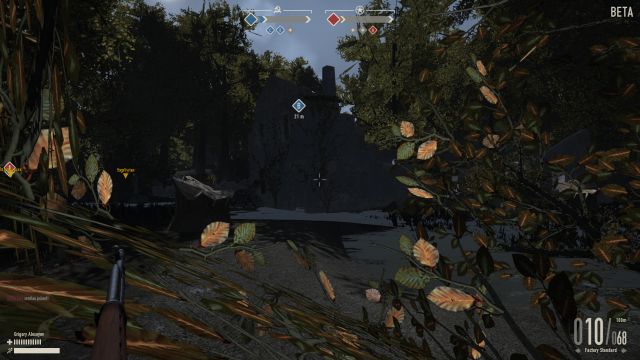
Run straight to the building marked with the B icon to start capturing the control point - you can also stand near the building itself if you don't want to get inside. A circle-like progress bar should appear at the top of the screen - it will slowly fill up, depending on the amount of soldiers standing near the control point (the amount is represented by a blue digit next to the bar). If there are enemies near the control point, a red digit will appear near the progress circle - the point will be captured by the team with more soldiers standing near it.

After the bar is completely filled, the point will be captured - as soon as it happens, run out of the building and blend with the environment. Your task for now is to maintain control over the control point by eliminating enemy soldiers trying to recapture it - try to prevent them from entering the ruins of the building where the radio is. If the enemy managed to get inside, use your grenades to flush (or blow) them out. Each time you kill an enemy, you should change your position slightly, as there's a Killcam mechanic in the game which will show your enemy your position - you can be sure that the enemy is certainly coming back for some revenge.
If your team managed to maintain control over the capture points for long enough, and the progress bar fills in completely, the mission will be over and you will be transferred back to the game lobby. More on this game mode can be found in the "Skirmish" and "Tips" sections of this guide.
You are not permitted to copy any image, text or info from this page. This site is not associated with and/or endorsed by the developers and the publishers. All logos and images are copyrighted by their respective owners.
Copyright © 2000 - 2026 Webedia Polska SA for gamepressure.com, unofficial game guides, walkthroughs, secrets, game tips, maps & strategies for top games.
