Heroes & Generals: Mountain Skirmish Map

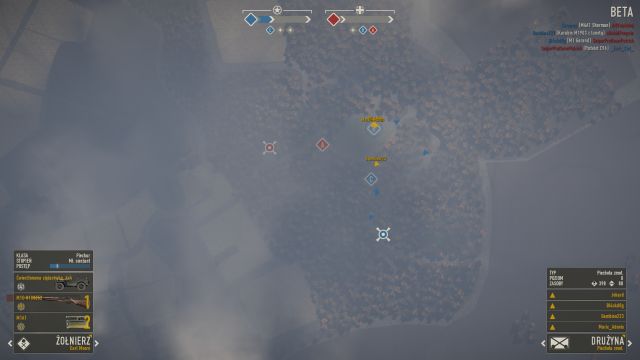
The last map available for the Skirmish game mode. Similar to the one taking place in the village, this one also has two different sections. The first one is the battlefield near the point B, which is a vast, open area. The second one focuses on the fight between the infantry - both A and C points are covered by thick vegetation and the surrounding terrains are flooded with numerous hiding spots.
Additionally, there are semi-automatic rifles, as well as boxes with rocket launchers at the spawning points of both teams.
Points A and C

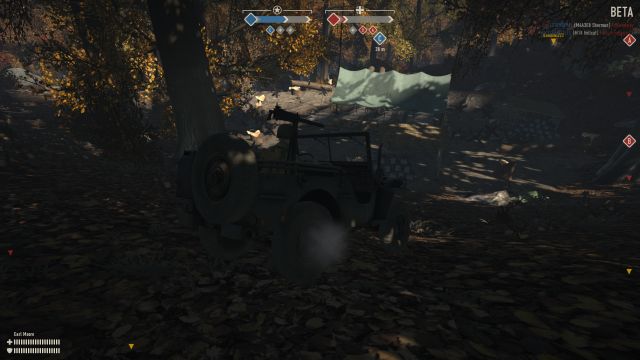
Both of those points are located deep inside the forest, full of trees, bushes and stones - basically numerous places in which the infantry can easily find cover from the enemy fire. The control itself are fairly visible, making them extremely difficult to capture, as you can be shot from literally every direction. Defending them is a completely different story - thanks to numerous natural hiding places, the enemy will have an extremely hard time retaking it from the hands of your team.
Thanks to the thick vegetation, as well as the overall terrain surrounding the control point (numerous elevations and stones preventing the vehicles from passing) the place isn't suited to "visit" it while driving a tank - you won't be able to see anyone from the viewfinder, and sticking your head out of the tank hatch is a suicide, as you will be killed a second later. If you want to go to either of those points, it's better to just support your infantry allies from afar with the help of HE rounds.
Point B

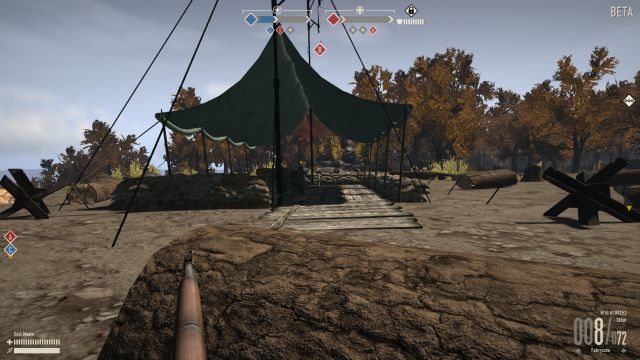
Here the situation is completely different. The terrain surrounding the control point is a sort of a glade - several dozen of meters around the point is an empty, open and flat space. Further away from the point you will find a thick forest, which is a dream come true for any sniper - you will have perfect visibility on the control point, while your enemy won't have a safe place to use for cover. The control point itself, aside from getting shot by a sniper, gives plenty of opportunities for cover and only grenades and HE rounds shot from a tank can flush the infantry out from behind the cover.
As it was mentioned, this place is ideal for snipers, as well as tanks - both of those units will be able to use their tremendous attack range. Thanks to that, this place is the center of the action on this map - bullets, tank rounds and rockets are flying everywhere here.
If there are tanks equipped with HE rounds on the battlefield, retaking this control point is an extremely difficult task - that is precisely why your team should capture it as quickly as possible.
You are not permitted to copy any image, text or info from this page. This site is not associated with and/or endorsed by the developers and the publishers. All logos and images are copyrighted by their respective owners.
Copyright © 2000 - 2026 Webedia Polska SA for gamepressure.com, unofficial game guides, walkthroughs, secrets, game tips, maps & strategies for top games.
