Gloomwood: Croup's Fishery - walkthrough
Croup's Fishery is a fishing village - the first location from the game Gloomwood. Our walkthrough contains a maps and description - you will learn how to recover the hero's equipment (suitcase, white weapon, revolver), how to escape from the main building and how to reach the mine.
Last update:
Croup's Fishery is the first location in Gloomwood where you will spend quite some time. This page of the guide explains how to get out of the cell, how to get a suitcase, a melee weapon and a revolver, how to leave the main building of Croup's Fishery and how to get to the entrance to the mine. We also provide you with the maps of the basement and the factory floor.
- Map - Cellar Floor
- Get out of the cell and retrieve the suitcase
- Start the elevator and acquire a melee weapon
- Map - Factory Floor
- Get out of the main building
- Further exploration of the main building and its surroundings
- Reach the hut next to the mine
- Reaching the mine
Map - Cellar Floor
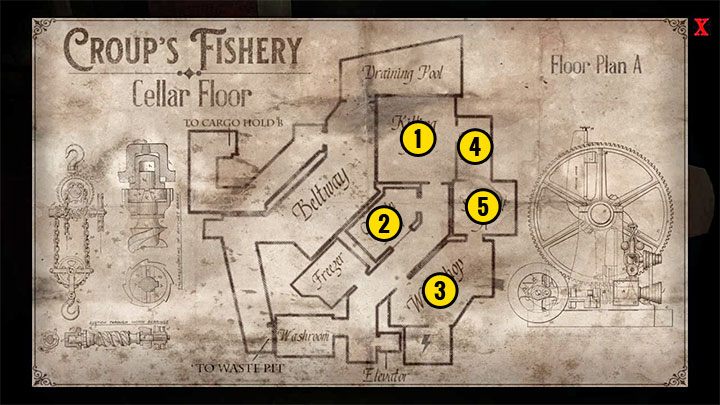
You can find the Croup's Fishery (Cellar Floor) map while exploring the main building; we included it in our walkthrough. The most important locations on the Cellar Floor map are the following:
1) Killing Floor - you will get here at the beginning of the game and you will find a suitcase that unlocks the inventory. There is also an elevator going to the upper floor, which you need to repair (the button is in the room mentioned in point 3).
2) Clock-In Room - here there is a guard and you'll need to steal the first key from him.
3) Workshop - you will find an elevator button here (point 1 on the map) and a map of this floor of the building.
4) Break Room - here you'll find the first Phonograph, which you can use to save the game, and a Canesword.
5) Stairwell A - you can unlock it later in the game (from the upper floor) and create a shortcut to the Phonograph.
Get out of the cell and retrieve the suitcase
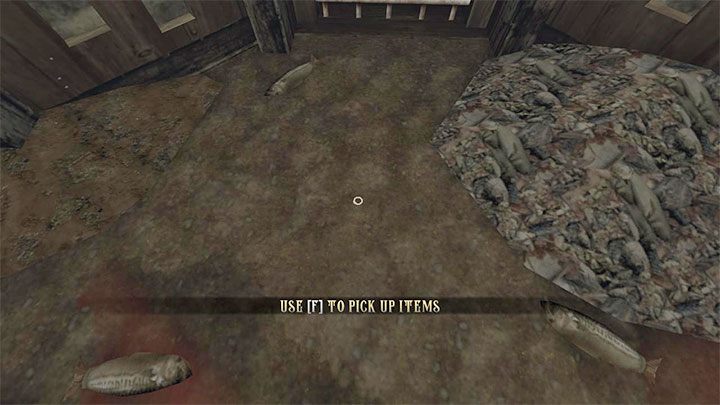
The starting point here is the cell. Listen to the conversations and pick up the ring from the ground. The protagonist will automatically wear it. It is used to assess the degree of detection - a glowing crystal inside the ring means that you can be spotted. After entering the shadow, the ring will stop glowing.
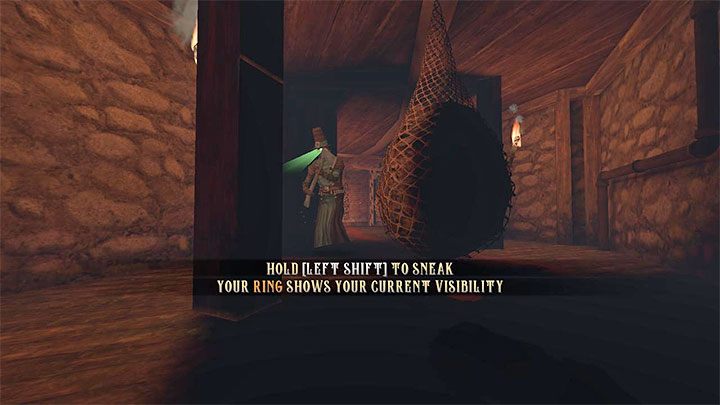
Leave the cell and crouch to go under the boards. You will meet the first sentry - do not let him see you and do not leave the shadow when he is walking towards you. The enemies' field of view is represented by a cone, although keep in mind that their actual field of view is a bit wider and they can see a lot on the sides as well.
Use the shadow and move forward after the guard goes back to where you came from.
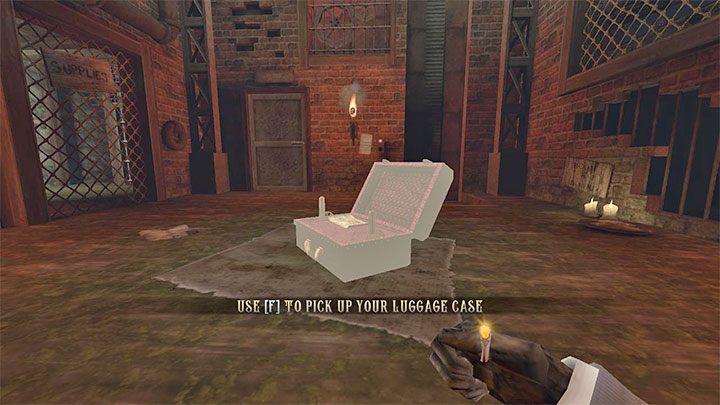
The linear route will lead you to the Luggage Case location. Taking it unlocks the ability to use the journal and inventory. You can place selected nearby objects in the inventory, but it has a limited capacity and can get full.
The mechanics of using the inventory are described in more detail in the chapter on game basics, on the Inventory and Journal page.
Start the elevator and acquire a melee weapon
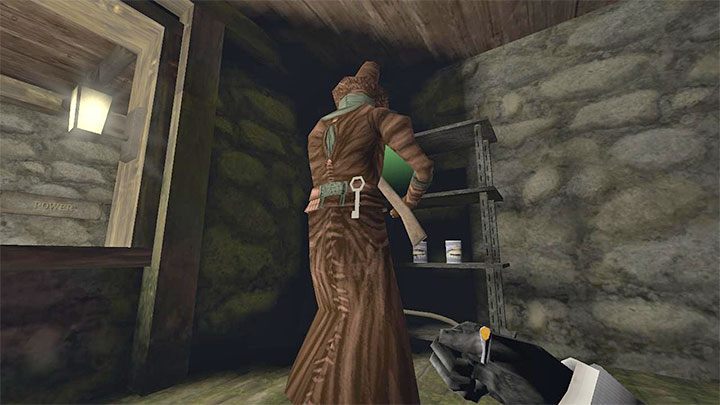
In the same room you can find a document with some information about an inactive elevator - the button to bring the elevator down is missing and you need to obtain it.
Open the door next to the elevator. You will stumble upon a sentry and you will have to steal his key. Wait for him to reach the ledge, sneak up on him from behind (while crouching; to do that, press CTRL) and press the interaction button. You will get the Fishery Manager's Key.
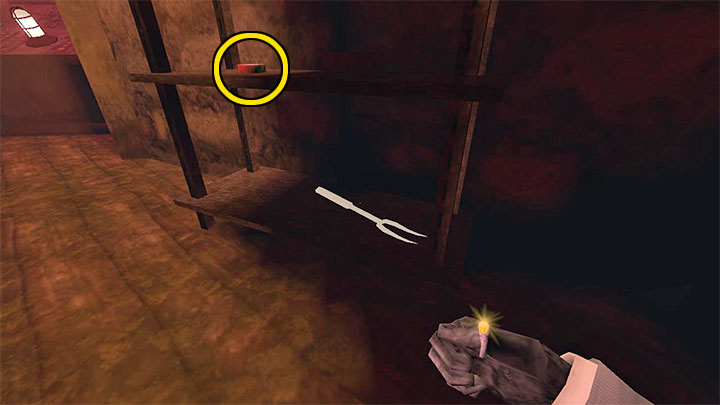
Go back to the hall next to the room with the guard and go forward. Open the door to the Power Room. You have to avoid running on a noisy metal surface - crouch while going there so as not to generate noise or avoid the surface completely.
The most important collectible in the room is the Button Cap on the shelf. In addition, you will find a document and the Croup's Fishery - Cellar Floor map. The map does not show your location, but you can find your location by the names of the rooms (the current room is Workshop).
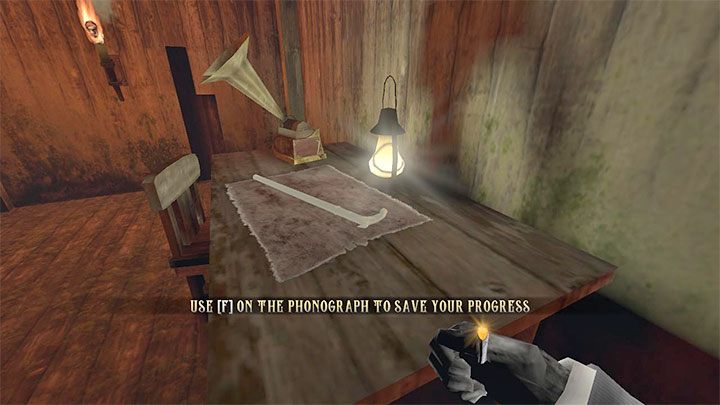
Choose a new passage through Stairwell A to the Break Room. You will come across the first Phonograph - they are used to save the game (you can use them as many times as you wish).
In the same place you will find a melee weapon - Canesword. The protagonist will automatically start using it (you can also select it by pressing 1).
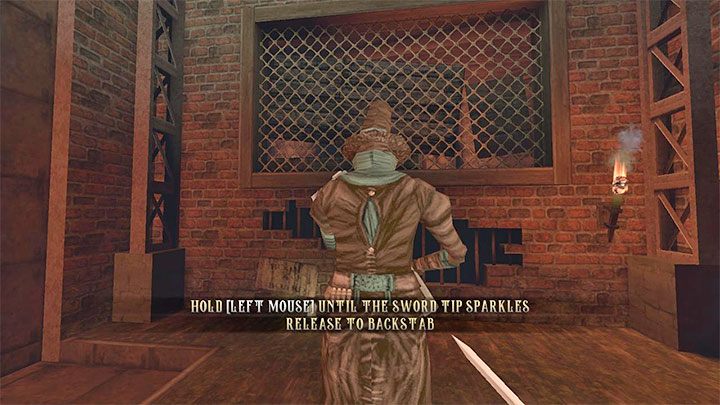
Use a melee weapon to destroy the boards on the door.
There is a guard in the next room and you can use this opportunity to test out backstabs, silent enemy eliminations. You have to hold down the left mouse button and wait for the tip of the blade to flash. Only then, release the button to murder the guard. This technique works only on those enemies who are not alerted (red) and are not trying to fight you.
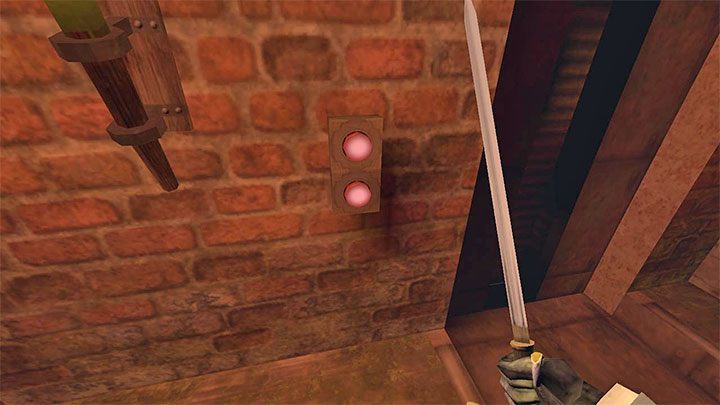
Go back to the room with the elevator (Killing Floor), i.e. the one in which you found the suitcase earlier. Go up to the elevator buttons and interact with the lower one - the protagonist will now insert the button found earlier into the slot.
Call the elevator (lower button) and use it to reach the upper floor (upper button).
Map - Factory Floor
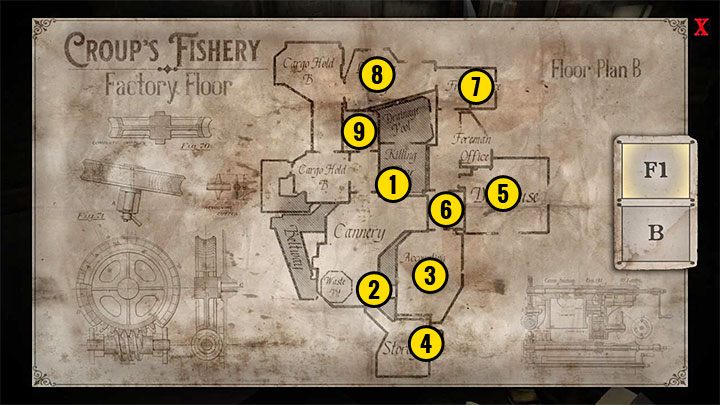
You can find the Croup's Fishery Factory Floor map while exploring the main building - we included it in our walkthrough. The most important locations on the Factory Floor map are the following:
1) Killing Floor - here you will start the exploration of the upper floors after you use the elevator in the basement.
2) Elevator - it is a closed elevator shaft and you can use the chain to climb up to the office with a safe (point 3).
3) Accounting Office - you can reach the office from the shaft (point 2) or the staircase (point 9). You will find a safe (code 363), where the revolver is stored.
4) Storage - this is where the main exit from the building is located.
5) Dockhouse - you can get here from the footbridges surrounding the main building. There's a hanging boat here with an ammo box inside.
6) Stairwell A - you can use this staircase to unlock the passage to the basement (Phonograph), explore the middle room and unlock the office (point 3).
7) Front Office - there you will find a factory map.
8) Loading Bay - there are levers that will unlock the northern exit from the building.
9) Stairwell B - this staircase allows you to reach the highest roof of the main building.
Get out of the main building
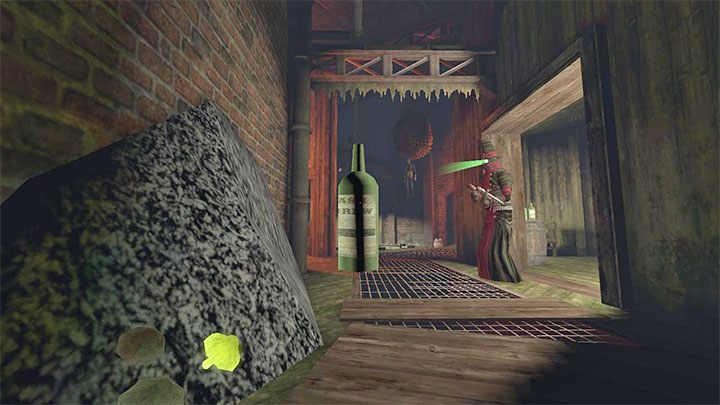
On the upper floor, you will immediately stumble upon a new guard and you can use this opportunity to test out throwing bottles to distract enemies. You have to pick up a bottle without adding it to your inventory (hold down the F key) and throw it (left mouse button). After distracting the guard, you can either avoid him or get rid of him with a backstab.
In the same room where the guard was, you will find the document.
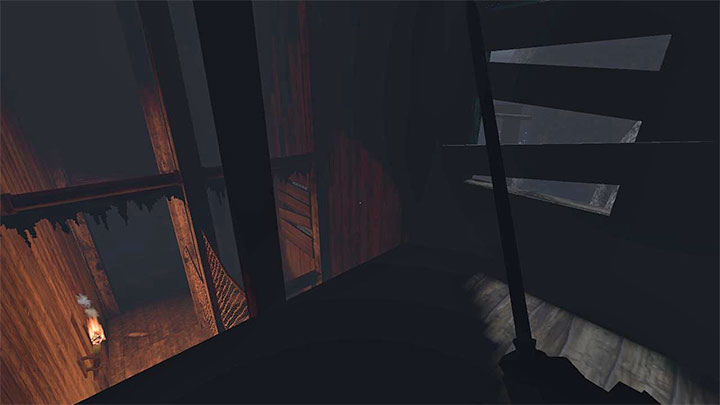
From now on, you have more freedom - there are multiple paths which you can take to reach the exit of the main building.
There is a dark passage in the room where the guard was. It leads to a shutter covered with boards - you can break the boards with a melee weapon and get out easily.
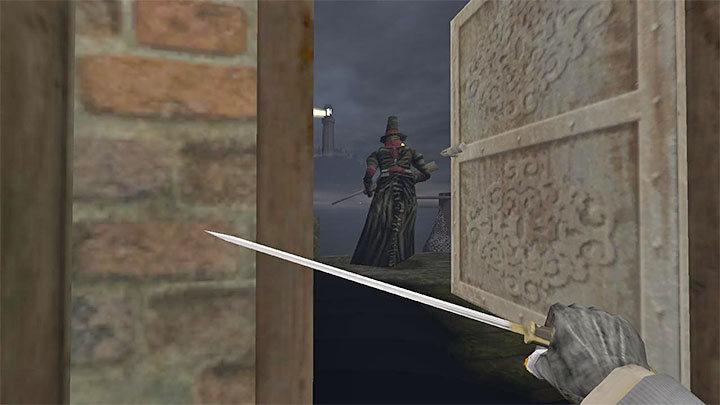
The most obvious path involves going along the main corridors. You will follow other guards - wait for them to finish the conversation and leave the building. In the area you will find chests which you can examine - destroy the one with the medicine, in the second one you will find gold.
Be careful when taking the main exit because there is a guard outside right next to it. You can wait for a good moment and get rid of him with an attack from behind.
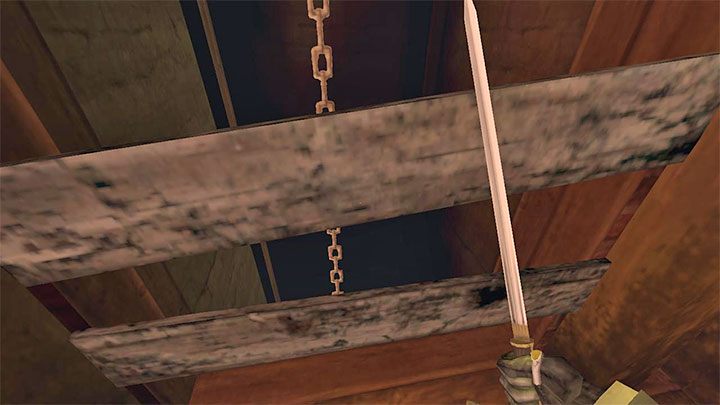
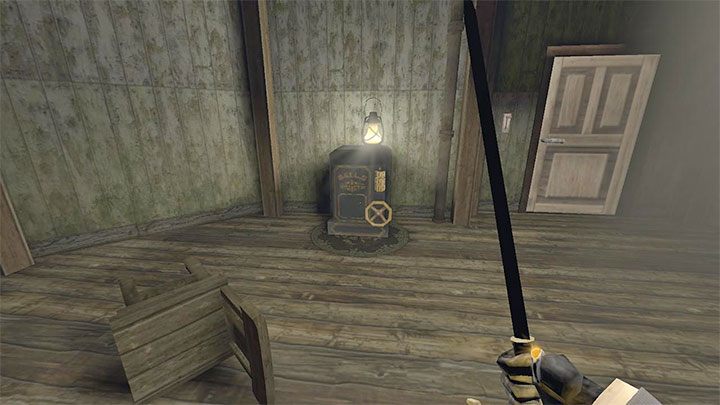
Another option involves getting to the office on the upper floor. To do this, locate the elevator shaft shown in picture 1. Destroy the boards and grab the chain. Climb up on it.
In the office you will find a document and a safe from picture 2 - you can open it using the code 363 (you can set it by turning off the light in the room). In the safe you will find, among others, a Revolver, as well as ammo and the Widow's Brooch.
The office door is locked. If you destroy one of the windows, you will alert the guards and they will appear soon (you can hide in the shadows and surprise them).
Further exploration of the main building and its surroundings
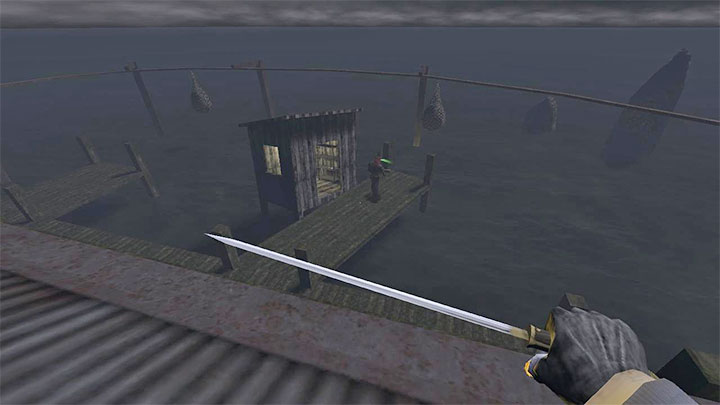
There are footbridges around the main building of Croup's Fishery. Various guards are patrolling the area. Avoiding them can be troublesome, but you can make it easier by climbing onto the lower rooftops of the main building.
Watch out for the light of the lighthouse. It illuminates the area at regular intervals and can suddenly make you visible for enemies. You have to choose covers well, covers which will keep you hidden even when the area is illuminated.
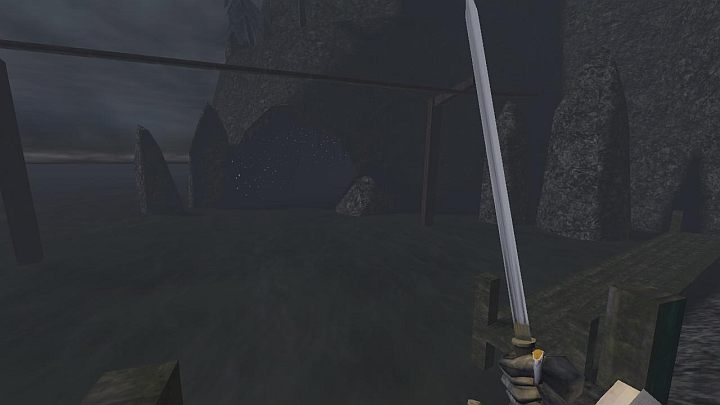
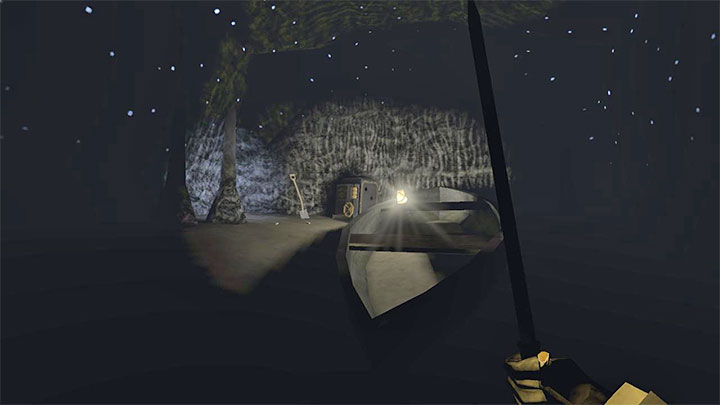
Your character can swim and dive. Thanks to this, you can swim to the cave with the safe (shown in picture 1), which is right next to the main building of Croup's Fishery. The code to the safe is 415. It contains a very valuable item - the Undertaker Pistol, which can use various types of ammunition (e.g. normal or incendiary).
Swimming can also prove useful when bypassing large parts of the fishing village. Thanks to this, you will reach the entrance to the mine faster, but you can potentially miss a lot of treasures in the main building.
While swimming, you may come across invisible walls. Unfortunately, the area that can be explored is limited and the game will not allow you to swim straight to the lighthouse visible in the distance.
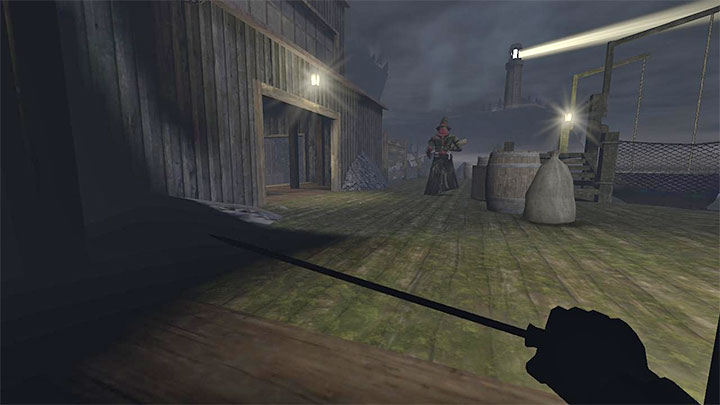
One of the guards patrolling the footbridges in front of the main building has the Fishery Power Room key. You can pickpocket it or kill the guard and search his body. You will need the key to unlock the door inside the building.
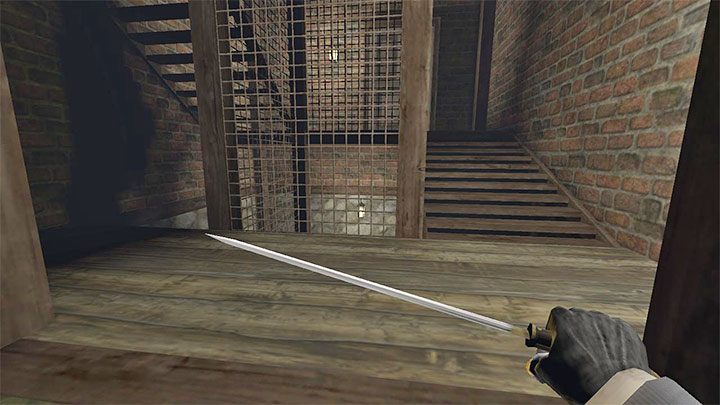
The main staircase is used to move between the floors of the main building. You can:
- Go down and unlock the shortcut to the first phonograph - it will allow you to save the game more often.
- Explore the room on the middle floor - you can get rid of the sentry and collect a lot of gold (the guard is carrying a pouch). You will also find a key and a document.
- Unlock the office on the top floor - this is the one described earlier, where you will find a safe with a revolver.
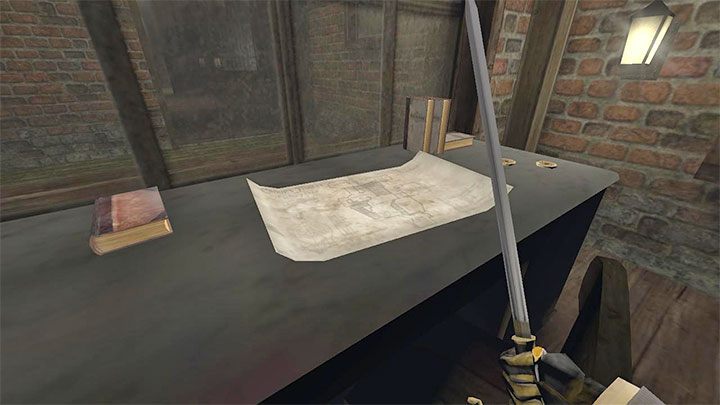
While exploring the rest of the building, you will encounter new guards. You can deal with it in a couple of ways: distract them by throwing objects, hide behind covers or hide in a side room and turn off the light.
In the same room, there is gold and theCroup's Fishery - Factory Floor map. The room is the Front Office and you should now head towards Loading Bay.
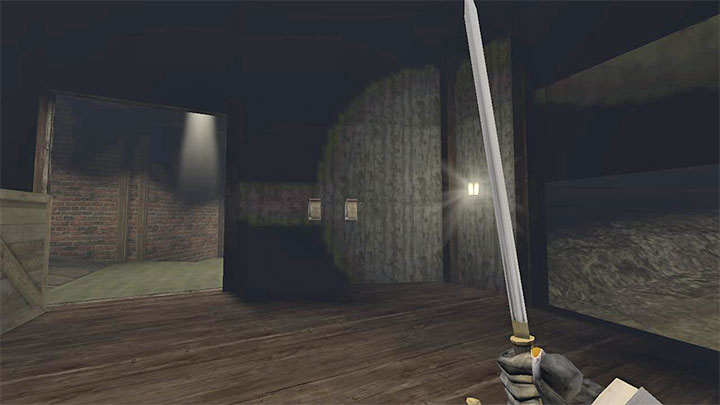
In the next area, apart from the guard, you will find levers - you'll be able to unlock the exit from the main building here, but you have to watch out for the guard patrolling the area outside.
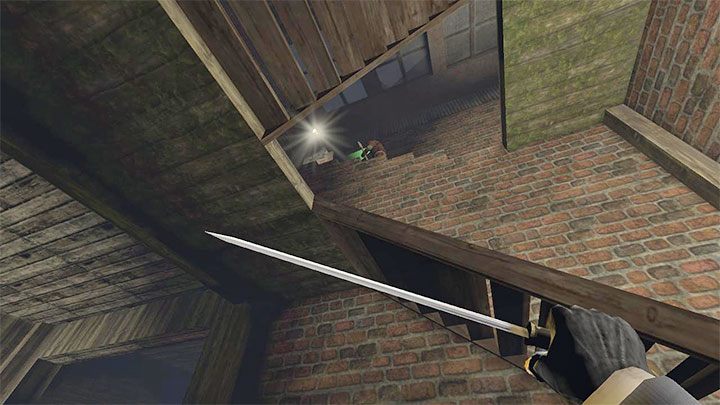
Optionally, you can complete the exploration of the main building first. The ramp will lead you, among others, to the new shortcut (switch) and to the stairs leading to the roof. In this area, you have to be very careful about avoiding the guards. It is recommended to distract them by throwing objects.
Some guards have the Fishery Rooftop Key on them. It allows you to unlock the door leading to the roof.
Reach the hut next to the mine
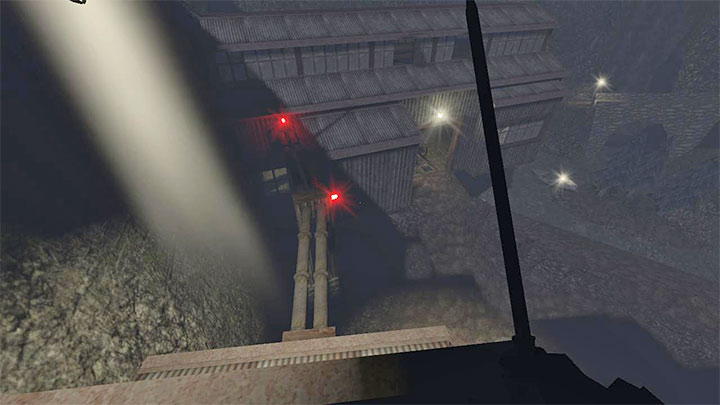
You can leave the main building by using the passage in Loading Bay or by reaching the roof and walking across the pipes shown in the picture above. The latter option will make it easier for you to sneak into another, smaller building.
The mentioned building is guarded by at least 3 guards (one in front of the building, two inside - you can surprise them by jumping down on them from above). Getting rid of them is optional though.
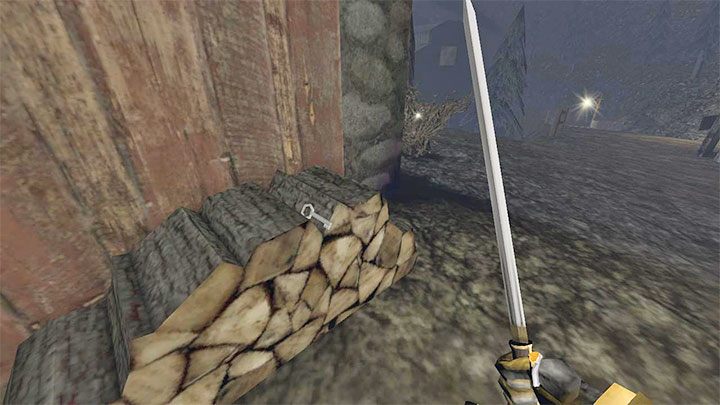
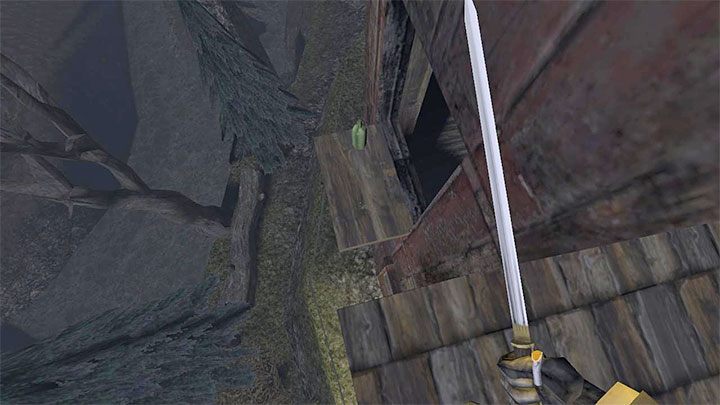
Follow the main path and you will reach a locked hut. You can get inside in two ways:
- find Fisher's Cabin Key, which is lying on the wood stack near the building's wall (picture 1);
- Climb on the roof of the hut and find the opening in the wall of the building (picture 2).
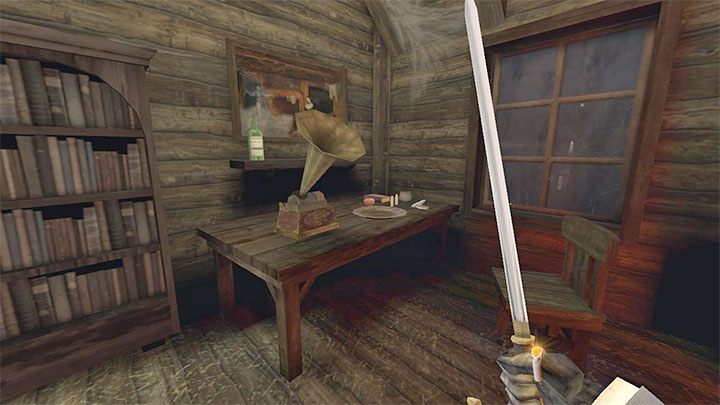
There is a single guard inside the hut, which you should get rid of with a surprise attack. Here you will find another Phonograph to save the game and a Revolver (if you already have the one from the safe, you will now have 2 copies of the same weapon).
Optionally, you can explore the entrance to the basement, destroy the medicine chest and find a well. You can descend on the rope and examine the cave (there is a Raw Gem Small on the ground).
For now, the game won't allow you to open the metal gate in the cave and collect the loot behind it. You can unlock it later on, from the other side by reaching it from the cliff side (Coast Cliffside).
Reaching the mine
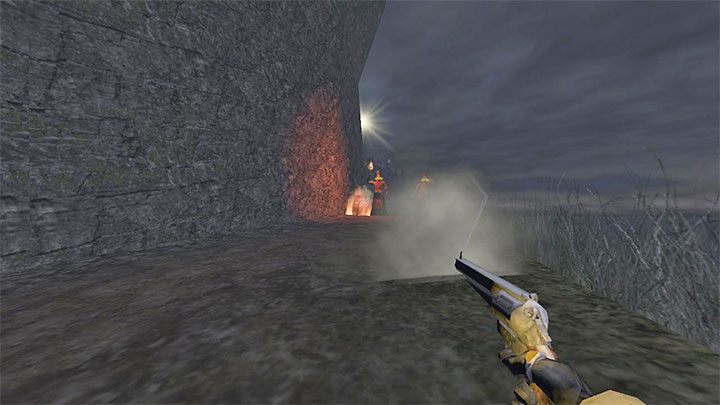
If you choose the main path, you will encounter two guards standing by the destroyed road. You can listen in on their conversation and withdraw or you can kill them by shooting a red barrel. The explosion should kill them immediately.
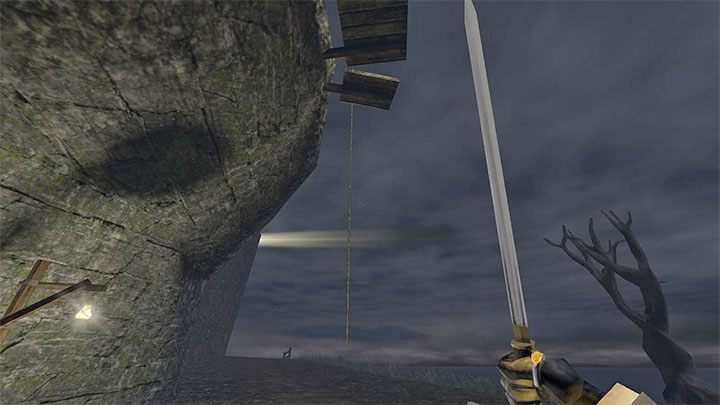
Next to the hut with the Phonograph you will find a rope - use it to climb. Thanks to this, you will end up right next to the entrance to the Waits Mining Co.
You are not permitted to copy any image, text or info from this page. This site is not associated with and/or endorsed by the developers and the publishers. All logos and images are copyrighted by their respective owners.
Copyright © 2000 - 2026 Webedia Polska SA for gamepressure.com, unofficial game guides, walkthroughs, secrets, game tips, maps & strategies for top games.
