Gloomwood: Coast Caves - walkthrough
Coast Caves are the palce visited at the second stage of the Gloomwood game. Our walktrough explains how to disable the electric gate, how to deal with dogs, how to start the elevator and how to leave the caves.
Last update:
Coast Caves is the second level in Gloomwood, and we've described it in detail in the walkthrough below. From our walkthrough, you will learn, among others, how to deal with the electric gate, eliminate mutant dogs, sneak near the elevator, activate the elevator, and get out of the first part of the caves.
- Turning off the electric gate
- Reaching the elevator in the cave
- Activating the elevator
- Using the elevator and leaving caves
Turning off the electric gate
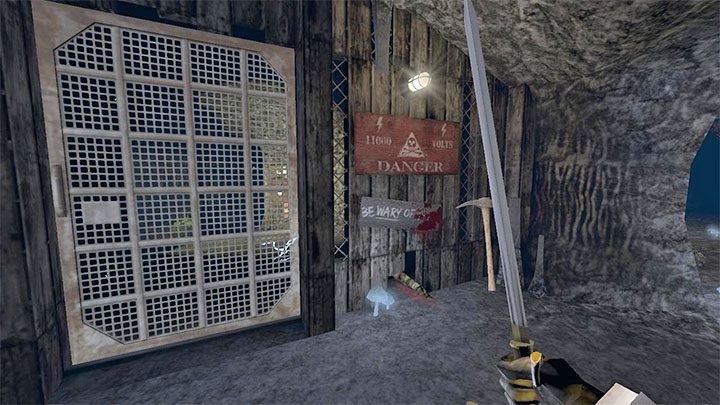
You will enter the Coast Caves from the side of Croup's Fishery - we've described it on the previous page of the walkthrough.
The linear path will lead you to the electric gate - do not touch it or you will take damage. You must locate the generator to turn off the power supply to the gate.
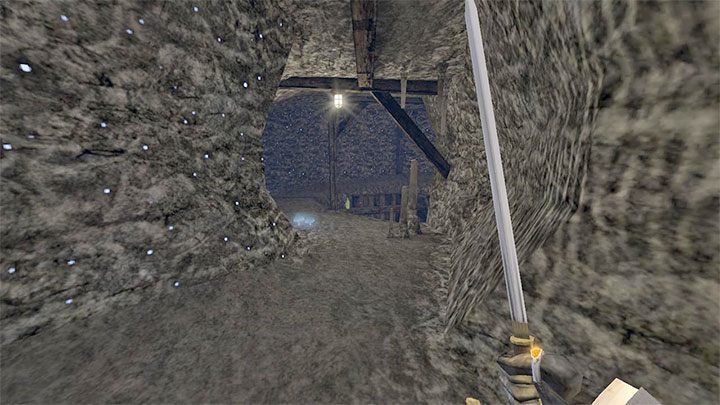
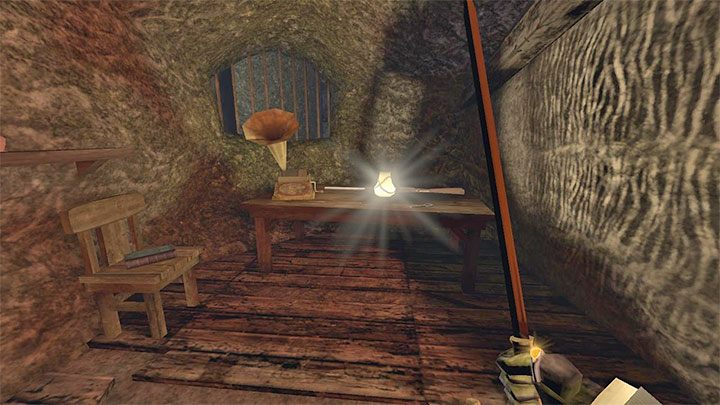
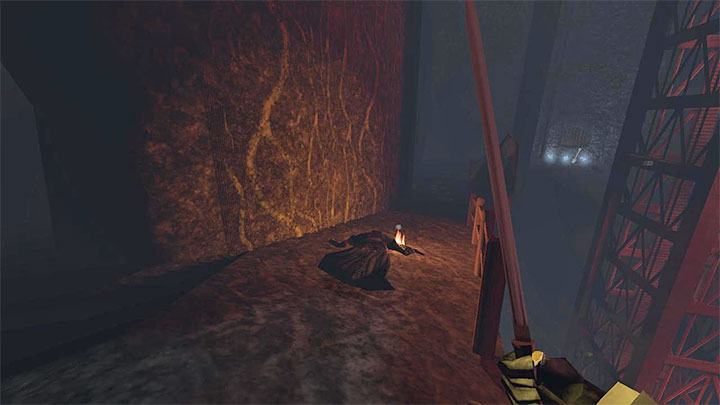
Keep going. The path on the right will lead you to a small area with a table and lesser loot (destroy the chest to find a medicine). The left path leads to a balcony with a corpse and a cartridge.
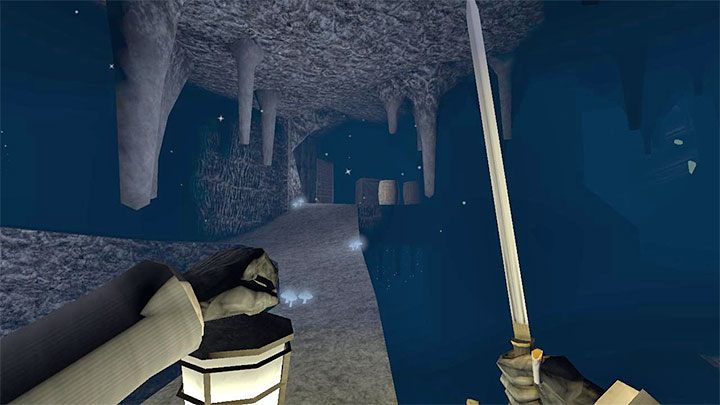
The middle path, shown in the picture above, leads to the further part of the caves.
On your way, you will pass a locked gate that requires a key - read the note and remember this place.
Choose the way to the bottom part of the caves. You will reach the place with the Phonograph for saving the game and the Mines Generator Key. You will also find locked doors in the area with a note attached next to them, which you will open later from the other side.
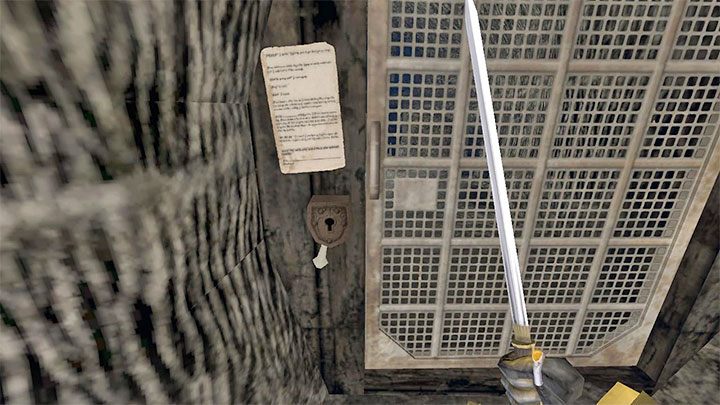
Return to the locked door in the upper level of the caves with the key. Interact with the lock, thanks to which you will open the gate.
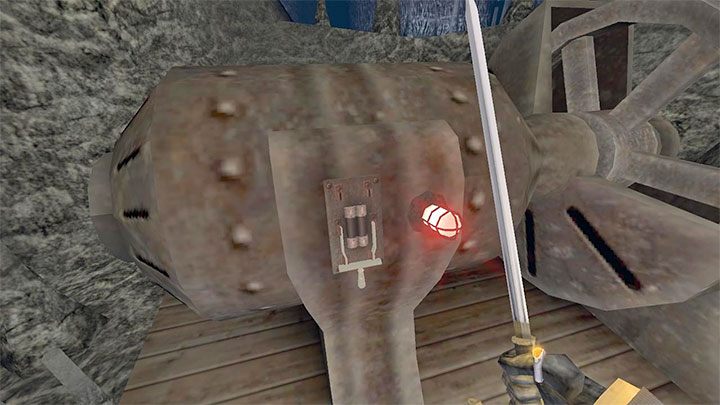
You will get into the room with the generator. You can pull the lever to turn off the power supply and head towards the gate at the very beginning of the caves. This gate is no longer electrified.
Reaching the elevator in the cave
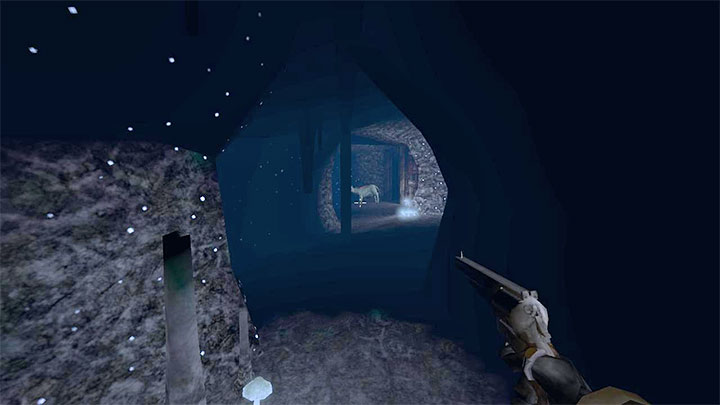
As you continue passing through the caves, you will encounter mutant dogs. The best combat tactic is to use a revolver - two headshots can kill the dog on a normal difficulty level. Fighting with melee weapons is risky, although possible (remember to check your health and fight with one dog at a time).
Try to conserve ammo and return to the phonograph to save the game if necessary.
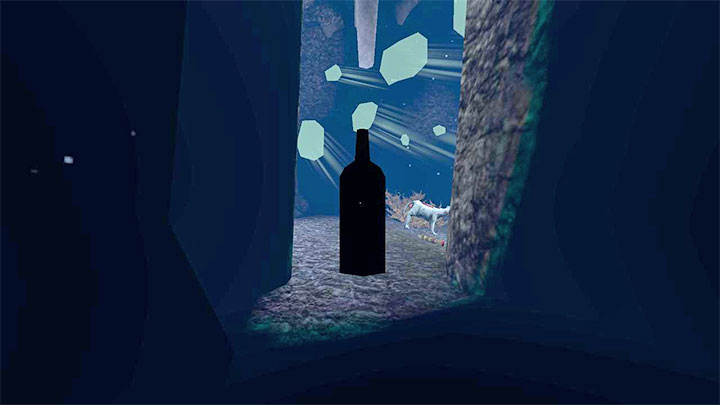
Unfortunately, sneaking up is troublesome because dogs can sniff you out even if you sneak up from behind. You can attempt to use throwables to distract the beasts. Bottles are the best choice here, as after they break, nearby dogs are alerted and will investigate the source of the suspicious sound. This will give you a chance to quickly sneak past them.
Another possible throwable are body parts, but when it comes to them, a dog may not react to them. This is due in part to poor enemy AI, which will not always "works" as expected.
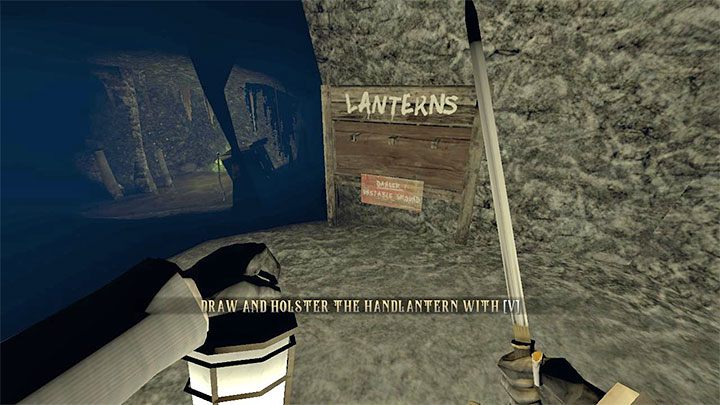
Right after entering the new location, you will find a Lantern that you can use limitless (use the V key to take it out and hide it). It will help you explore dark caves, but your character will be more visible. It is a good idea to hide it when you encounter intelligent opponents later in the caves.
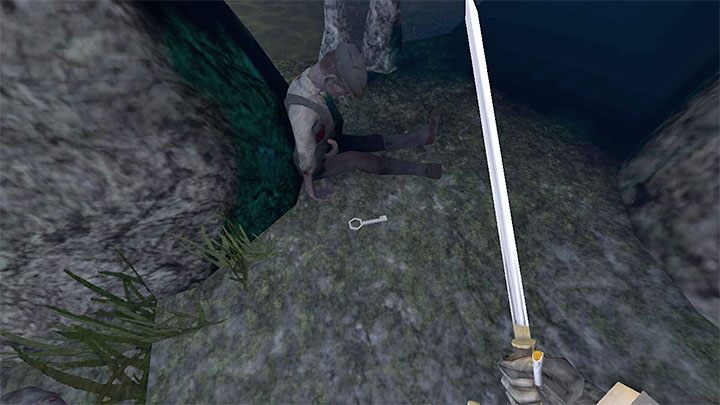
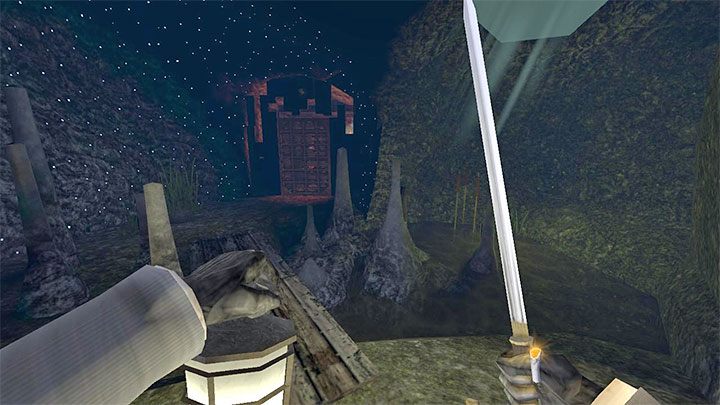
Slowly move through the caves to deal with a single monster at a time. Also, be careful not to fall down in locations with chasms.
Explore locations with corpses more carefully because you can find treasures - Raw Gem (Small) and the Mines Storage Key shown in picture 1. In the area, you can look for the closed door shown in picture 2. Use the key on them, and you will gain access to the storage room. Inside, you will find medicine and ammunition.
There is a small tank in one of the new locations - you can dive in it and pick up another Raw Gem (Small) on the bottom.
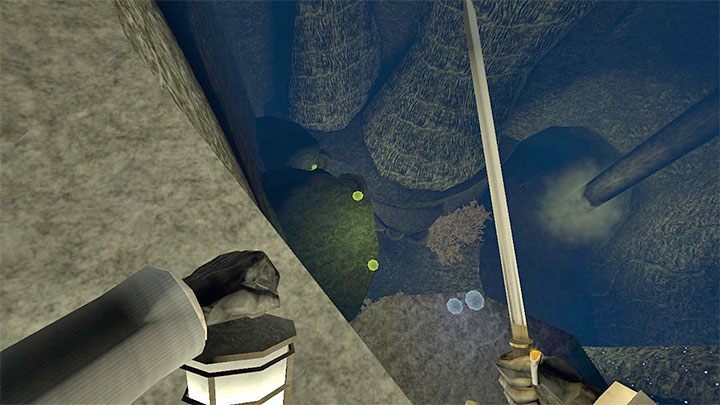
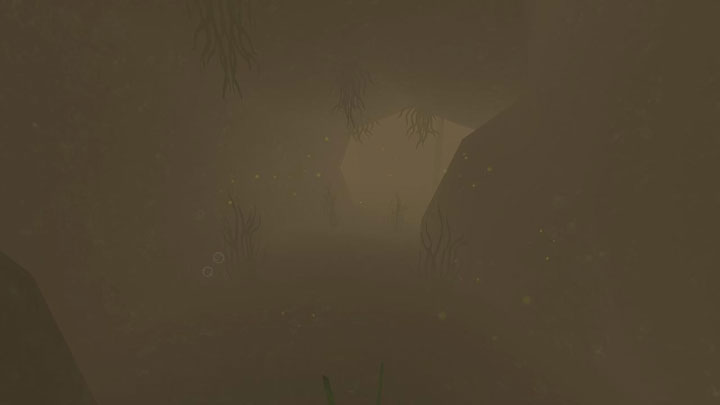
Ultimately, you will have to choose the path. The lower path involves jumping down onto lower ledges from picture 1. Down, you can kill or avoid the dog and dive longer this time to reach the cave with the elevator (picture 2). It is also worth searching the bottom for medicine and another Raw Gem (Small).
The upper path involves reaching the gate shown in picture 1. You will start exploring the cavern with the elevator in the upper part. The area is patrolled by at least 2 guards with torches. Hide your lantern to avoid being spotted. You can wait for enemies to go the other way and sneak, or use the opportunity to attack them from behind to kill them with surprise attacks.
Activating the elevator
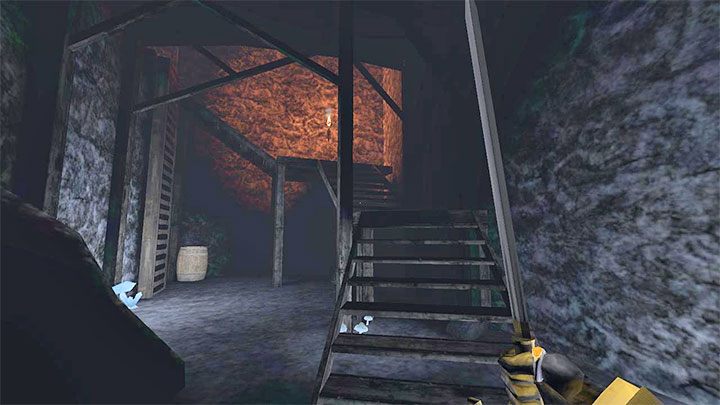
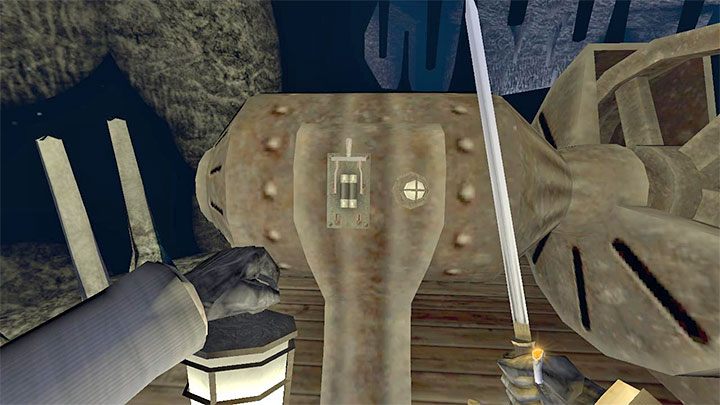
To activate the elevator, you need to turn on the generator - the same one that you turned off at the beginning of the stage to neutralize the high voltage gate.
You don't have to go back to the generator the same way. Locate the side stairs shown in the picture above (by default, this area is patrolled by one of the enemies).
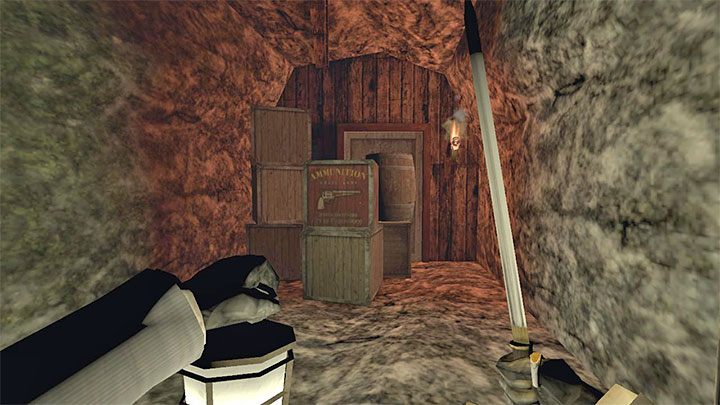
The stairs lead to the barricaded door. You can unlock the passage by destroying and moving barrels and chests. This will create a new shortcut.
You will get near the phonograph again - this is a good time to save your progress.
Reach the room with the generator once again, this time to turn it on. Then, go to the cave with the elevator again.
Using the elevator and leaving caves
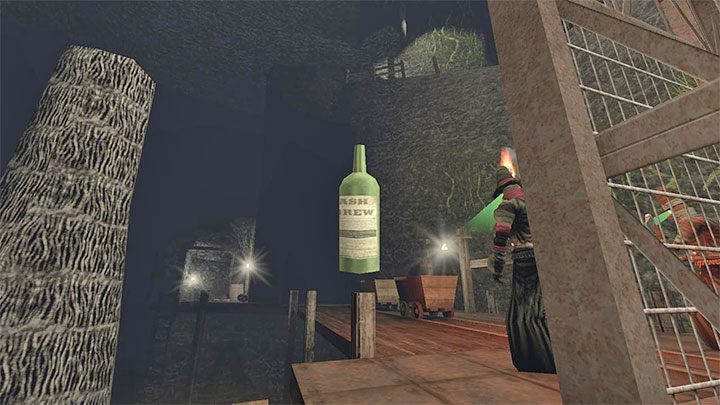
The elevator is protected by at least 2 guards. Avoiding confrontation with them can be difficult. You would have to jump into the water, climb behind the elevator and throw the bottle from a hidden place to distract them from the elevator.
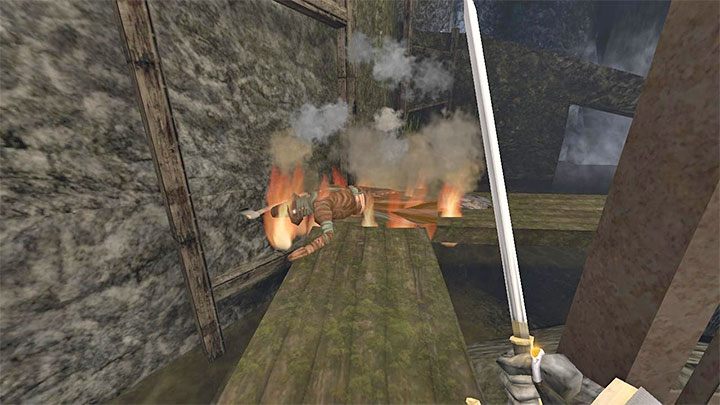
If you don't mind fighting, it's best to climb on the back of the elevator, sneak to one of the enemies from behind, and stab him. You can defeat the second guard in close combat (melee weapons) or from distance (revolver).
Watch out for the guards' torches. Touching them may temporarily set your character on fire. Fortunately, the opponents may set themselves on fire by accident too, and they will die faster thanks to that.
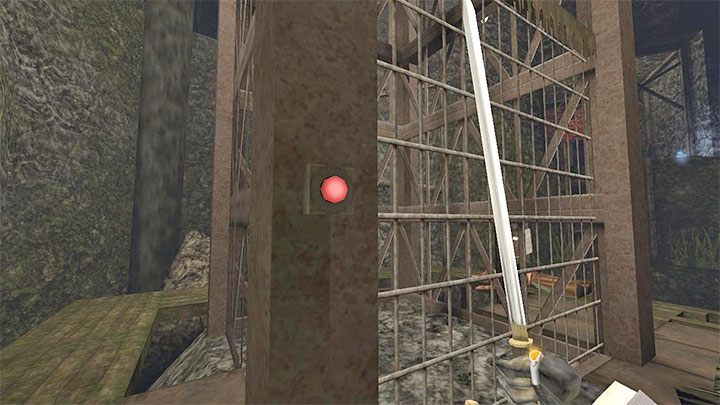
Regardless of the chosen variant, press the elevator call button. It will only reach you if you had turned on the generator correctly. Get into the elevator and go upstairs.
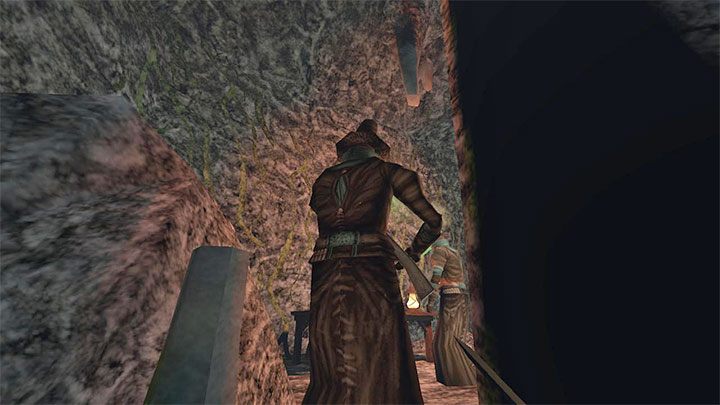
There are 2 more guards upstairs (one of them is "hidden" behind the rock on the left). Killing them is completely optional and you can use stab again. Getting rid of the enemies will allow you to read a funny note.
If you don't want a fight, sneak to the left. The linear path will lead you to the exit from the caves, and another location (Coast Cliffside) will be loaded.
You are not permitted to copy any image, text or info from this page. This site is not associated with and/or endorsed by the New Blood Interactive or Dillon Rogers. All logos and images are copyrighted by their respective owners.
Copyright © 2000 - 2025 Webedia Polska SA for gamepressure.com, unofficial game guides, walkthroughs, secrets, game tips, maps & strategies for top games.
