The Evil Within 2: Chapter 3 - Resonances
Last update:
The third chapter allows players to explore a rather large, half-open area. The main objective is to track a little girl's voice.
Note - in this chapter, you can acquire four new weapons: Sawed-Off Shotgun, Sniper Rifle, Warden Crossbow, and Laser-Sighted Pistol. You can learn how to obtain each one of them in the FAQ section.
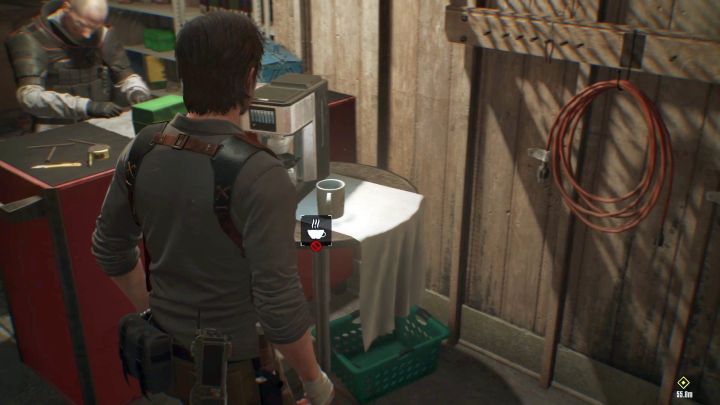
Use the nearby terminal and save the game. Here, you can also find a Coffee Express - it allows you to regenerate health. On a table, next to the Coffee Express, you can find Handgun ammo and Gunpowder. Two Weapon Packs are near the door - you can use them to modify your weapons at workbenches.
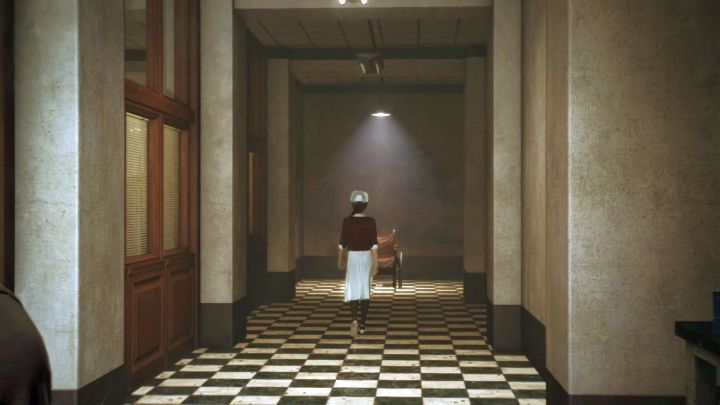
Here, you can also find a workbench - ignore it for now because you don't have enough materials to use it. Go through the door on its right. At the end of the corridor you can find a mirror - approach it and interact with the object. You move to the location from the second chapter (the police station). Go forward, pass a workbench by and sit in a chair located at the end of the hallway. This opens a character upgrade menu - you can use Green Gel to increase Sebastian's abilities. More information about this mechanic can be found in the separate chapter of this guide.
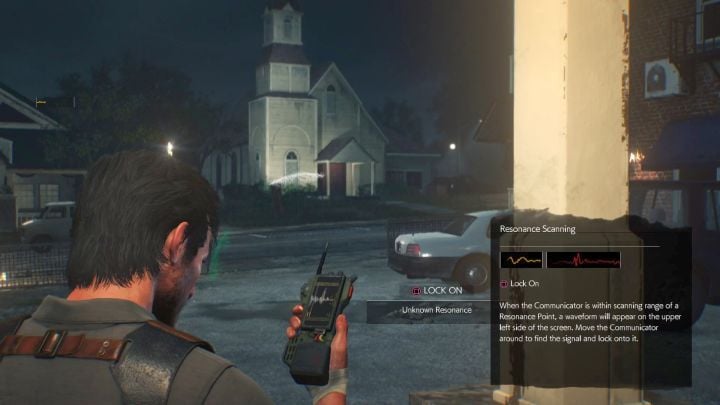
If you are done with upgrades, you can get off the chair and use the mirror to go back to the "normal" world - at this moment, there are no interesting things to complete at the police station. You are in the corridor with the mirror. Exit through the door on the left. You are now outside of the building. After a few steps you will see a new information - it will teach you how to use the Communicator. Use it to locate various points - a tutorial for that will appear right after leaving the building. The hero must face a direction of a waveform (they have different colors - orange, green, white - they mark main missions, side missions and items that can be collected). Then, press a button displayed on the screen. This will mark that place on your map.
Side mission - Rogue Signal
You can unlock this mission when talking to O'Neal in the hideout. He will tell you that there are multiple Mobious Resonance spots. During this mission, your objective is to find 4 locations of resonances, where you can activate the Residual Memories. The exact locations and the walkthrough can be found in "Collectibles - Chapter 3" - these are Residual Memories #1, #2, #3, and #4. Upon activating them, return to O'Neal to collect your reward - a considerable amount of Green Gel.
Note - consider completing this side mission together with a story mission, as the resonances are located near the objectives of the main mission.
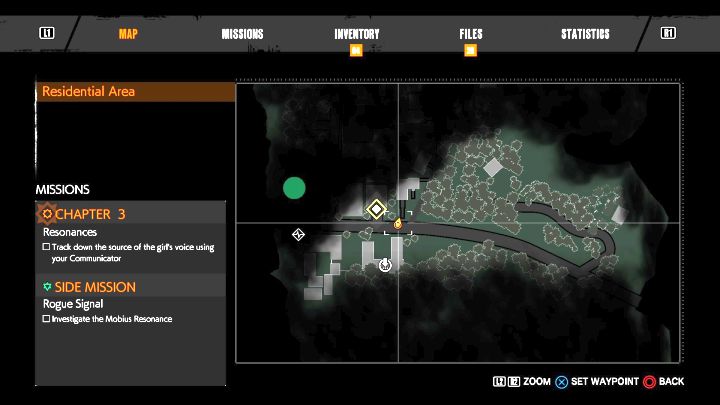
There is a lot of things to do here. However, you should focus on the main mission - find the girl. The area is filled with dozens of enemies - try to eliminate them stealthy so you won't attract attention of the rest.
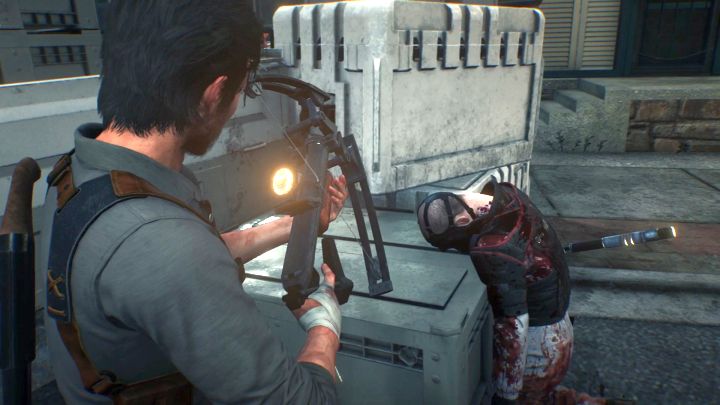
Head west and kill a few enemies. There, you can find a truck behind which there is a Warden Crossbow with Shock Bolt and Explosive Bolt. This is the same weapon as the one from the first game - it deals huge amount of damage and can shoot a few different types of bolts (you will find some of them later). You should save it for special occasions - fights with tougher enemies. Picking up the crossbow triggers an alarm which lures a few enemies to your location.
Track down the source of the girl's voice using your Communicator
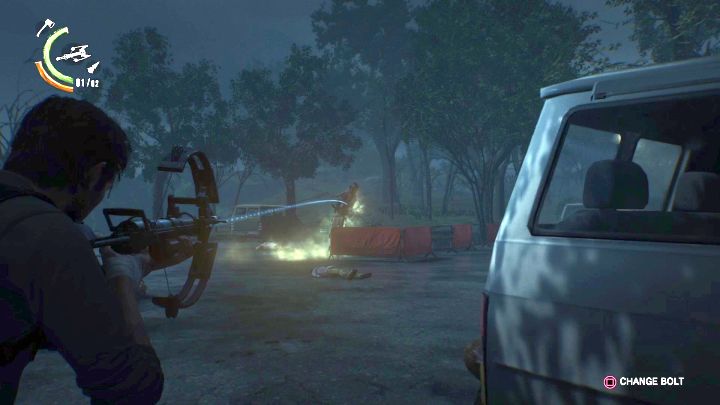
Head towards the orange zone on the map - this place is the first stage of the main mission. Since you have to go through almost the entire map, you should look around carefully - there are a lot of items and collectibles (their descriptions are in the separate chapter). You can also get a few additional weapons - Handgun upgrade, a Shotgun or a Sniper Rifle. The ways of acquiring them are described in this chapter.
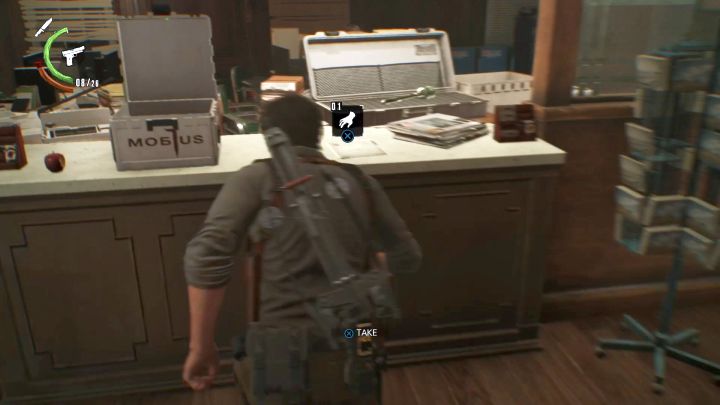
You must reach The Pit Stop building (an information about its location is displayed when you get closer to it). While you are on your way, you can come across a new Safe House - in order to get inside you must shoot a Shock Bolt at the fuse box (if you don't have a bolt, you can either craft it or return here later when you get it). Inside, you can find a Coffee Express, a terminal for saving your game, a few items that you can pick up and Files [Report #00122: Recruits].
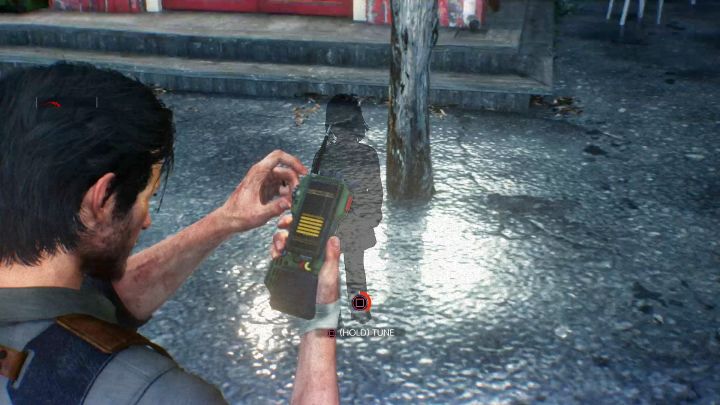
Exit the Safe House and go towards your target. You can come across a few enemies - eliminate them stealthy or shoot every single one of them because they are far away from you and there is a lot of ammo in the area. Lily's silhouette can be noticed near the building - get closer to her, activate the Communicator and follow the on-screen instructions to activate the resonance. Follow the girl. You reach a closed door. On the left there is a refrigerator - push it and then squeeze through a narrow opening. Pick up a doll from the ground. This triggers a cut-scene.
Search for clues behind the restaurant
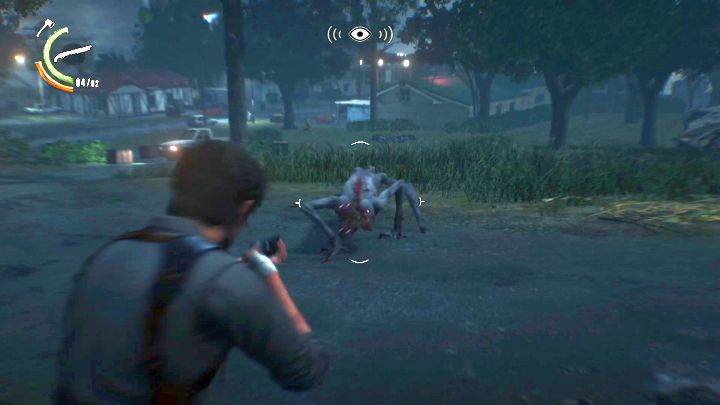
You have a new objective. Exit the building and then go to the back of it. Get closer to the trash bins and examine them. You discover a new resonance. Follow it. Shortly after that you will be attacked by a pair of new enemies. These monsters are much more tough than anything that you fought with before. You have two options - you can stun them (one shot and the enemy won't move for a few seconds) and then run away or you can try to kill the creatures. The fight isn't that difficult if you have a Shotgun or if you are able to hit them with your Crossbow - two shots from a Shotgun or one accurate bolt are enough to make the enemy fall to the ground.
Follow the new Resonance of Lily's voice
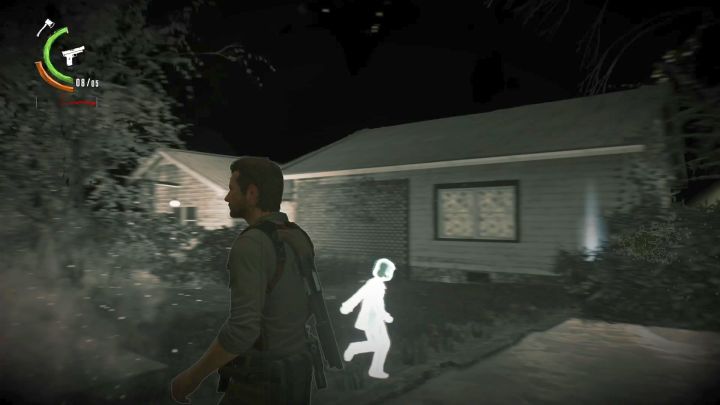
After that you must head towards the resonance. Lily's silhouette can be found near a building, right next to a car - get closer to her and use the Communicator to activate the resonance. Follow the girl's tracks. Examine blood on the wall. This adds a location of another resonance. Head there.
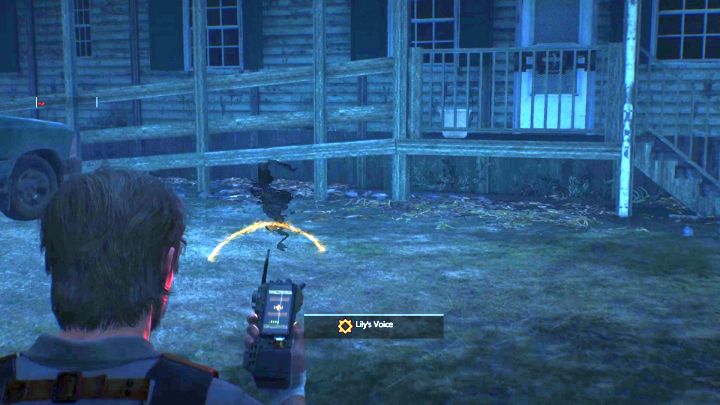
Lily's new silhouette is located near stairs that lead to a home - approach it and activate the resonance. Follow the girl and you will reach Tredwell Trucking warehouse. You also receive a new objective - search inside the warehouse
Search inside the warehouse
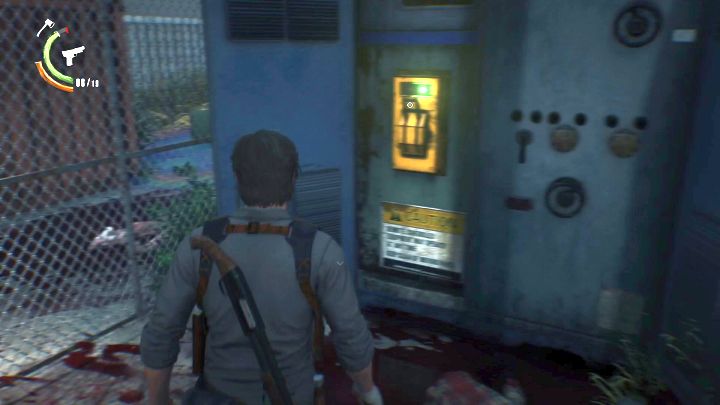
The area is filled with enemies but don't worry, there is a lot of ammo here - use your firearms to eliminate them. After that you should look up and find a cable that goes from the warehouse to a small object. Go there, destroy a lock (use your knife), kill two enemies and pull down the lever to bring the power back. Approach the exit and use the lever to open it.
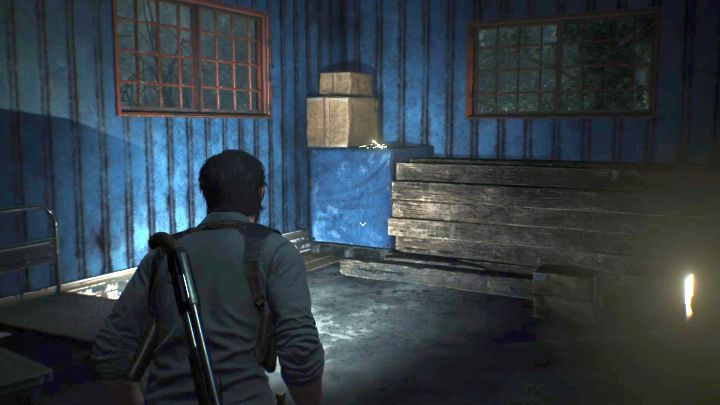
The doors will close immediately after you enter inside. Go forward until you reach closed door. In order to go past the net, you must go to its right side - there, you can notice Lily's "ghost" and you will be able to tear a board away. Reach the other side. Continue walking forward until you reach stairs. You can go up - there is a room inside of which you can find Weapon Parts, Gunpowder, a Fuse, Nails and a Metal Pipe. Go back to the stairs and go straight.
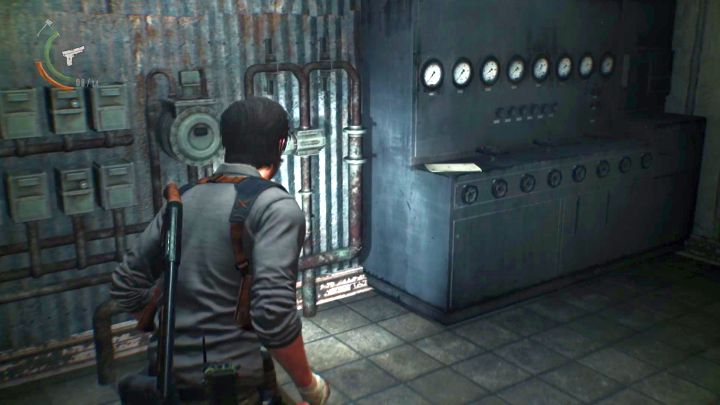
Follow the only path until you come across an enemy. Kill him, pick up items (including an Axe - this weapon kills most of the enemies with one swing but it breaks after one use) and go up a ladder. The first room on the left contains Files [Report #00654: Core Displacement], you can also find a few items on the workbench. Collect them and use the workbench if you need to. Then, go back to the hallway and enter another room. Pick up a doll from the ground to trigger a new cut-scene. After that you must collect items that are in the room (Handgun ammo and Shotgun ammo). Go back to the warehouse.
Go outside and call O'Neal
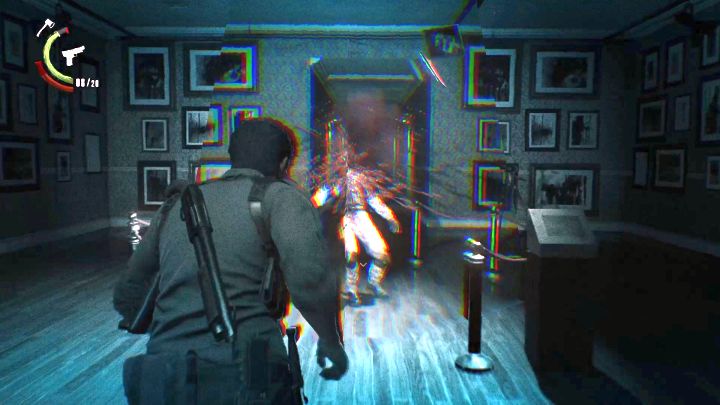
You will come across a killer. The same one that you met in the second chapter. Follow him and you will reach a new location with a long hallway. You must run straight ahead, avoid Mobius' new victim and keep moving forward until you go back to the "normal" world. Approach the exit, watch another cut-scene and prepare for a fight.
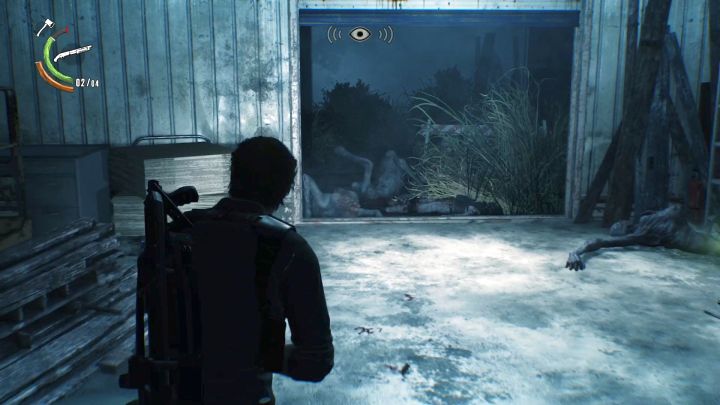
You must defeat three enemies - the same ones that you met near the restaurant. Sadly, you can't escape from this encounter which means that you must fight. Go back inside of the building and prepare your weapon - Shotgun is the best choice, however, if you don't have it, you can use a Handgun. Wait for an enemy to get inside and shoot it - each attack knocks these enemies down which gives you a few seconds to act. Kill them one by one - don't charge outside because these enemies are deadly in open spaces and they will be able to dodge your attacks.
Return to O'Neal's Safe House and speak with him
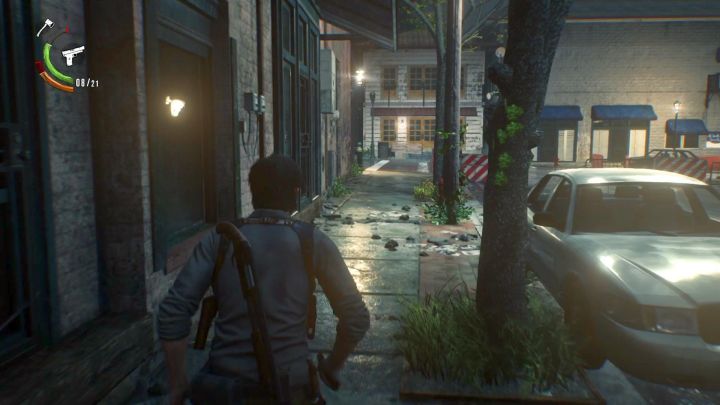
Pick up the items that fell out of the enemies and go back to the first Safe House. You must watch a cut-scene, that plays while you are on your way, during which some of the enemies will get resurrected. However, you shouldn't come across many of them on your way back to the Safe House. Enter inside and talk to O'Neal. He gives you a Gas Mask. This ends the third chapter.
- The Evil Within 2 Game Guide
- The Evil Within 2: Game Guide
- The Evil Within 2: Walkthrough
- The Evil Within 2: Chapter 1 - Into the Flame
- The Evil Within 2: Chapter 2 - Something Not Quite Right
- The Evil Within 2: Chapter 3 - Resonances
- The Evil Within 2: Chapter 4 - Behind the Curtain
- The Evil Within 2: Chapter 5 - Lying in Wait
- The Evil Within 2: Chapter 6 - On the Hunt
- The Evil Within 2: Chapter 7 - Lust for Art
- The Evil Within 2: Chapter 8 - Premiere
- The Evil Within 2: Chapter 9 - Another Evil
- The Evil Within 2: Chapter 10 - Hidden from the Start
- The Evil Within 2: Chapter 11 - Reconnecting
- The Evil Within 2: Chapter 12 - Bottomless Pit
- The Evil Within 2: Chapter 13 - Stronghold
- The Evil Within 2: Chapter 14 - Burning the Altar
- The Evil Within 2: Chapter 15 - The End of This World
- The Evil Within 2: Chapter 16 - In Limbo
- The Evil Within 2: Chapter 17 - A Way Out
- The Evil Within 2: Walkthrough
- The Evil Within 2: Game Guide
You are not permitted to copy any image, text or info from this page. This site is not associated with and/or endorsed by the developers and the publishers. All logos and images are copyrighted by their respective owners.
Copyright © 2000 - 2025 Webedia Polska SA for gamepressure.com, unofficial game guides, walkthroughs, secrets, game tips, maps & strategies for top games.
