
Desperados 3: Mission 8 - map, badges
Last update:
On this page of the World Atlas for Desperados 3 you will find a very detailed map for Mission 8 - One Hell of a Night. On our map we have marked all the important locations in the town - these are m.in. the bank where McCoy is found, and the gallows where a disguise for Kate can be found. In our walkthrough, we've listed and described all the challenges, including the complicated badge that involves returning the cash back to the bank.
A full walkthrough for Mission 8 can be found on the following pages of this chapter. Our guide also contains links and indications that refer to the map. For example, a marking (M8,5) indicates that you should find the blue point with number 5 on mission map 8.
Mission 8: Markings on the map
- The red dots symbolize the opponents appearing in the town and in the docks. Avoid these characters at all costs.
- The white dots symbolize animals and civilians. Bystanders can alert your enemies if they spot you.
- We have marked all important locations (worth visiting) with blue points. Descriptions of these areas can be found just below the map.
Mission 8: General information
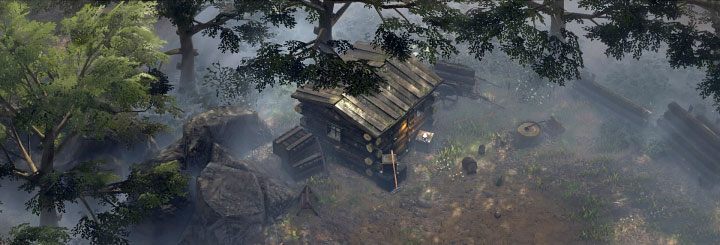
Mission 8 (One Hell of a Night) is set in a small town. As you continue, you have to find and reconnect with the gang as the group landed in different locations after a night of partying. The exception is McCoy, who will remain unconscious throughout the mission. This means that once the doctor is found (in a guarded bank building), he must be carried to the boat in order to complete the mission.
This mission has two unique mechanics. For the first time, you will encounter the mechanics of leaving footprints in the mud. Depending on the situation, it can help you draw opponents away, or become a problem in situations where you don't want enemy to reach your location.
The second unique feature of this mission is that you don't have access to firearms and some gadgets. You have to rely on other techniques to avoid and get rid of opponents, who most of the time, will have to be stunned and bound rather than killed. Fortunately, the game won't completely deprive you of ways to deal with threats. Hector can use rakes which work like snares, while Kate can reach the gallows to get a disguise.
Playable characters:
- Sanchez - he is available from the very beginning of the mission (M8,1).
- Cooper - he can rejoin the team soon after the mission begins - simply climb on the tower on which he sleeps on (M8, 2).
- Kate - she can rejoin the team soon after the mission begins - to get her back, reach the bench she sleeps on (M8, 3).
McCoy is not a playable character in this mission, but you still have to find him in the bank (M8,13). Your job will be to carry McCoy to the boat (M8, 17).
Mission 8: Badges / Challenges
Mission 8 has a total of 8 Badges available. We have described all of them below. The challenges are initially hidden, although you can still unlock them during the first playthrough.
Challenges are unavailable if you play on the Beginner difficulty level. In order to access the challenges, you need to choose at least the normal difficulty level. The same goes for replaying missions to get the remaining challenges.
- Return money to the bank
- Free Doc before waking up the others
- Don't use a disguise
- Kill 6 guards
- Don't use the bank's backdoor
- Make a guard follow your footprints for 50 meters
- Speedrun: Complete the mission in under 22: 00 minutes
- Complete the mission on Hard difficulty
Return money to the bank
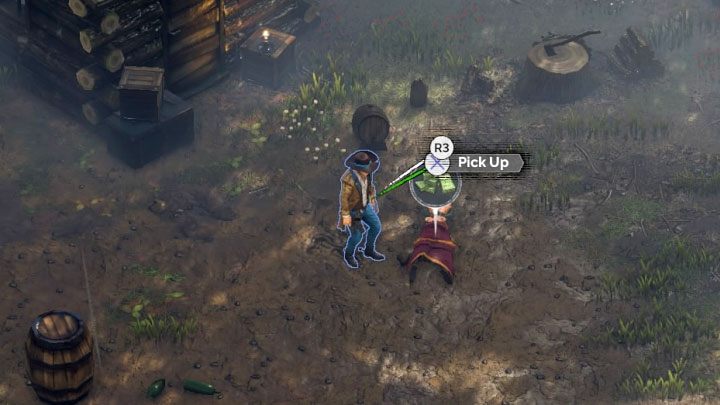
Because the challenges are locked until you complete them, this is the most difficult one to decipher. It consists of several parts. It is best completed in the final part of the mission, specifically after all the opponents have been removed from the bank building.
Return to where you started your mission (M8,1). Rosie (the sheriff's wife) is there and you have to knock her out and tie her up or kill her. Rosie will leave behind some cash - pick it up.
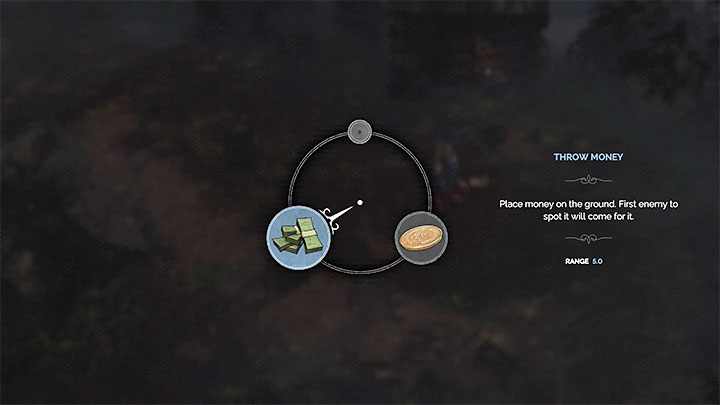
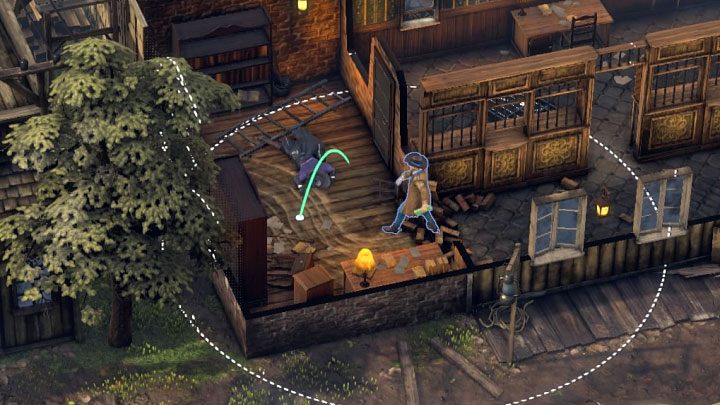
With the cash, head to the bank building (M8,13). Go to the side room where McCoy was being held captive. Open the drop-down inventory menu and select money throw option from it. Make sure the cash ends up on the floor of the bank.
Free Doc before waking up the others
It's a tough challenge because you have to play in a completely different way than the recommended mission path suggests. Take interest in this Badge only when repeating the mission and be sure to play at the easy difficulty level.
This challenge assumes you can only control Sanchez until you reach McCoy in the bank building (M8,13). You can't use Showdown or Kate's disguise. As often as possible, rely on a combination of rake + whistle, as well as deliberately leaving footprints in the mud to draw enemies away into secluded areas.
Don't use a disguise
As a reminder, this involves the disguise found at the gallows (M8, 8). It is possible to gain this badge even when playing at a higher difficulty level, although not using the disguise will definitely slow down your progress in eliminating opponents you encounter on your way to subsequent mission objectives. You have to rely more often on whistling, coin tossing or deliberately leaving footprints.
Kill 6 guards
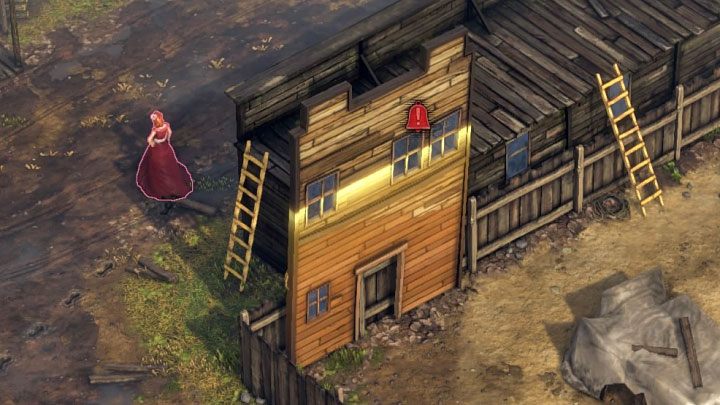
This challenge may seem difficult because you don't have access to firearms or melee weapons in this mission. Fortunately, this badge can be unlocked quite easily. Take an interest in the area at the back of the bank (M8,11), specifically the wall of the building shown in the picture. It is suitable for pushing and can be reached from the side of the path(M8, 12).

The action plan is simple. Stun and tie up at least six opponents, preferably those at the back of the bank, as you still need to get rid of them when attempting to get inside the building with McCoy.
Carry your stunned enemies and place them in front of the building wall in the red area. After leaving at least six people tied up in this place, go to the back of the wall and push it. The wall will crush the enemy on the ground.
Don't use the bank's backdoor
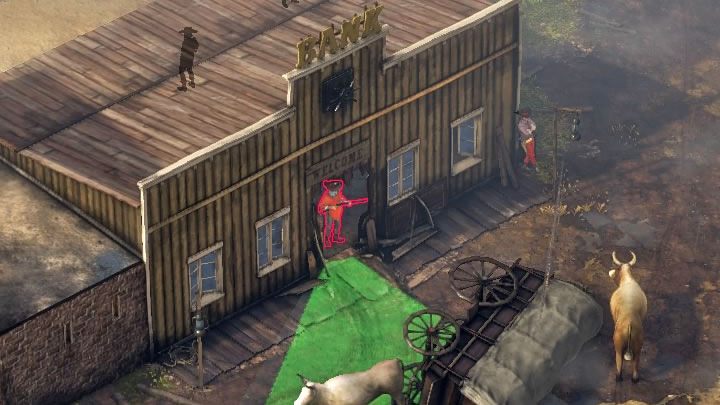
This challenge is only viable when repeating the mission on a easy difficulty level, as not using the backdoor causes a lot of trouble.
Getting into the bank (M8,13) is one of the main objectives of the mission, and in order to receive this Badge you have to ignore the entrance to the area at the back of the bank (M8,11), which allows you to infiltrate the building much more easily. You have to clear the area around the front entrance. Start by getting rid of all your opponents in the area so that you don't find yourself in a very difficult situation if you raise an alarm. A possible alarm will fortunately not cancel the challenge. All that matters is to choose the main entrance to the bank and ignore the door at the back of the building.
Make a guard follow your footprints for 50 meters
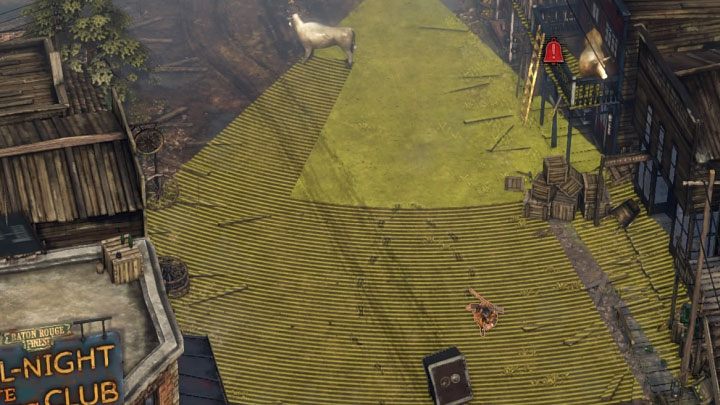
This challenge is related to the mechanics of leaving footprints on muddy ground. We recommend that you take care of it after securing a large part of the town so that you have plenty of room to travel along a straight line on one of the long main streets. Playing on easy difficulty level is also recommended.
You have to show a lot of precision in this challenge, i.e. make sure that one of the sentries notices the tracks and starts following them, but also that they don't get too close and notice the hero walking away too quickly. Also remember that the tracks disappear after a few seconds, so you can't leave them on the mud too early, otherwise the opponent will not notice them and follow them.
Speedrun: Complete the mission in under 22: 00 minutes
Be sure to play at easy difficulty level to be able to reach the mission objectives faster. Passing through the central part of the city and around the gallows, as well as rescuing McCoy from the bank will be the most problematic. Getting a disguise is recommended, as it can help you when crossing the docks at the end of the mission. We recommend choosing the back entrance to the bank, as the front entrance carries a high risk of setting an alarm and new enemies appearing on the map.
Complete the mission on Hard difficulty
This is the best choice to complete the mission for the first time, although going through some initial locations (e.g. an area with a cannon) can be troublesome due to the presence of additional mutually-observing opponents. Fortunately, this challenge doesn't have a time limit, and you can save your progress freely.
You are not permitted to copy any image, text or info from this page. This site is not associated with and/or endorsed by the developers and the publishers. All logos and images are copyrighted by their respective owners.
Copyright © 2000 - 2025 Webedia Polska SA for gamepressure.com, unofficial game guides, walkthroughs, secrets, game tips, maps & strategies for top games.
