Desperados 3: Check 3 suspects - mission 10, walkthrough
Last update:
On this page of the Desperados 3 game guide, you will find the second part of the mission 10 - Back Alley Jazz walkthrough guide. In this part of the mission, you have to deal with getting to one, two, or three suspects connected to the main objective of the mission. Our solution suggests how to sneak in each of the suspects with the intention of obtaining a letter.
Our walkthrough for Mission 10 contains references to the map in World Atlas, which can be found on the first page of this chapter. For example, the symbol (M10,5) means that you should find the blue dot with the number 5 on the map dedicated to Mission 10.
- Background
- Suspect 1 - Raymond Irving
- Suspect 2 - Judge Arthur McGain
- Suspect 3 - Ted O'neill
- Meeting heroes in one place
Background
- There are three suspects on the map. Each of them has a letter, but only one of the letters relates to Wayne - Isabelle's friend you're looking for.
- If you have followed the steps described on the previous transition description page, you will already know who has the right list. The holder of the letter can change with each playthrough, so if you are going to investigate, you have to personally bring it to an end.
- An alternative option is to track down more suspects until the one with the wanted letter is found. If you're lucky, the correct letter will be on the first suspect, and if you're lucky, it will be on the last.
- You can get any of the letters by killing the suspect or robbing him. We recommend you choose one of these options at the very beginning because the separate challenges (badges) of this mission involve murdering 3 suspects or leaving them all alive.
Suspect 1 - Raymond Irving

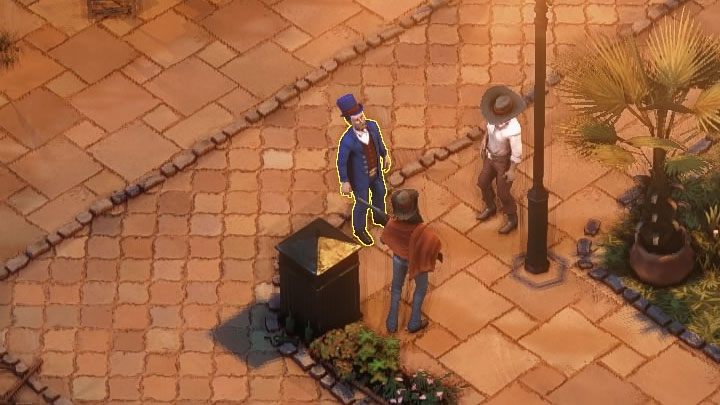
Raymond Irving resides in the grounds of the Pleasure House (M10,2), and it's not the roof on which you could get a disguise about Kate, it's the main courtyard (M10, 5). The man walks around the courtyard all the time, stopping in front of courtesans and opponents, as well as sitting on the bench from time to time.
You can approach the mission in two main ways - entering the courtyard as Kate in disguise and from the rooftops (M10,2). It might also be a good idea to go as McCoy to the roof where you can find the aforementioned disguise.

Irving is in an area with a very large number of adversaries and civilians, and as a result, any attempt to eliminate him will start the alarm. If you want to kill him anyway, shoot him from the roof. It's definitely a better idea to rob a suspect, but you're gonna have to make some arrangements.
Watch out for the Long Coat, who watches the courtyard from the surrounding balcony. He is able to expose Kate even while she's using her disguise. Occasionally, Long Coat meets with one of the bandits on the roof. This may be an opportunity to use on these characters, such as Isabelle's combination or Kate's perfume. If you're planning on killing Long coat, it's worth firing a gun at him with a scope and having a team member around to kill Long coat and hide his corpse.

Also a big problem is the opponent shown in the picture in a poncho, who is watching the courtyard all the time. In this case, wait until no one looks in his direction and shoot him with a sniper rifle. It is worth noting that there is ammunition for a gun with a scope on the opposite roof of the house, but it can only be reached by passing a balcony with a Long coat.

The best way to rob Irving is by distracting / blinding / eliminating Long coat and having the suspect sit on the bench. It's also worth considering throwing perfume at the bandits standing next to you so they don't notice the moment of the theft. Crouch behind Irving and steal the letter.
Suspect 2 - Judge Arthur McGain

Arthur McGain resides at Cafe Chez Manu (M10,1). He will be sitting at one of the tables in front of the cafe building (M10,6) at all times and will be surrounded by many enemies.
The whole cafe is a forbidden area. There are three different entrances to the area, and a red line appears at each of them informing visitors not to enter.

A Long Coat strolling through the balconies will be a problem in sneaking up on McGain and eliminating the usual opponents in the cafe area, . His pre-determined route, fortunately, guarantees quite a bit of time to perform certain activities when he goes or looks the other way.

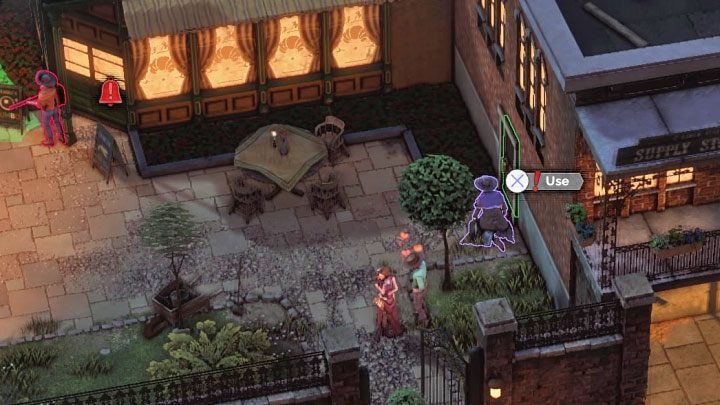
A good way to start "clearing" this location is to use Kate's skills to allow McCoy to reach the side door shown in the image. The doctor can open it with a lockpick and get to the roof. Bring Isabelle there, too, because there are two enemies on the roof and it's best to get rid of them with a combined attack. You'll also find sniper ammunition on the roof.

One by one, eliminate enemies from the main square and the area adjacent to the cafe - distract them by playing Kate or at least flirt with them to turn the other way. You can also target the aforementioned long Coat opponent-ideally, shoot him from the roof with McCoy and quickly sneak into the back of Isabelle to knock him down.
Ultimately, you have to get to a situation where no one is looking at the referee. It will allow you to sneak up behind McGain and kill him or just rob him. That's how you get his letter.
Suspect 3 - Ted O'neill

Ted O'neill is a foreman working on Pier 9 (M10,3). The man is not standing in one place all the time but remains in one area (M10,7) throughout the mission, where he can talk to other employees.
The pier is a prohibited zone and has two main entrances, with red lines symbolizing a no-entry zone. The best tactic, of course, is to send Kate into the harbour in the guise of a courtesan.

There are no Long Coats at the pier, which makes the situation a whole lot easier. Kate can move around the marina without the risk of being exposed by someone. You can immediately use her skills to distract your opponents and draw them away from the marina or to some other secluded place.
Once you have sufficiently "cleared" the area, the marina can be infiltrated by other characters. It is worth noting that Isabelle can jump into the water and swim to other areas of the harbour.

When exploring the harbor, you'll probably notice heavy cargo. You can use it to murder one or more enemies in an orchestrated incident, but you have to interact with the crane mechanism when no one is looking at your hero.
Continue to eliminate enemies in the harbor area until there are no other workers near O'neill. You can kill a man or sneak up on him from behind and steal his letter. If you're having trouble keeping O'neill in constant motion, consider throwing a vial of perfume at him to temporarily blind him and stop him.
Meeting heroes in one place
After you get the right letter from Irving, McGain, or O'Neill, get to the back alleys (M10, 8). There will be a meeting and the second part of the map of New Orleans will be unlocked.
You are not permitted to copy any image, text or info from this page. This site is not associated with and/or endorsed by the developers and the publishers. All logos and images are copyrighted by their respective owners.
Copyright © 2000 - 2026 Webedia Polska SA for gamepressure.com, unofficial game guides, walkthroughs, secrets, game tips, maps & strategies for top games.
