Siege of Dragonspear: Side Quests in the Korlasz Family Tomb
Last update:
Tome of Great Value
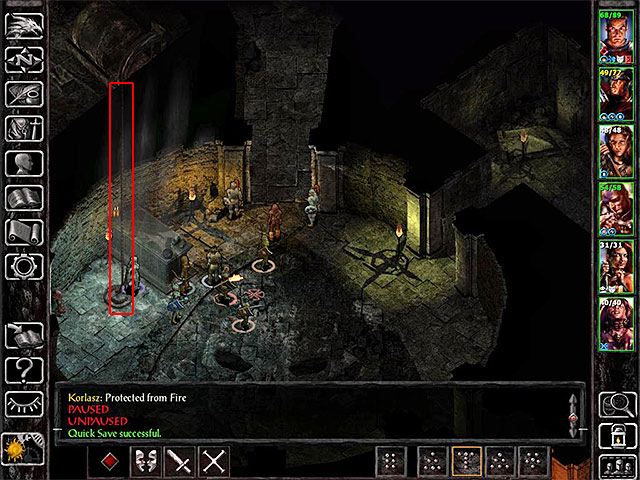
You can acquire this side quest from Ammon, who can be found in one of the rooms on the upper floor of the tomb, near the starting point (M1,3). During the conversation you can agree to help her in completing her experiment. You will learn, that she needs an ingredient called cobalt moss. It can be found in a western room, on the upper floor of the tomb (M1,18), but you won't be able to access it, as the passage is blocked by barricaded door. Instead, during the exploration of the bottom level of the tomb, you must reach the large hall with the closed gate (M1,13) and interact with the rope shown on the above screenshot.
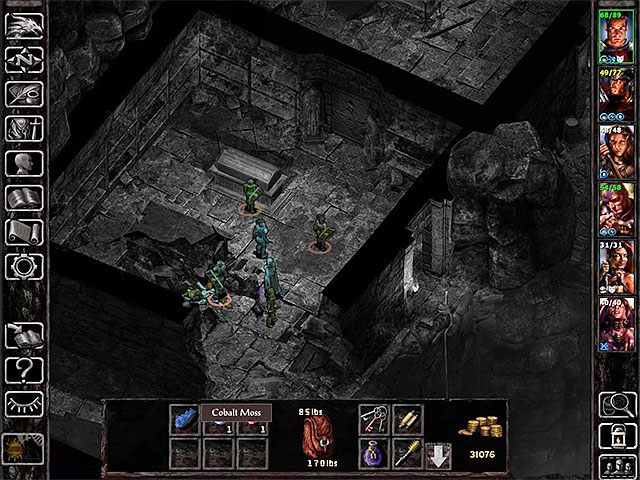
Using the rope will allow you to reach the previously inaccessible part of the upper level of the tomb (M1,14). Get to the adjacent room. Cobalt moss is hidden in one of the graves, but before you can collect it, you must first defeat a skeleton. Afterwards, you can unlock the barricaded door and get back to Ammon. During the conversation you can ask her what does she need the potion for, and you will learn that she intends to get to the Candlekeep citadel. You can agree to her offer, by signing the letter she hands over to you (you will be given additional rewards this way), or decline.
An alternative solution: During your first meeting with Ammon, you can tell her that you don't trust her good intentions and attack her. The woman will summon a group of creatures, which will aid her in combat with your party. During the encounter you should focus all your attention on Ammon, to eliminate her as quickly as possible, and prevent her from casting too many spells. Afterwards, collect the magic wand and a scroll from her corpse.
The Mummy's Orders
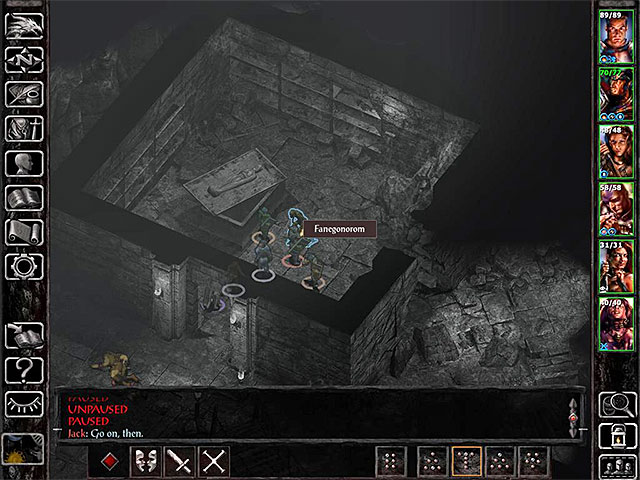
This quest can be unlocked by reaching one of the northern crypts on the upper level of the tomb (M1,5). A mummy called Fanegonorom will appear while you try to plunder one of the graves. During the conversation, you can apologize to the mummy for disturbing the monster's rest, and promise to take care of all the other people in the tomb. You don't have to look anywhere, as you just have to get rid of Korlasz (M1,19), associated with the main quest. After you've killed, or captured Korlasz alive, get back to the mummy. Aside from experience points, you will be given a Medium Shield.
An alternative solution: During your first conversation with Fanegonorom you can act aggressively and decide to murder the monster. The mummy is a powerful foe, dealing high damage in melee combat. Additionally, the enemy can poison the targets of its attacks, which is why you should have an antidote ready. After the encounter, you will be able to collect gold and gems from the mummy's grave.
The Shattered Staff
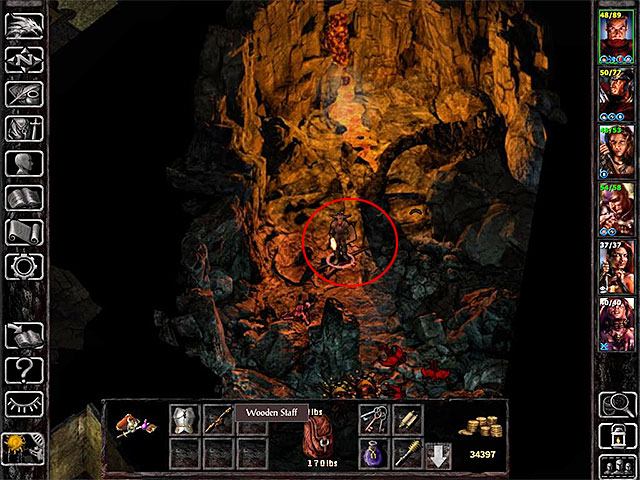
This quest can be unlocked some time after reaching the lower level of the tomb. After getting to the hall with the closed gate (M1,13) you must take a turn to the east and go through a small armory (M1,15). Your destination is a single grave (M1,16), examining which will cause a Restless Spirit to appear. During the conversation offer your aid in reacquiring the lost fragments of the magical staff.
There are two fragments to find. The first fragment (Wooden Staff) can be found in the beetle's lair, located in the eastern section of the map (M1,11). You must get rid of the beetles and examine the items lying on the ground, shown on the above screenshot.
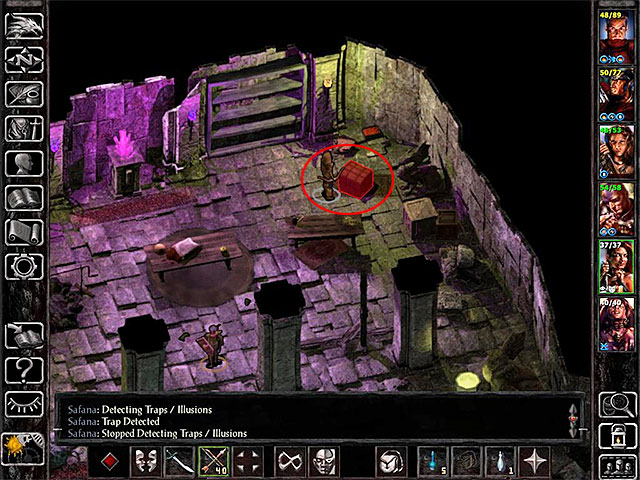
The second fragment (Ornate Headpiece) can be found in the room, in which you fight with Korlasz (M1,19). After the encounter with the woman, look for the chest shown on the above screenshot. You must use the thievery skills of a rogue to disarm the trap and open the chest. It will allow you to collect the artifact. After acquiring both fragments, get back to the location of the Restless Spirit and place the staff in its grave. After you've done it, you will be able to collect a number of valuable gems from the grave.
An alternative solution: You can decide to attack the Restless Spirit during your first encounter with the monster. This won't be an easy encounter, especially because the enemy will summon a group of Bonebats to aid, which can, above all else, deal cold damage.
Sarevok's Secret
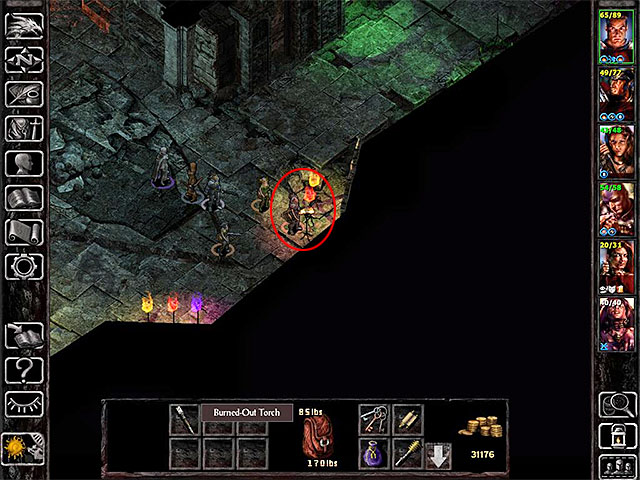
This isn't an easy quest to unlock as it is connected to a perfectly hidden secret chamber in the tomb. First you must reach the southern rooms on the bottom floor of the tomb. In one of them you will find a burned-out torch (M1,21). It is shown on the above picture. Take the torch with you.
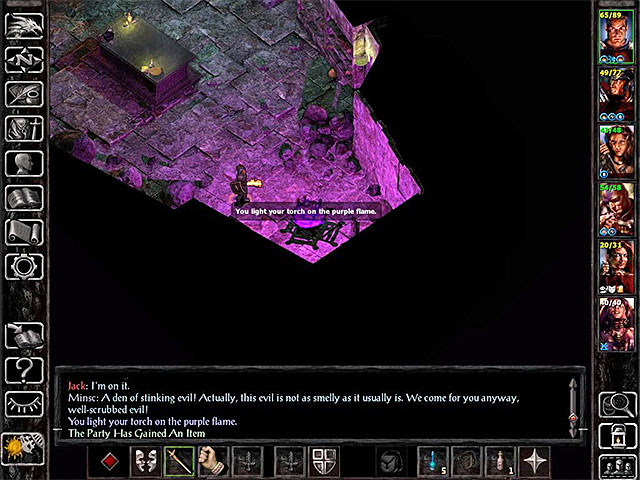
Walk to the western room (M1,22) and find the purple flame shown on the above picture. Interact with the flame in order to light the previously collected torch. Now you must return with the torch to the place where you found it previously. Interact with the torch stand and move the torch onto it from the inventory.
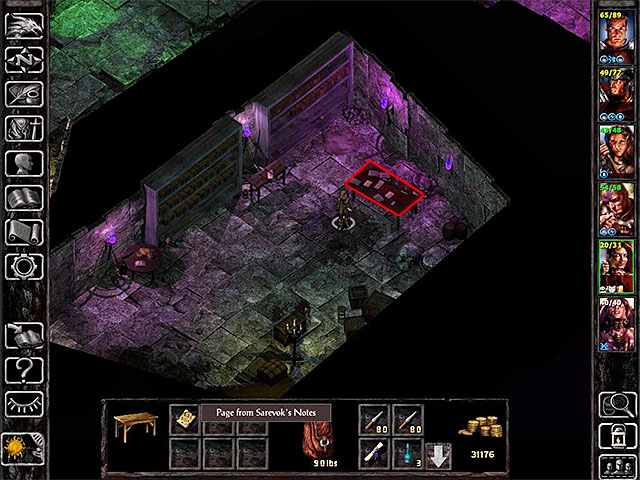
Completing the above mentioned steps will unlock access to a secret room (M1,23). Examine the western table inside the room and you will obtain the page from Sarevok's Notes. Only after completing this action the quest will be added to the list. You will be able to continue it later in the game, after reaching the Bhaal temple. If you want, you can read the note now - it contains hints for the next riddle.
Important - In the secret room you will find, among other things, two locked chests with valuable item - a sword, armors and potions. Opening one of them will trigger a group of monsters (bat, skeleton, and ghost) to appear.
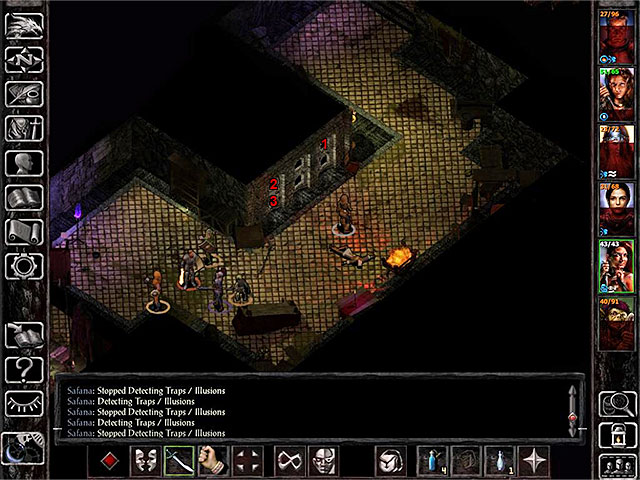
The knowledge gained from the found notebook page can used only after finding the ruined temple of Bhaal in the location Forest of Wyrms (M10 map). When you have reached the temple (last underground location), you have to find the southern corridor, where there are six masks on the wall (M10,16). You have to solve an easy riddle, which relies on interacting with masks in the correct order (following the clues from the notepad). The correct order is:
- Upper row, first mask on the right (3 following the clues from the notepad)
- Upper row, first mask on the left (1 following the clues from the notepad)
- Lower row, first mask on the left (4 following the clues from the notepad)
Warning - If you missed the moment to unlock the quest Sarevok's Secret. You haven't located the secret chamber in the tomb) , you haven't lost your chance to find the secret room in the temple of Bhaal. The information from the notepad were only a hint how to reach the secret chamber.
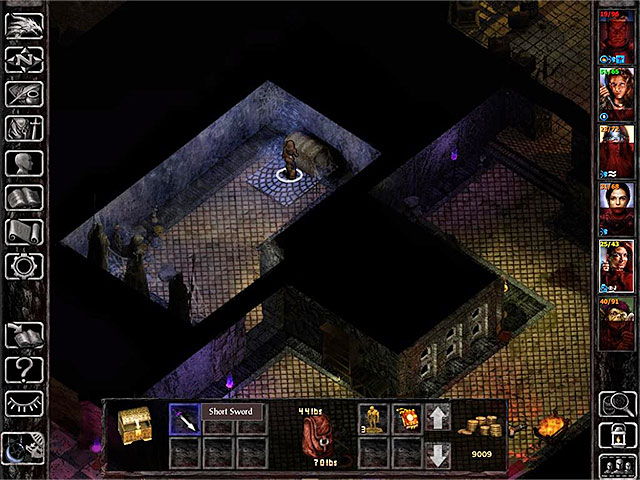
Do not hurry with entering the newly unlocked room (M10,17), because there is a trap and a powerful monster, Shadow Aspect. Try to drag away the creature to the corridor with masks, and then attack it. Aside from standard attacks (stinging damage), the shadow can throw various spells, for example, causing panic among the party members, so be ready to quickly neutralize such effects. After the fight, get to the chest in the secret room. Use a thief to disarm the trap and to open the chest. Inside, you will find a book (Godsbane) and a unique Fractal Blade +3 (chance to surround yourself with reflections and to eliminate negative effects of spells based on illusions).
You are not permitted to copy any image, text or info from this page. This site is not associated with and/or endorsed by the developers and the publishers. All logos and images are copyrighted by their respective owners.
Copyright © 2000 - 2026 Webedia Polska SA for gamepressure.com, unofficial game guides, walkthroughs, secrets, game tips, maps & strategies for top games.
