Plague Tale Requiem: Chapter 10, Reach the fort - walkthrough
Finding the fort takes place in Chapter 10 (Bloodline) of the game Plague Tale Requiem. From the following walkthrough you will learn where the round tower is and how to open it, how to get near the fort and how to infiltrate the fort.
The first part of Chapter 10 - Bloodline in Plague Tale: Requiem tasks you with finding the fort and reaching it. Our walkthrough explains where the round tower is and what to do on your way to the fort. You'll also learn how to sneak inside.
Find the round tower

You'll return to the semi-open island, once again having an opportunity to explore it.
To progress the story head straight ahead, bypassing the harbor entrance and the areas where the islanders are celebrating. Your destination is the destroyed tower left of the windmills on the hill, marked on the picture above.
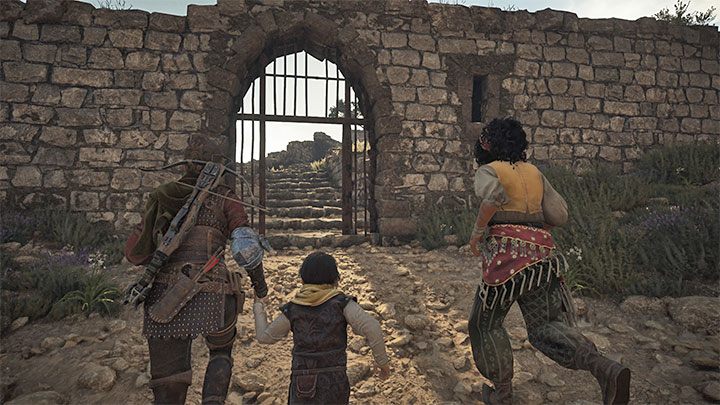
You'll spot an open gate pictured above. You can now go down the path locked during Chapter 9.
Find a way to the fort
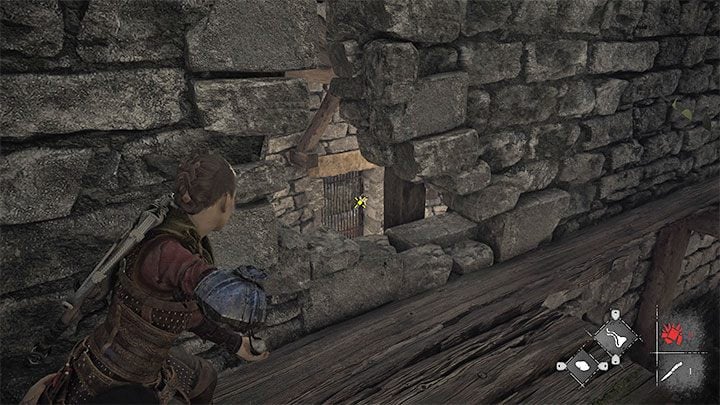
You'll reach a locked gate at the base of the round tower. Move aside and find a hole in the tower wall. Go through it.
Climb up the ladder to the top, walk along the edge and reach an opening in the wall. Shoot the hook with your slingshot. Head back to the entrance you've just unlocked. Use the staircase and reach the next gate. You'll trigger a cutscene during which you'll spot the fort far in the distance.
Find the fort
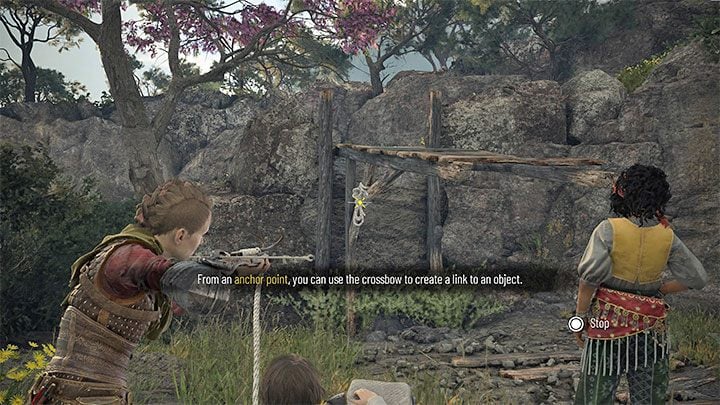
Head down the path and jump down after reaching a wrecked bridge. Stand near the anchor point and shoot the hook with your crossbow. This will lower the platform, letting you continue your journey. You'll arrive closer to the fort.
Reach the fort
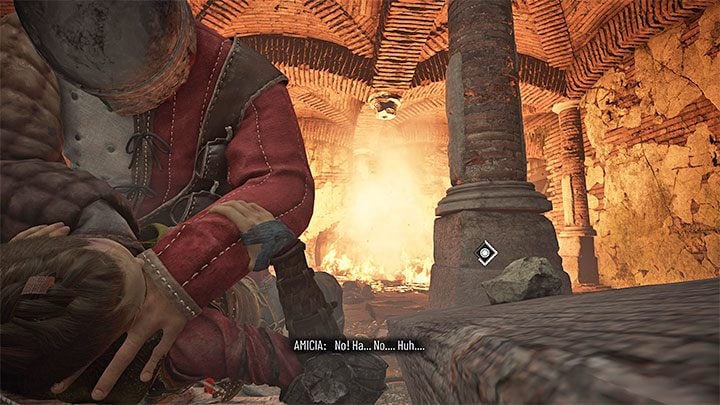
You'll approach the first area inhabited by slavers. Once you enter it, Amicia will fall down - you must complete a QTE to survive.
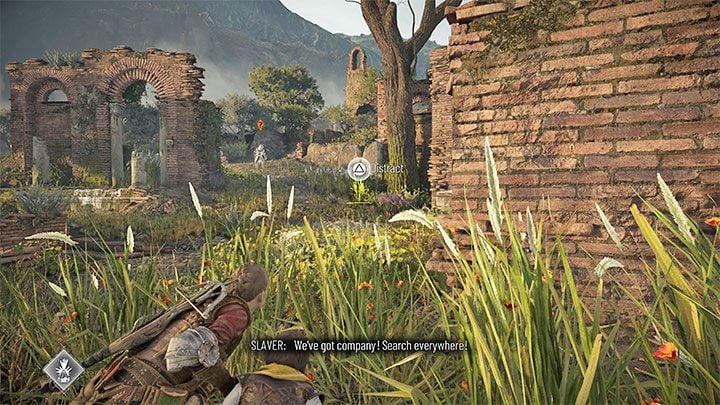
Fortunately the enemies won't be alerted. Leave the ruins and return to your allies. The slavers are hostile, and unlike in earlier chapters, stealth is no longer mandatory. You can kill them if you wish.
- If you're going for a stealthy approach, hide in tall grass and ask Sophia to use the prism to distract enemies and set up ambushes. You can also avoid some of the bandits by going through the basement.
- During open combat use tar and Ignifiers or your crossbow. Watch out for shield wielders - if they spot you, lose them and wait for an opportunity to strike from behind. There's a lot of common loot here you can make use of to resupply.
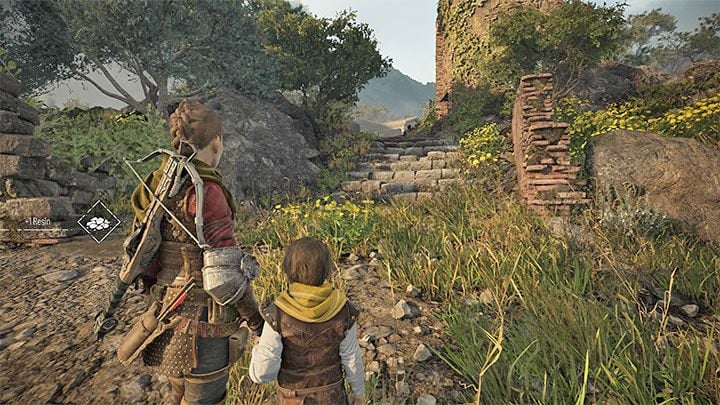
You can reach the second part of the ruins through the path pictured above. There are more slavers here - be ready to start sneaking or back off if you're spotted. You can quickly sneak towards the tower to the right, from which you may plan your next steps.
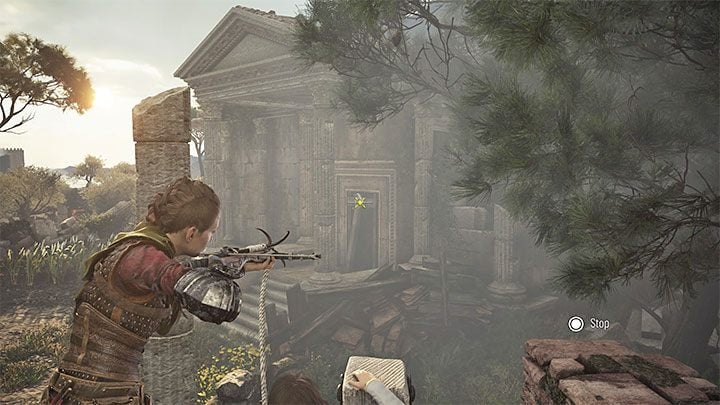
We recommend securing the entire area, as it'll make unlocking the way forward easier. Just like before, you can blind the bandits by shooting at bags, set them on fire or kill them with your crossbow. Watch out for the archer on the upper level of the ruins.
Ultimately, you must reach the anchor point pictured above, on the upper floor adjacent to the area's closed exit. Use your crossbow to unlock the next passage.
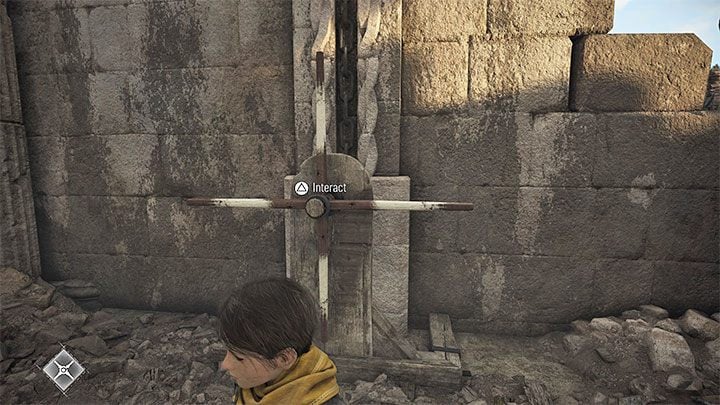
In the large ruins you'll see a locked door you must destroy by solving a puzzle.
Find a nearby crank and ask Sophia to use it (command button - L1/LB).
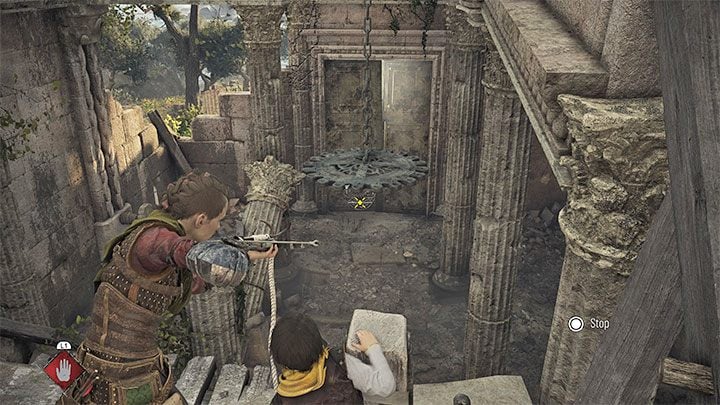
Now look for a place where you can climb to a higher shelf. You'll find another anchor point pictured above. You can now use the crossbow to grab onto the chandelier Sophia raised and swing it, crashing it into the door and unlocking the way forward.
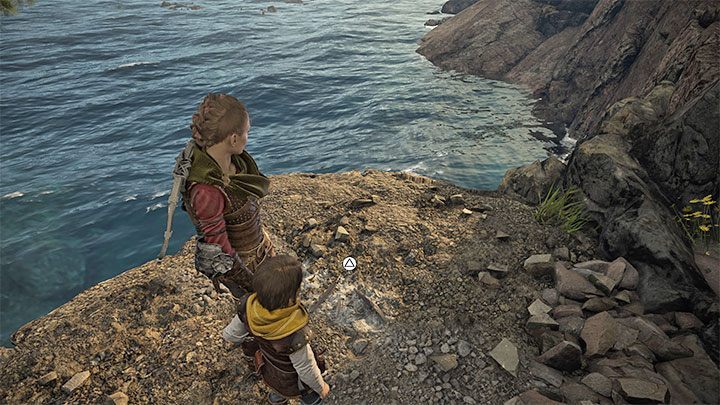
Start going down the new path. To the right you'll find a workbench. You can also deviate from the main path and take the left path, leading to water. There's a secret there - a feather for Hugo's Herbarium: Raven.
Follow the main road to trigger a cutscene involving slavers, during which Hugo will use his powers.
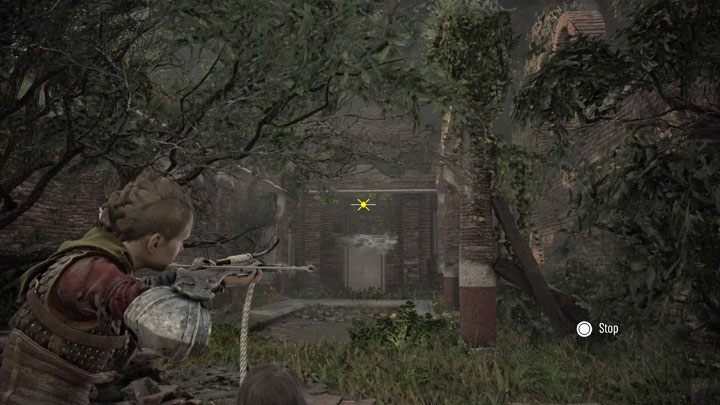
After the cutscene approach Hugo and talk to Sophia, who's leaning against the ruins. Explore the ruins and find the anchor point. Interact with it and aim the crossbow at the wall pictured above. You'll destroy the wall and unlock the way to a new collectible - souvenir: A rag doll. You'll find it by a tree.
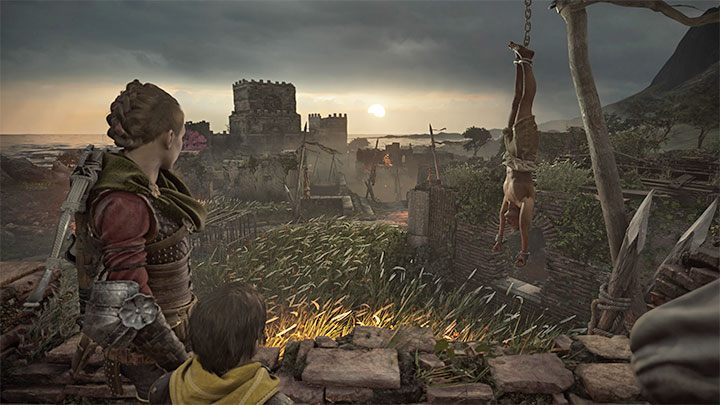
Return to the ruins. To progress you must use the passage with hanging bodies behind it. You'll reach a new area filled with slavers.
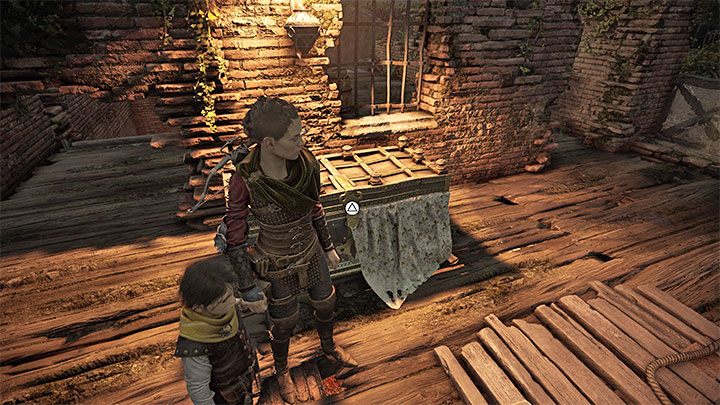
Once again, you must head for the fort. How you do so is up to you. You can hide in the grass and distract enemies with Sophia's prism or ambush and kill them with your slingshot, crossbow and Ignifiers. Try not to get attacked by more than one enemy at a time. Watch out for the archer and shield-wielding foes.
Explore the surrounding buildings if you can to resupply. In one of them you'll find a secret chest.
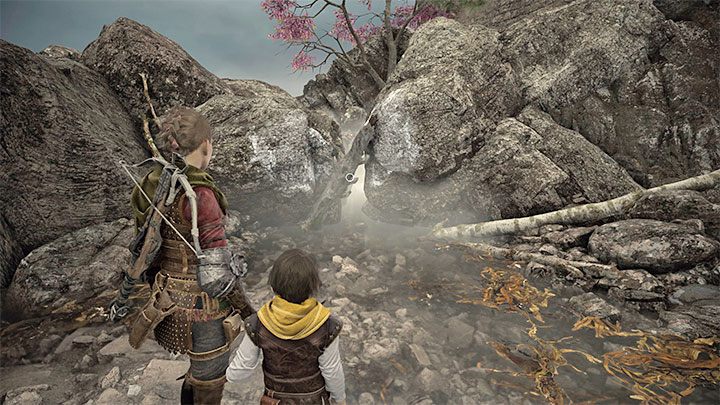
Once you approach the fort, the drawbridge will be raised, which prevents you from entering it via the main path.
Ignore the enemy still on the bridge and go down into the moat. Turn left to find a narrow passage pictured above, which will take you out of the area.
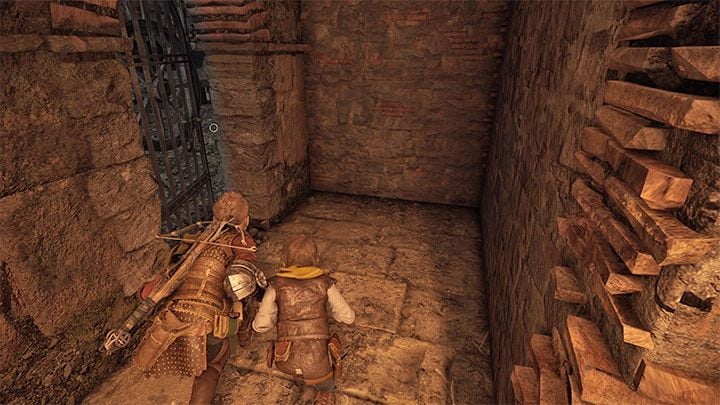
Reach the door. Amicia will be attacked by a guard, but Sophia will save her with no player input.
There's another workbench here. Ignore the rotating mechanism and reach the new gate. You'll infiltrate the fort by sneaking aboard the slave wagon.
You are not permitted to copy any image, text or info from this page. This site is not associated with and/or endorsed by the developers and the publishers. All logos and images are copyrighted by their respective owners.
Copyright © 2000 - 2026 Webedia Polska SA for gamepressure.com, unofficial game guides, walkthroughs, secrets, game tips, maps & strategies for top games.
