A Plague Tale Requiem: Chapter 11, Open the gate - walkthrough
The riddle with the opening of the great gate is part of Chapter 11 (The Cradle of Centuries) in Plague Tale Requiem. Our guide presents walkthrough to the gate riddle and the bridge expansion riddle. You will also learn how to escape the rats and leave the prison.
The final part of the eleventh chapter (The Cradle of Centuries) in A Plague Tale: Requiem involves, among other things, solving new puzzles. Our guide includes a detailed walkthrough for solving the puzzles with the big locked gate and raising the bridge in the rats' nest. We also explain how to get out of jail safely.
Open the gate
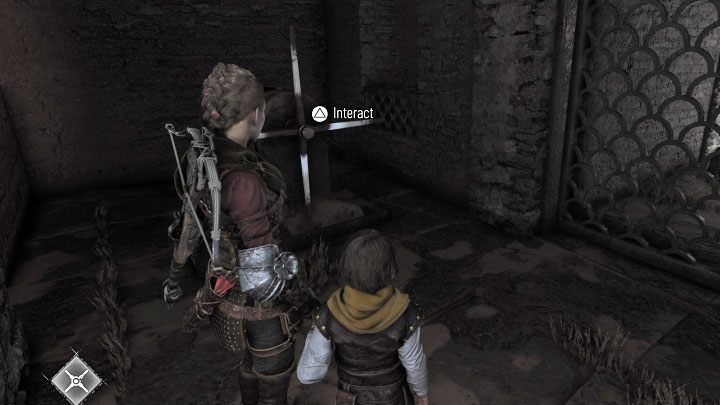
This next puzzle is about opening a large gate. You will do it after removing the 4 barricades blocking it.
Examine the area to the left of the gate (when looking straight at it). Ask Sophia to use the crank.

Using the crank will raise the bars and you can pull out the cart. Push it out of the side area and move it to the main hall. The cart should get stuck in place.

Ask Sophia to use the mechanism to the left of the gate - we marked it in the picture.
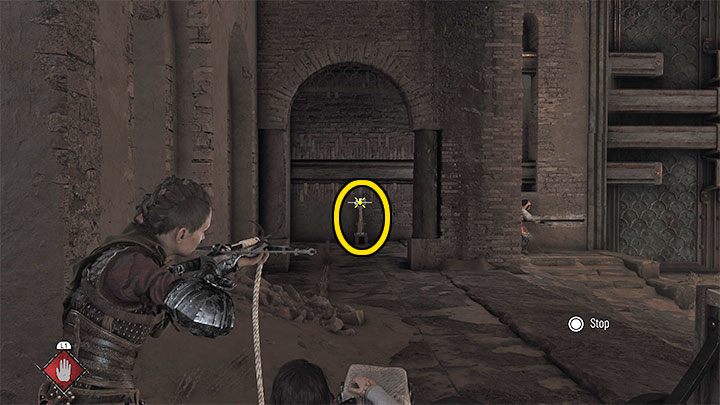
Stand by the cart - it has an anchor point and you can use a crossbow here. Wait for the left mechanism to fully move and aim at the left lever marked in the picture. Block the 2 left barricades - only the 2 on the right remain.
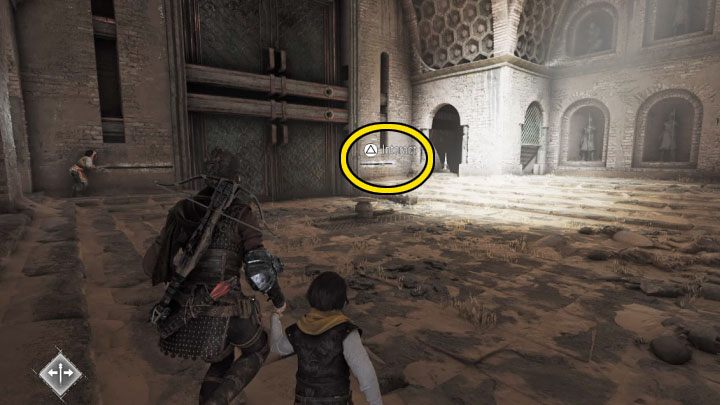
Ask Sophia to use the mechanism to the right of the gate - we marked it in the picture.
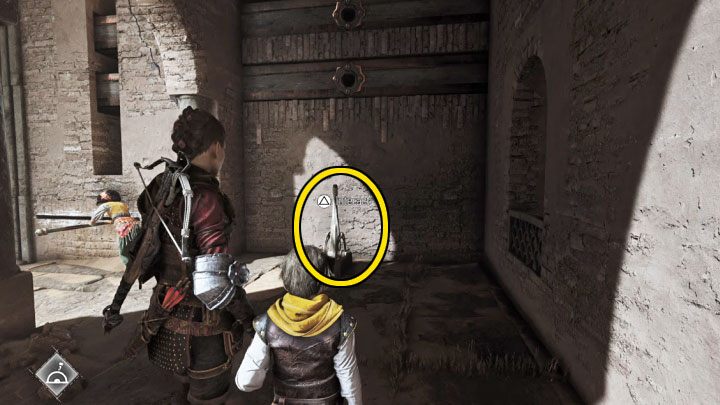
Wait until the right mechanism stops in its final position. Ask Hugo to pull the right lever (see the above picture). At this point, Sophia and Hugo should hold 2 different mechanisms. You will block the 2 barricades on the right.

You can now interact with the central rotating mechanism. Using it will open the large gate - it is no longer blocked by any of the barricades.
Explore the rest of the underground area
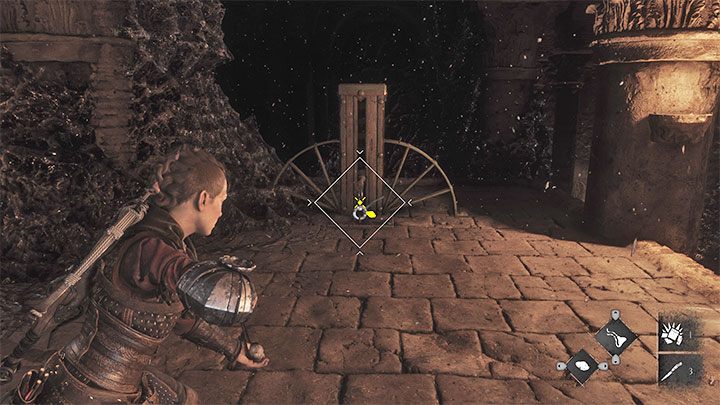
Use Ignifer on the new bonfire - the path leading further into the underground ruins will be illuminated and you will learn that you have entered a huge rats' nest.
You will reach a cavern with chains. Use the slingshot on the left mechanism to lift the bridge.
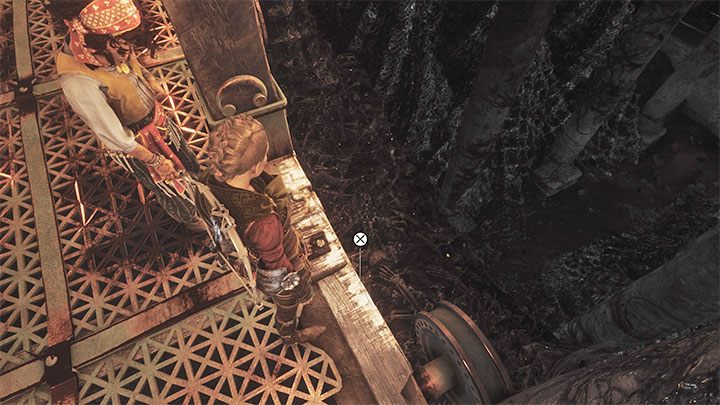
Not all platforms will rise up - Amicia decides to investigate and solve the problem herself.
On the left you can jump down to the nest. Run towards the ladder.
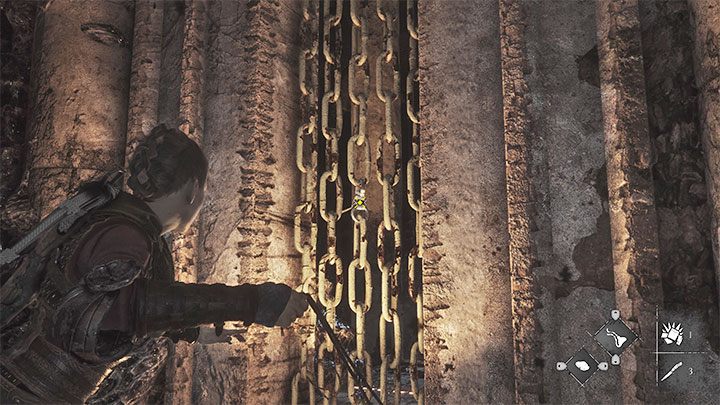
As you explore the side areas, you can use the numerous cracks to reach the other side of the bridge mechanisms.
Use the slingshot on one of the chains (above image). The first of two sections of the bridge will go up. Go through the gap.
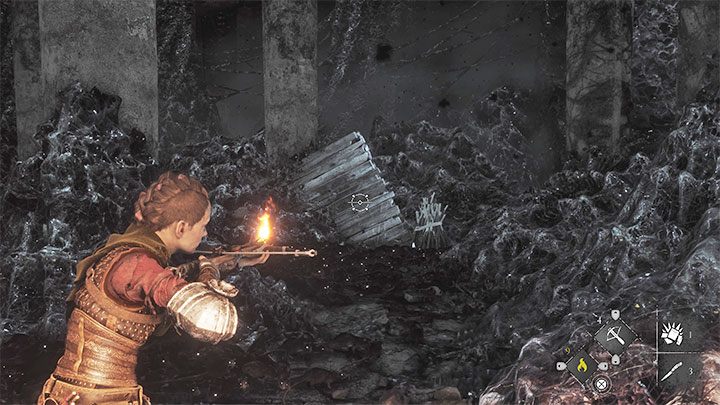
You have to go through the lower area and use the Ignifer to light a fire. You can throw tar on the flames to temporarily illuminate a bigger area.
Go forward and use the flaming bolt to hit the board in the picture above. Throw the tar again on the fire and run to the place where the bolt hit.

Next to the board you will find sticks - you can set one of them on fire. Take it to reach the extinguished basket and start a fire. Next to it, you will find a shelf (above image) - get to the upper area with new cracks.
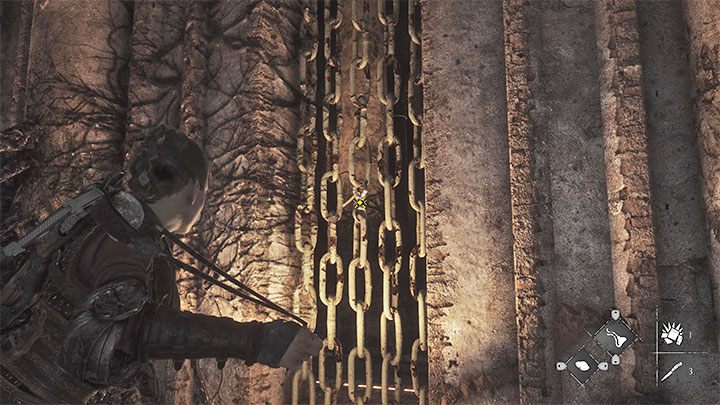
Just as before, you have to hit the chain with the slingshot. The last section of the bridge will go up. Hugo and Sophia will be able to move on - Amicia has to get back to the top. Start by going through the gap.
You can optionally explore the last crack on the left. A locked workbench (requires using 1 knife) is behind it.

Find the cart at the bottom and set its basket on fire using Ignifer. Keep pushing it until it will stop.
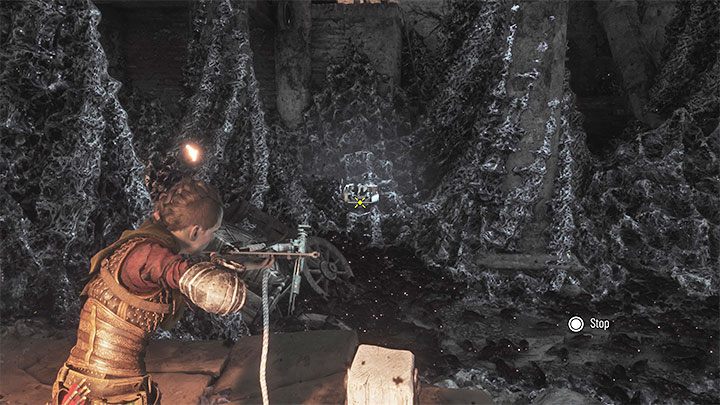
Create more light sources in the area and reach them. Sophia will drop a container with copper. Stand near the anchor point and shoot the container with the crossbow. Amicia will pull the container to herself and cause an explosion.
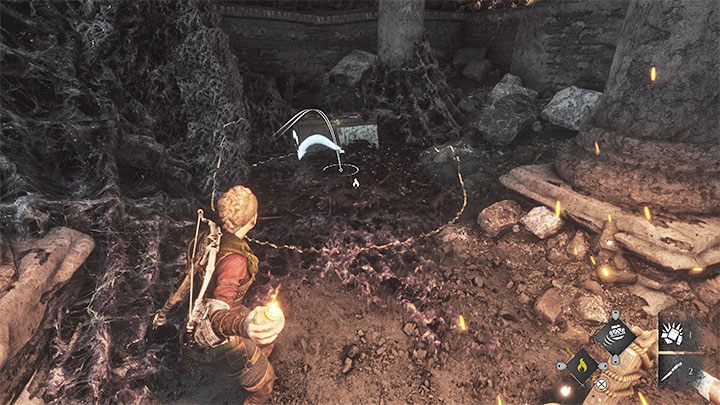
The obstacle will be removed and you can resume pushing the cart. Before you leave this place you can find a secret chest on the left. Access to it is "defended" by rats. Use gadgets, e.g. throw a vessel with tar or throw tar at the basket.
Return to Hugo and Sophia by using the ladder.

Resume exploration of underground areas. You will reach a large vertical location - head down the stairs. When you reach the lowest level, you will trigger a cut-scene.
Flee the prison of the carrier
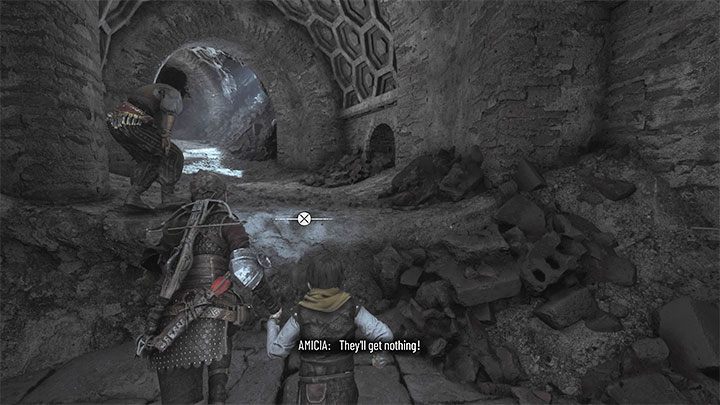
Time for another escaping sequence - this one can be quite challenging. Keep sprinting (R2/right trigger on a controller) and quickly overcome all obstacles, otherwise the rats may catch up with you.
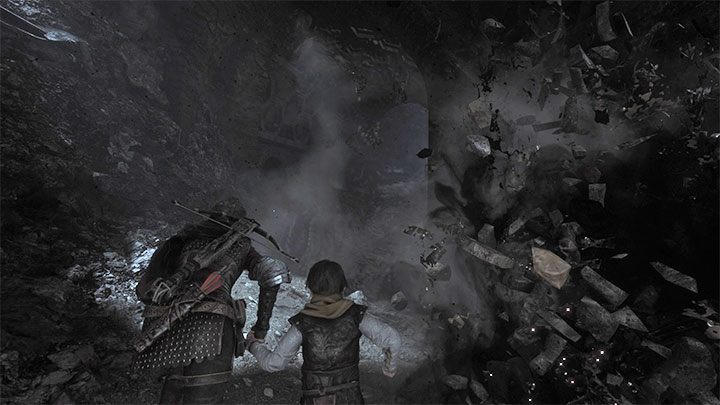
Avoid the places where rats appear (example in the picture) by quickly turning left or right. Otherwise, the rats can easily stop you.
Getting out of the underground prison will end the long chapter 11.
You are not permitted to copy any image, text or info from this page. This site is not associated with and/or endorsed by the developers and the publishers. All logos and images are copyrighted by their respective owners.
Copyright © 2000 - 2026 Webedia Polska SA for gamepressure.com, unofficial game guides, walkthroughs, secrets, game tips, maps & strategies for top games.
