Universe at War Earth Assault: Mission 5 - part 2 Hierarchy
Fifth objective: Secure the landing site for Commander Orlok
Sixth objective: Use your Brutes to destroy the Masari turrets
If you have sent your Slaves over to the landing site, you should receive both of these tasks at the same time. Start moving towards your new goal area. You'll soon come across new Masari turrets. Leave your army behind and choose only Brute units. You've been able to deal with these creatures before, but this is the first time you're actually able to issue orders to them. As you've noticed, these units can use a Leap ability. Activate it and click on one of the areas with the Masari turrets. You will have to wait for the Brute units to land near the turrets. Once this is done, order them to attack Guardian structures. You will have to secure two locations in order to fulfill this task. You should also notice that you can use a Charge ability. Additionally, Brute units can heal over time. Allow your main army to get closer to the landing site. Deal with the remaining Masari units. You have to kill them all in order for the allied plane to arrive. Wait for Orlok to join your squad. You'll also be rewarded with several flying saucers. Use their most precious ability to repair Defiler units.
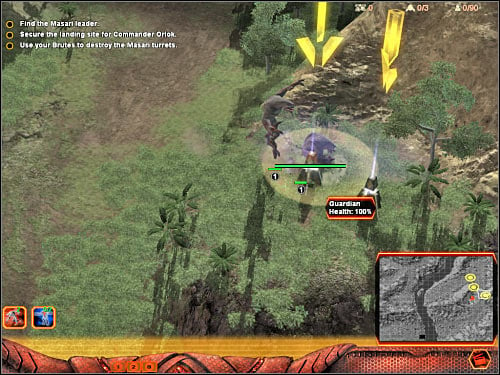
You won't receive any additional orders for the time being, however your previous objective hasn't changed. You still have to find and capture one of the leaders of the Masari organization. Start off by moving south-west. I guess I should remind you to place your main hero in front of the group. He can be accompanied by Defiler and Brute units. It's also very important to use flying saucers to heal your units. You will have to deal with two groups of Masari units. I wouldn't recommend moving in a lot of hurry, because you don't want to lose any of your troops. You'll need them all for the final battle of the mission. You should also know that the second group will be much stronger. Eliminate the Inquisitor unit before taking care of the rest. Eventually you'll come across a disabled bridge (7 on the map). Wait for the game to display additional hints. You won't receive a proper task, so pay attention.
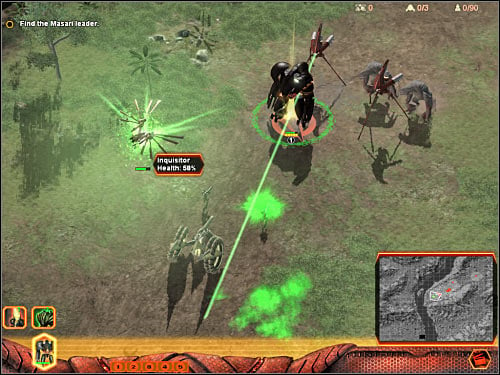
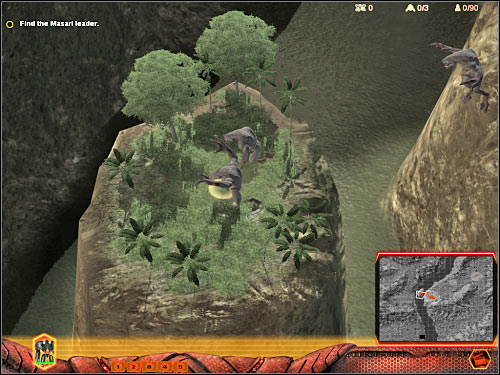
You will have to repeat one of the previous actions. Start off by selecting all Brute units, including the ones you've been given a short while ago. You will have to force these units to jump over to a small island. Look at the screen if you're having some difficulties finding it. Once this is done, wait for the Leap ability to regenerate itself for all available units. After that, perform a second set of jumps. This time you will have to get to the western section of the map. Order your Brute units to go south. Destroy the generator which is marked as a Hardpoint. This will result in activating the second bridge. Wait for your main army to cross it, however BEFORE you decide to move on any further, make sure that your flying saucers have stayed somewhere behind. You can't use them here, because there are some anti-aircraft turrets in the area. You will have to take them out in the first place.
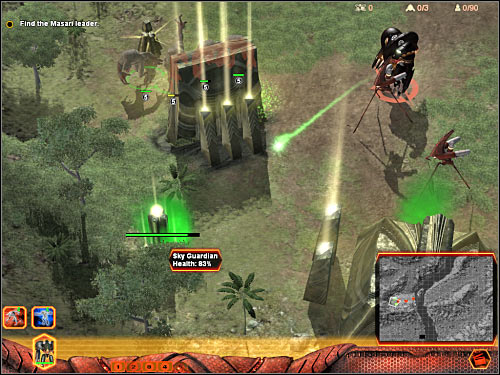
I would recommend moving to the west before going to the final area. You'll find a small campsite there. Obviously it's being guarded by Masari forces and it'll be up to you to smash them up to pieces. It would be a good idea to choose Orlok as well as Brute creatures for this battle, because those are the only units capable of regenerating themselves. I wouldn't recommend using Defilers, because you can't afford losing any of them. Start off by neutralizing some of the nearby Guardian turrets. You should also take out a Sky Guardian turret (screen) as soon as possible. Doing this will allow your flying saucers to arrive here. Otherwise you would have to prey that your troops can withstand the injuries. Once you've dealt with all units, destroy the enemy structures and go back to the bridge. Gather everyone around your position and heal your units. Once again, you will have to leave flying saucers behind. Start moving north.
You will probably notice that there are Sky Guardian turrets in this area. You could try destroying some of them, however I think that it would only be a waste of your time, because there's more of them and soon you'll have to take part in something that looks like a typical boss battle. Prince Zessus will appear on the map and he'll try to approach Orlok. Doing this will allow him to teleport your character to the first campsite (8 on the map). You can't prevent this from happening, however you can prepare yourself for his attack. Form only one group and start planning your actions before he shows up. Order your troops to go to the western camp. As a result, even if Zessus manages to teleport Orlok to the camp, the rest of your army will still be heading that way, so you'll only lose a few seconds waiting for them to show up.
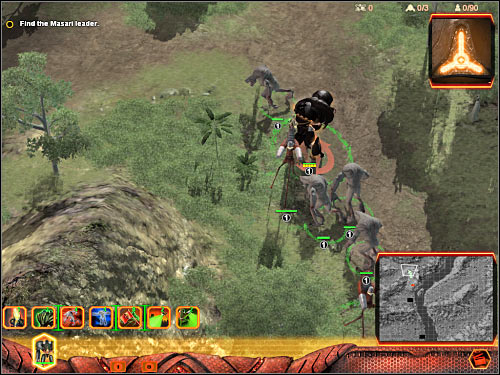
Now you will have to start destroying some of the nearby Guardian turrets. This is going to be extremely important. You will have to prevent Orlok from losing too many health points. Your standard army is equally important here, because you're going to need a lot of units in order to succeed. Once you've destroyed all Guardian turrets, don't wait for Zessus to arrive. Instead, move your army over to the northern camp. You will have to perform this action before Zessus is able to teleport Orlok there.
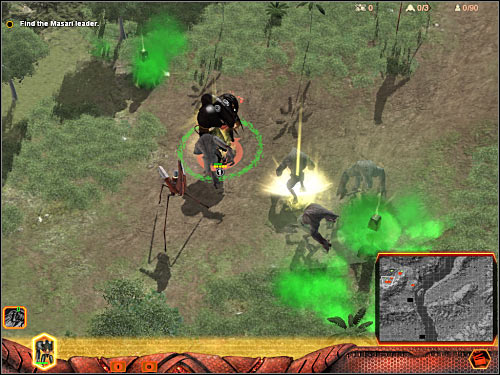
I urge you to observe Orlok's health bar. Keeping him in good shape is very important here. He may take part in some of the upcoming fights, however when he's lost about 40-50% of his health, you should consider switching him to Endure Mode. This will allow him to increase the power of his armor and he'll start to regenerate himself. You can't do this too early, because your units can't handle all enemy structures and units on their own. The next phase of this battle will require you to move your troops to the eastern camp. You'll also be teleported there in the meantime. Destroy the final set of Guardian turrets.
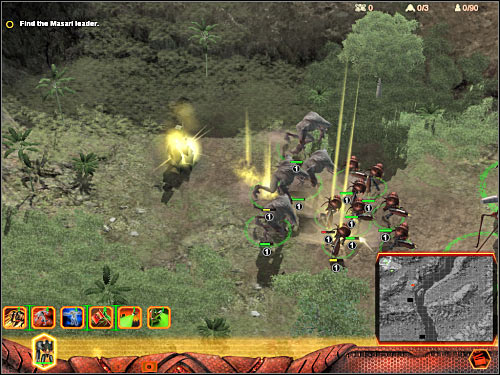
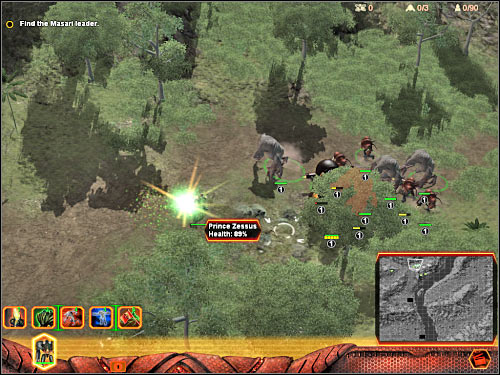
The final phase of this battle is going to be even more difficult, because once you've exterminated all enemy forces, you will have to take on Prince Zessus. Divide your army into two groups. I would recommend giving separate orders to Orlok. As for the second group, it should be your remaining army. Your main objective here will be to prevent Zessus from getting too close to Orlok. Otherwise he would have used his most powerful attack and he would probably kill your character (or at least seriously injure him). If you're lucky, you should be able to stop him with your main army and he'll be too focused on his objective to attack your troops. Depleting his health bar will allow you to win this mission.
- Universe at War: Earth Assault Game Guide
- Universe at War Earth Assault: Game Guide
- Universe at War Earth Assault: Hierarchy
- Universe at War Earth Assault: Mission 1 - part 1 Hierarchy
- Universe at War Earth Assault: Mission 1 - part 2 Hierarchy
- Universe at War Earth Assault: Mission 2 - part 1 Hierarchy
- Universe at War Earth Assault: Mission 2 - part 2 Hierarchy
- Universe at War Earth Assault: Mission 2 - part 3 Hierarchy
- Universe at War Earth Assault: Mission 3 - part 1 Hierarchy
- Universe at War Earth Assault: Mission 3 - part 2 Hierarchy
- Universe at War Earth Assault: Mission 4 - part 1 Hierarchy
- Universe at War Earth Assault: Mission 4 - part 2 Hierarchy
- Universe at War Earth Assault: Mission 5 - part 1 Hierarchy
- Universe at War Earth Assault: Mission 5 - part 2 Hierarchy
- Universe at War Earth Assault: Mission 6 - part 1 Hierarchy
- Universe at War Earth Assault: Mission 6 - part 2 Hierarchy
- Universe at War Earth Assault: Hierarchy
- Universe at War Earth Assault: Game Guide
You are not permitted to copy any image, text or info from this page. This site is not associated with and/or endorsed by the developers and the publishers. All logos and images are copyrighted by their respective owners.
Copyright © 2000 - 2025 Webedia Polska SA for gamepressure.com, unofficial game guides, walkthroughs, secrets, game tips, maps & strategies for top games.
