Universe at War Earth Assault: Mission 5 - part 2 Novus
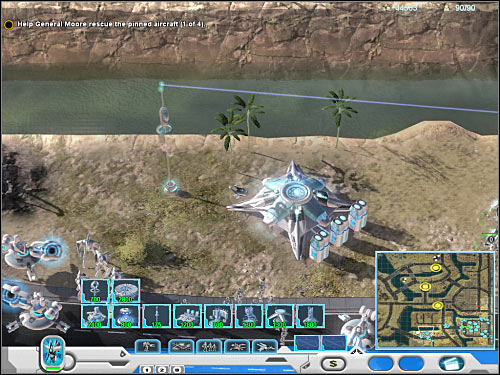
Don't leave this area of the map just yet. I would recommend that you take your time to expand your existing power grid. As a result, you will have to start building Flow Conduit towers. Doing this will allow your units to reach new areas of the map faster than using usual methods of movement. Try building a lot of energy towers in the southern section of the map, however don't even think about crossing the bridge which leads to the western island. You should also consider building a new Recycling Center somewhere in this area (screen), because there are a lot of unguarded resources nearby. You will also be able to take control over several military turrets, however this isn't necessary.
Now you will have to order your army to go north, because that's where you'll be able to find the second landing site. Nothing will change here. Start off by ordering your Dervish jets to clear a route for the main army. They will be able to neutralize Grunt units, as well as enemy tanks. Make sure that your air units have stayed away from the main target. Order your ground units to go there. Once again, you will have to neutralize a few gravitic turrets which will allow everyone to participate in this battle. Rescuing the gunships will result in new saucers and monoliths to be dispatched to your base. Defend your structures. You can also try to defeat the saucers while they're still on route to your base. Use your free time to expand the power grid to the new sections of the map. This will allow your newly constructed units to join the main army without any major delays.
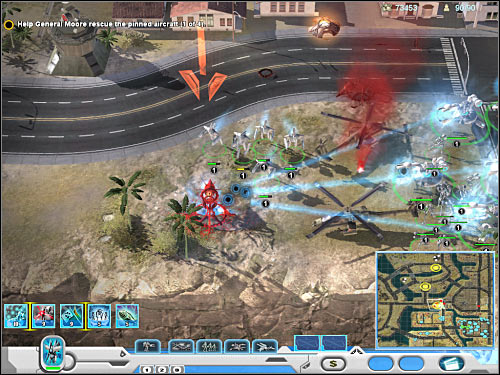
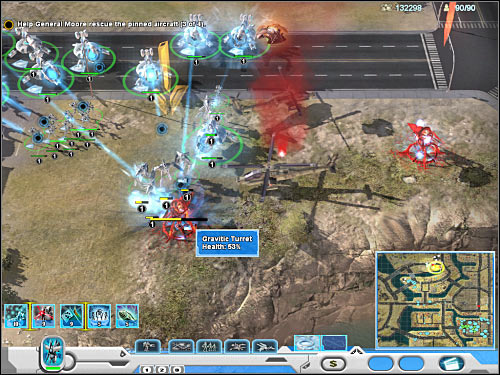
The third group of gunships is pinned down nearby, so you will be able to participate in this battle almost instantly. You could consider sending your Dervish jets there, however I would recommend using only the ground forces. Just as before, try to take out gravitic turrets. Once they're gone, deal with the remaining threats. You should also notice that there are a lot of resources in the area (screen). Build a new Recycling Center here if you want to and don't forget to expand your power grid even further. There's only one more target for you to attack. I guess you should already know what has to be done in order to succeed. This time you will be able to choose whether you want to attack enemy forces from the east or from the west. Make sure that your main base defends itself against flying saucers and monoliths. Use Constructor units to repair damaged turrets and buildings. Once you've rescued all gunships, wait for the game to grant you with a new task. You should also rebuild your army by building new units. Sell your Constructors if you want to, because your base won't be attacked by anyone else.
Third objective: Defeat the walkers guarding the Material Uplink
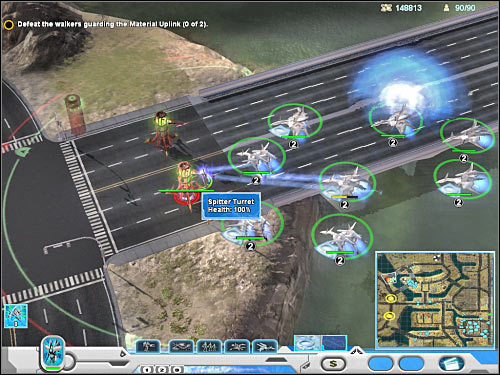
This is going to be a fairly simple objective, however you will have to remember about a few important things. Your first task will be to secure the bridges leading to the western island. There are three of them (5 on the map) and you should focus your attention on the upper two. Send your jets over to these locations and destroy Spitter Turrets to secure a safe passageway for your main army (screen). Thankfully, the turrets aren't capable of responding to air attacks. You will only have to watch out for enemy monoliths. Don't get too close to the Walkers, because they would be able to attack your jets.
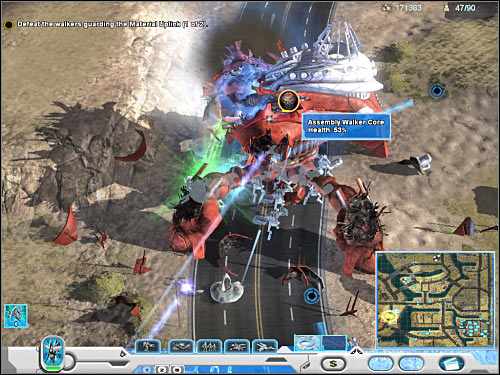
Now you will have to transport your army over to the western island. I would recommend choosing the northern bridge, so you won't end up being attacked by the first Walker. Take your time and wait for all of your units to cross the bridge safely. Proceed south, because that's where you'll find your first target. You will have to be careful here, because Mirabel may die during the attack. Observe her health bar and move her away every time she loses a large portion of health. As for the Walker itself, you will have to start off by destroying its repair chambers. This will prevent your target from regenerating itself. After that, focus your fire on some of the main turrets of the Walker, so you won't lose too many units. Your final goal will be to expose the core of the Walker in order to damage it. I wouldn't recommend allowing your air units to take part in these fights, unless you've been able to take out all main turrets of the Walker. Keep attacking it until it's destroyed.
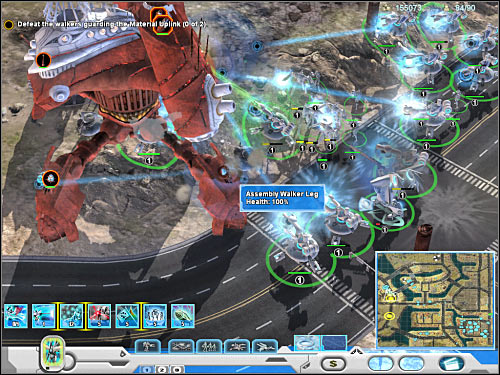
Start moving south. You will probably come across a Material Uplink building along the way. Sadly, you won't be allowed to use it right away. Instead, you will have to focus your attention on destroying the second Walker. The tactical approach should be the same. Start off by destroying the repair chambers and some of the larger cannons. Make sure that all of your units are taking part in this battle. You should also consider building additional troops in order to replace some of the fallen units. You would have to do this before deciding to attack the Walker. Destroying your target should be fairly easy, as long as you watch out for Mirabel. You can't let her die. Otherwise you would have failed the mission.
Fourth objective: Escort Mirabel to the Material Uplink
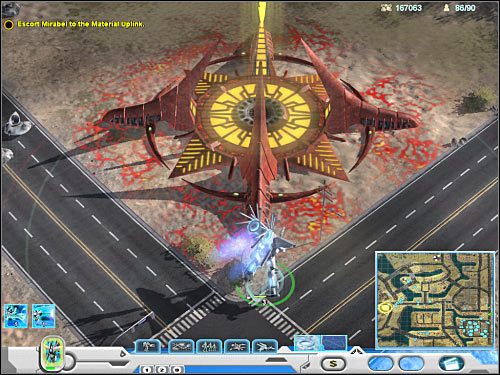
This is going to be a formality. You won't have to prepare yourself in any way for this particular mission objective. Also, you don't have to construct any new units. Zoom in the view on the Material Uplink building (7 on the map). Once this is done, select Mirabel and order her to show up near the Material Uplink. Wait for her to approach the enemy building. Once she's close enough to it, this mission will come to an end.
- Universe at War: Earth Assault Game Guide
- Universe at War Earth Assault: Game Guide
- Universe at War Earth Assault: Novus
- Universe at War Earth Assault: Mission 1 - part 1 Novus
- Universe at War Earth Assault: Mission 1 - part 2 Novus
- Universe at War Earth Assault: Mission 2 - part 1 Novus
- Universe at War Earth Assault: Mission 2 - part 2 Novus
- Universe at War Earth Assault: Mission 3 - part 1 Novus
- Universe at War Earth Assault: Mission 3 - part 2 Novus
- Universe at War Earth Assault: Mission 3 - part 3 Novus
- Universe at War Earth Assault: Mission 4 - part 1 Novus
- Universe at War Earth Assault: Mission 4 - part 2 Novus
- Universe at War Earth Assault: Mission 5 - part 1 Novus
- Universe at War Earth Assault: Mission 5 - part 2 Novus
- Universe at War Earth Assault: Mission 6 - part 1 Novus
- Universe at War Earth Assault: Mission 6 - part 2 Novus
- Universe at War Earth Assault: Mission 7 - part 1 Novus
- Universe at War Earth Assault: Mission 7 - part 2 Novus
- Universe at War Earth Assault: Mission 7 - part 3 Novus
- Universe at War Earth Assault: Novus
- Universe at War Earth Assault: Game Guide
You are not permitted to copy any image, text or info from this page. This site is not associated with and/or endorsed by the developers and the publishers. All logos and images are copyrighted by their respective owners.
Copyright © 2000 - 2025 Webedia Polska SA for gamepressure.com, unofficial game guides, walkthroughs, secrets, game tips, maps & strategies for top games.
