Universe at War Earth Assault: Mission 2 - part 2 Prelude
Third objective: Make your last stand at Fort McNair
Don't worry that an enemy Walker is heading your way, because you won't be able to stop it. Instead, focus all of your efforts on destroying smaller Hierarchy units. Move your main army to the east and make sure that it stays near the northern passageway (4 on the map). You are going to be attacked by larger group of enemy monsters, including Brute and Grunt units. Try and kill them in the first place, before switching to weaker units. You probably won't lose too many tanks and humvee vehicles here, however you won't need them later during the course of the mission, so ignore the fact that some of them may explode.
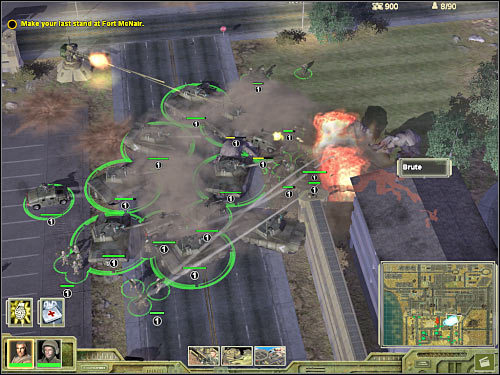
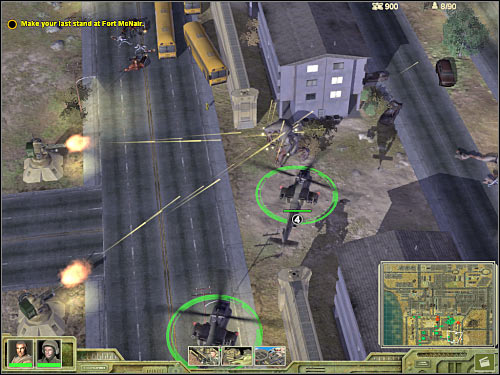
As for your gunships, they should guard the lower passageway (4 on the map). You've used it yourself a few minutes ago, so you should remember exactly where it its. Thankfully, you won't have to worry about losing your gunships, because enemy troops won't be able to attack air units. If you don't feel comfortable using only helicopters, you may consider sending a few tanks there as well. Don't attack the Hierarchy walker. Allow it to enter the base. It will get closer to one of the buildings of the fort. Once this has occured, you are going to be rewarded with a longer FMV sequence. As a result, you will take control over a new faction, called Novus.
Fourth objective: Defeat the alien walker
You won't have to find out everything there is to know about the Novus race for obvious reasons. Destroying a Hierarchy walker is going to be a fairly simple challenge, however you should still listen to what Mirabel has to say to you. She'll tell you how to react in order to secure the best possible outcome. You'll have to start off by destroying some of the plasma turrets. They're attached to the legs of the Walker (screen). Choose a group of allied units and designated such a target for them. Additionally, make sure your units aren't moving too close to the Walker. Otherwise they would have been crushed by its huge legs.
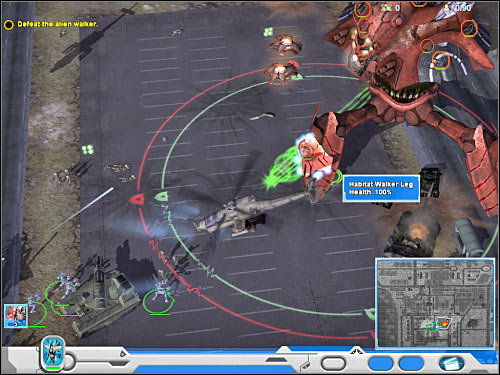
Keep attacking the legs of the Walker and eventually you'll be rewarded with a small squadron of air units. Allow them to get closer to the Walker. Select these units and activate their special ability - Death Bloom. Wait for them to activate this function (screen). Now you'll be able to take control over a small group of Antimatter Tanks. They will appear to the north-west of the Walker. Once again, you should be aiming at the legs of the Hierarchy unit. You'll probably notice that the leg hardpoints of the Walker will start losing energy points.
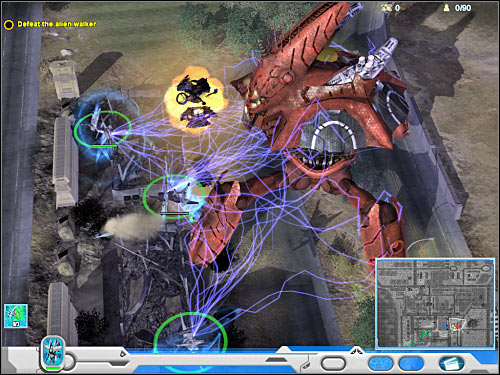
Once again, you should listen closely to what Mirabel has to say to you. Follow her orders by aiming at the upper shell of the Walker. You should be on a look out for Armor Plating hardpoints (screen). Try and destroy at least a few of them. I'd strongly recommend that you allow all of your units to take part in this battle. As long as they stay away from the legs of the Walker, they should be fine. Thankfully, there aren't any other Hierarchy units in this area.
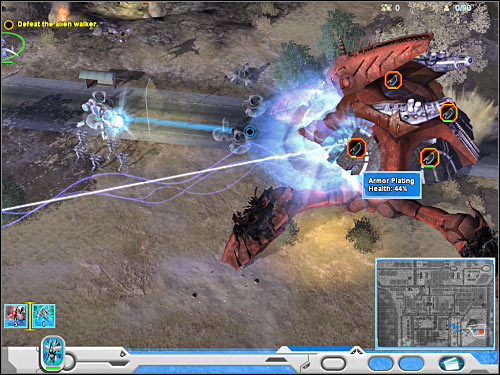
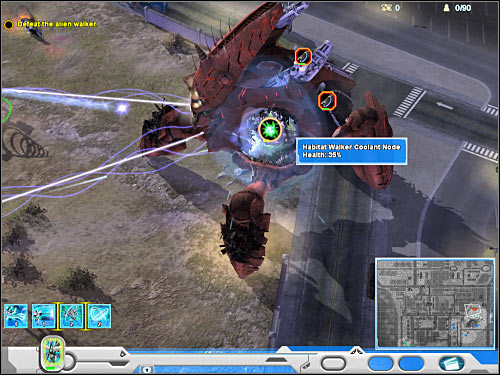
Some of the destroyed hardpoints of the Walker will expose its coolant code (screen). This is what you've been looking for. Your objective will be to weaken at least two of these nodes by ordering your units to attack them. Neutralizing the nods should allow you to destroy the Walker. As you've probably suspected, you are going to be rewarded with a new cut-scene. You'll also automatically begin playing the first campaign of the game.
You are not permitted to copy any image, text or info from this page. This site is not associated with and/or endorsed by the developers and the publishers. All logos and images are copyrighted by their respective owners.
Copyright © 2000 - 2025 Webedia Polska SA for gamepressure.com, unofficial game guides, walkthroughs, secrets, game tips, maps & strategies for top games.
