Talos Principle 2: All puzzles in Western Delta
This Talos Principle 2 guide contains solutions to all puzzles in the West Delta - Bracket, Automatic Door, Escape, Affliction.
This page of our Talos Principle 2guide is dedicated to all puzzles appearing in the Western Delta region. Additionally, you can check out our video guide for step-by-step solutions to all puzzles, including Vertical Locomotion, Transference, Elements, and Surfing.
- All puzzles
- Servitor
- Supportive Apparatus
- Through the Door
- Surfing
- Nuisance
- Elements
- Breach
- Transference
- Jailbreak
- Vertical Locomotion
All puzzles
The Western Delta in The Talos Principle 2 consists of:
- 8 main puzzles
- 2 lost puzzles
- 1 gold puzzle
- 1 lost lab
- 2 stars
Watch our video guide in which we show how to solve the main and lost puzzles in the Western Delta location. The gold puzzle will be unlocked once you have solved all the main and lost puzzles in the game.
Servitor
- Step onto the levitating platform.
- Jump over the fence.
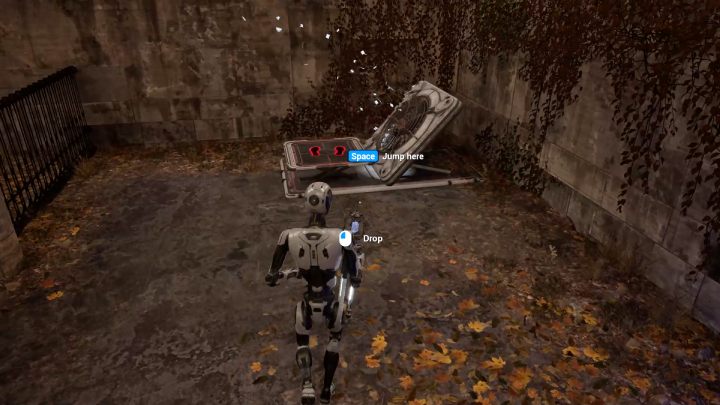
- Pick up the connector found before the blue laser.
- Step onto the fan.
- Put the connector aside.
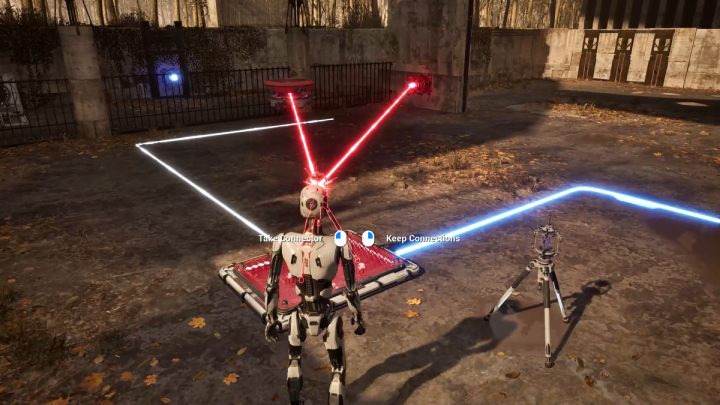
- Pick up the connector connected to the levitating platform without breaking the connection.
- Put the connector on the red platform.
- Pick up the second connector and leave it aside in the second room of the puzzle.
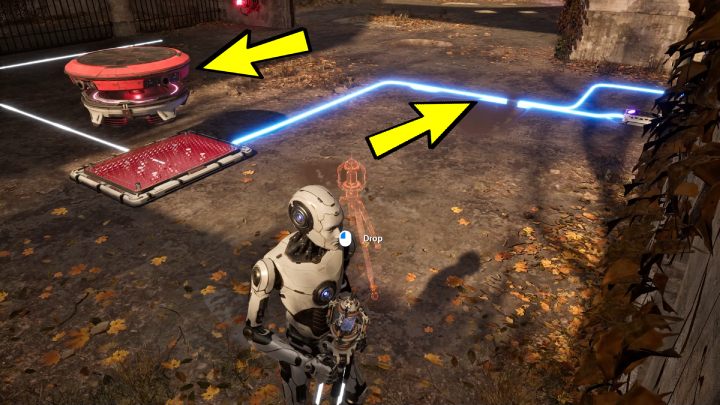
- Return to the first room of the puzzle.
- Pick up the first connector without breaking the links.
- Leave the first connector before the red platform.
- Wait for the levitating platform to be above the red platform and quickly pick up the connector and break the connections.
- The wire led to the barrier should be lit in blue.
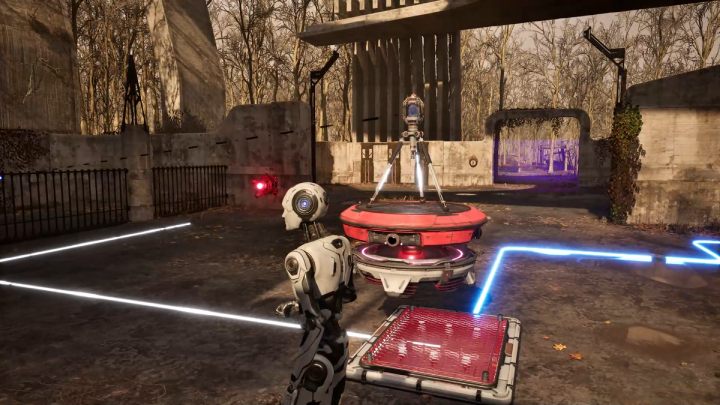
- Connect the first connector to the blue laser.
- Put the connector on the levitating platform.
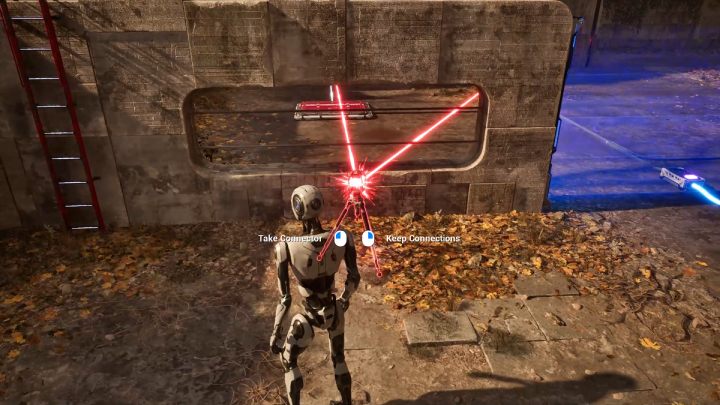
- Pick up the second connector.
- Make a connection between the red laser and the levitating platform.
- Wait for the platform to move forward in the direction of the blue laser and quickly pick up the connector and break the links.
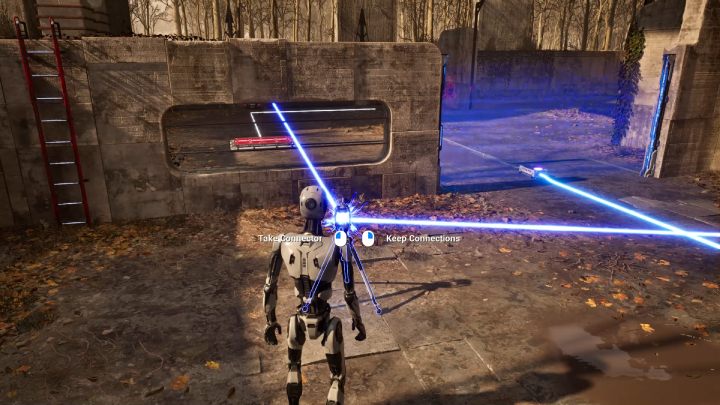
- Connect the second connector with the first connector and the blue button by the terminal.
- Activate the terminal.
Supportive Apparatus
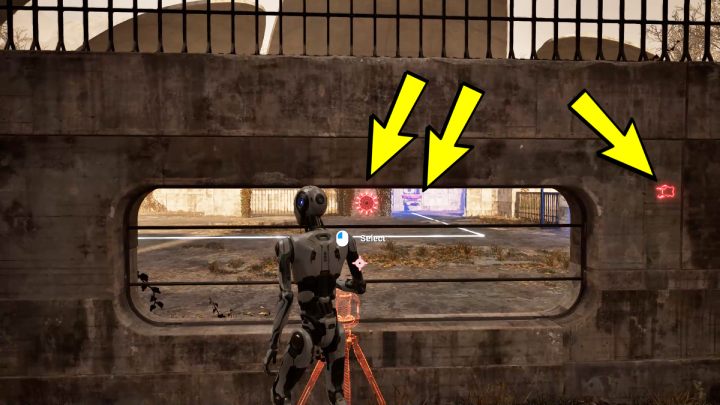
- Pick up the connector.
- Make a connection between the red laser, the levitating platform, and the red button by the levitating platform.
- Leave the connector aside near the wall with bars.
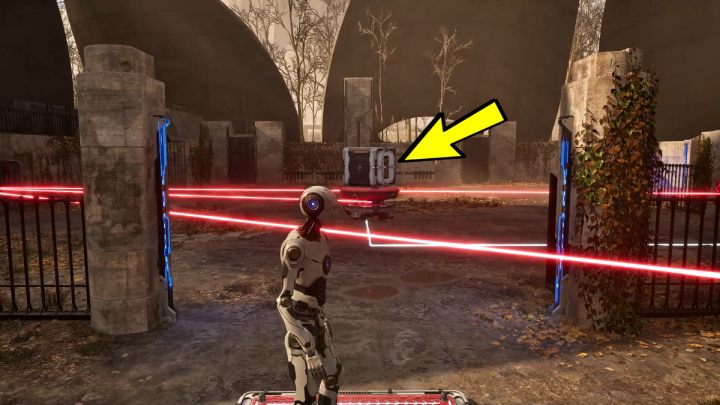
- Stand on the platform.
- Wait until the levitating platform with the hexahedron arrives to the center of the room.
- Jump off the platform.
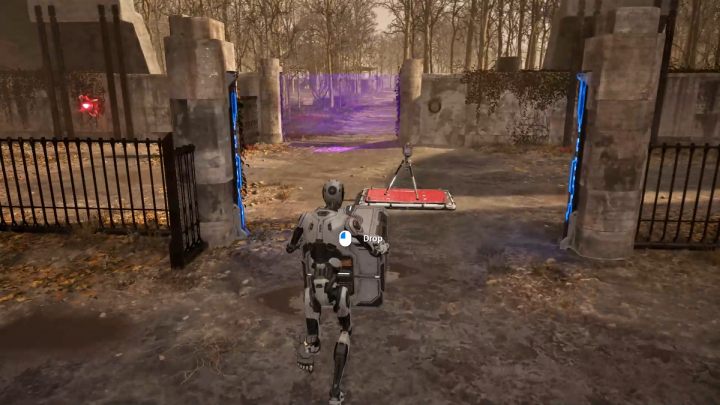
- Pick up the connector, break the connections, and leave it on the platform.
- Pick up the hexahedron.
- Put the hexahedron on the platform with the connector.
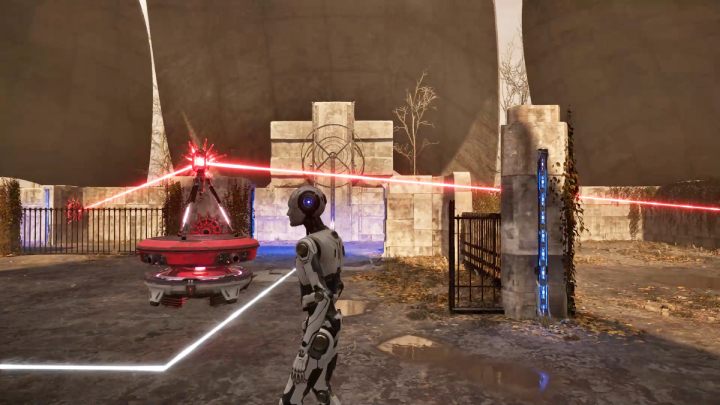
- Connect the connector to the red laser and the red button by the second connector.
- Put the connector on the levitating platform.
- Pick up the second connector and put it aside by the hexahedron.
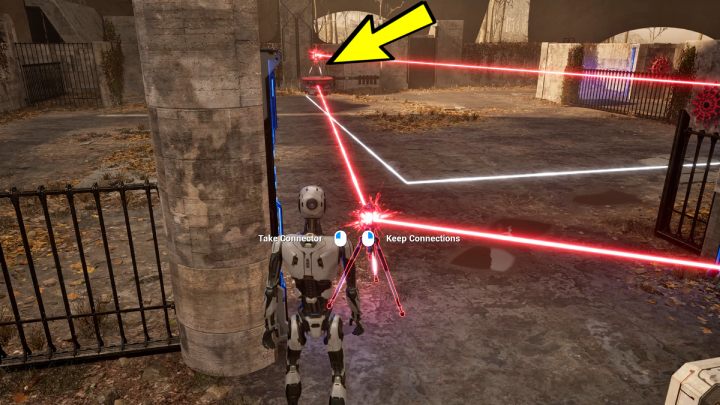
- Pick up the first connector and break the connections.
- Connect the first connector to the red laser and put it on the levitating platform.
- Pick up the second connector and make a connection between the red laser and the levitating platform.
- Wait for the platform to arrive at the end of the room and quickly pick up the second connector, breaking the connections.
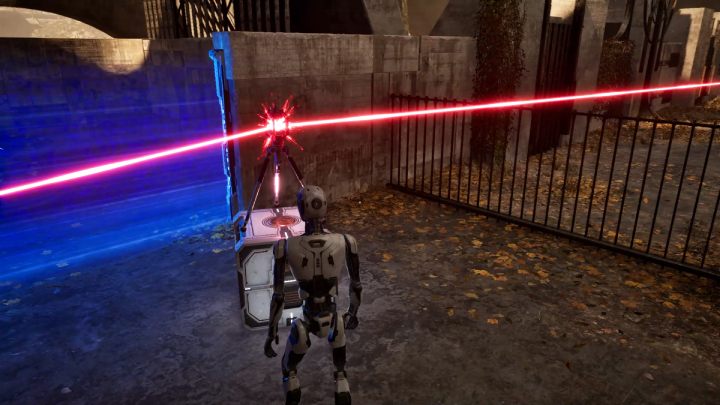
- Pick up the hexahedron and put it aside by the terminal.
- Connect the second connector with the first one and the red button by the terminal.
- Put the connector on top of the hexahedron.
Through the Door
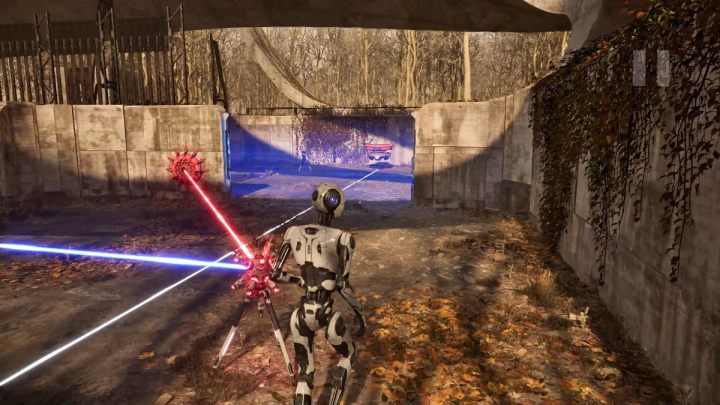
- Pick up the inverter.
- Make connections between the red button and the blue laser.
- Put the inverter aside in the area shown in the screenshot above.
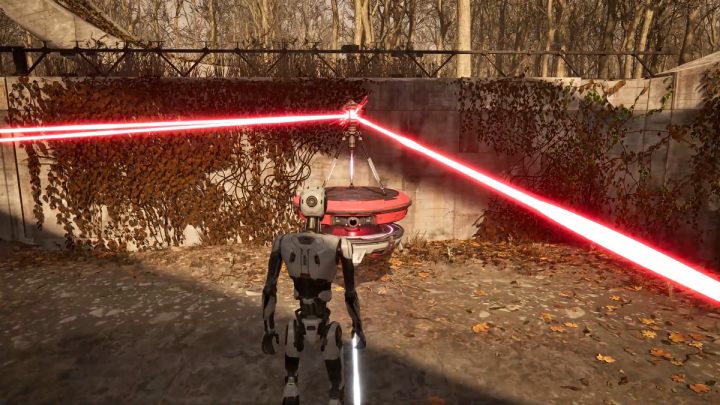
- Pick up the connector.
- Make connections between the second red button, the inverter, the blue laser and the blue button.
- Place the connector on the levitating platform.
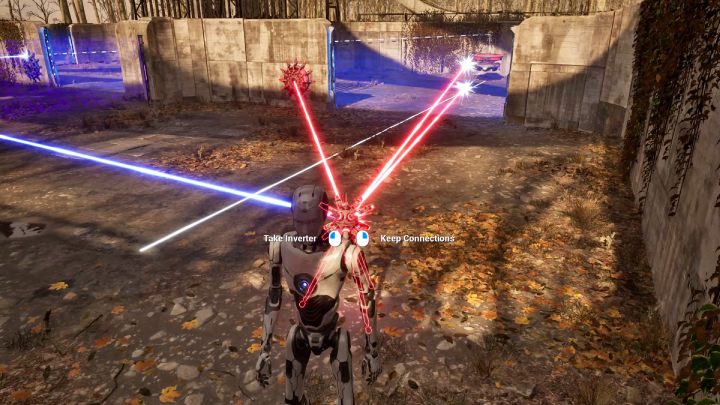
- Pick up the inverter without breaking the links.
- Add the levitating platform to the connection.
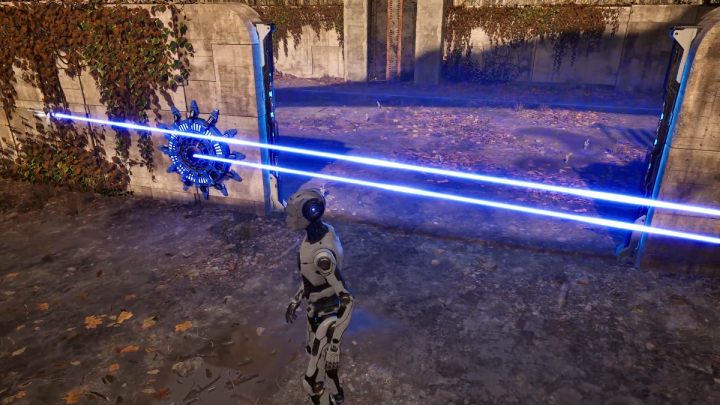
- Once the platform stars moving, approach the barrier by the blue button.
- The blue laser should now reach the blue button.
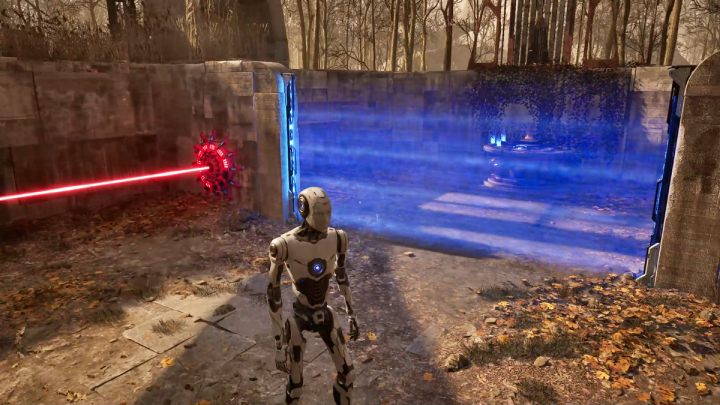
- Go forward and wait for the red laser to reach the button by the terminal.
Surfing
- Pick up the connector.
- Make a connection between the red laser and the levitating platform.
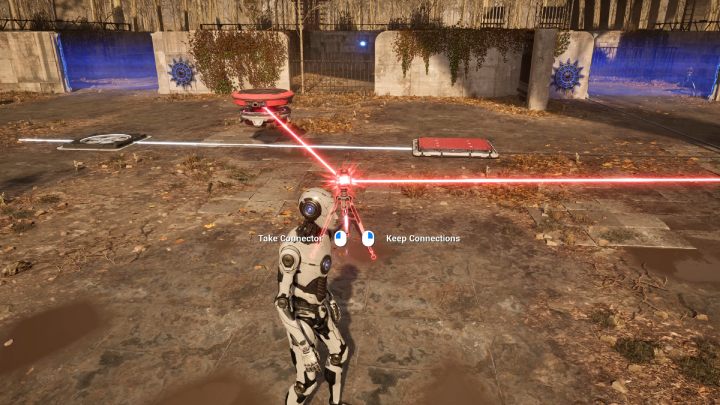
- Wait until the levitating platform is between the fan and the red platform.
- Pick up the connector and break the connections.
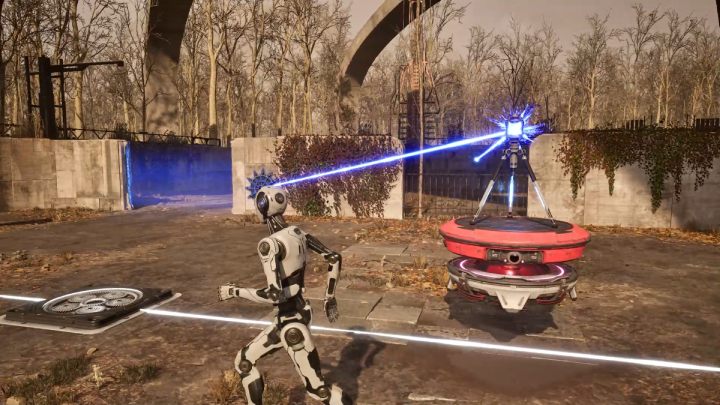
- Make connections between the blue laser and the blue button in the left side of the room.
- Put the connector on the levitating platform.
- Pick up the hexahedron and put it aside in the main room of the puzzle.
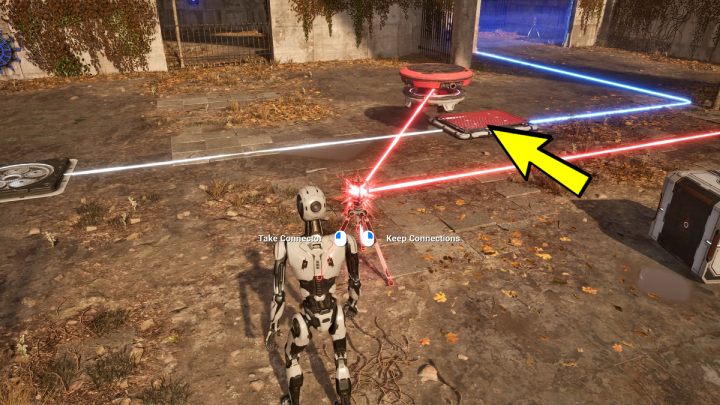
- Pick up the connector and make connections between the red laser and the levitating platform.
- Put the connector aside, and wait for the levitating platform to be above the red platform.
- Quickly pick up the connector again and break the links.
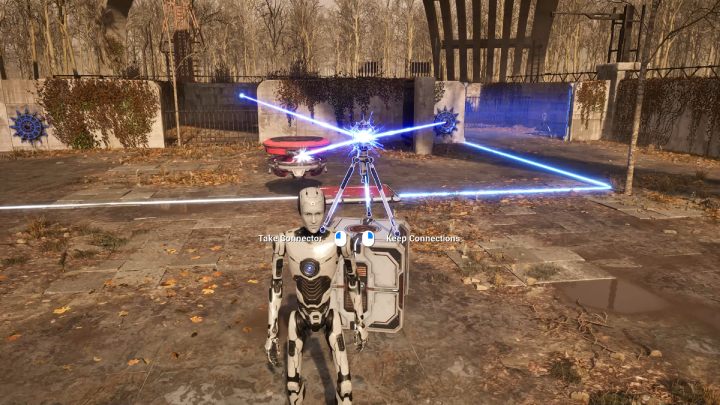
- Put the hexahedron in the area shown in the screenshot above.
- Make connections between the blue laser and the blue button in the right side of the room.
- Place the connector on top of the hexahedron.
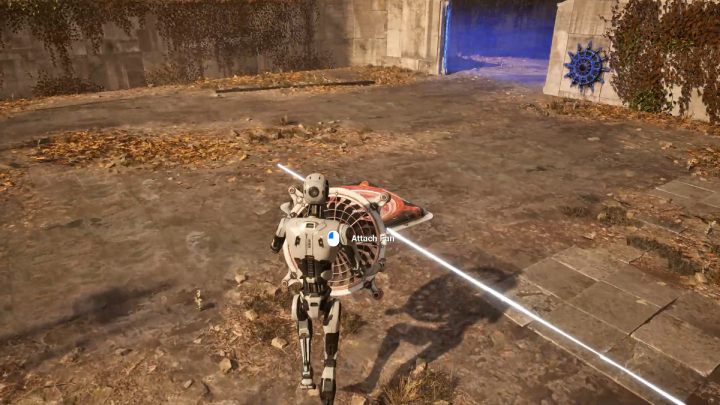
- Pick up the second connector and carry it to the main room of the puzzle.
- Pick up the fan and put it on the fan device.
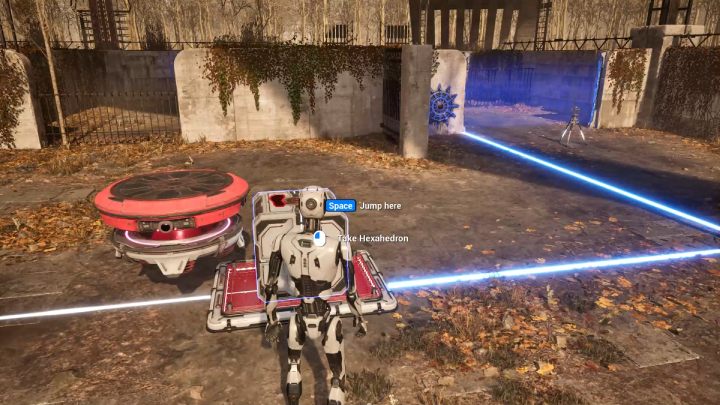
- Pick up the first connector and break the links.
- Put the first connector aside.
- Pick up the hexahedron and leave it on the red platform.
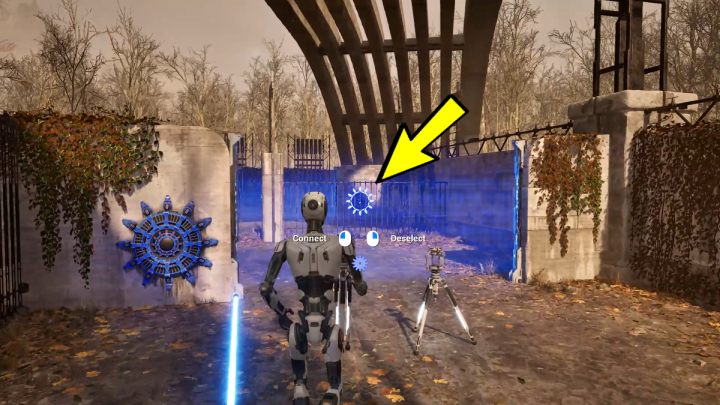
- Pick up the first connector and connect it with the blue button by the terminal.
- Add the blue laser to the connection.
- Leave the connector on the levitating platform.
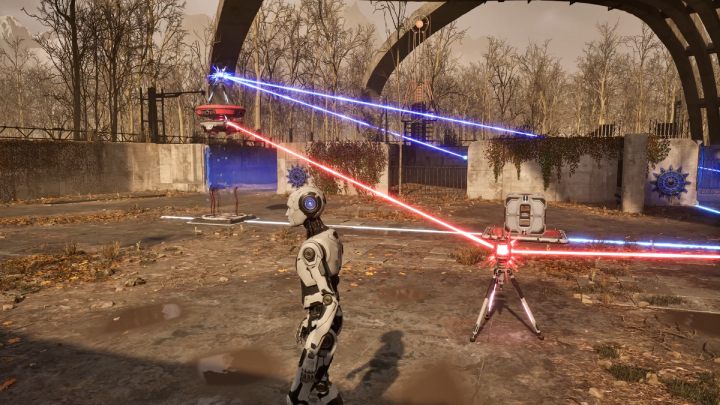
- With the second connector, make connections between the red laser and the levitating platform.
- Wait until the levitating platform reaches the fan and is raised in the air.
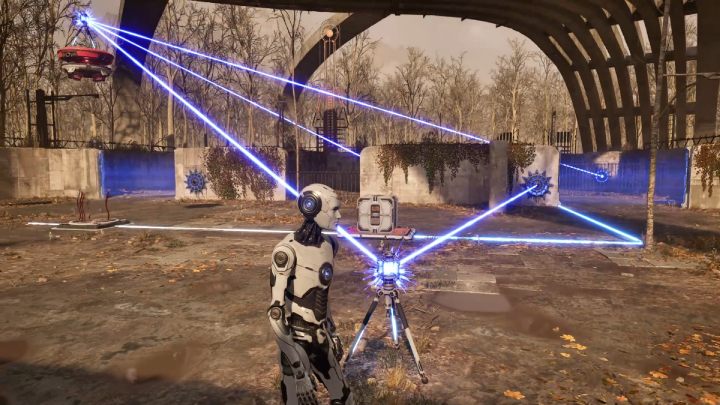
- Pick up the second connector and break the connections.
- Make connections between the first connector and the blue button in the right side of the room.
- Now you can access the terminal.
Nuisance
- Pick up the connector.
- Make connections between the blue laser and the red button.
- With the barrier down, proceed forward.
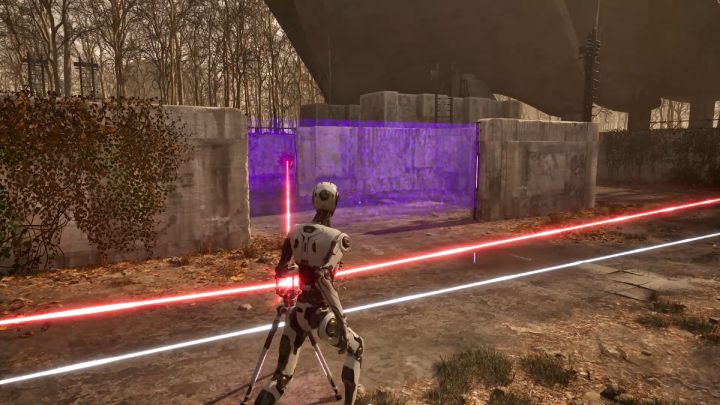
- Pick up the second connector.
- Make connections between the first connector, the red button beyond the purple barrier, and the levitating platform.
- Leave the connector in the area shown in the screenshot.
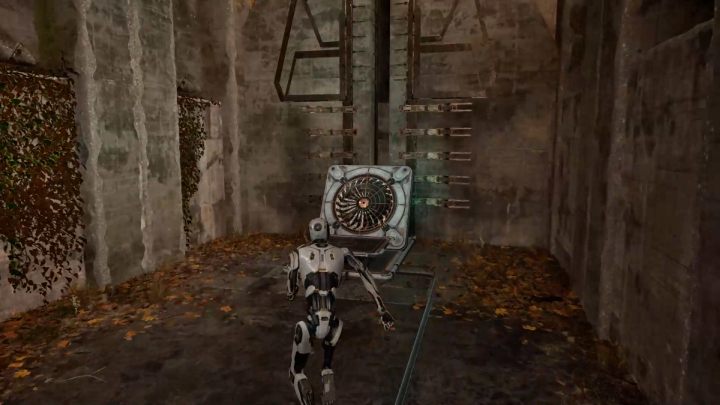
- Quickly run past the next barrier and step on the platform before the fan.
- When the levitating platform passes the second connector, it will break the link between the connector and the red button, activating the fan.
- After flying to the other side, activate the terminal.
Elements
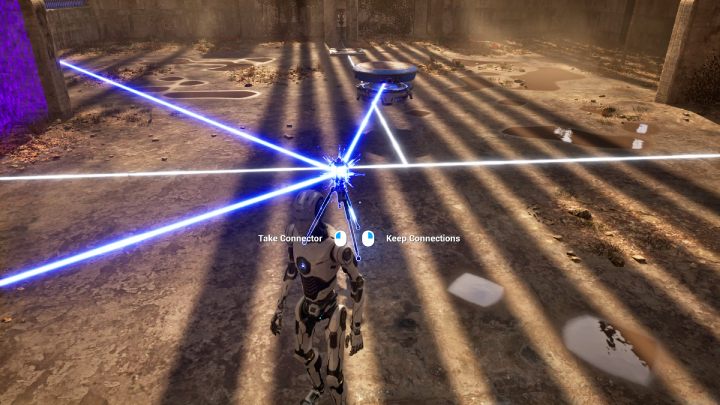
- Pick up the connector.
- Make connections between the blue laser and the blue levitating platform.
- Wait for the platform to turn and arrive in the center of the room.
- Pick up the connector and break the connections.
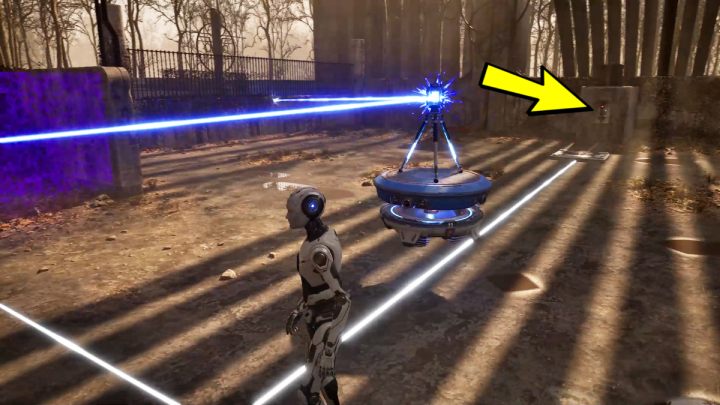
- Make connections between the blue laser and the blue button.
- Leave the connector on the blue levitating platform.
- Activate the wall switch.
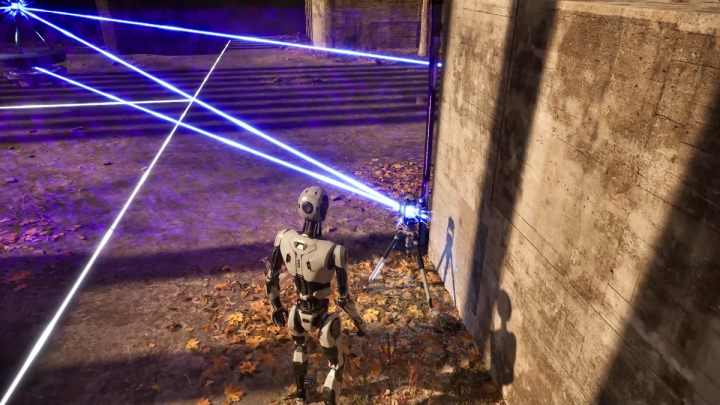
- Pick up the second connector.
- Make connections between the first connector and the blue levitating platform.
- Leave the connector in the area shown in the screenshot above.
- Wait for the blue levitating platform to reach the fan and be raised in the air.
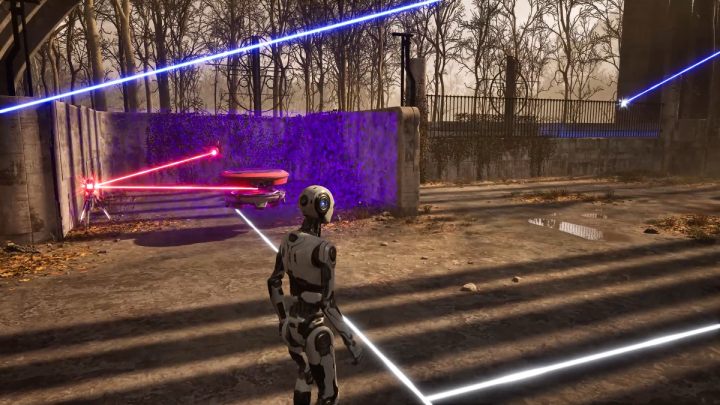
- Pick up the second connector and break the connections.
- Connect the red laser and the red levitating platform.
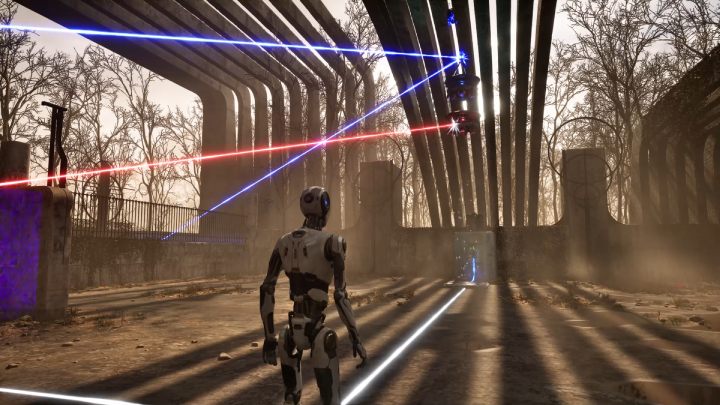
- Wait for the red levitating platform to reach the fan and be raised in the air.
- The blue laser should reach the blue button.
Breach
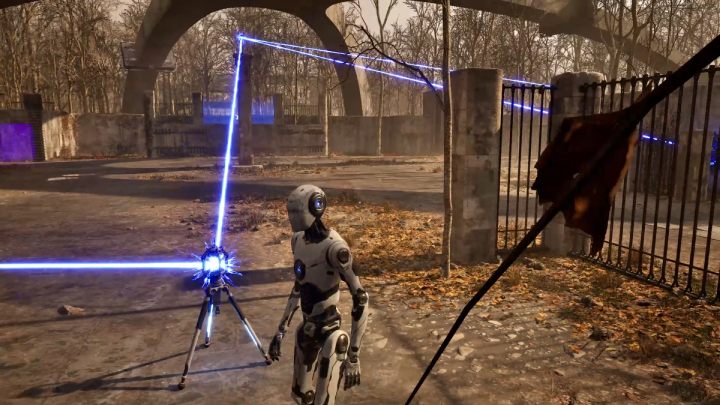
- Pick up the connector.
- Make connections between the blue laser and the connector on the pillar.
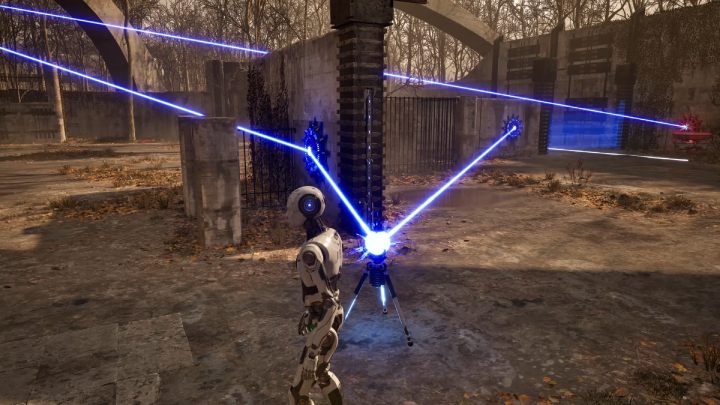
- Pick up the accumulator and charge it with the blue laser.
- Connect the accumulator to the two blue buttons shown in the screenshot above.
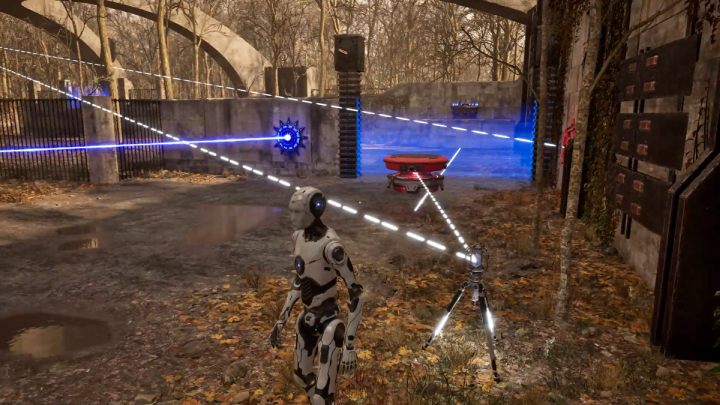
- Pick up the connector and break the connections.
- Connect the connector with the levitating platform and the connector on the pillar.
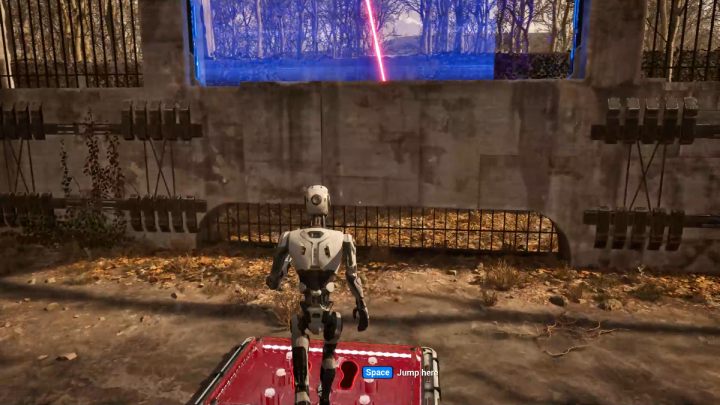
- Step on the red platform by the blue barrier.
- The red laser should now reach the levitating platform.
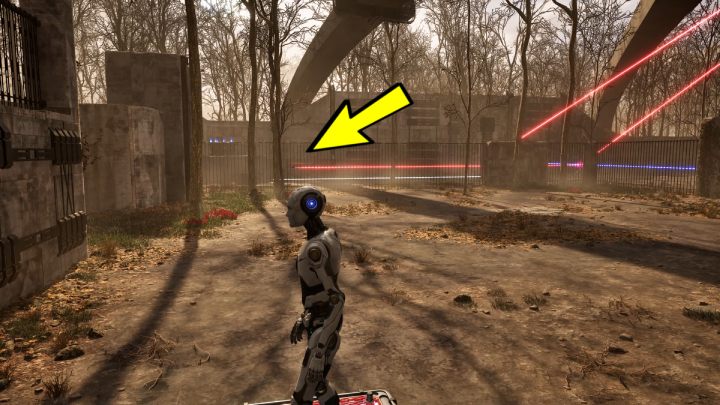
- Wait for the levitating platform to reach the end of its route.
- You can now step off the platform.
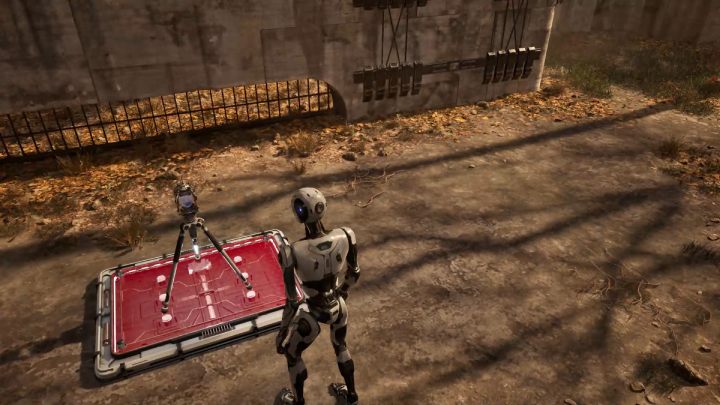
- Pick up the connector and put it on the platform.
- Jump on the levitating platform and jump to the terminal.
Transference
- Pick up the connector.
- Exchange the connector for the teleport.
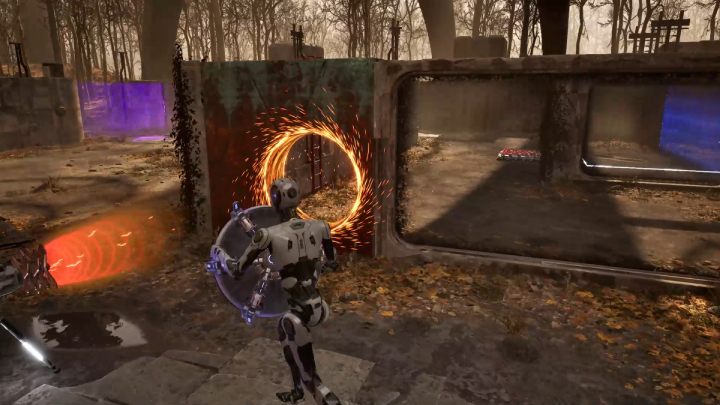
- Pick up the drill and make a hole in the wall.
- Transfer the teleport through the hole.
- Use the teleport.
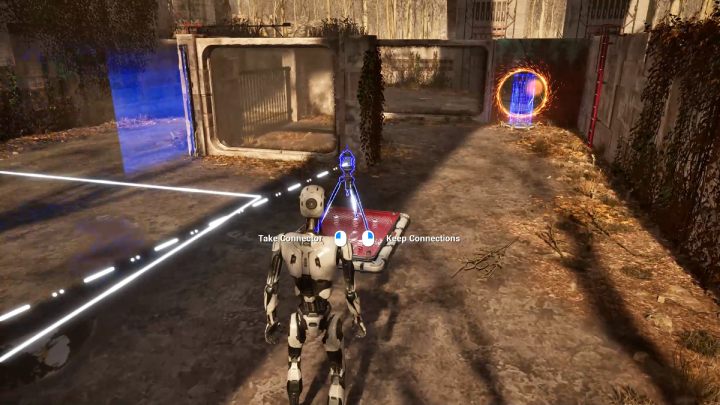
- Pick up the connector and connect it to the levitating platform.
- Put the connector on the red platform.
- Transfer the teleport back through the hole so it is back in the main room of the puzzle.
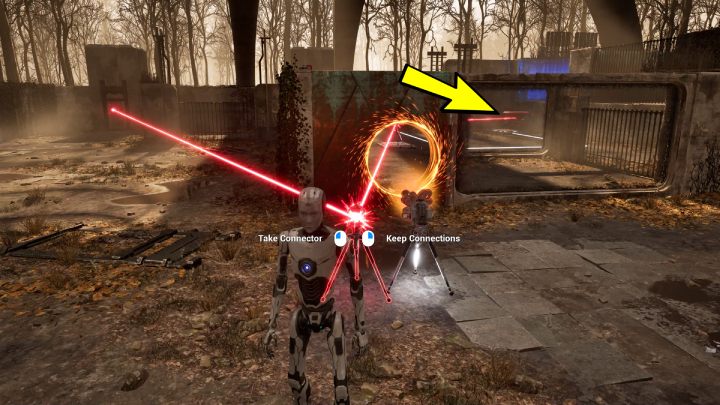
- Exchange the teleport for the connector.
- Make a connection between the red laser and the connector on the red platform.
- Wait until the levitating platform reaches the end of its route and step on the second red platform.
- Quickly pick up the connector and break the links.
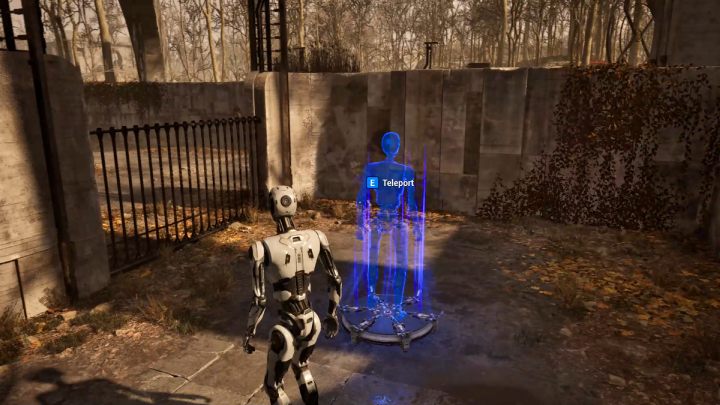
- Exchange the connector for the teleport.
- Transfer the teleport through the hole and use it.
- Pick up the teleport and put it aside by the wall with bars.
- Climb out of the room via the ladder.
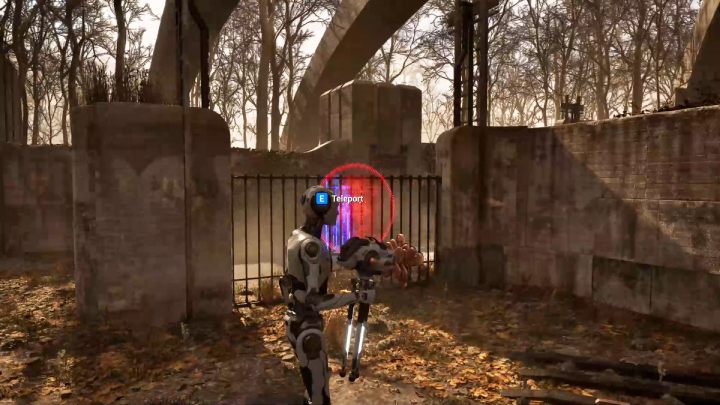
- Pick up the drill.
- Use the teleport.
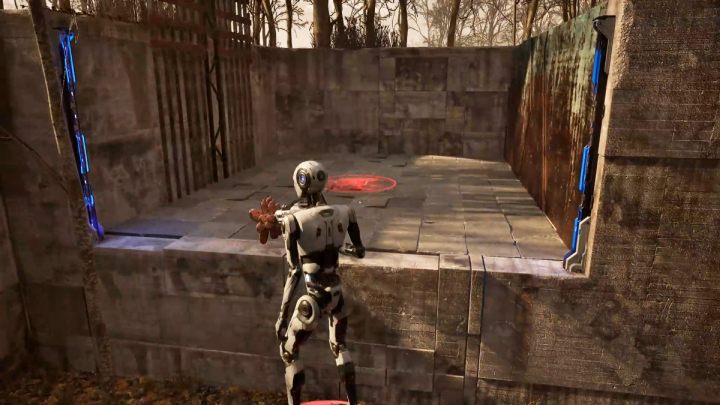
- Step onto the levitating platform.
- Make a hole in the wall behind which there is the terminal.
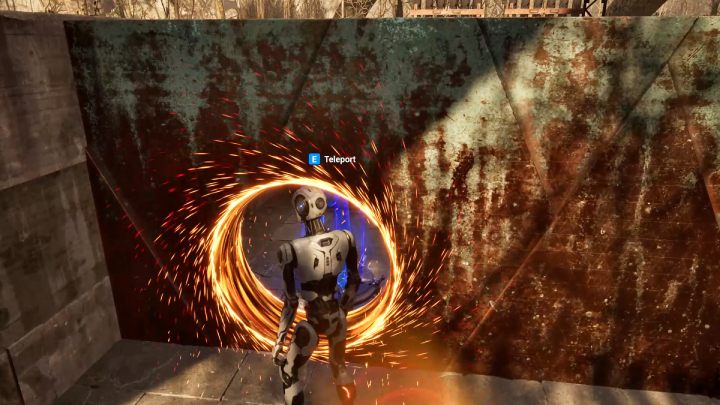
- Pick up the teleport.
- Transfer the teleport through the hole and use it.
Jailbreak
Lost Puzzle #1 can be approached after completing Main Puzzle #3 (Automatic Doors).
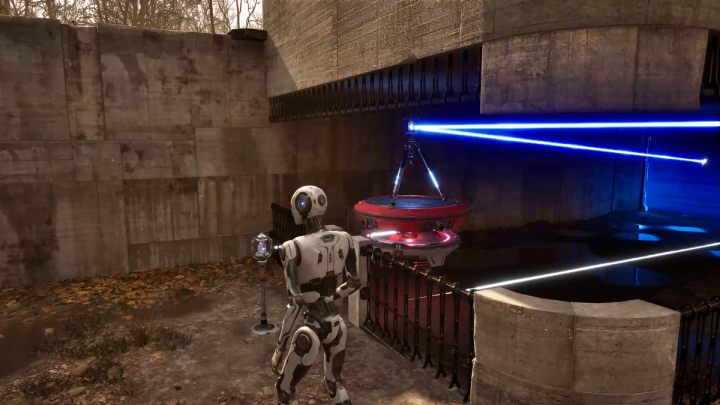
- Pick up the first connector.
- Make connections between the blue laser and the blue button.
- Put the connector on the levitating platform.
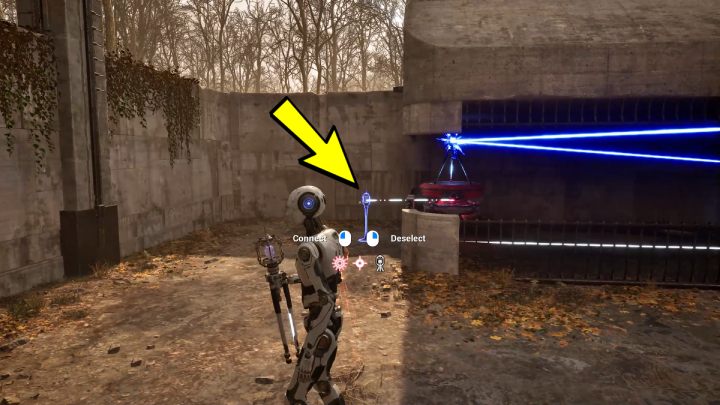
- Pick up the second connector.
- Make connections between the red laser, the red button, and the connector by the levitating platform.
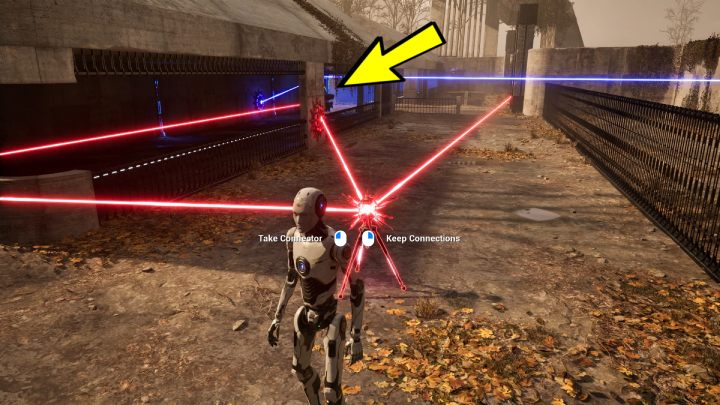
- Pick up the connector from the levitating platform and put it aside.
- Pick up the first connector and connect it to the red laser and the levitating platform.
- Put the connector aside in the area shown in the screenshot above.
- Pick up the connector from the levitating platform and put it aside.
- Pick up the first connector and connect it to the red laser and the levitating platform.
- Leave the connector aside in the area shown in the screenshot above.
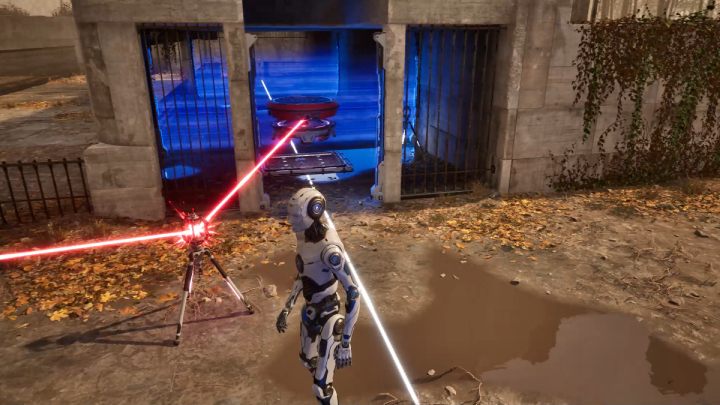
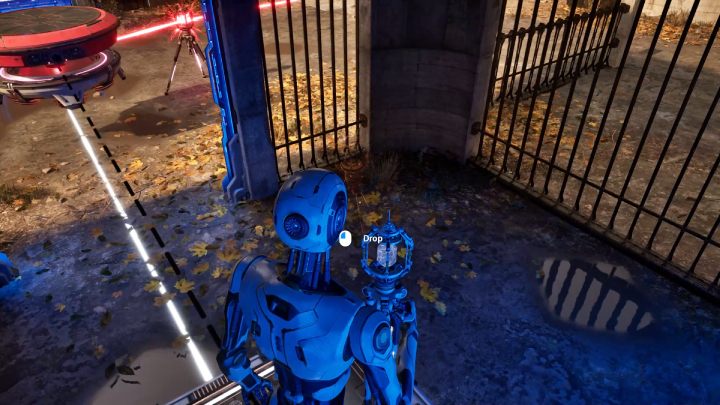
- Quickly pick up the second connector and step on the red platform.
- When the levitating platform rides outside the barrier, put the second connector on the red platform.
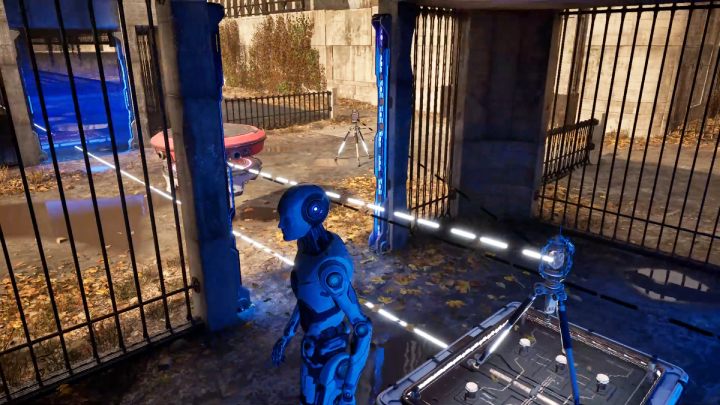
- Pick up the first connector and break the links, then put it aside.
- Pick up the second connector and connect it with the levitating platform and the first connector.
- Put this connector on the red platform.
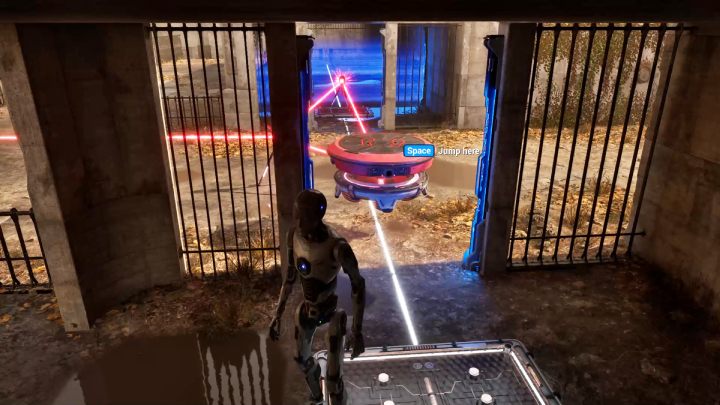
- Pick up the first connector without breaking the links.
- Add the red laser and the levitating platform to the connections.
- Put the connector in such a way so the laser reaches the second connector and the levitating platform.
- Quickly step onto the next red platform and wait for the levitating platform to pass the barrier.
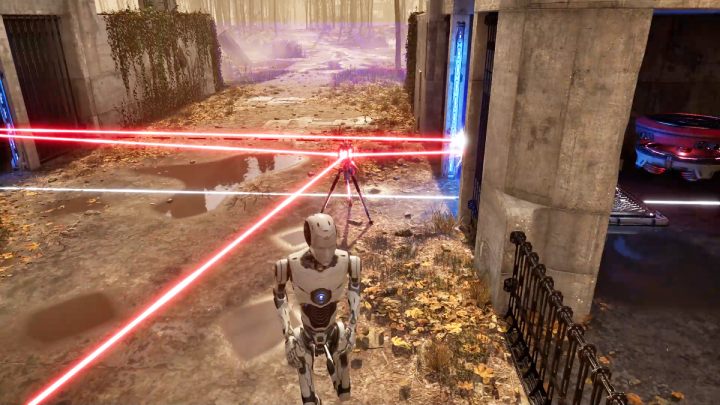
- Pick up the first connector without breaking the links.
- Put the connector in the area shown in the screenshot above.
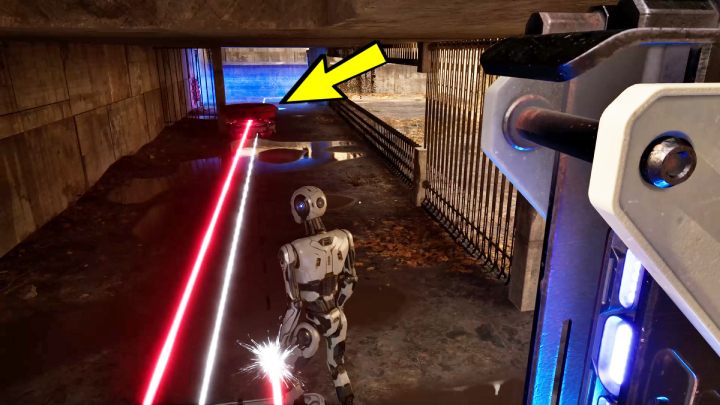
- Step onto the red platform.
- Wait for the levitating platform to reach the red button.
- Jump off the platform.
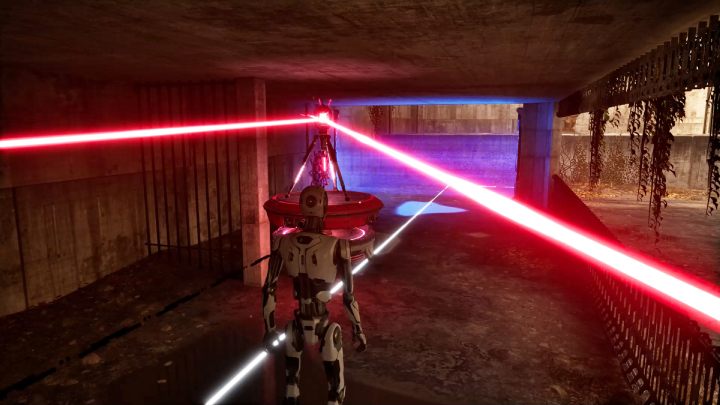
- Pick up the first connector and break the links.
- Make connections between the red laser, the red button, and the second connector.
- Put the connector on the levitating platform.
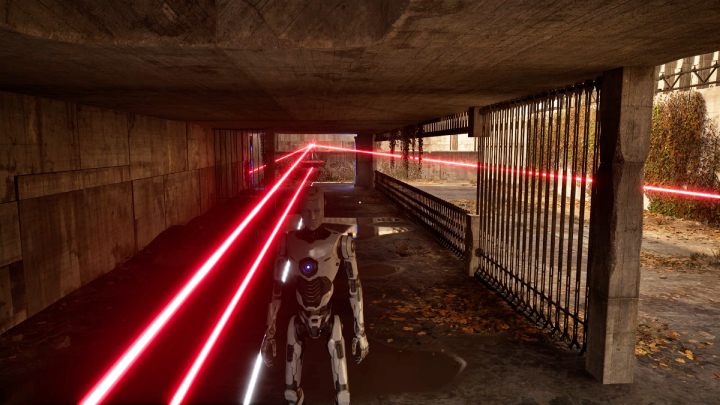
- Step onto the red platform.
- Wait until the levitating platform reaches the end of its route.
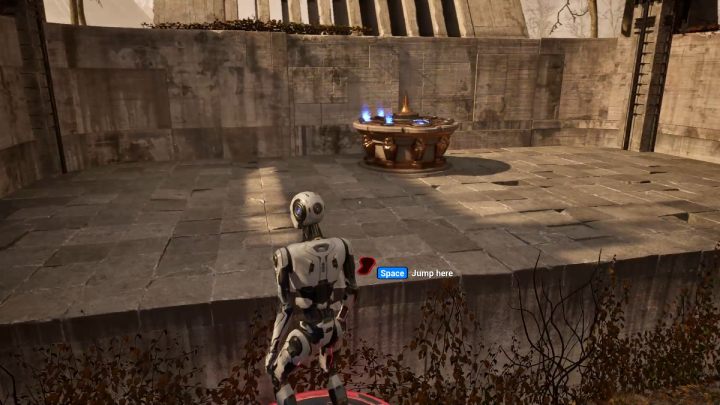
- Take the connector from the levitating platform.
- Jump on the levitating platform and jump to the terminal.
Vertical Locomotion
Lost Puzzle #2 you can find after completing Main Puzzle #5 (Nuisance).
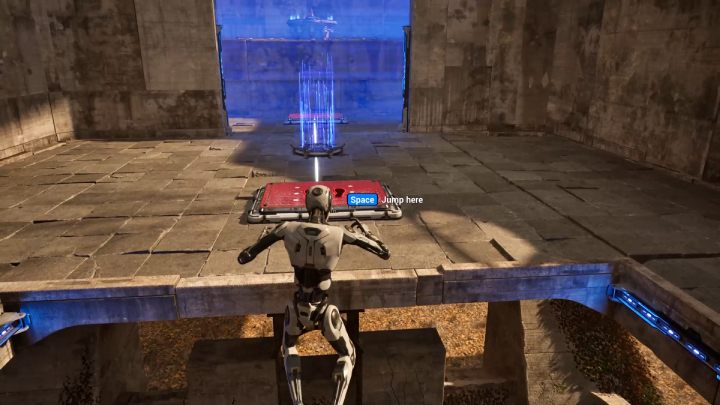
- Put the connector onto the red platform.
- Step onto the fan.
- After riding up, jump to the floor.
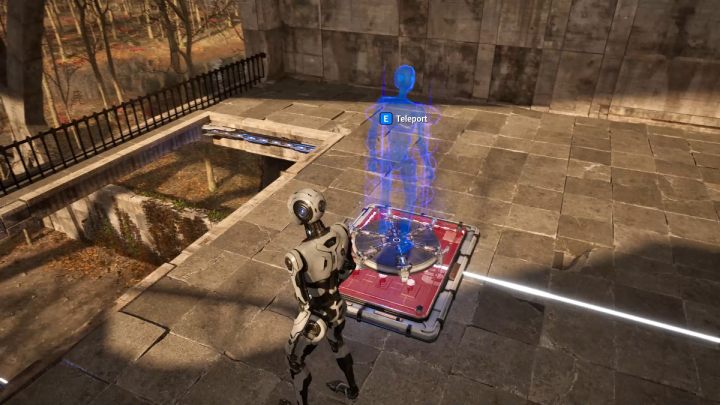
- Pick up the teleport.
- Put the teleport on the red platform near the edge.
- Jump down.
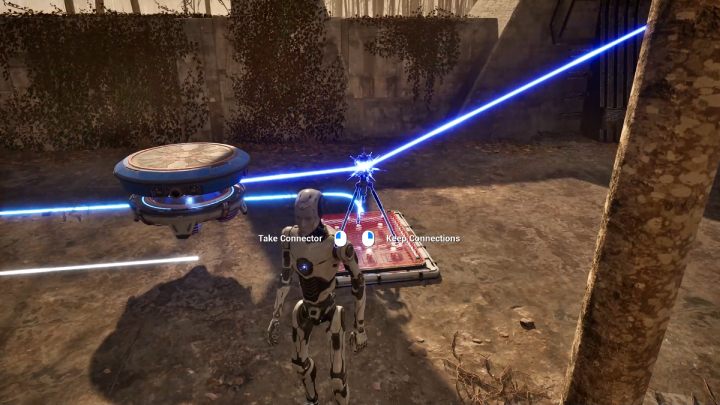
- Pick up the connector and connect the blue laser with the levitating platform.
- Put the connector on the red platform.
- Wait for the levitating platform to reach the fan and be raised in the air.
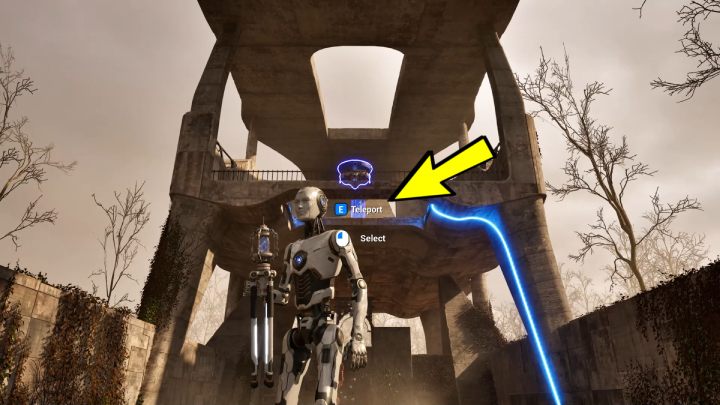
- Pick up the connector and step onto the red platform.
- Use the teleport.
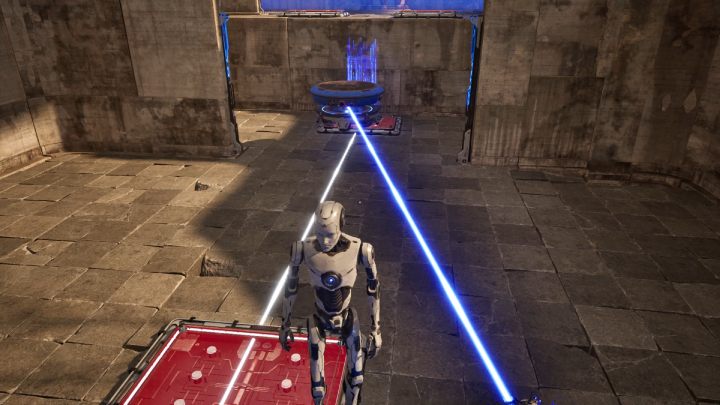
- Put the teleport on the platform before the terminal.
- Pick up the connector and make connections between the blue laser and the levitating platform.
- Step onto the red platform and wait for the levitating platform to reach the terminal.
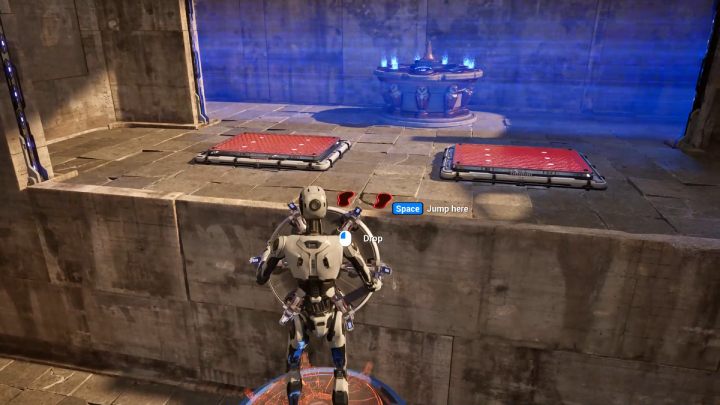
- Pick up the connector and break the connections.
- Put the connector onto the red platform.
- Pick up the teleport and jump onto the levitating platform
- Leave the teleport on one of the platforms before the terminal.
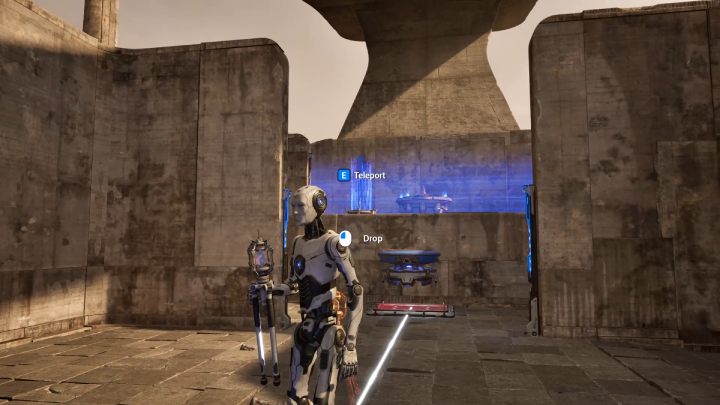
- Pick up the connector and step on the platform.
- Use the teleport.
- Leave the connector on the second platform before the terminal.
You are not permitted to copy any image, text or info from this page. This site is not associated with and/or endorsed by the developers and the publishers. All logos and images are copyrighted by their respective owners.
Copyright © 2000 - 2025 Webedia Polska SA for gamepressure.com, unofficial game guides, walkthroughs, secrets, game tips, maps & strategies for top games.
