Talos Principle 2: All Gold Puzzles
Are you having trouble with the golden puzzles in Talos Principle 2? On this page of the tutorial you will read how to solve all the golden puzzles in the game - Startup, It Doesn't Cover, Out of Scheme, Point of View.
On this page of our Talos Principle 2 guide, we supply walkthroughs to all Gold Puzzles that are endgame content unlocked only after completing all Lost Puzzles across the regions. If needed, there is a video guide on top of the page that shows step-by-step how to solve puzzles like Lonely Heights, Thrust Vector, Pillars of Ascension, and Embodied Cognition.
- All gold puzzles
- Jump Start
- Lonely Heights
- Non Overlapping Magisteria
- Thrust Vector
- Outside the Box
- Pillars of Ascension
- Vantage Point
- Embodied Cognition
- The Rearranger
- The Mule
- Hollow
- Windstream
All gold puzzles
Check out our video where we show exactly how to solve all 12 gold puzzles.
Jump Start
- Pick up the connector and place it on the red platform.
- Pick up the hexahedron.
- Leave the hexahedron by the connector.
- Pick up the connector and place it aside.
- Put the hexahedron on the red platform.
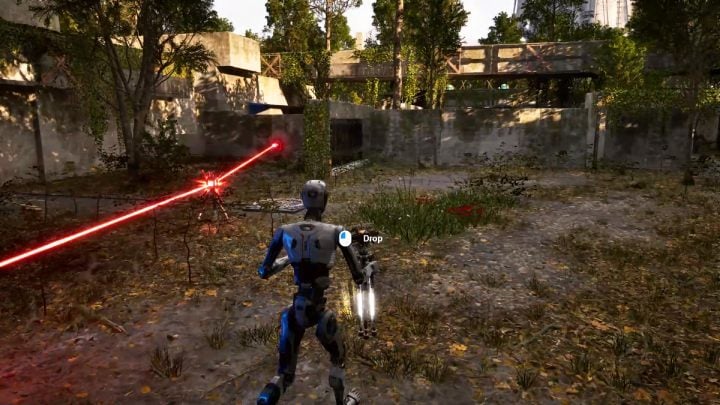
- Pick up the connector and make connections between the red laser and the red button by the barrier.
- Pick up the RGB converter.
- Leave the converter on the platform on which there is the hexahedron.
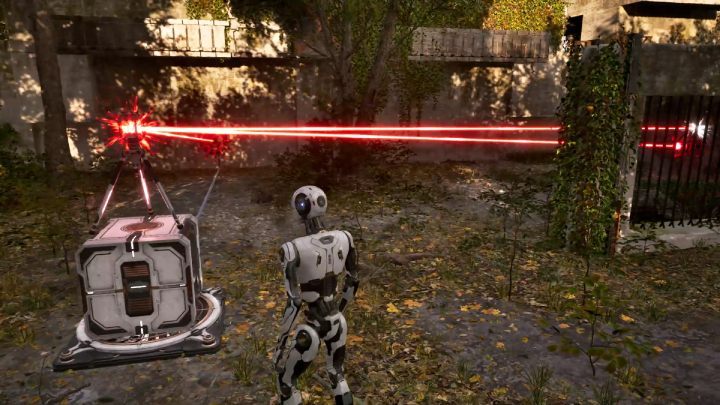
- Put the hexahedron on the fan.
- Pick up the connector and break the links.
- With the connector, make connections between the red laser, the red button by the fan and the red button by the barrier in the first room of the puzzle.
- Put the connector on top of the hexahedron.
- Once the connector is in the air, you'll be able to pick up the second RGB converter.
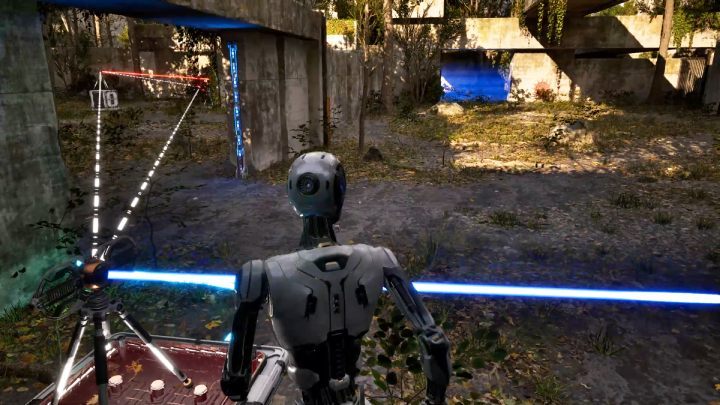
- Pick up the first RGB converter from the platform.
- Connect the RGB converter with the blue laser, the red button by the fan, and the second converter.
- Put the converter back on the platform.
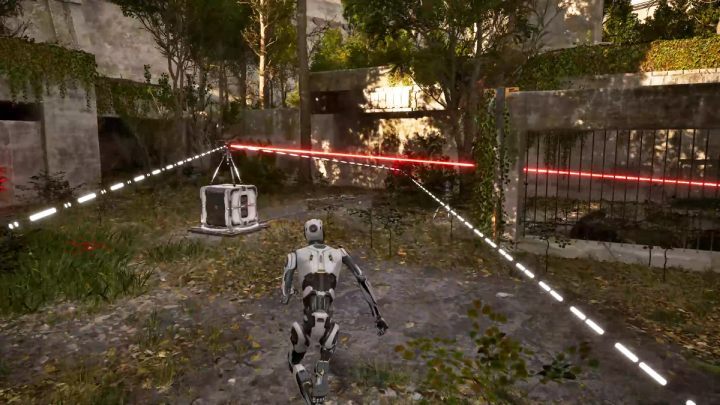
- Pick up the second converter but don't break the links.
- Add the blue laser, the red button by the fan and the red laser to the connection.
- Leave the converter aside.
- Pick up the fan and put it aside - do the same with the hexahedron.
- Pick up the connector and break the connections.
- Put the fan back in its place and put the hexahedron on top of it.
- Put the second converter on top of the hexahedron.
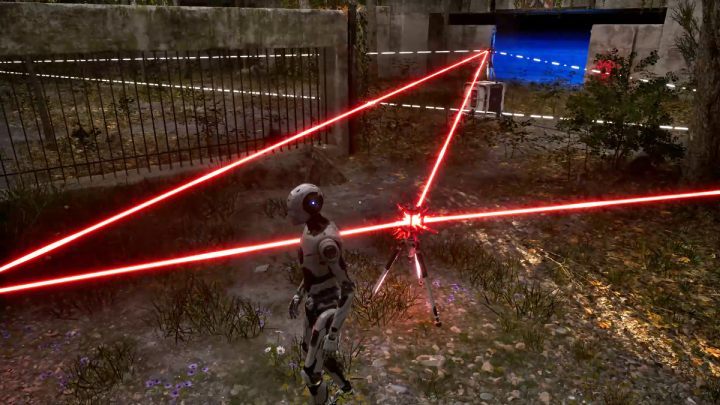
- Pick up the connector and make connections between the second converter, the red laser, and the red button by the fan.
- Leave the connector in the area shown in the picture above.
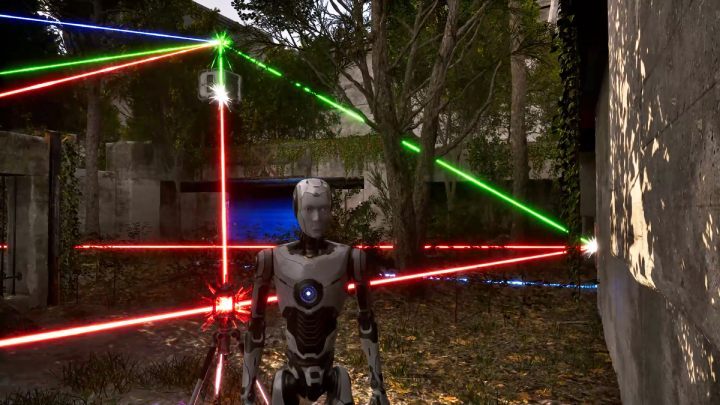
- Once the RGB converter is raised in the air, it will change color to green.
- Pick up the connector and break the connections.
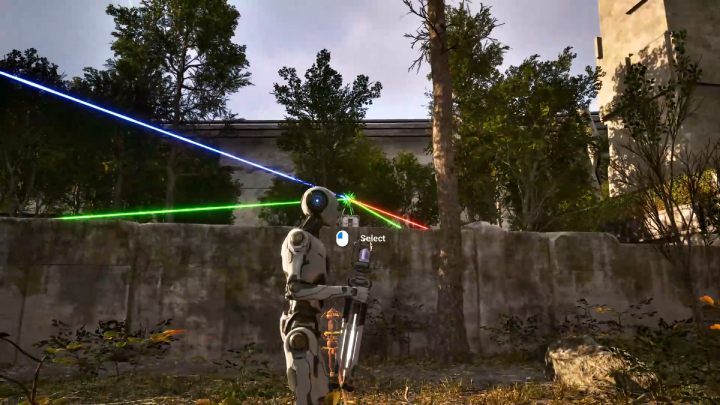
- Make connections between the green RGB converter and the green button.
- Activate the terminal.
Lonely Heights
- Pick up the drill.
- Make a hole in the ceiling above the fan.
- Leave the drill on the platform.
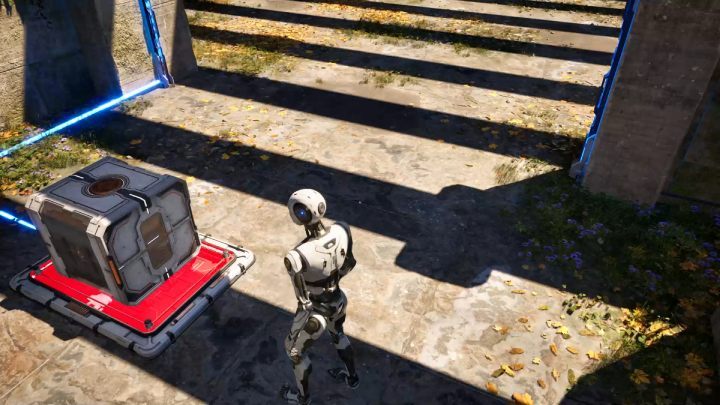
- Jump onto the fan and then jump down to the floor.
- Pick up the hexahedron and jump down to the room with the red button.
- Leave the hexahedron on the platform by the barrier.
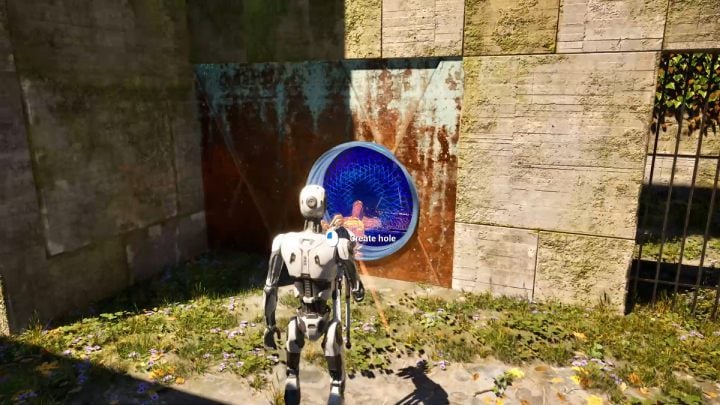
- Pick up the drill and go to the room where you've left the hexahedron.
- Make a hole in the wall.
- Transfer the connector through the hole.
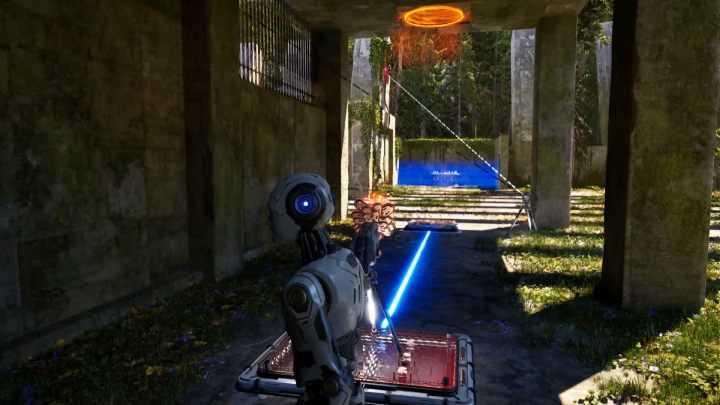
- Make connections between the red laser and all red buttons in the puzzle.
- Leave the connector aside by the fan.
- Pick up the drill and make a hole in the ceiling above the fan.
- Leave the drill on the platform.
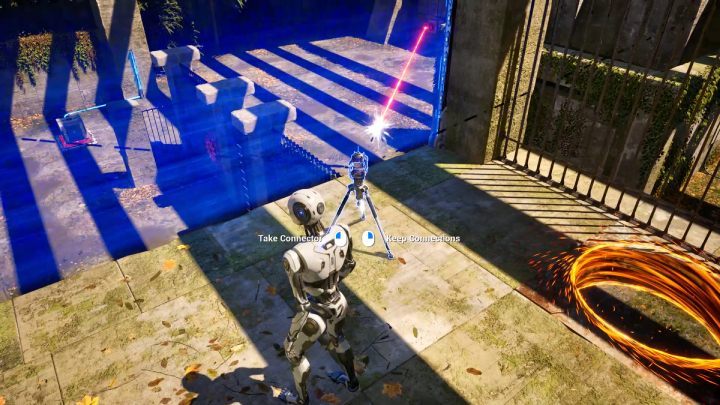
- Pickup the connector without breaking the connections.
- Stand on the fan.
- Jump down to the floor and leave the connector in the area shown in the screenshot above.
- Jump down to the main room of the puzzle.
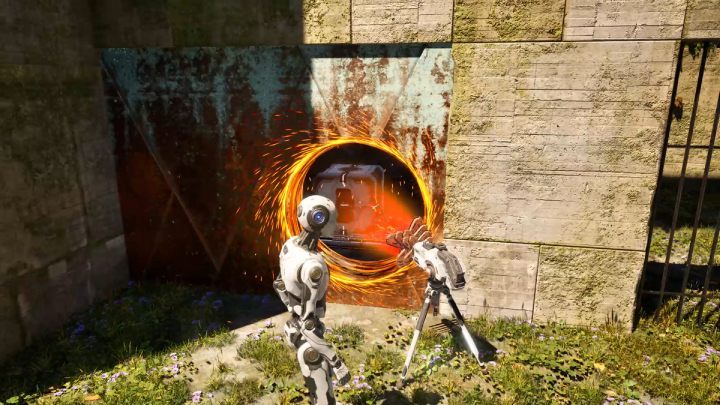
- Pick up the drill and make a hole in the wall in the hexahedron room.
- Pick up the hexahedron and transfer it through the hole to the platform.
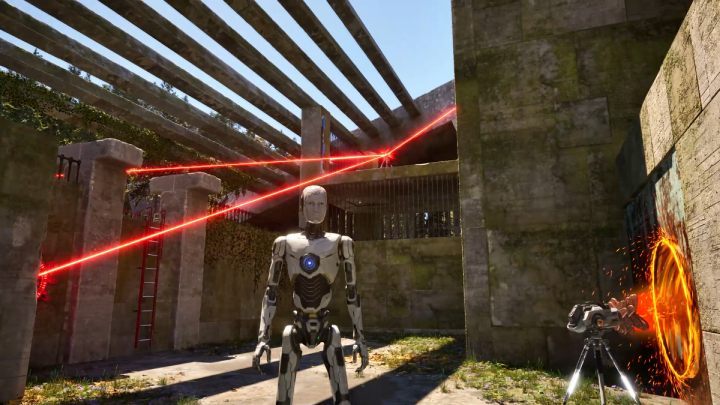
- Once the laser reaches all buttons in the puzzle, you'll be able to take the hexahedron again.
- Leave the hexahedron by the fan.
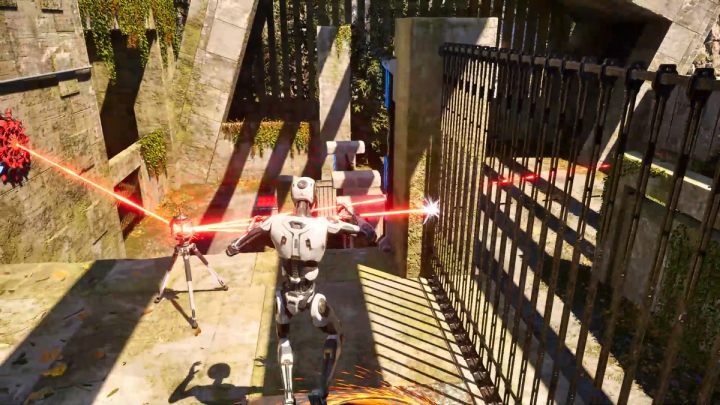
- Pick up the drill and make a hole in the ceiling above the fan.
- Leave the drill on the platform.
- Step on the fan and pick up the connector without breaking the links.
- Jump down and leave the connector next to the fan.
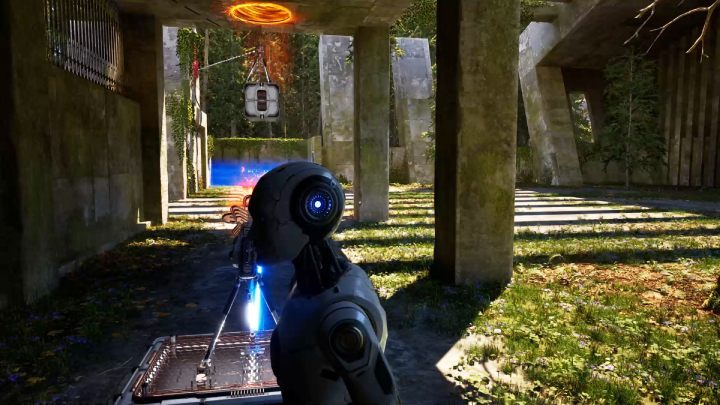
- Pick up the drill and leave it aside.
- Put the hexahedron on the fan.
- Place the connector on top of the hexahedron.
- Make a hole in the ceiling and put it on the platform.
- Once the connector is raised in the air, the laser will reach the button by the terminal.
Non Overlapping Magisteria
- Pick up the first inverter.
- Connect the inverter to the red button.
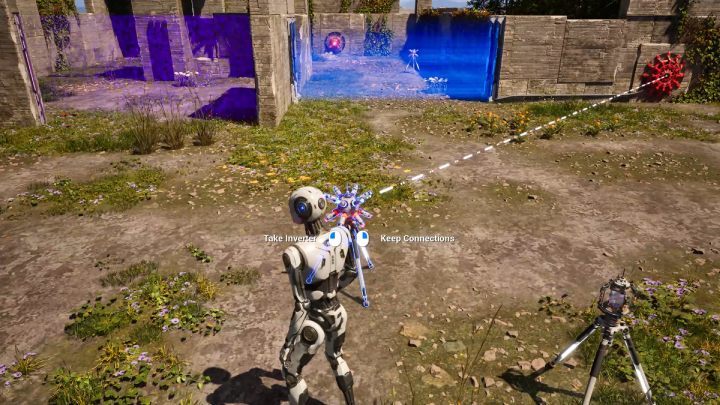
- Leave the inverter aside in the area shown in the screenshot above.
- Go through the purple barrier and pick up the second inverter.
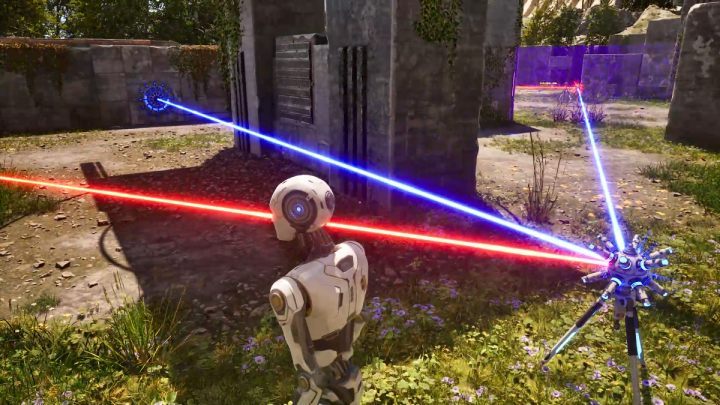
- Make connections between the red laser, the blue button and the first inverter.
- Leave the inverter in the area shown in the screenshot above.
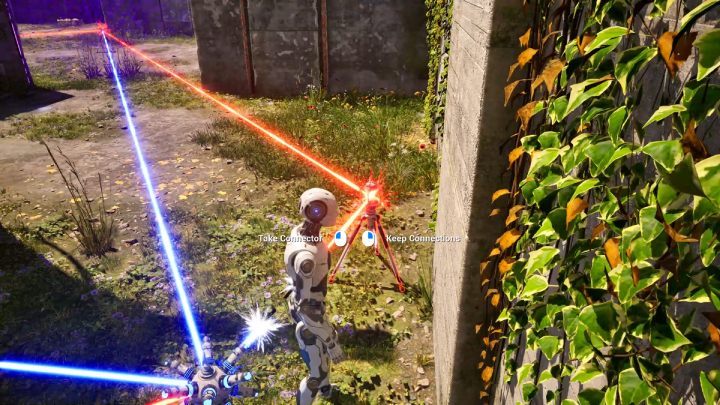
- Pick up the connector and make a connection between the first and the second inverter.
- Leave the connector in the area shown in the screenshot above.
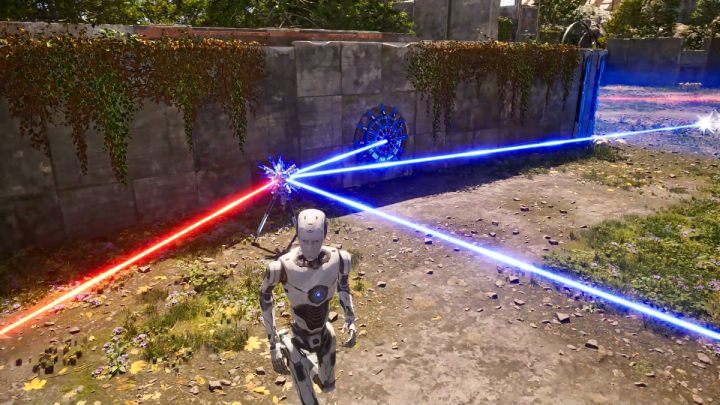
- Pick up the second inverter without breaking the links.
- Put the inverter aside by the blue button.
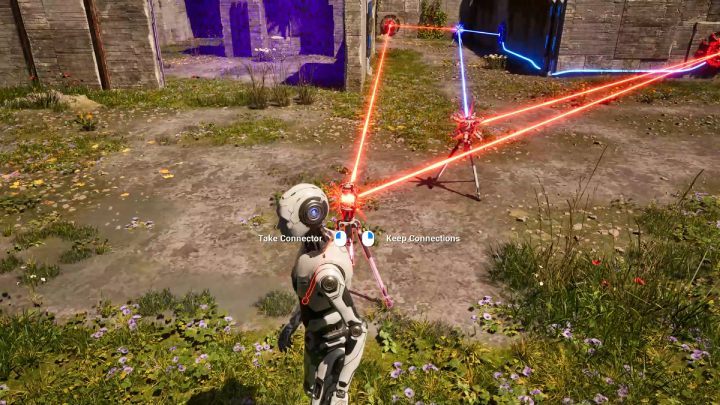
- Pick up the connector and break the links.
- Connect the red laser and the red button.
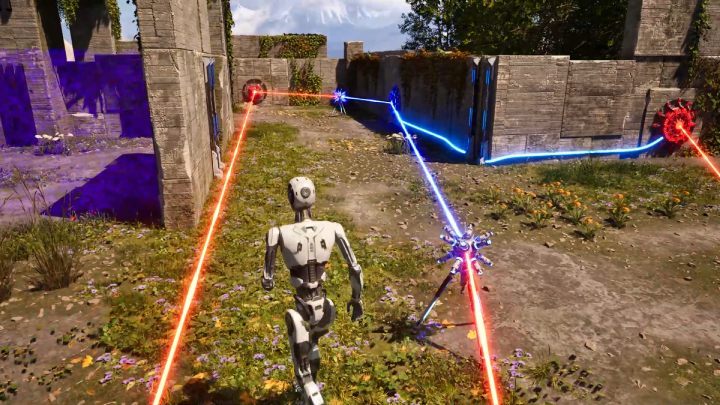
- Pick up the first inverter and break the connections.
- Make a new connection between the connector and the blue button.
- Now you can go pick up the second inverter.
- Place three devices on three platforms.
- Activate the terminal.
Thrust Vector
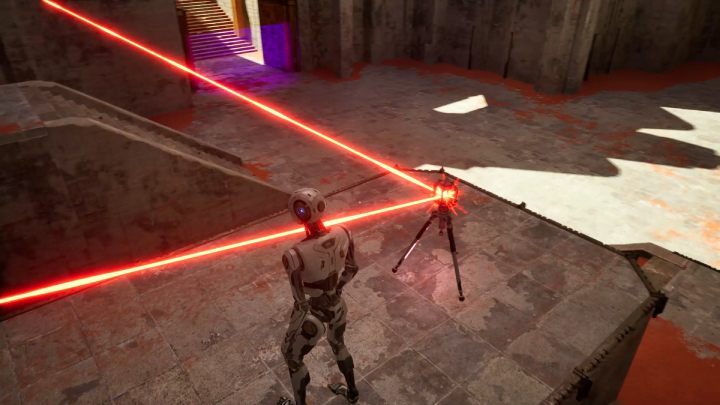
- Pick up the first connector and make connections between the red laser and the red button by the stairs.
- Leave the connector in the area shown in the screenshot above.
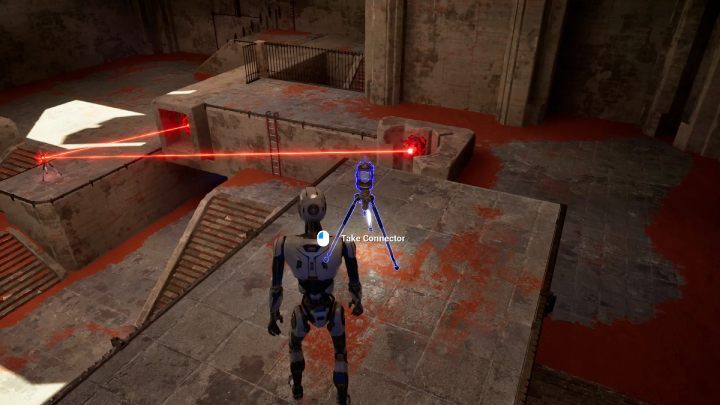
- Once the wall moves forward, pick up the second connector.
- Go up the stairs and walk along the moved wall.
- Climb to the upper level of the puzzle.
- Leave the connector aside by the first barrier.
- Jump down.
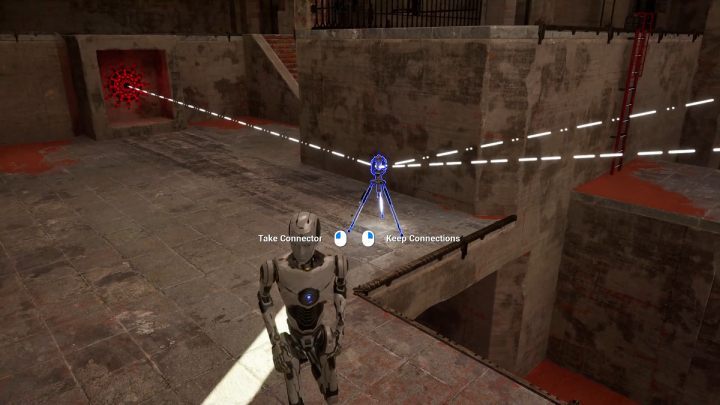
- Pick up the first connector but sever the links.
- Make connections between the blue laser, the red button by the stairs, the red button in the upper level of the puzzle, and finally the blue button.
- Move the connector to the area shown in the screenshot above.
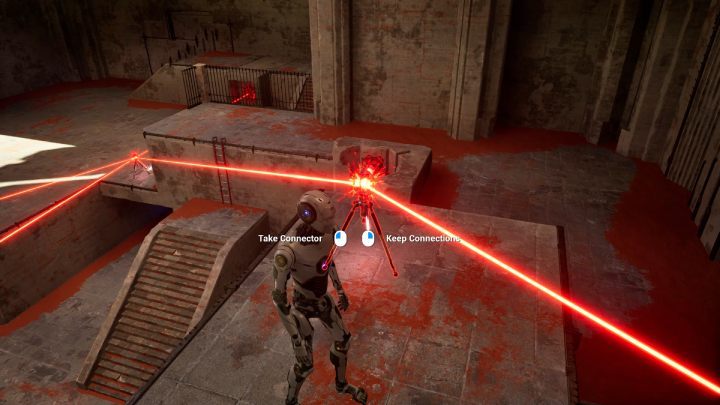
- Climb the ladder to get back on the upper level of the puzzle.
- Pick up the second connector.
- Make connections between the red laser, the first connector and the red button by the barrier.
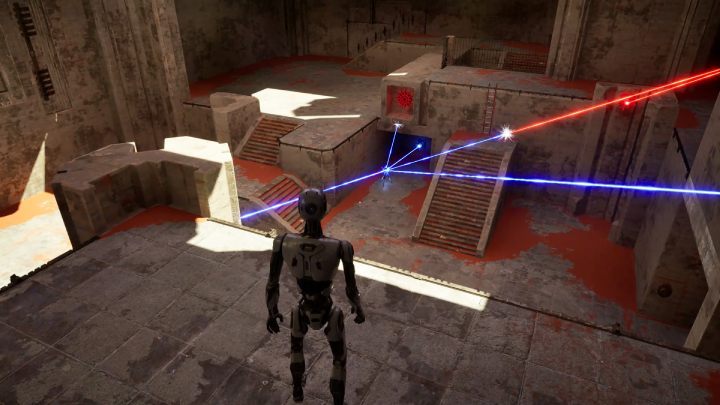
- Go past the first and the second barrier.
- When the first connector falls down, the final barrier will be deactivated.
Outside the Box
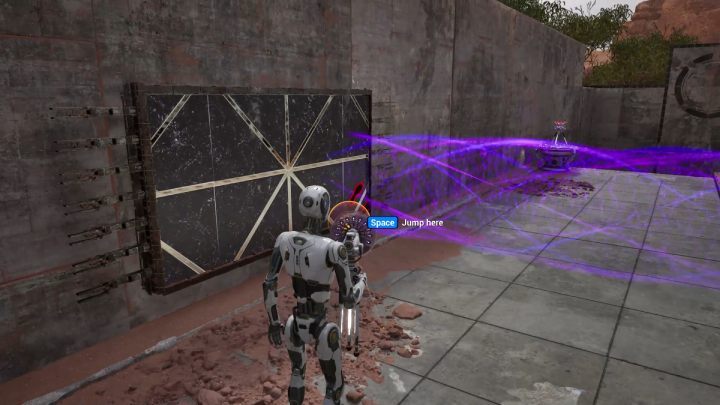
- Pick up the gravshifter and go up the stairs.
- Aim the gravity shaft at the wall by which you are standing.
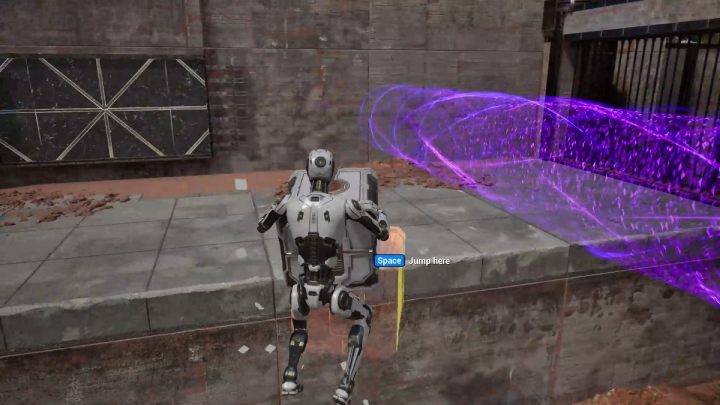
- Go through the purple barrier and pick up the hexahedron.
- Step onto the fan and jump to the shelf.
- Enter the gravity shaft.
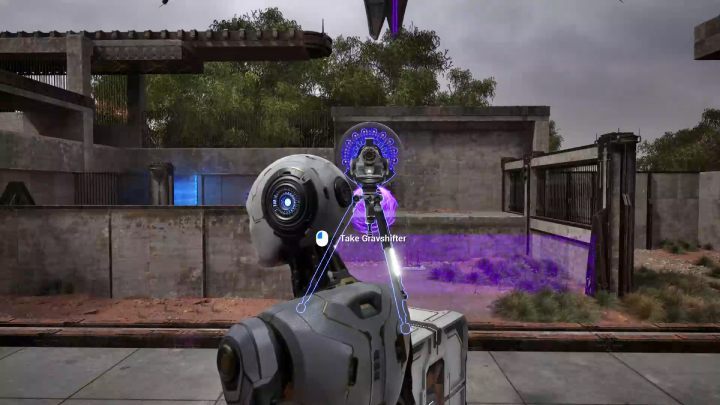
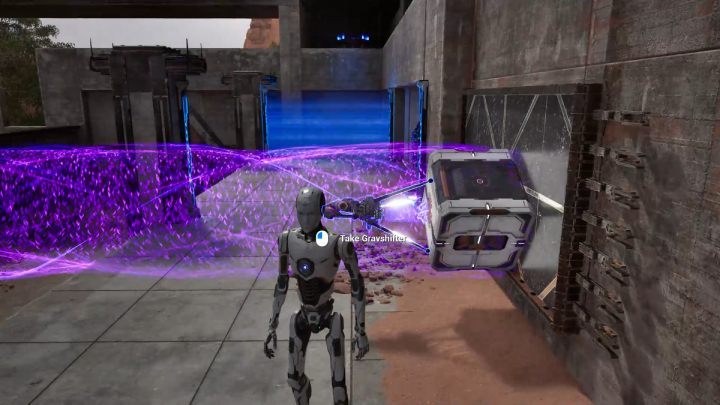
- Leave the hexahedron aside by the ledge.
- Pick up the gravshifter and stand in front of the hexahedron.
- Aim the gravshifter at the wall on the opposite side and place it on top of the hexahedron.
- The hexahedron should be affected by the gravity shaft.
- The hexahedron and the gravshifter should be moved to the other side.
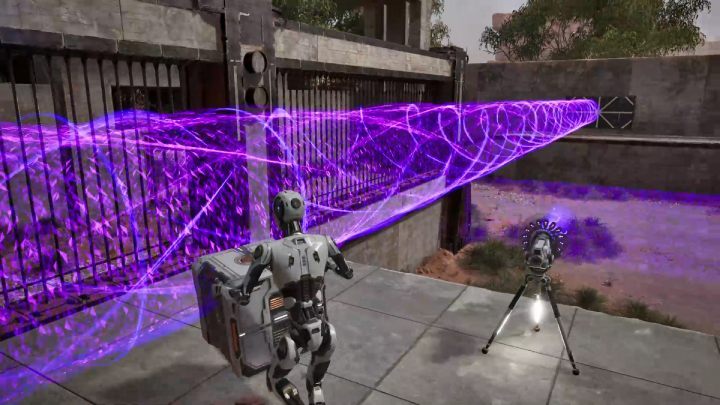
- Pick up the gravshifter and aim it at the wall on the opposite side.
- Pick up the hexahedron and enter the gravity shaft.
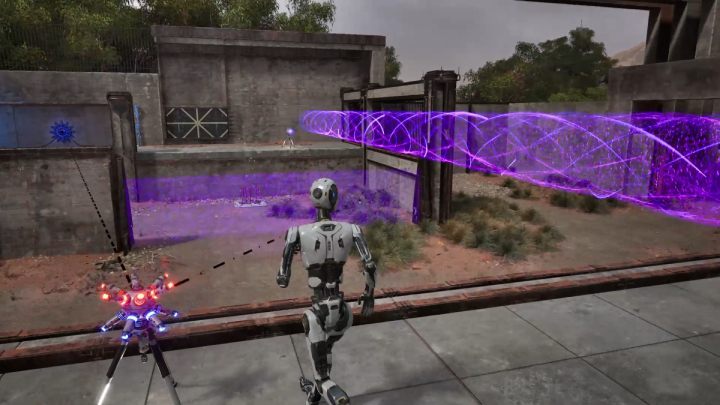
- Exchange the hexahedron for the inverter.
- Make connections between the red laser and the blue button.
- Leave the inverter in the area shown in the screenshot above.
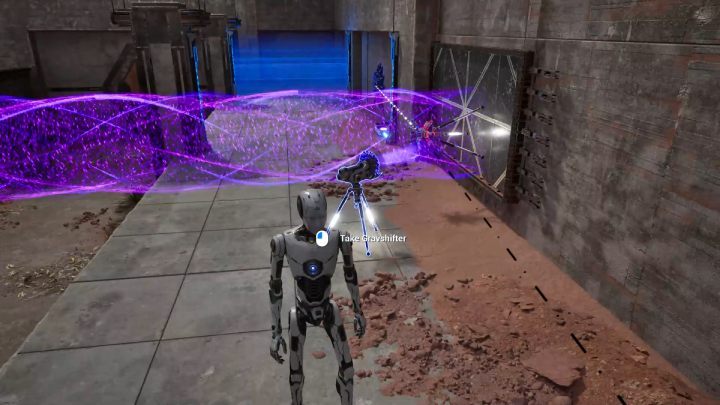
- Go to the other side and step on the fan.
- Pick up the gravshifter and aim at the wall by which you're standing.
- The inverter should be affected by the gravity shaft.
- Pick up the gravshifter and leave it aside.
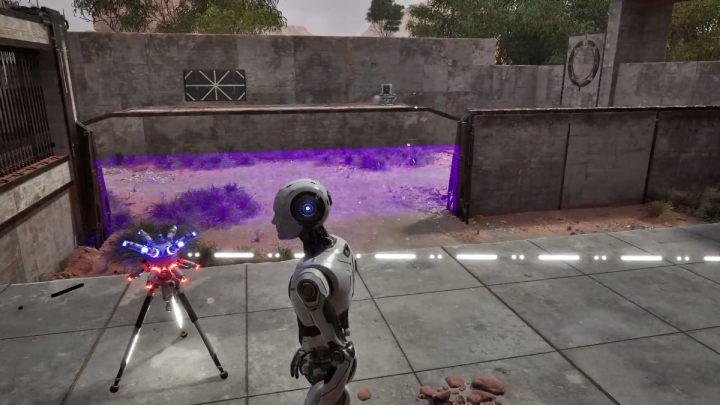
- Pick up the inverter without breaking the links.
- Leave the inverter aside in the area shown in the screenshot above.
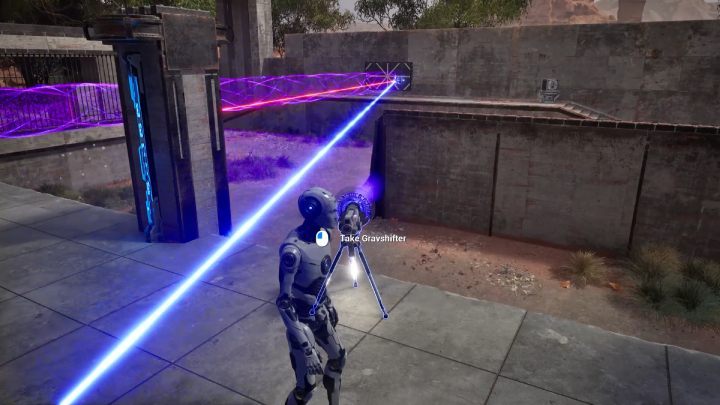
- Pick up the gravshifter and stand between the barriers.
- Aim the gravshifter at the opposite wall.
- The inverter should be carried over to the other side and the barrier before you should drop.
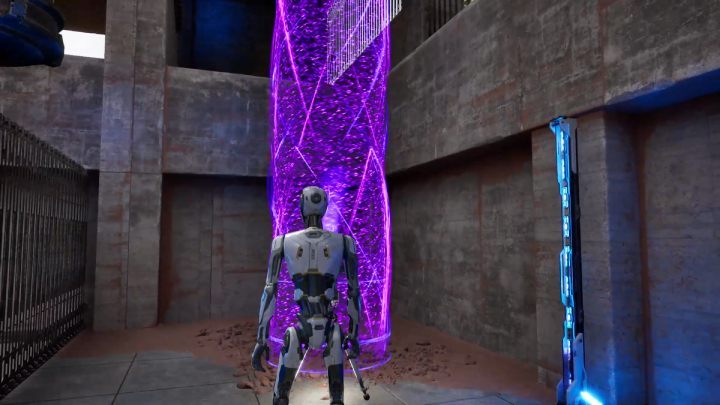
- Pick up the gravshifter and aim it at the ceiling.
- Enter the gravity shaft and jump to the ceiling.
- Proceed in the direction of the terminal and jump down.
Pillars of Ascension
- Use the teleport to get to the first pillar.
- Pick up the fan on your left.
- Step onto the fan on the right.
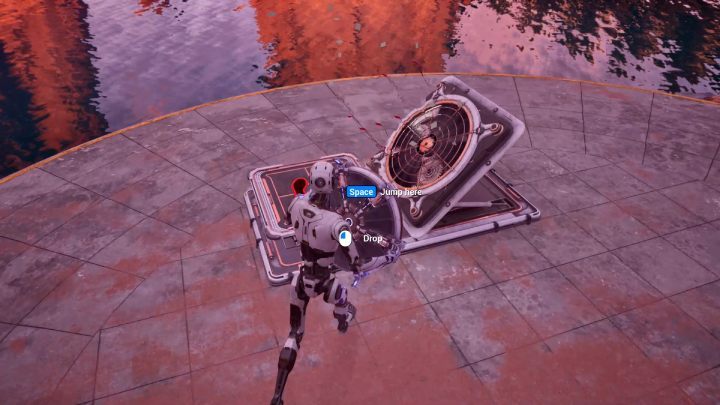
- Put the fan aside.
- Turn around and use the teleport to return to the previous pillar.
- Pick up the teleport and step onto the fan.
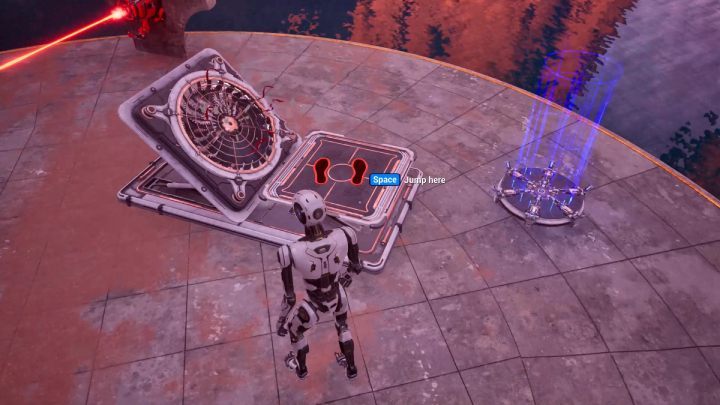
- Insert the fan into the device on the right side of the pillar.
- Step onto the fan and return to the previous pillar.
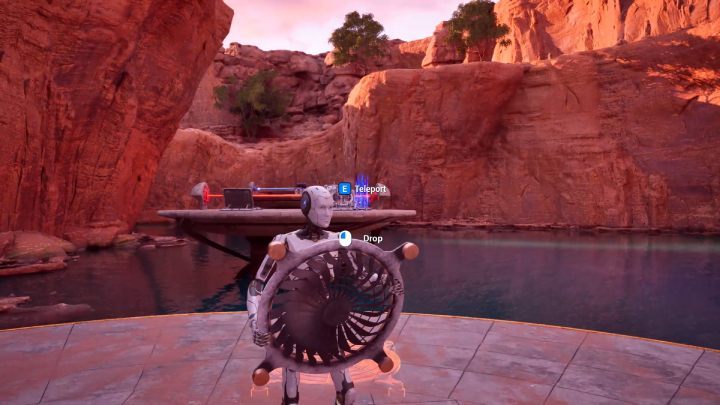
- Pick up the fan.
- Use the teleport.
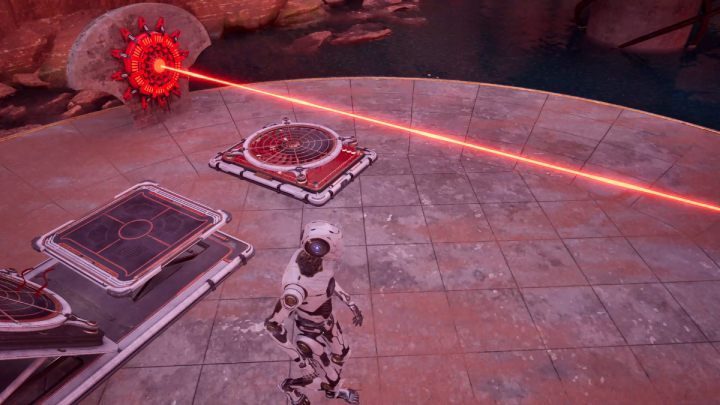
- Insert the fan into the device on the left.
- Pick up the fan from the right side of the pillar and put it on the platform.
- Step onto the fan and jump to the next pillar.
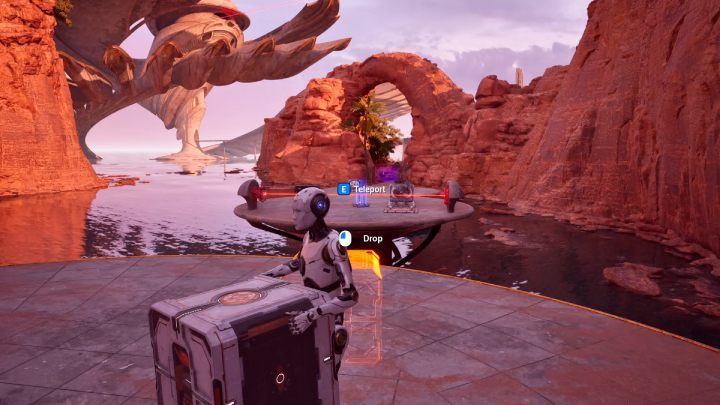
- Pick up the hexahedron.
- Use the teleport to return to the previous pillar.
- Leave the hexahedron aside.
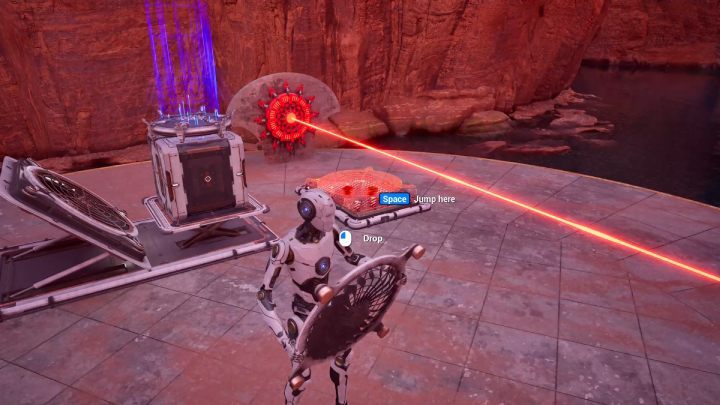
- Pick up the fan from the platform and put it aside.
- Put the hexahedron in front of the fan.
- Put the teleport on top of the hexahedron.
- Pick up the fan from the floor and put it on the red platform.
- The teleport and the hexahedron should be carried over to the next pillar.
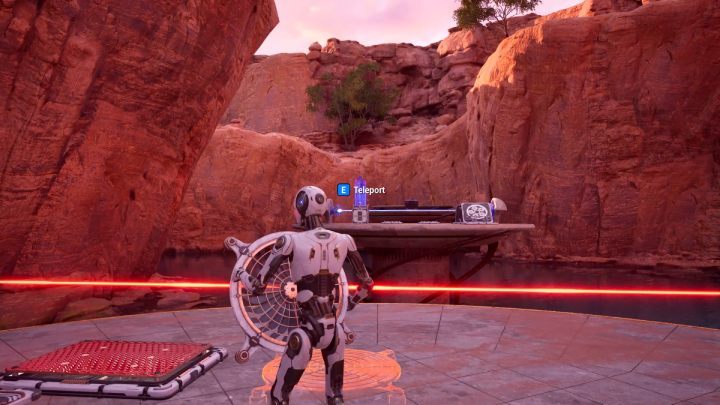
- Pick up the fan from the platform.
- Use the teleport.
- Insert the fan into the device on the right side of the pillar.
- Step onto the fan and return to the previous pillar.
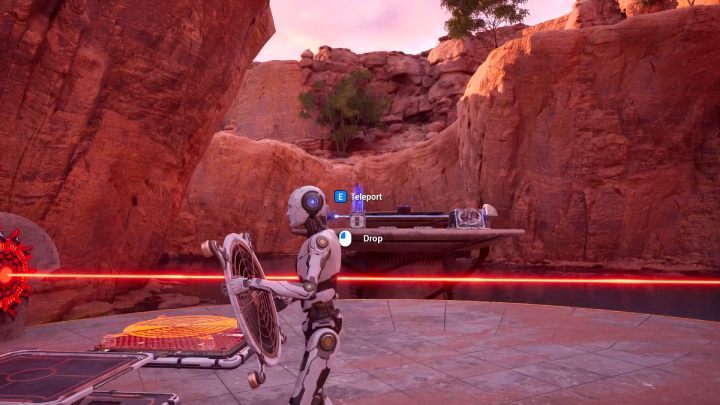
- Pick up the next fan.
- Use the teleport.
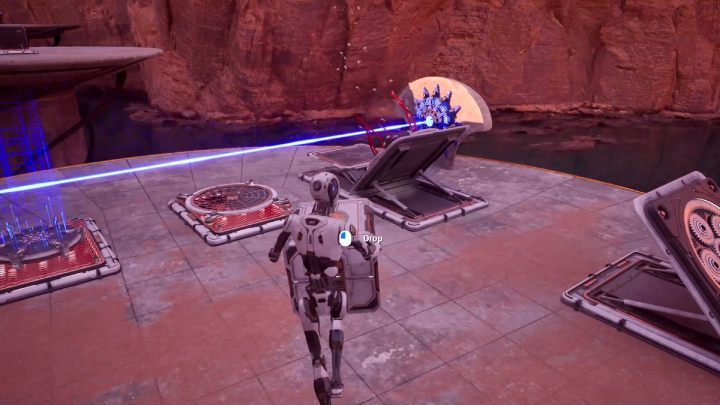
- Insert the fan into the device by the blue button.
- Take the fan from the device on the right side of the pillar and put it on one of the platforms.
- Put the teleport on the other platform.
- Pick up the hexahedron and step onto the fan to be carried over to the next pillar.
- Leave the hexahedron on the platform.
- Stand on the fan and activate the terminal.
Vantage Point
- Take control of the robot.
- Pick up the connector.
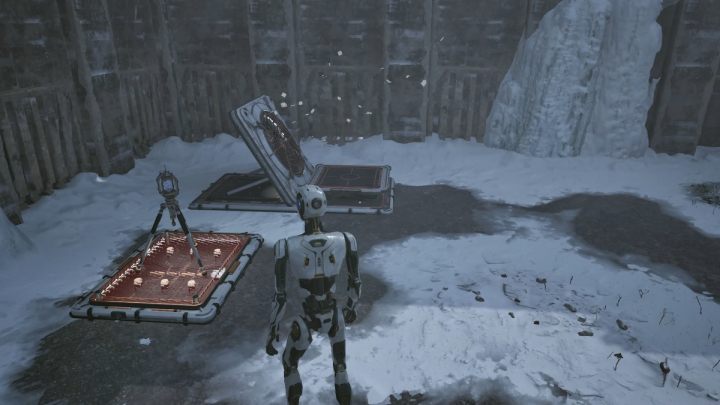
- Put the connector on the platform by the fan.
- Step onto the fan and fly to the other side.
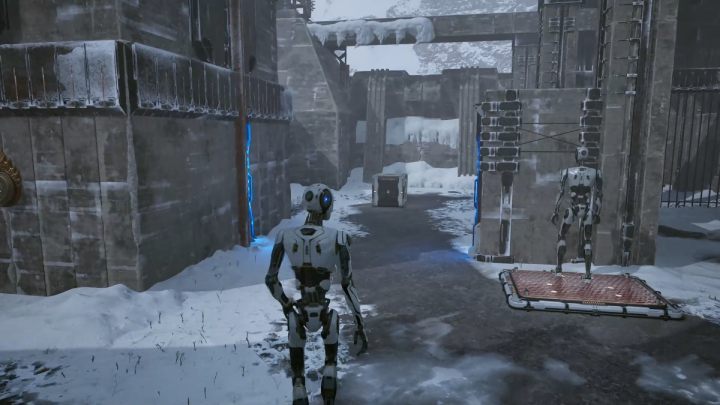
- Stand on the platform by he barrier.
- Return to your body.
- Pick up the hexahedron.
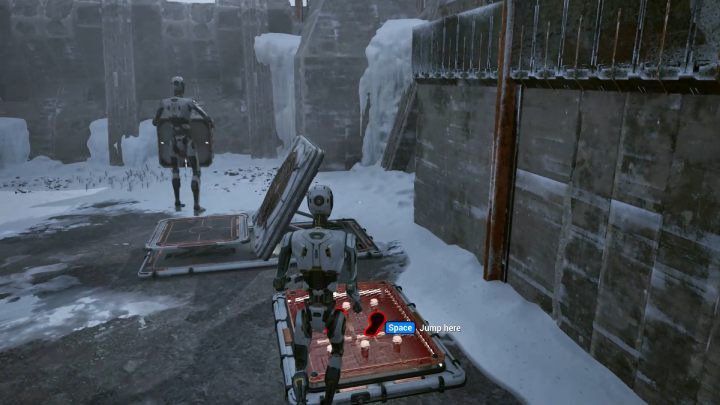
- Stand on the fan.
- Take control of the robot.
- Step on the platform by the fan.
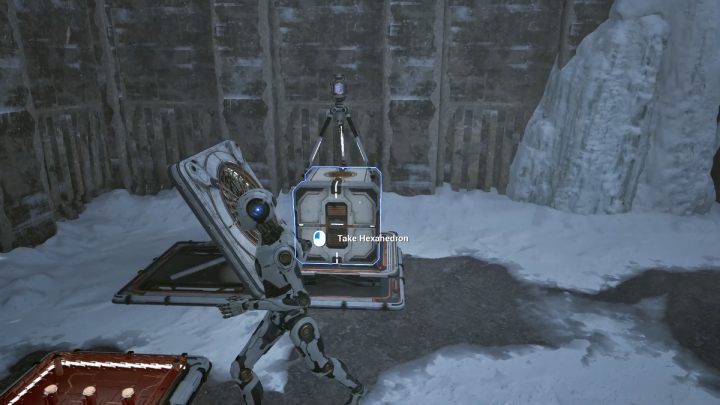
- Return to your body and put the hexahedron aside.
- Pick up the connector and leave it aside.
- Put the hexahedron in front of the fan.
- Put the connector on top of the hexahedron and step on the platform.
- The hexahedron, along with the connector, should be carried over to the other side.
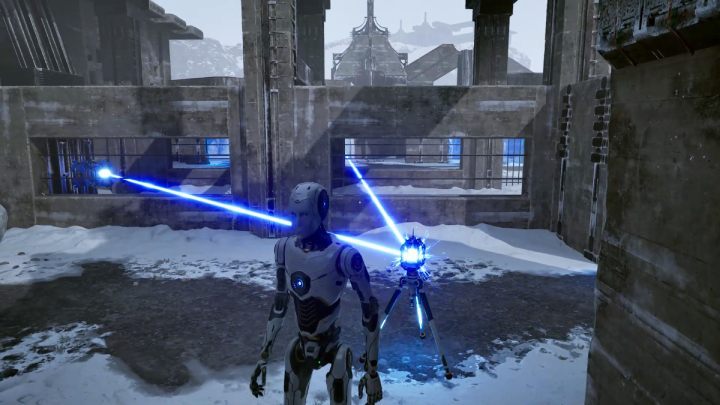
- Take control of the robot.
- Pick up the hexahedron and leave it on the platform by the barrier.
- Pick up the connector and make connections between the blue laser and the blue button.
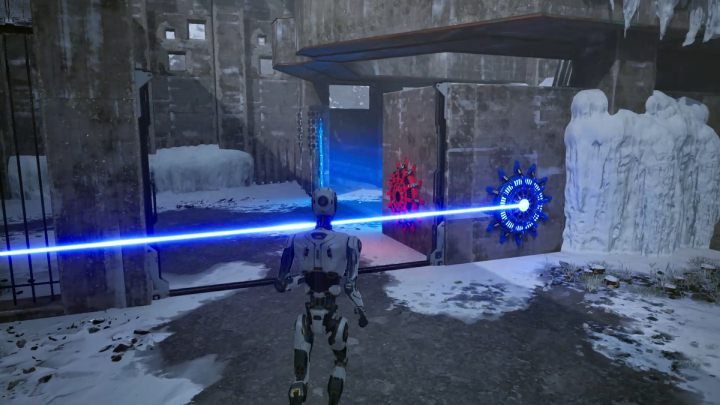
- Return to your body.
- Approach the barrier in front of the terminal.
- Take control of the robot.
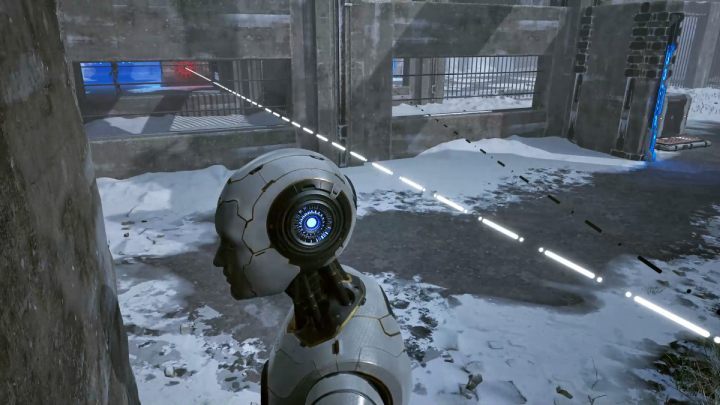
- Pick up the connector and break the connections.
- Make connections between the red laser and the red button.
- Leave the connector by the wall.
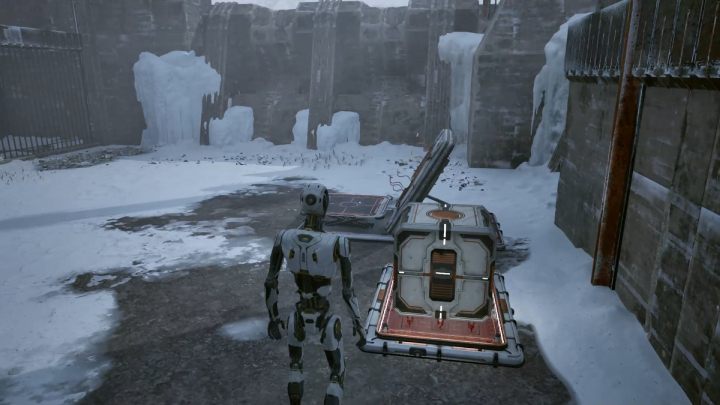
- Pick up the hexahedron.
- Leave the hexahedron on the platform by the fan.
- Stand on the fan.
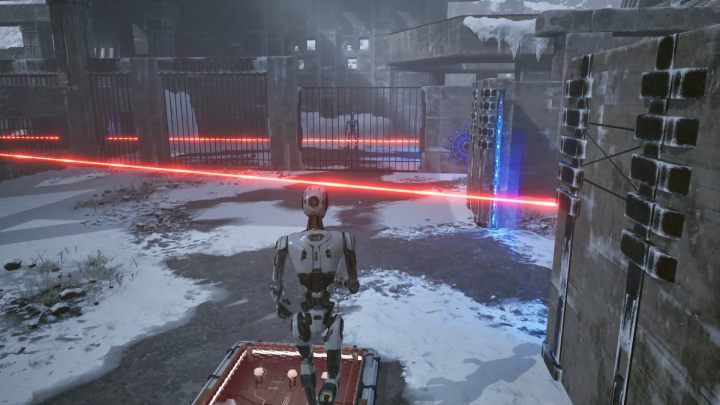
- Step on the platform by the barrier behind which there is the red laser.
- Return to your body and activate the terminal.
Embodied Cognition
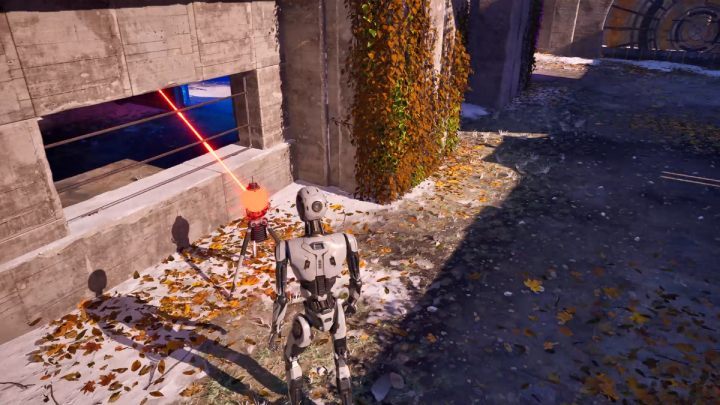
- Take the accumulator.
- Charge the accumulator with the red laser.
- Connect the accumulator to the red button through the hole in the wall.
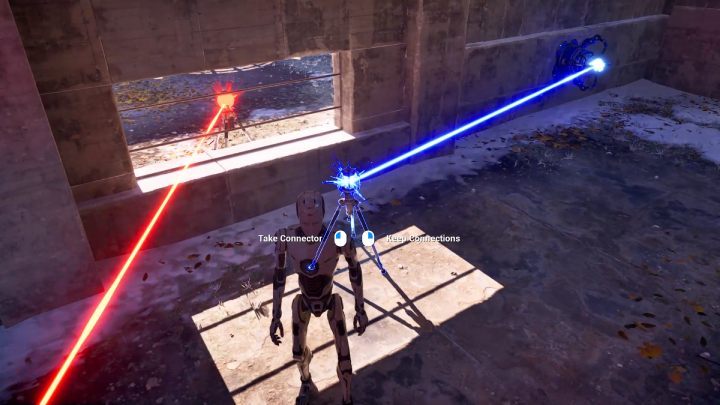
- Pick up the connector.
- Connect the connector to the blue laser.
- Put the connector aside by the hole in the wall.
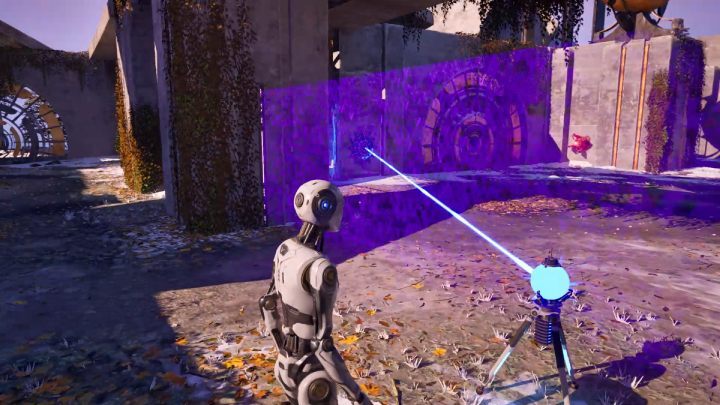
- Pick up the accumulator, break the connections. and discharge it.
- Connect the accumulator to the connector.
- When the accumulator is charged with the blue laser, connect it to the blue button by the barrier.
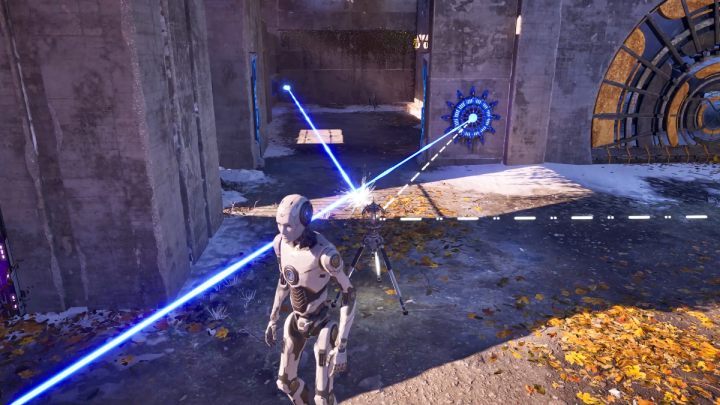
- Pick up the connector without breaking the links.
- Add the two blue buttons to the connection.
- Leave the connector in the area shown in the screenshot above.
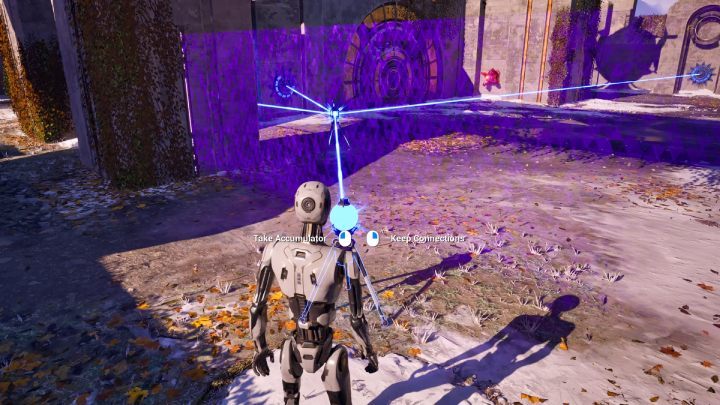
- Pick up the accumulator and break the connections.
- Connect the accumulator with the connector and wait for the laser to reach the two blue buttons.
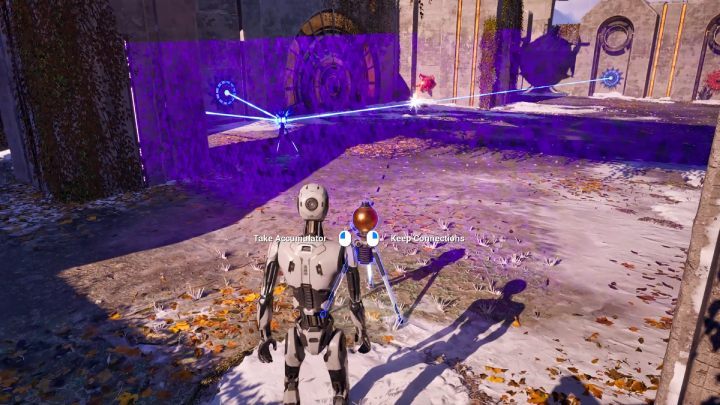
- Pick up the accumulator and break the links.
- Discharge the accumulator.
- Connect the accumulator with the red laser.
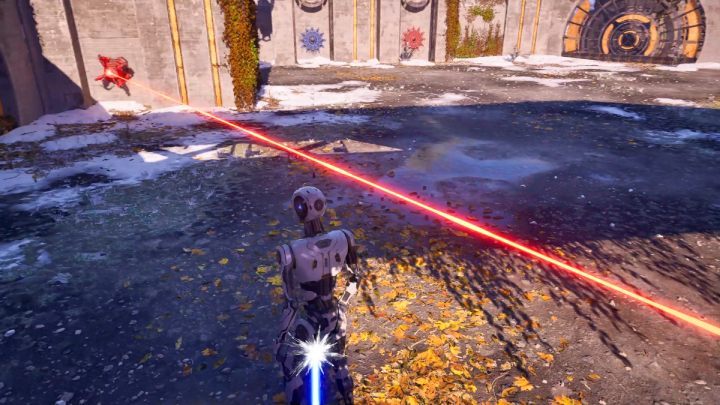
- Obscure the blue laser so the red laser reaches the accumulator.
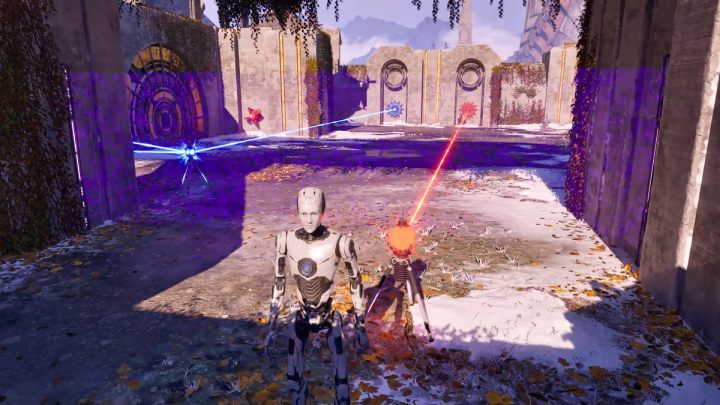
- Pick up the accumulator and connect it to the red button on the opposite wall.
- Activate the terminal.
The Rearranger
- Pick up the fan.
- Replace the fan with a connector.
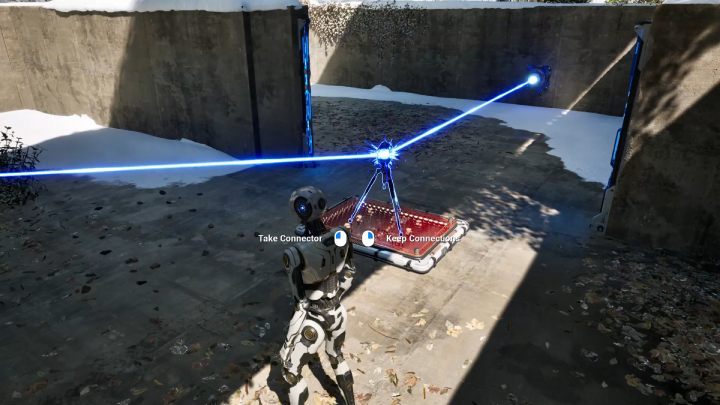
- Make connections between the blue laser and the blue button.
- Place the connector on the platform.
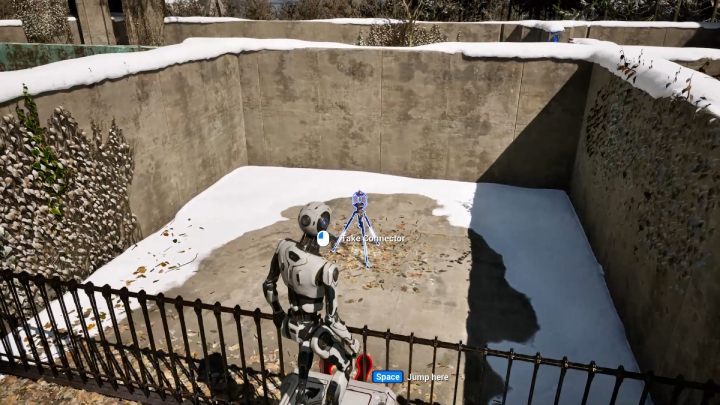
- Pick up the driller and replace it with a hexahedron.
- Put the hexahedron by the fence.
- Jump onto the hexahedron and pick up the second connector.
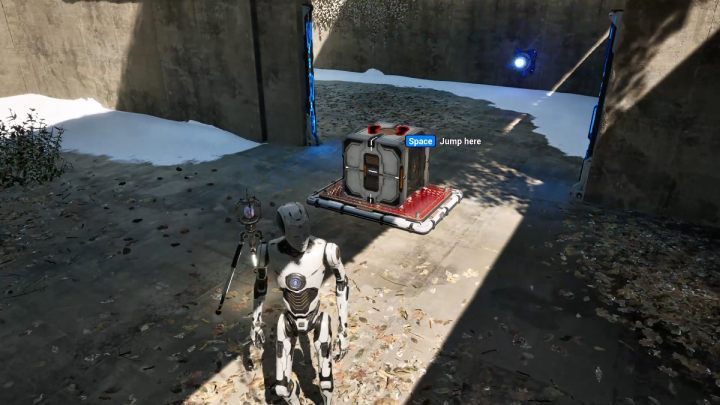
- Replace the second connector with an inverter and set it aside.
- Pick up the first connector and set it aside.
- Place the hexahedron on the platform.
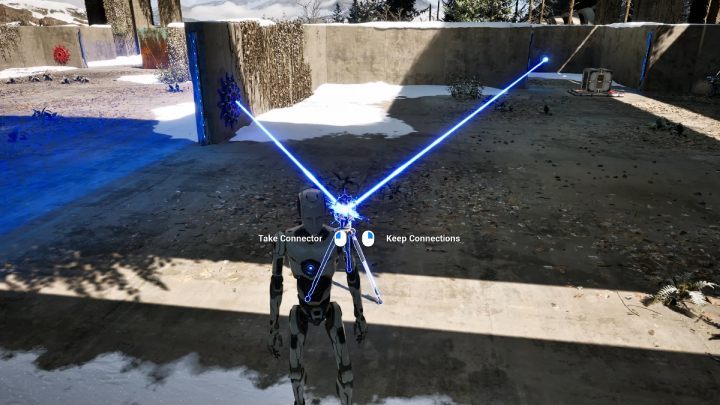
- Place the first connector at the barrier.
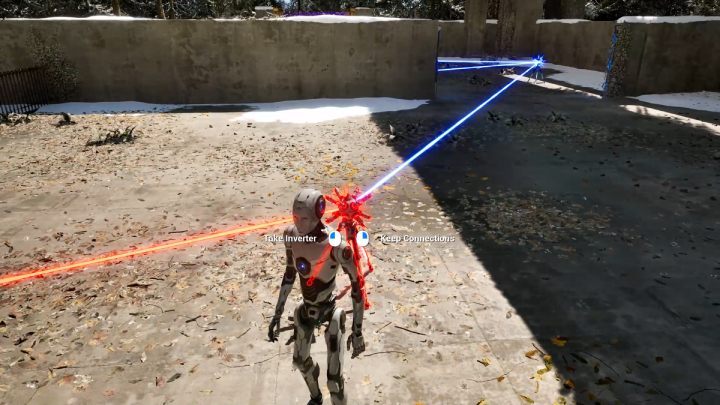
- Pick up the inverter.
- Make a connection between the first connector and the red button.
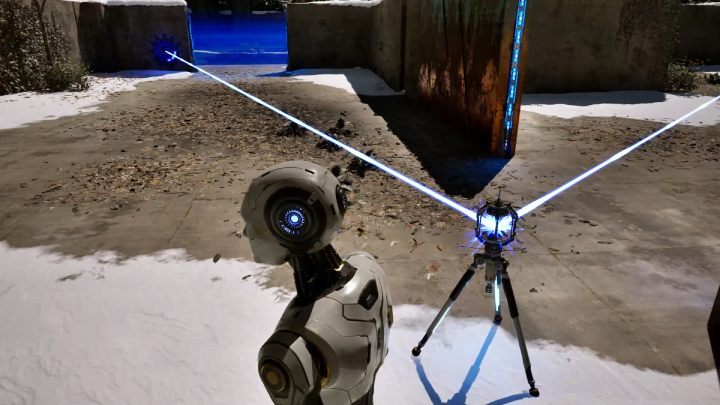
- Pick up the second hexahedron and replace it with the second connector.
- Connect the second connector with the first one and the next blue button.
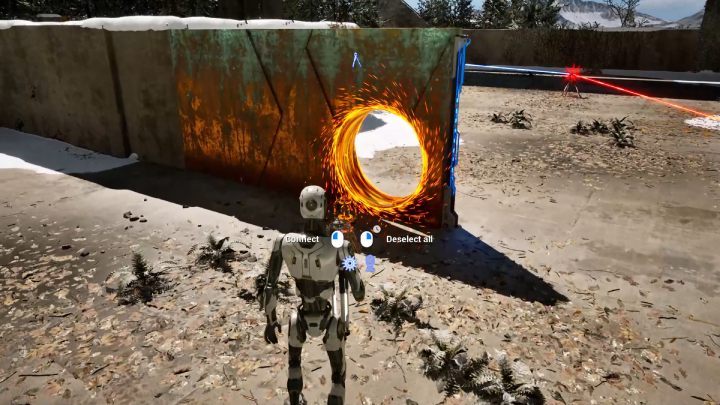
- Pick up the second fan and replace it with the driller.
- Make a hole in the wall at the location shown in the picture above.
- Place the second connector in front of the hole.
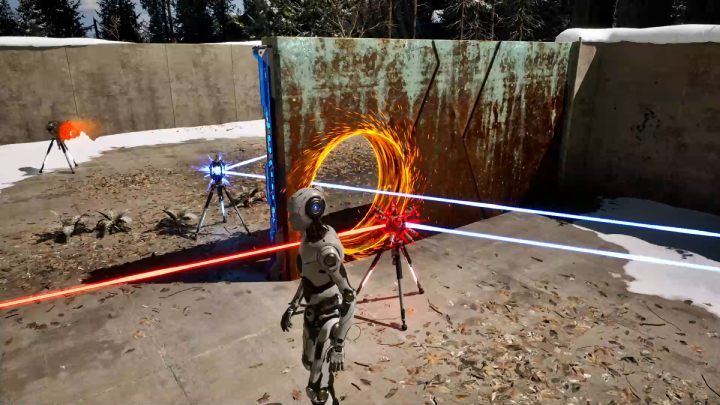
- Pick up the inverter without breaking the links.
- Place the inverter in front of the hole.
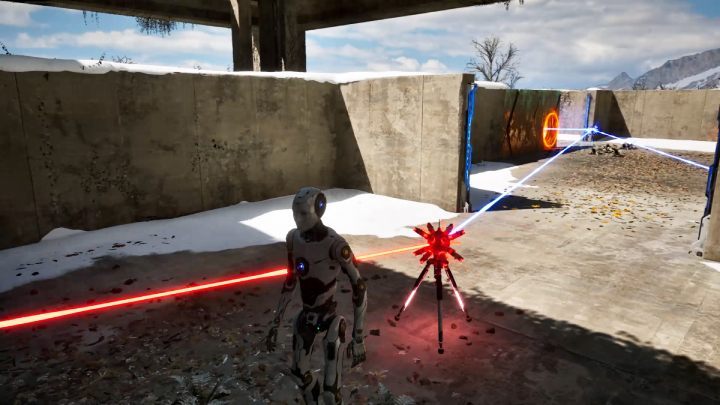
- Pick up the inverter through the hole by breaking the connections.
- Make connections between the second connector and the last red button.
The Mule
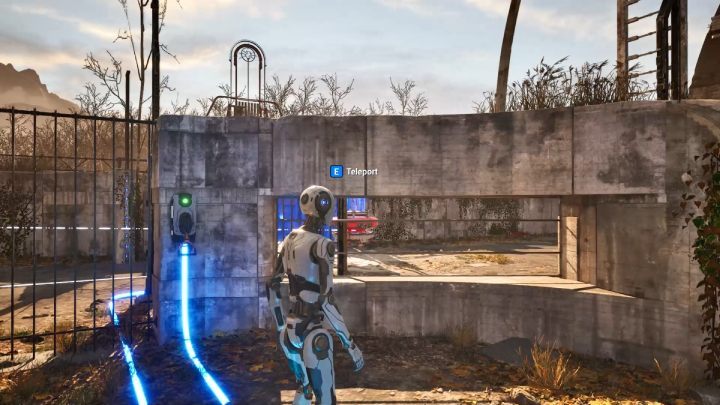
- Pick up the teleport.
- Place the teleport on the levitating platform.
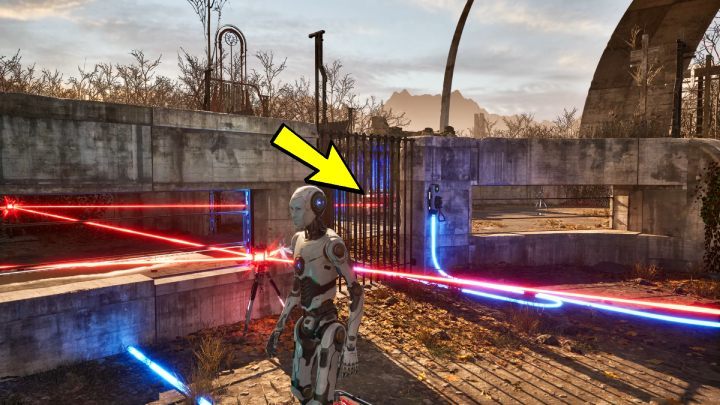
- Use the switch on the wall.
- Pick up the connector and make connections between the red laser, the red button, the levitating platform and the connector powering the levitating platform.
- Place the connector in the location visible in the picture above and stand on the red platform.
- Wait until the levitating platform has traveled to the end of its path and quickly get off the platform.
- Use the switch on the wall.
- Use the teleport.
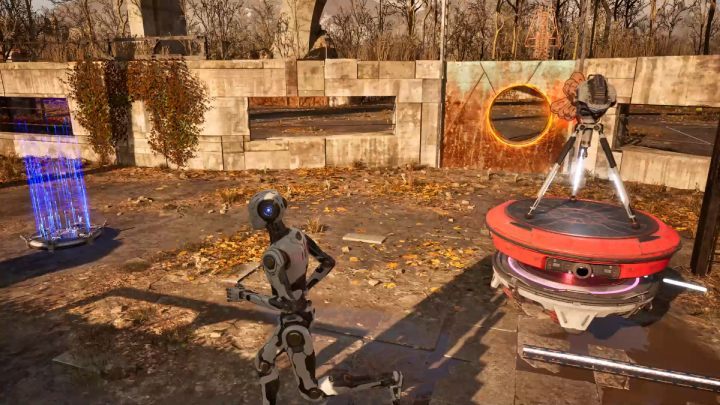
- Pick up the teleport and put it aside.
- Pick up the drill.
- Make a hole in the wall and place the driller on the levitating platform.
- Transfer the teleport through the hole and use it.
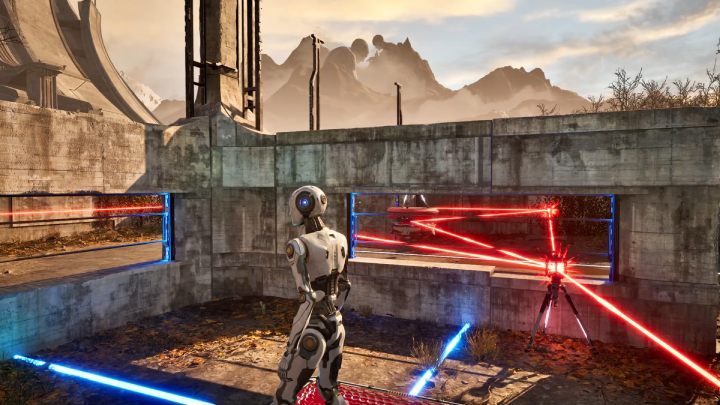
- Step onto the red platform.
- Wait until the levitating platform reaches the beginning of its path and quickly get off the platform.
- Use the switch on the wall.
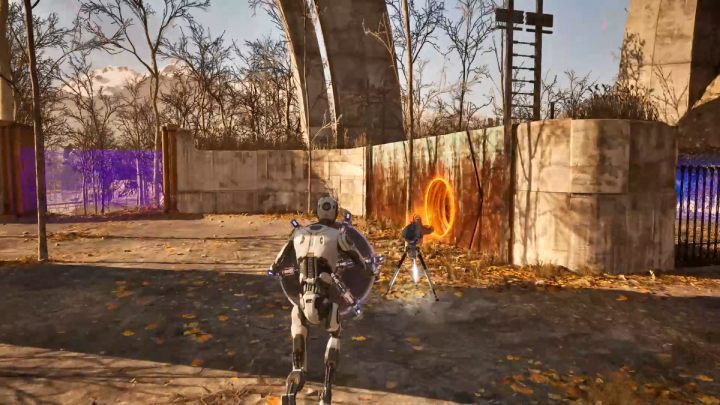
- Approach the levitating platform and pick up the driller.
- Make a hole in the wall, behind which there is a blue laser.
- Transfer the teleport through the hole.
- Pick up the connector by breaking the connections and use the teleport.
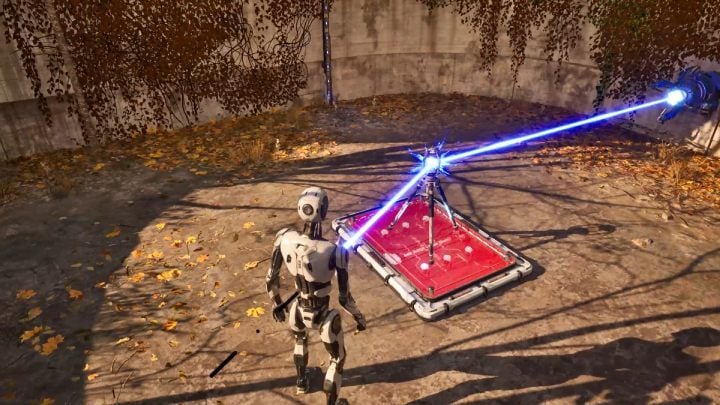
- Make a connection between the blue laser and the blue button.
- Place the connector on the platform.
- Transfer the teleport through the hole and use it.
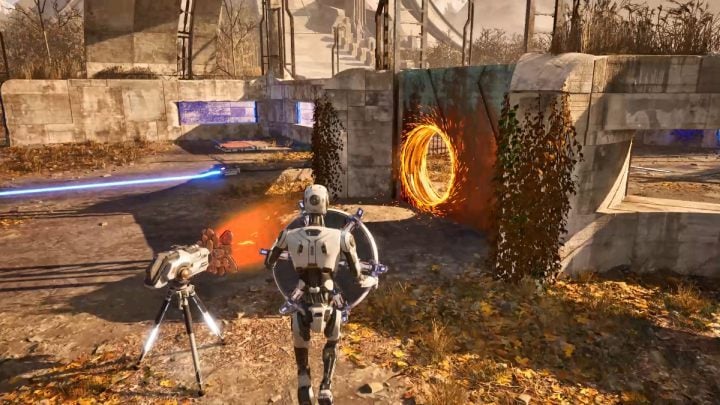
- Pick up the driller and make a hole in the wall shown in the picture above.
- Transfer the teleport through the hole.
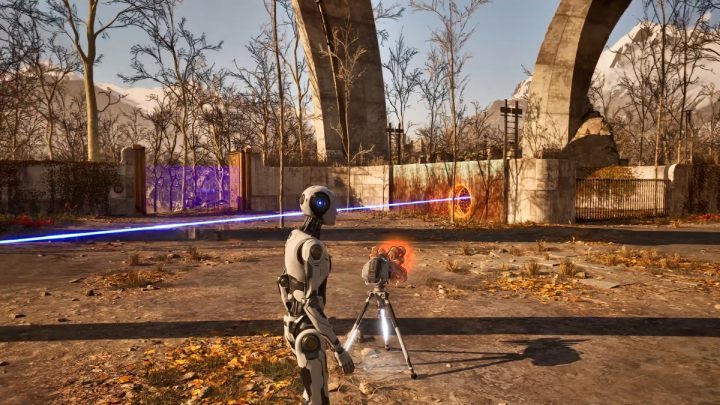
- Pick up the driller and make a hole in the previous wall.
- The laser should now reach the blue button.
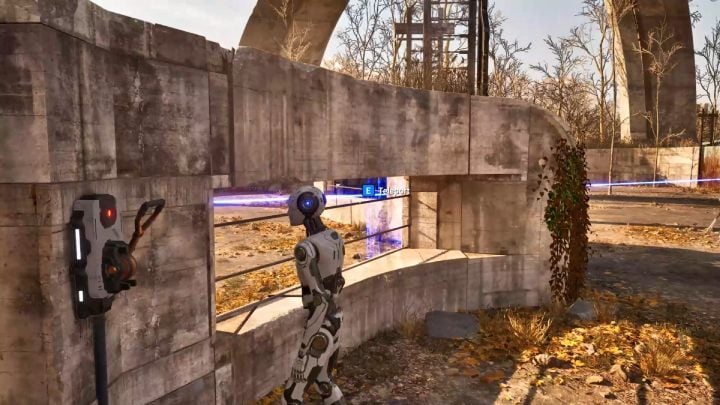
- Use the teleport to get to the other side.
- Activate the terminal.
Hollow
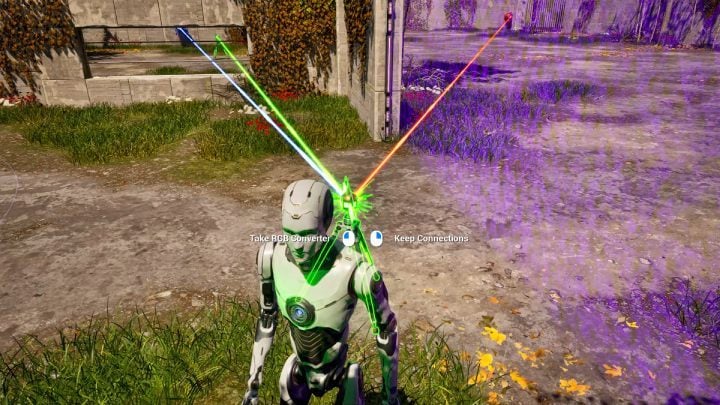
- Take the RGB converter.
- Make connections between the red and blue laser and the green activator.
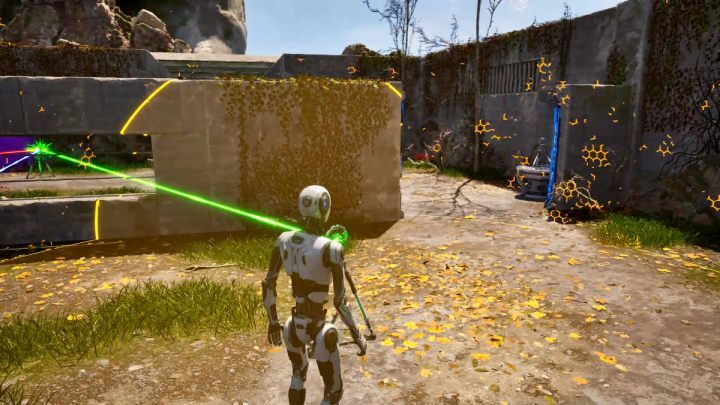
- Pick up the green activator without breaking the connections.
- Leave the activator aside by the second barrier.
- Pick up the red activator and place it next to the green activator.
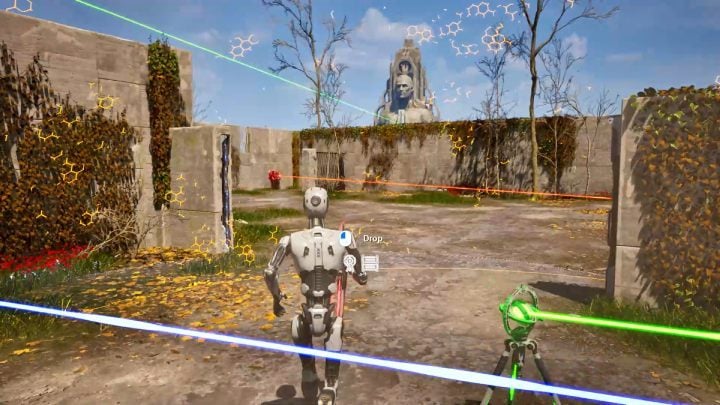
- Pick up the green activator without breaking connections and place it next to the first barrier.
- Take the red activator.
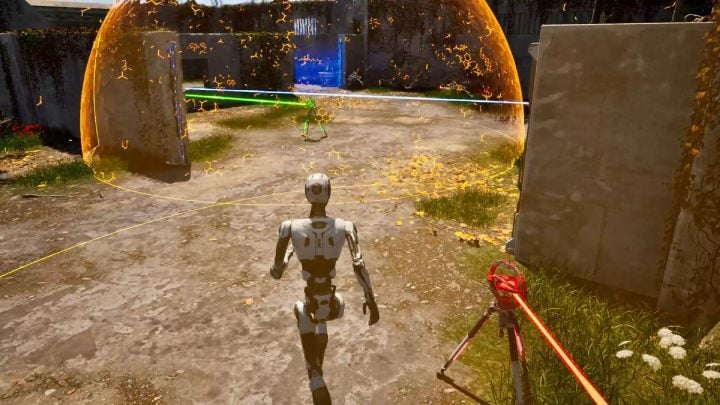
- Connect the activator with the red laser.
- Place the activator near the barrier where the green activator stands.
- Pick up the green activator and break the connections.
- Put the green activator next to the red one.
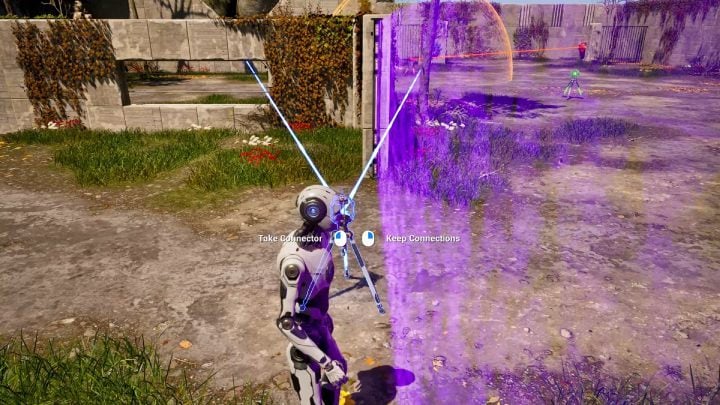
- Pick up the RGB converter and replace it with the connector.
- Make connections between the blue laser and the blue button.
- Place the connector near the purple barrier.
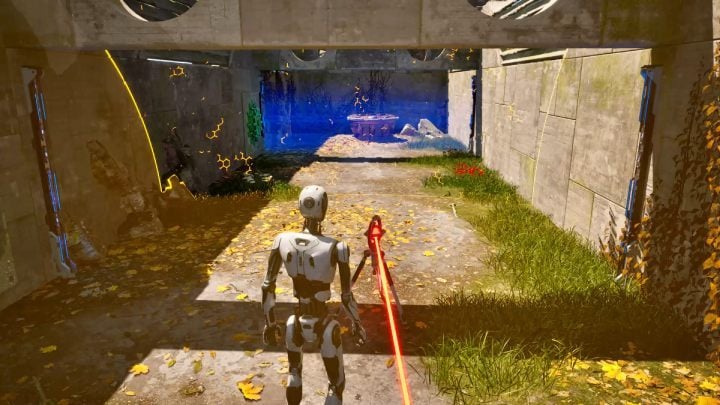
- Pick up the red activator without breaking the connection.
- Place the activator near the second barrier before the terminal.
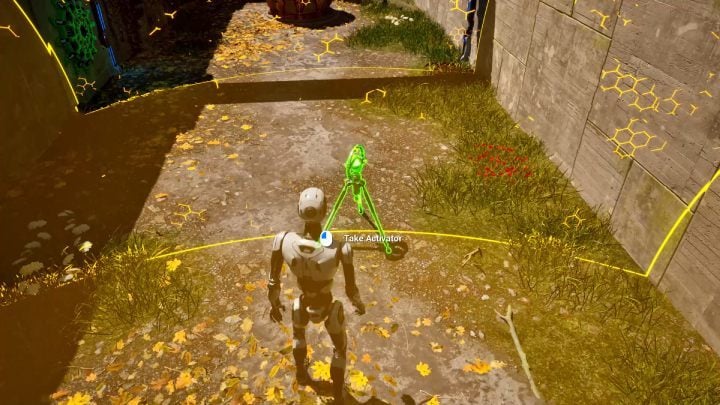
- Pick up the green activator and place it within range of the last barrier and the red activator.
Windstream
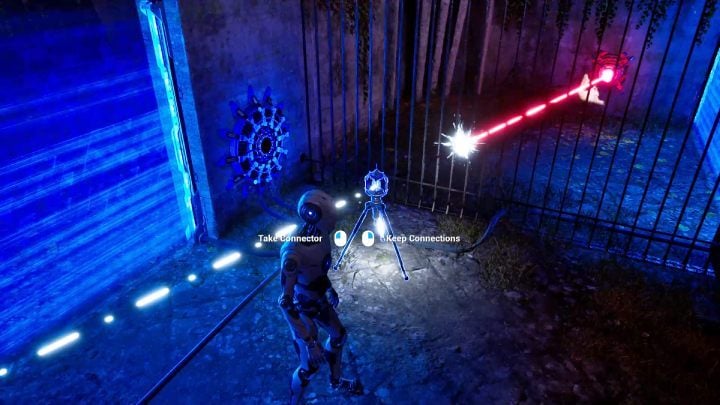
- Pick up the first connector and make connections between the red laser and the red button.
- Approach the fan and jump over the low fence.
- Place the connector in front of the blue button.
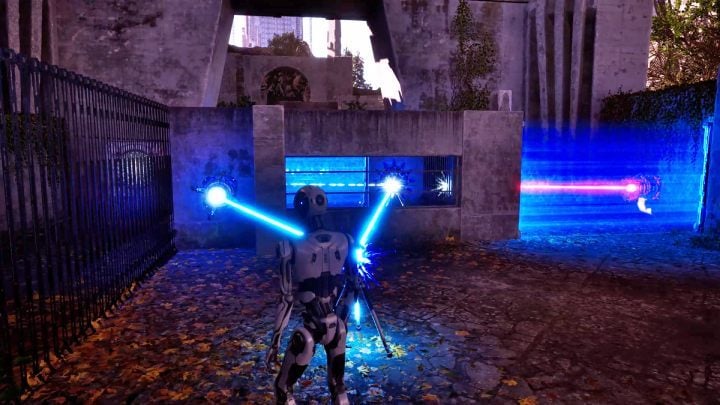
- Pick up the second connector and make connections between the blue laser and the blue button.
- Leave the connector in the area shown in the screenshot above.
- The laser should not yet reach the blue button, which you previously covered with the first connector.
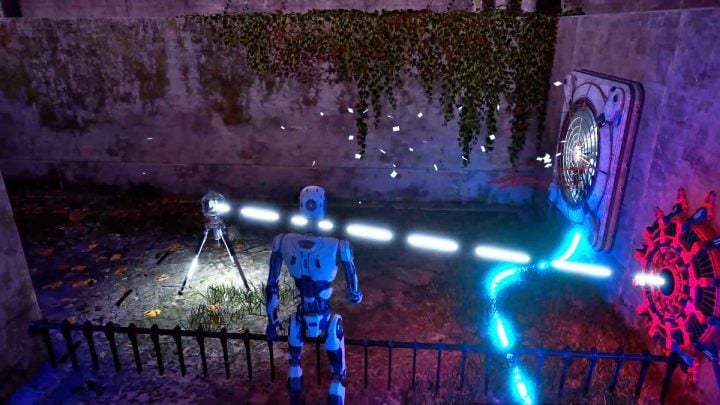
- Pick up the first connector and place it in front of the fan.
- When the laser reaches the blue button, the fan will start and push the connector out in front of it.
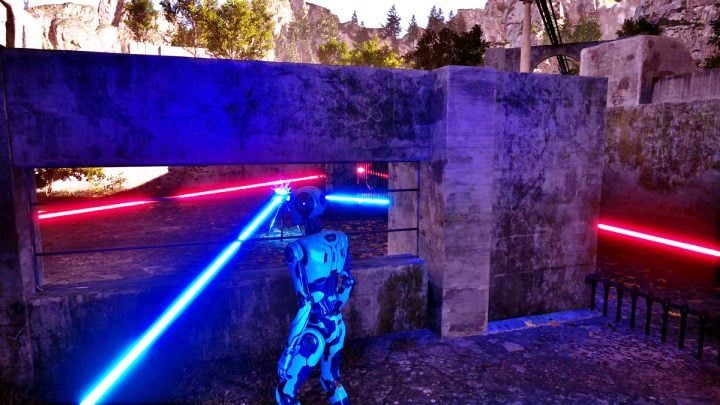
- Wait until the red laser reaches the red button.
- Activate the terminal.
You are not permitted to copy any image, text or info from this page. This site is not associated with and/or endorsed by the developers and the publishers. All logos and images are copyrighted by their respective owners.
Copyright © 2000 - 2026 Webedia Polska SA for gamepressure.com, unofficial game guides, walkthroughs, secrets, game tips, maps & strategies for top games.
