Talos Principle 2: All puzzles in Lost Marches
This page of our Talos Principle 2 guide contains the solutions to all the puzzles in Lost Marshes - Prison, Elegance, Transmission, Twice.
This guide for Talos Principle 2 describes how to solve all the main puzzles and lost puzzles in Lost Marches. Watch our video guide in which we show you how to solve puzzles such as the Wall, Propulsion, All Around, and Possibilities.
- All puzzles
- Substitution
- Possibilities
- The Wall
- Prison
- Twice
- Up and down
- Propulsion
- Transmission
- All Around
- Elegance
All puzzles
The Lost Marshes in The Talos Principle 2 consist of:
- 8 main puzzles
- 2 lost puzzles
- 1 gold puzzle
- 1 lost lab
- 2 stars
Watch our video guide to learn how to solve the main and lost puzzles in the Lost Marshes region. The gold puzzle will be unlocked once you have solved all the main and lost puzzles in the game.
Substitution
- Pick up the fan.
- Replace the jammer with a fan.
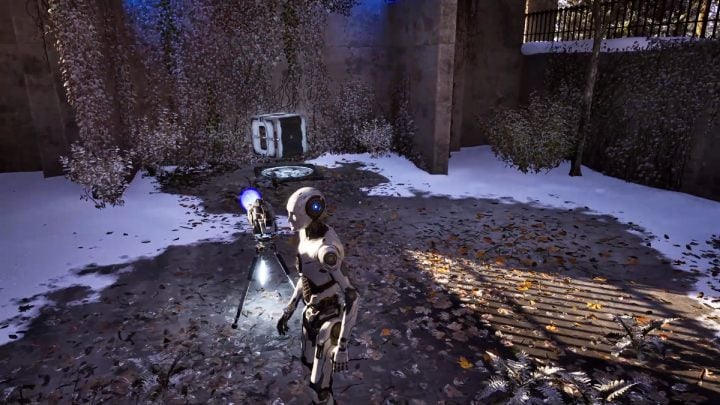
- Point the jammer at the barrier.
- Pick up the hexahedron.
- Replace the fan with the hexahedron.
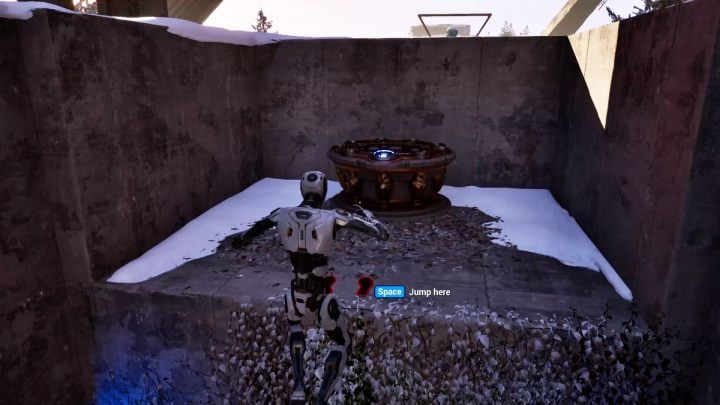
- Put the fan in its place.
- Stand on the fan and activate the terminal.
Possibilities
- Stand on the fan.
- Pick up the hexahedron and jump down.
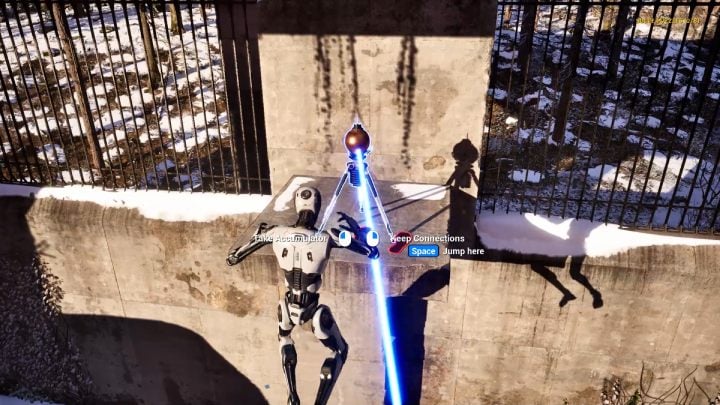
- Replace the hexahedron with the accumulator.
- Connect the accumulator to the blue laser.
- Stand on the fan while holding the accumulator.
- Place the accumulator on the shelf.
- When the accumulator is charged, take it.
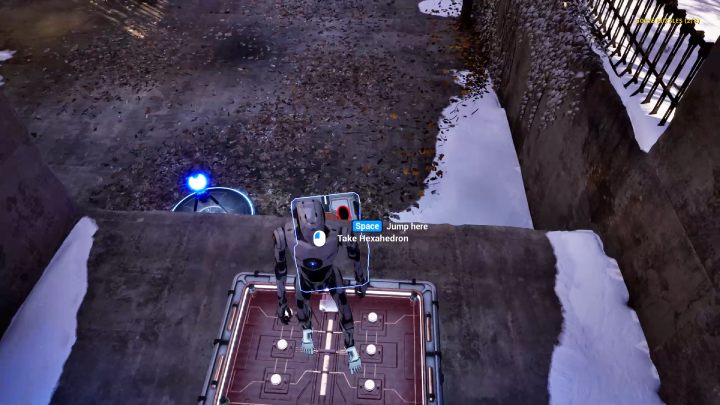
- Change the accumulator into the hexahedron.
- Place the hexahedron next to the wall leading to the terminal.
- Jump on the hexahedron and then jump to the platform.
- Turn around and pick up the hexahedron.
- Replace the hexahedron with the accumulator.
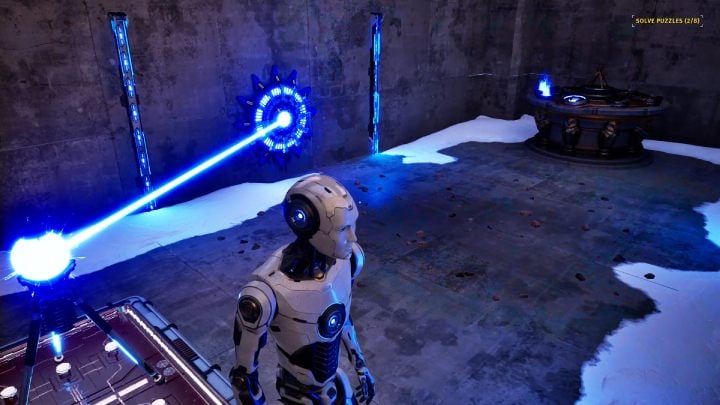
- Connect the accumulator to the blue button.
- Place the accumulator on the platform.
The Wall
- Pick up the hexahedron.
- Replace the driller with the hexahedron.
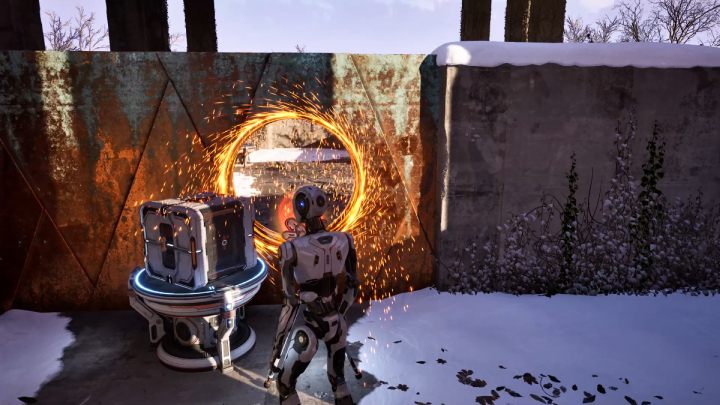
- Make a hole near the rotating platform.
- Go through the purple barrier to the next puzzle.
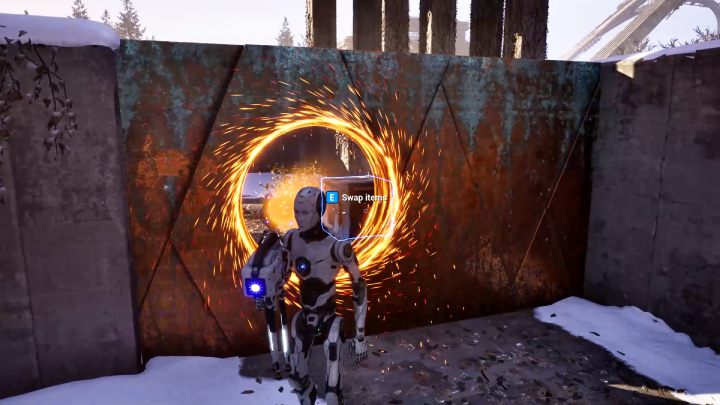
- Pick up the connector and replace it with the jammer.
- Approach the hole in the wall.
- Replace the jammer with the hexahedron.
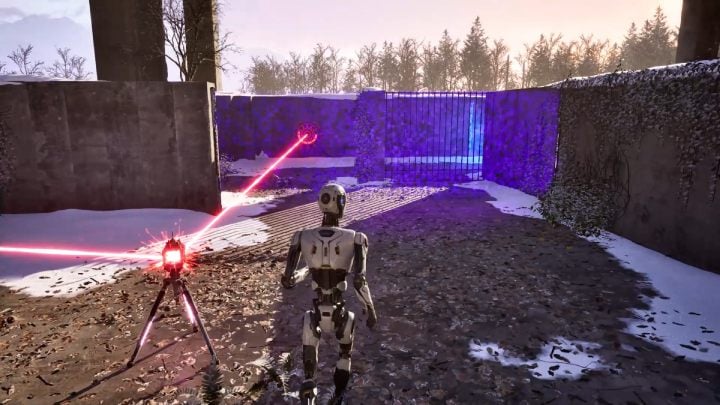
- Replace the hexahedron with the connector.
- Make a connection between the red laser and the red button.
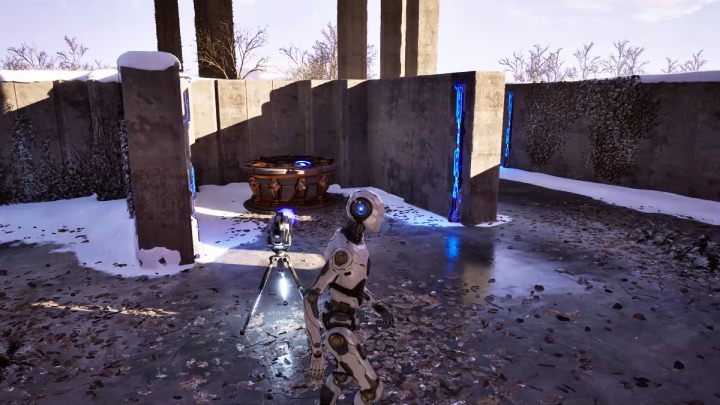
- Return to the previous area.
- Pick up the driller and replace it with the jammer.
- Deactivate the barrier in front of the terminal.
Prison
- Pick up the first connector.
- Make a connection between the red laser and the red button.
- Disconnect the first connector in front of the red button.
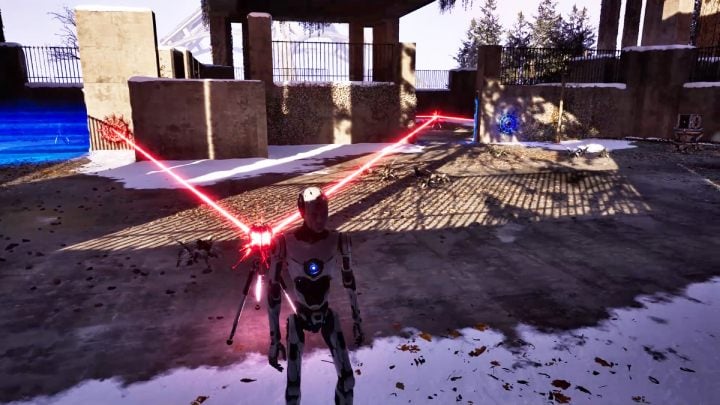
- Replace the hexahedron with the second connector.
- Make a connection between the first connector and the red button near the next barrier.
- Take the third connector.
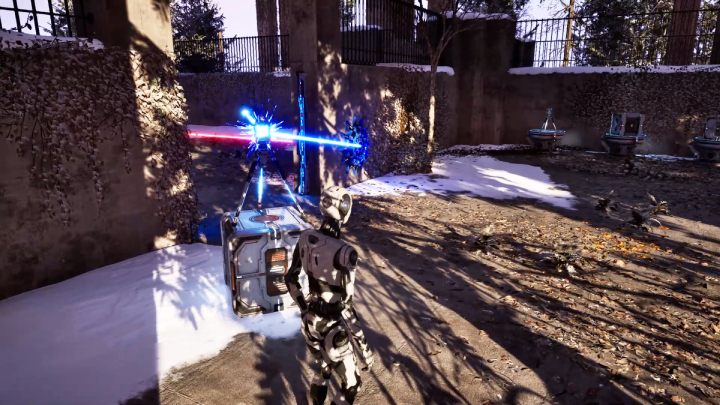
- Replace the third connector with the hexahedron.
- Place the hexahedron in front of the first barrier.
- Pick up the second connector and break the connection.
- Make a connection between the blue laser and the blue button.
- Place the connector on the hexahedron.
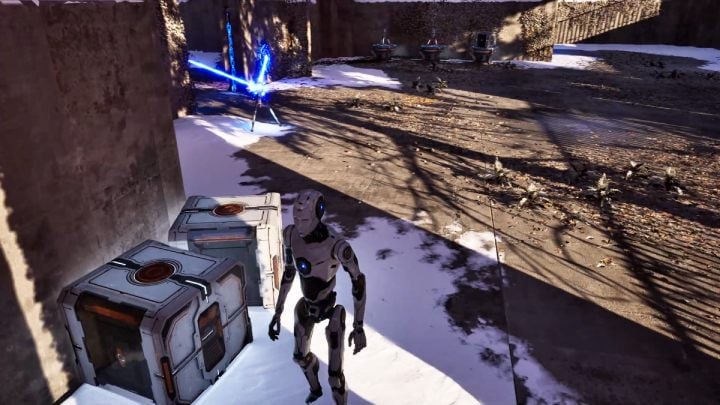
- Pick up the first connector and break the connection.
- Replace the connector with the next hexahedron.
- Place the hexahedron next to the wall with the bars.
- Take the second hexahedron, the one on which the connector stands.
- Drop the hexahedron next to the first hexahedron.
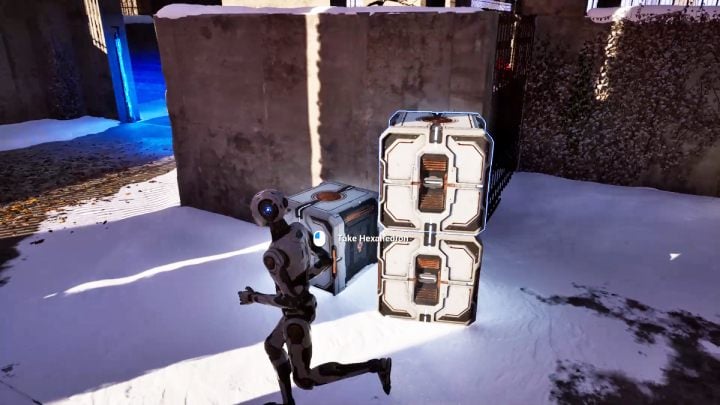
- Pick up the connector and break the connection.
- Replace the connector with the third hexahedron.
- Place the hexahedron on top of the previous one to create a staircase.
- Jump over the wall and press the switch.
- Pick up the connector.
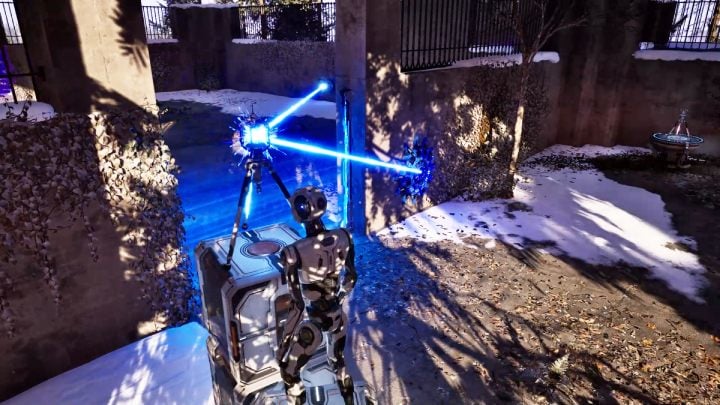
- Move the stairs made of hexahedron in front of the barrier.
- Pick up the connector and make a connection between the blue laser and the blue button.
- Drop the connector on two hexahedrons stacked one on top of the other.
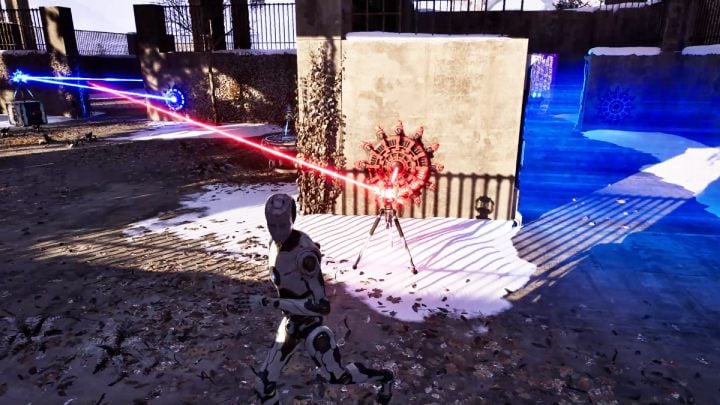
- Replace the hexahedron with the connector.
- Make a connection between the red laser and the red button.
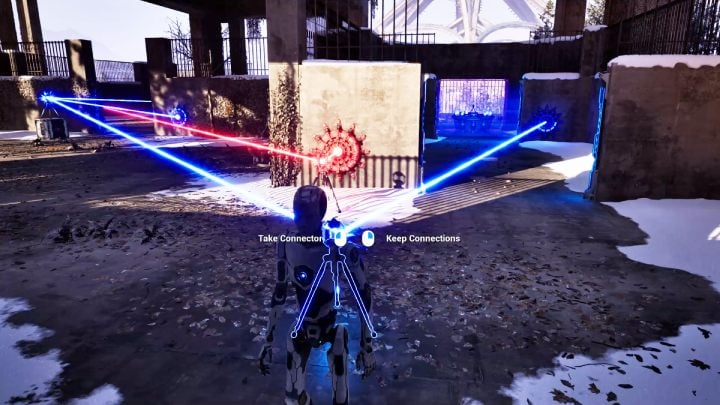
- Replace the next hexahedron with the connector.
- Make a connection between the first connector and the blue button next to the terminal.
Twice
- Take the accumulator.
- Replace the accumulator with the jammer.
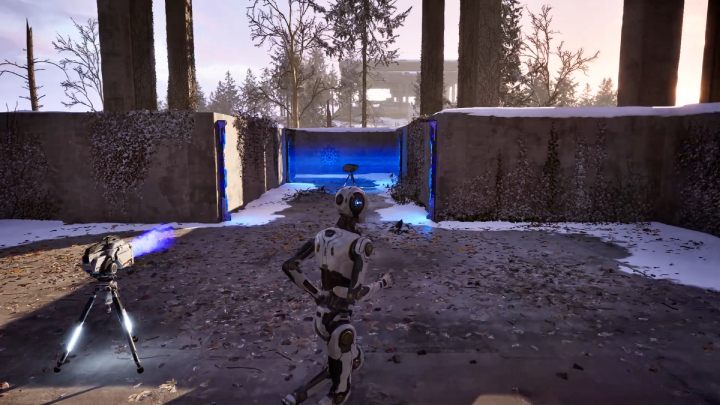
- Deactivate the barrier.
- Pick up the second jammer and replace it with the inverter.
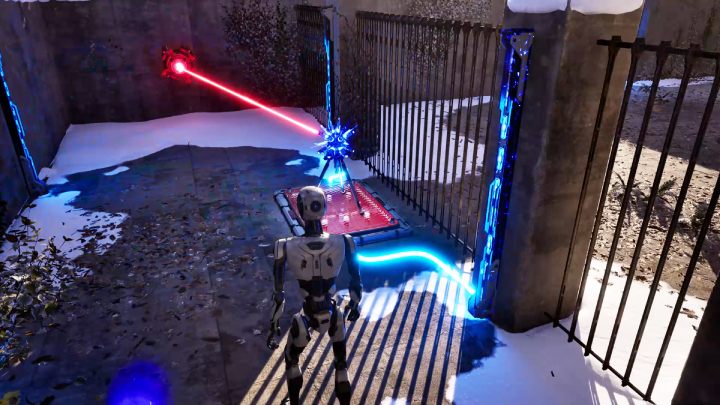
- Pick up the first jammer and deactivate the barrier in front of the red laser.
- Connect the inverter to the red laser.
- Place the inverter on the platform.
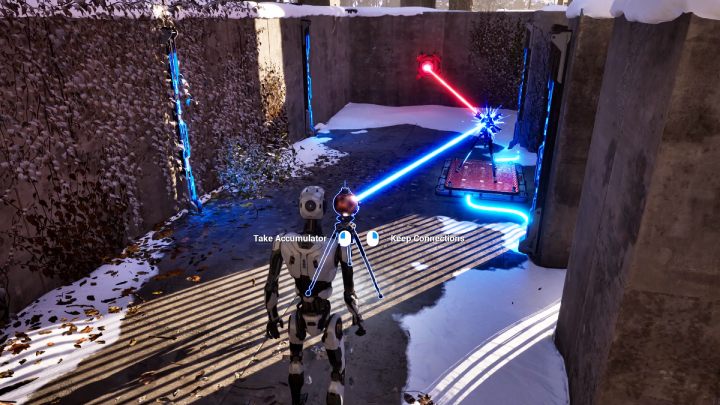
- Take the jammer and replace it with the accumulator.
- Connect the accumulator to the inverter and wait until it charges.
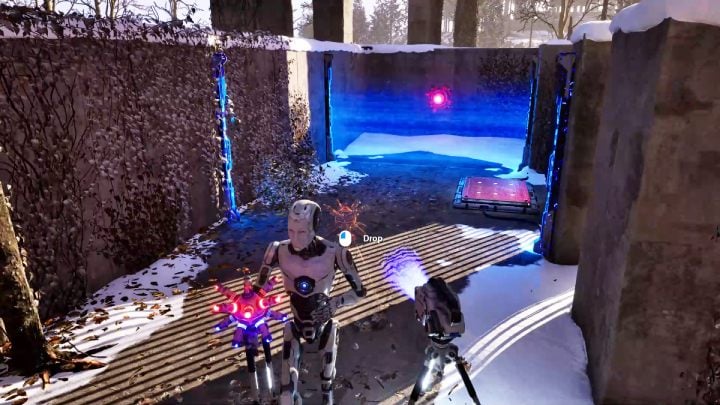
- Pick up the accumulator and replace it with the jammer.
- Deactivate the barrier in front of the inverter.
- Pick up the inverter and replace it with the next jammer.
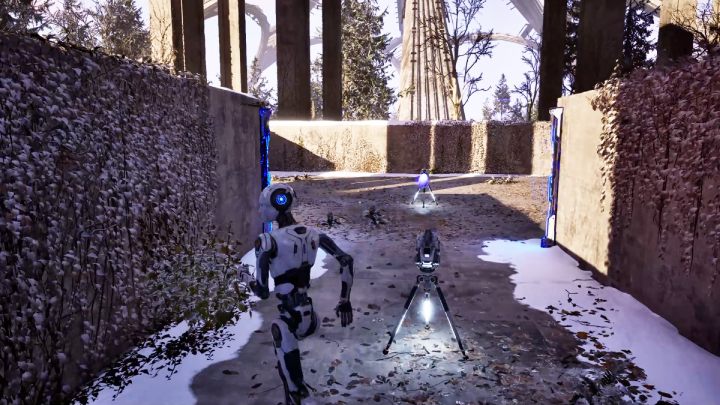
- Deactivate the first barrier in front of the terminal.
- Pick up the second jammer and deactivate the same barrier on the other side.
- Take the first jammer and replace it with the accumulator.
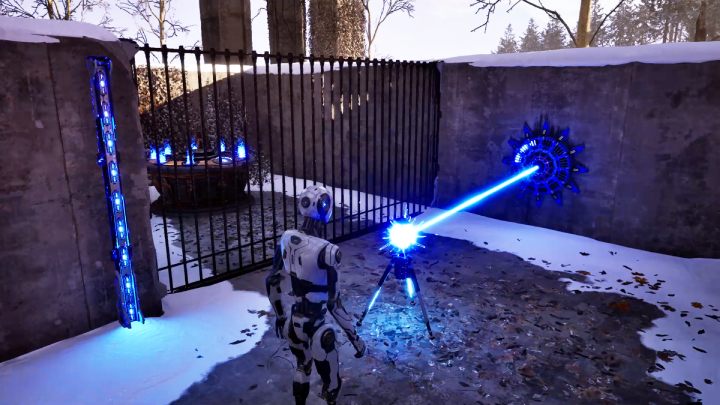
- Deactivate the second barrier in front of the terminal.
- Take the accumulator and connect it to the blue button.
Up and down
- Pick up the fan and place it on the red platform.
- Take the inverter and replace it with the hexahedron.
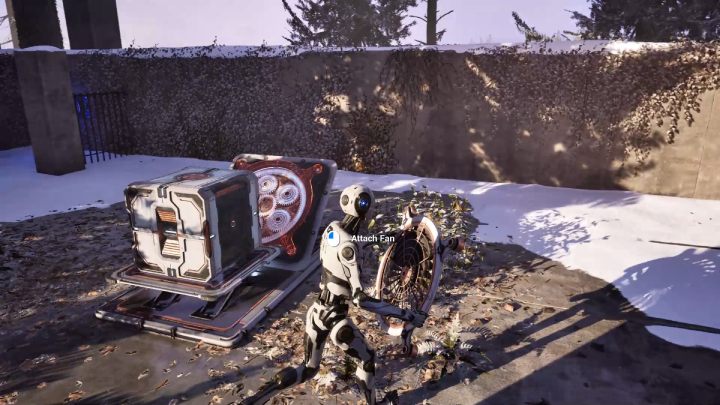
- Drop the hexahedron on the platform in front of the fan.
- Place the fan back in its place.
- The hexahedron will be moved to a higher level.
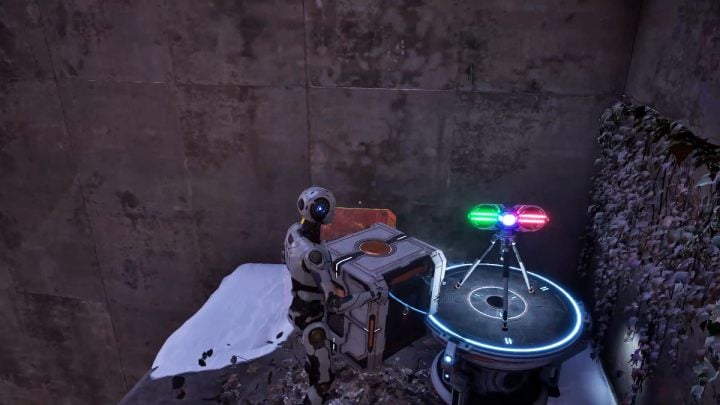
- Stand on the fan and jump to a higher level.
- Take the hexahedron and jump on the next fan.
- Replace the hexahedron with the RGB converter.
- Jump down.
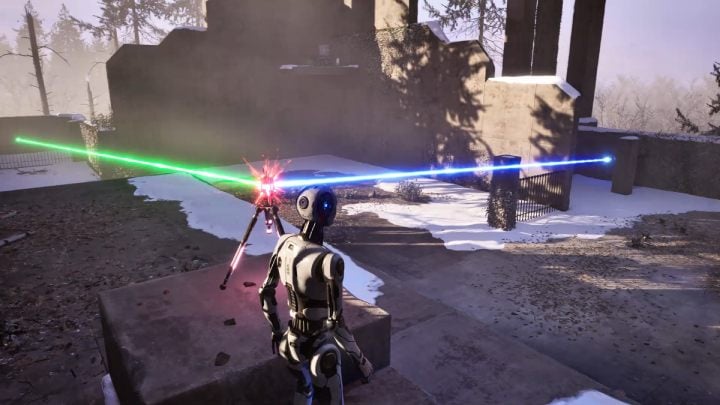
- Holding the converter, stand on the fan.
- Connect the converter to the blue and green lasers.
- Place the converter in the area shown in the picture above.
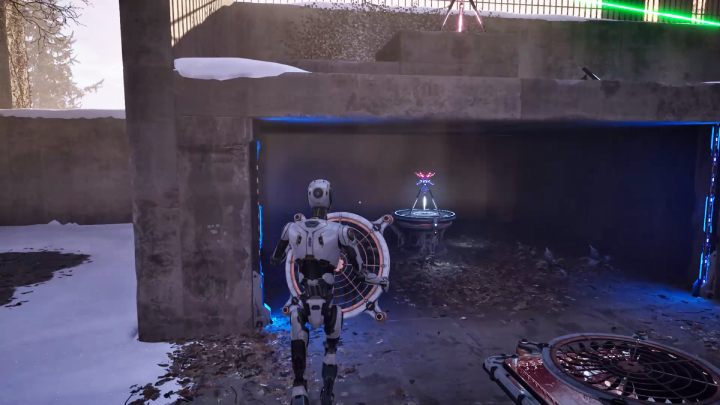
- Take the fan next to the RGB converter and jump down.
- Place the fan on the platform.
- Pick up the second fan and replace it with the inverter.
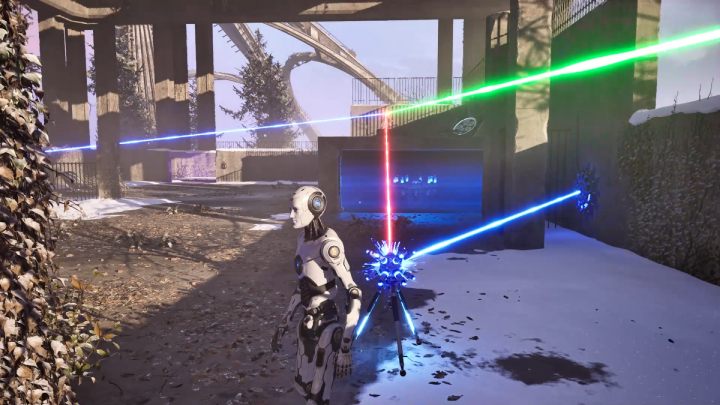
- Connect the inverter to the RGB converter.
- Activate the terminal.
Propulsion
- Take the inverter and replace it with the hexahedron.
- Holding the hexahedron, step on the fan.
- Jump down.
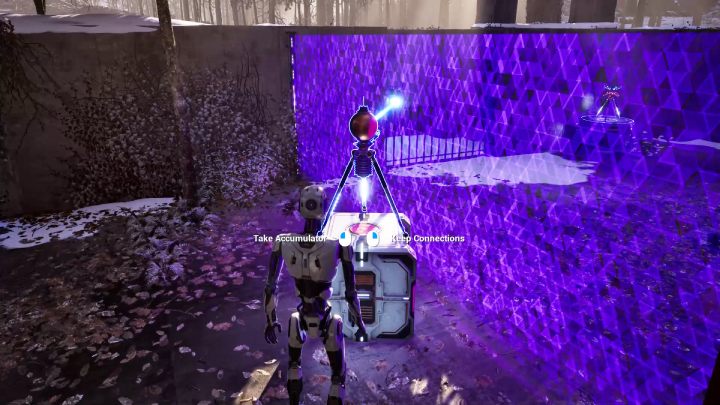
- Place the hexahedron near the purple barrier.
- Pick up the driller and replace it with the accumulator.
- Connect the accumulator to the blue laser and place it on the hexahedron.
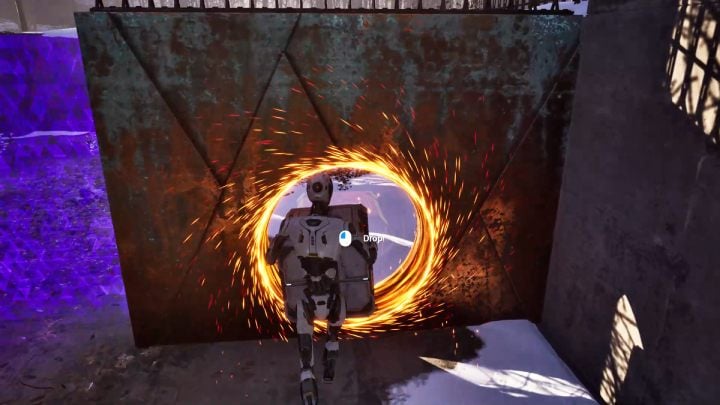
- When the accumulator is charged, replace it with the driller.
- Make a hole in the wall.
- Take the hexahedron to the other side.
- Pick up the hexahedron on the other side and replace it with the inverter.
- Stand on the fan while holding the inverter.
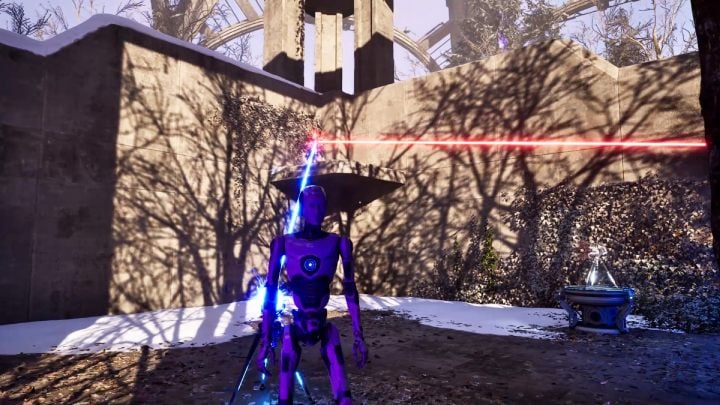
- Connect the inverter to the red button next to the terminal and place it on top.
- Replace the driller with the accumulator.
- Connect the accumulator with the inverter.
Transmission
- Stand on the fan.
- Pick up the jammer and deactivate the barrier behind which the robot is located.
- Take control of the robot.
- Approach the barrier, behind which is the driller.
- Take control of the previous robot.
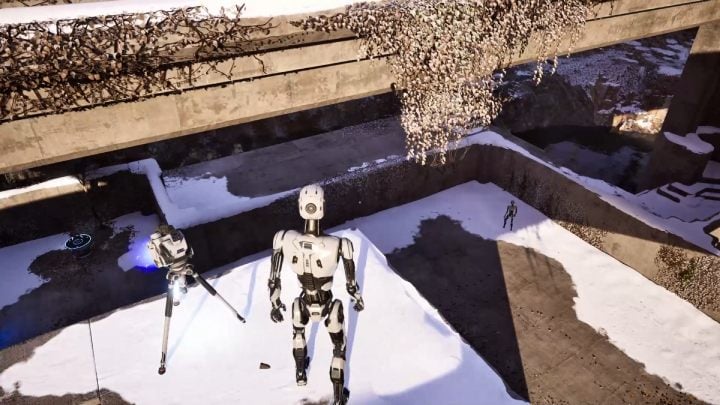
- Pick up the jammer and deactivate the next barrier.
- Take control of the robot.
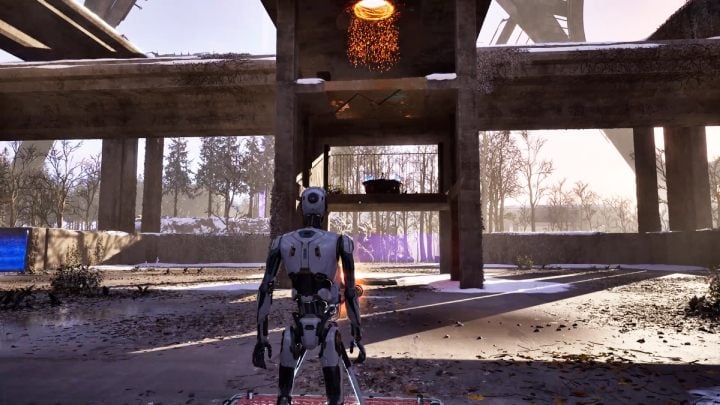
- Take the fan and replace it with the driller.
- Make a hole next to the first robot and place the driller on the platform.
- Take control of the previous robot.
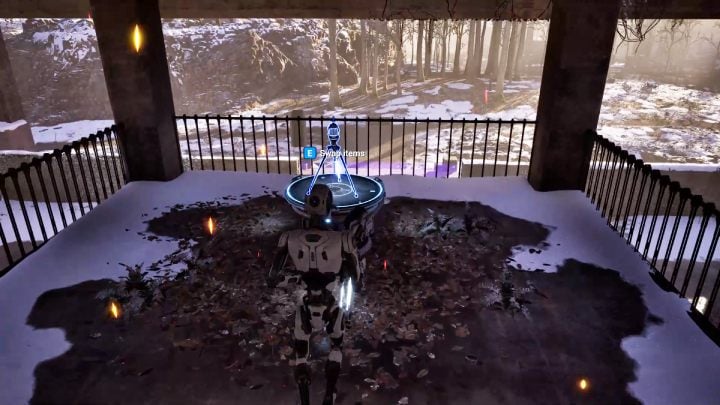
- Pick up the jammer and jump down through the hole.
- Replace the jammer with the connector.
- Jump down.
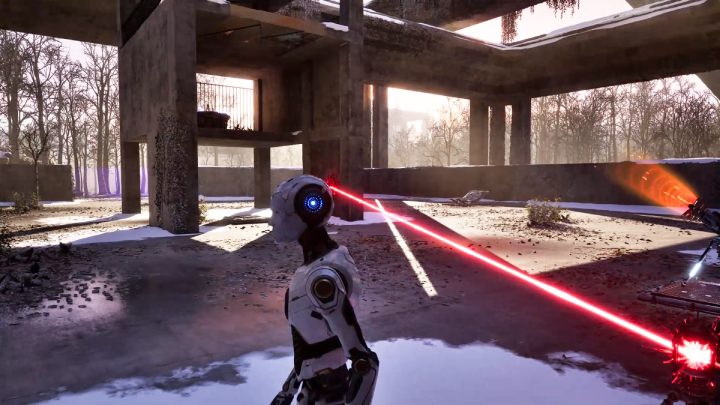
- Make a connection between the red laser and the red button.
- Stand on the fan near the terminal.
All Around
The lost puzzle #1 is located between the main puzzle #3 The Wall and the main puzzle #4 Imprisoned.
- Pick up the first connector.
- Replace the inverter with the connector.
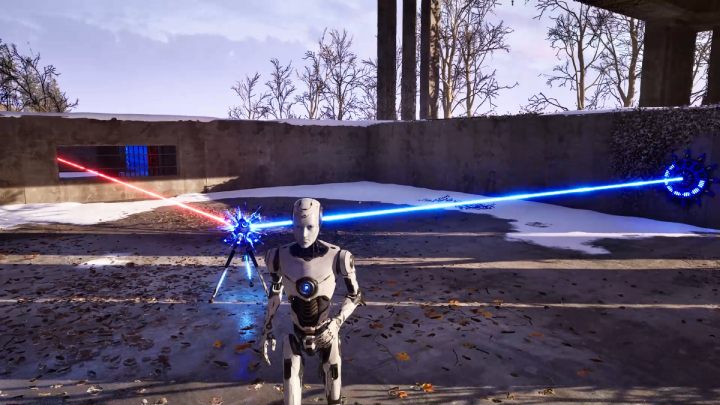
- Make a connection between the red laser and the blue button.
- Take the second connector.
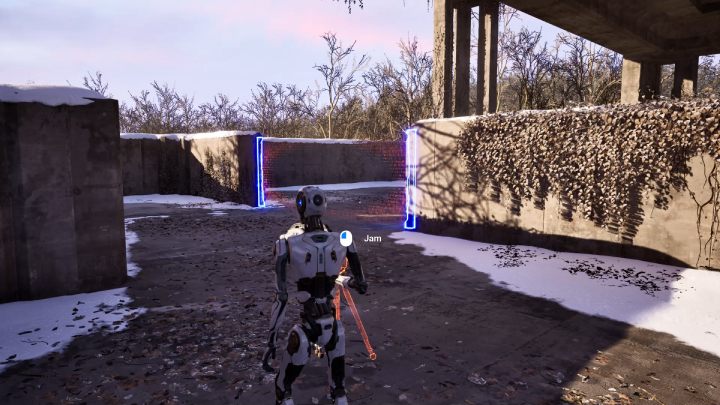
- Replace the connector with the jammer.
- Aim the jammer at the barrier you just passed through.
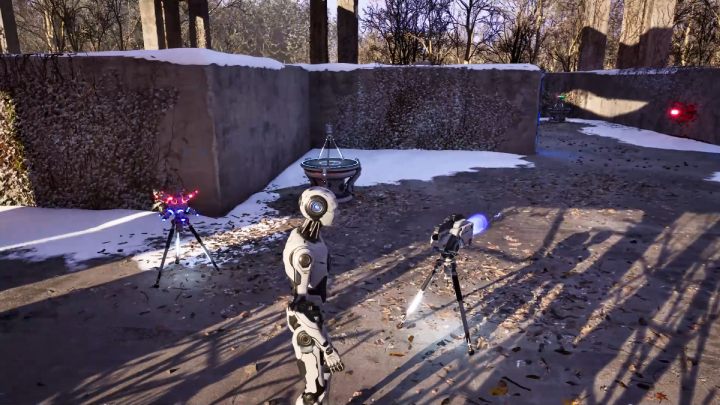
- Pick up the inverter and break the connection.
- Drop the inverter next to the jammer.
- Pick up the jammer and deactivate the next barrier.
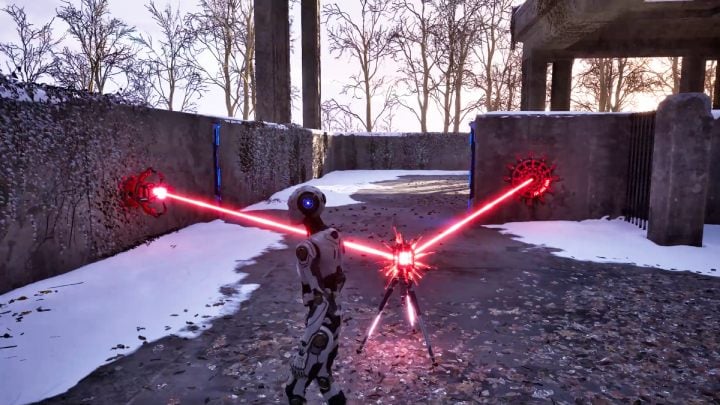
- Replace the inverter with the connector.
- Make a connection between the red laser and the red button.
- Pick up the jammer and deactivate the same barrier on the other side.
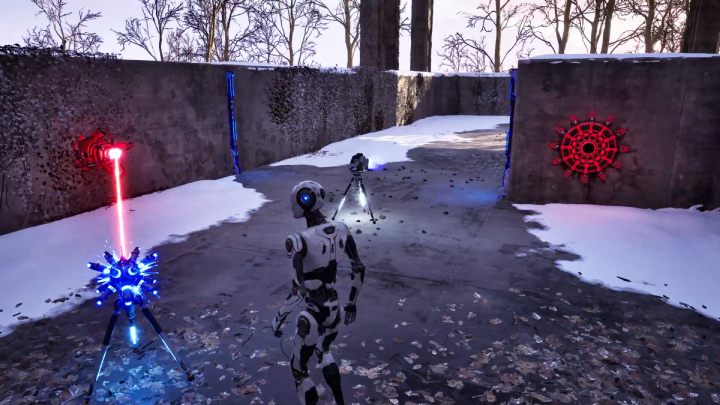
- Take the connector and replace it with the inverter.
- Connect the inverter to the red laser.
- Replace the jammer with the RGB converter.
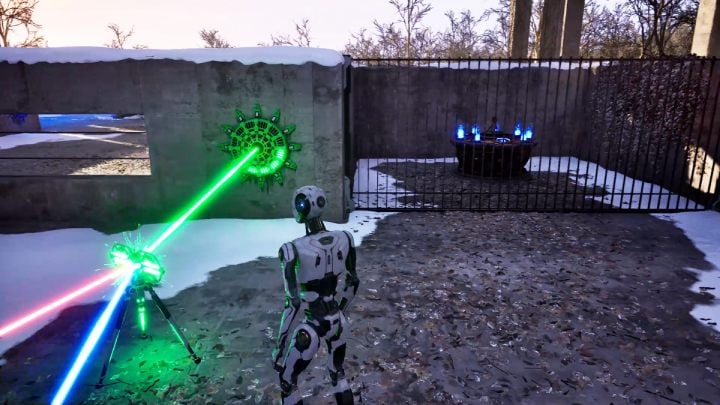
- Connect the RGB converter to the inverter and the red laser.
- Add a link to the green button next to the terminal.
Elegance
You will find the lost puzzle #2 behind the main puzzle #8 Transmission.
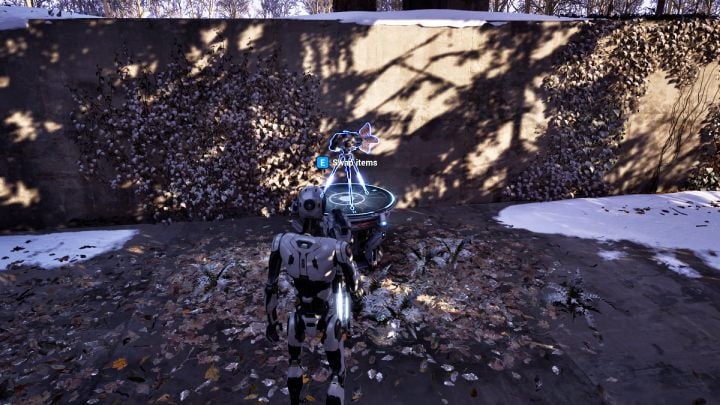
- Take the jammer and deactivate the barrier.
- Stand on the fan and jump up.
- Pick up the driller and jump down.
- Replace the driller with the second jammer.
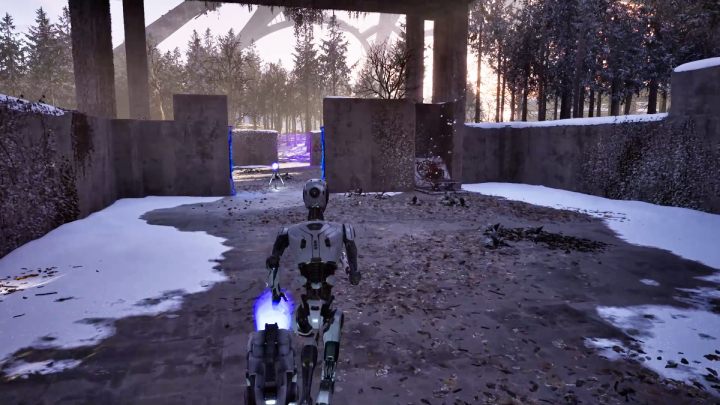
- Deactivate the barrier, which is already deactivated by another jammer.
- Pick up the first jammer.
- Replace the first jammer with a fan at the entrance to the puzzle.
- Place the fan next to the rotating platform with the driller.
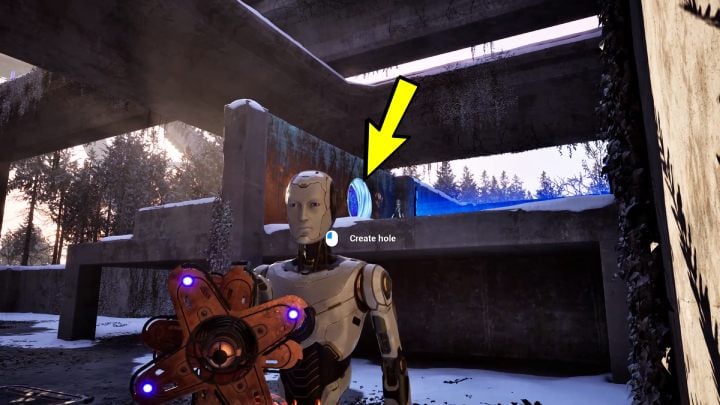
- Pick up the jammer and replace it with the driller.
- Make a hole in the wall near the connector.
- Pick up the fan and replace it with the jammer.
- Holding the jammer, stand on the fan and jump up.
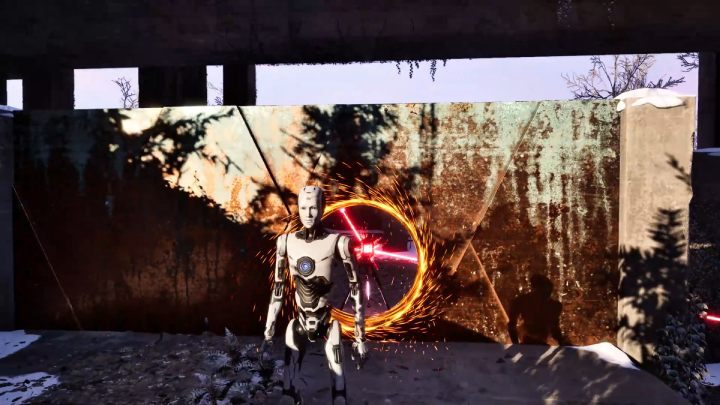
- Replace the jammer with the connector.
- Make a connection between the red laser and the red button.
- Transfer the connector through the created hole.
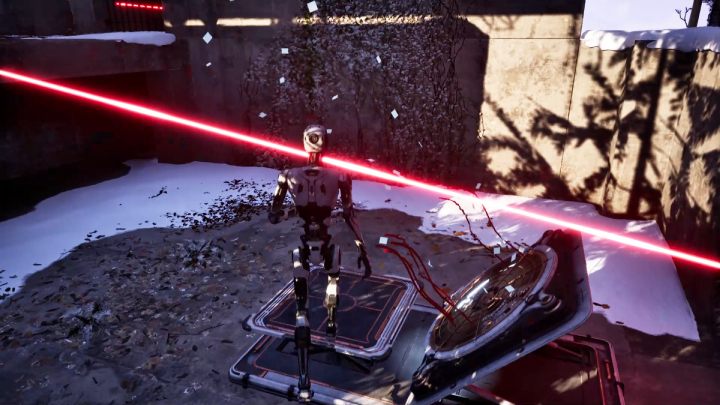
- Jump down and pick up the driller.
- Replace the driller with the fan.
- Place the fan in front of the platform by the red button and get on the platform.
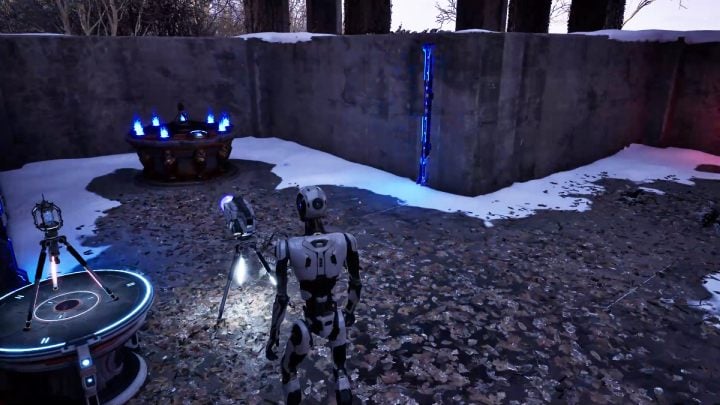
- Pick up the connector and replace it with the jammer.
- Deactivate the barrier in front of the terminal.
You are not permitted to copy any image, text or info from this page. This site is not associated with and/or endorsed by the developers and the publishers. All logos and images are copyrighted by their respective owners.
Copyright © 2000 - 2026 Webedia Polska SA for gamepressure.com, unofficial game guides, walkthroughs, secrets, game tips, maps & strategies for top games.
