Talos Principle 2: Southern Coast All Puzzle Solutions
This page of our Talos Principle 2 guide contains the solutions to all the puzzles in Southern Coast - Through the Wall, Switcheroo, Minimalism, Aerial Warp.
If you having difficulties tackling Main and Lost Puzzles in the Southern Coast region, check this part of our Talos Principle 2 guide. Additionally, you can use our video guide to look up step-by-step solutions to individual puzzles such as The Escape, Pushing Through, Remote Interchange, and Dyad.
- All puzzles
- Phase Entry
- Exit
- Through the Wall
- Pushing Through
- Dyad
- Translocator
- Remote Interchange
- Switcheroo
- Aerial Warp
- Minimalism
All puzzles
The Southern Coast in The Talos Principle 2 consists of:
- 8 main puzzles
- 2 lost puzzles
- 1 gold puzzle
- 1 lost lab
- 2 stars
Watch our video guide in which we show how to solve the main and lost puzzles in the Southern Coast location. The Gold Puzzle will become available after solving all Main and Lost puzzles in the game (from every region).
Phase Entry
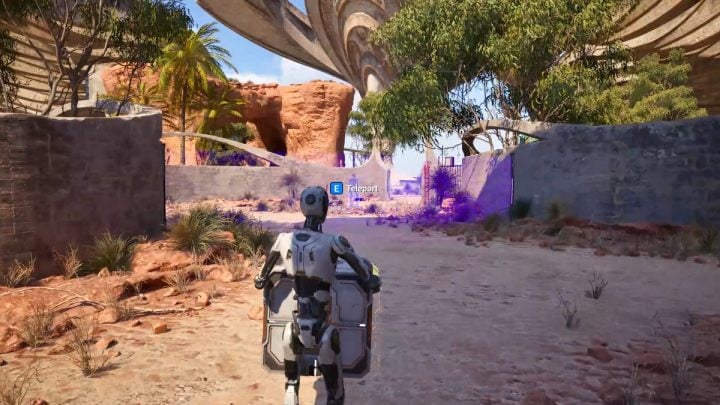
- Use the teleport
- and pick up the hexahedron.
- Once again use the teleport, but this time do it while holding the hexahedron.
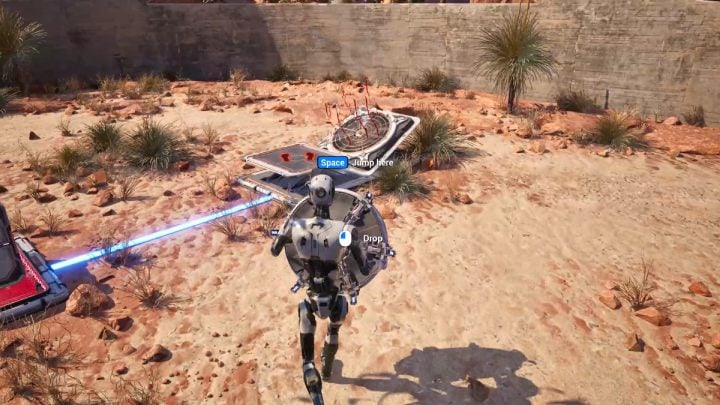
- Put the teleport aside.
- Place the hexahedron on the platform.
- Pick up the teleporter and stand on the fan.
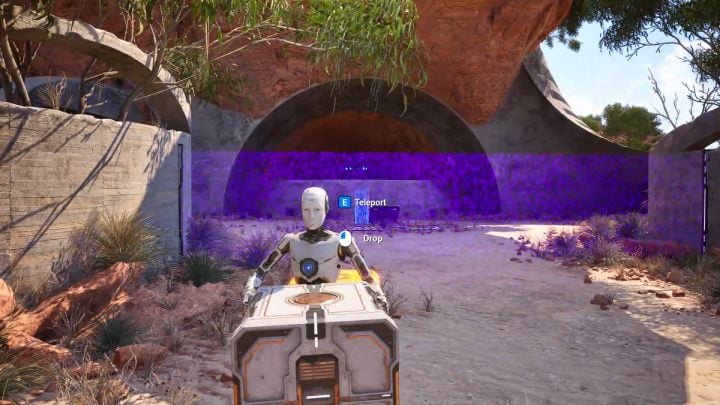
- Once you are through the purple barrier, leave the teleport on one of the platforms.
- Pick up the hexahedron and use the teleport.
- Leave the hexahedron on the other platform.
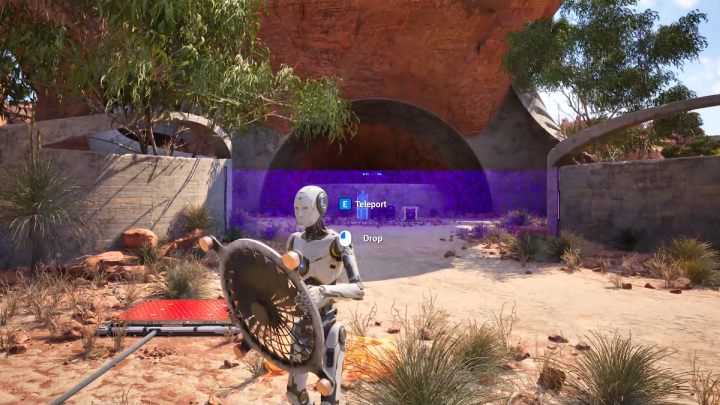
- Pick up the fan and use the teleport.
- Place the fan on the device.
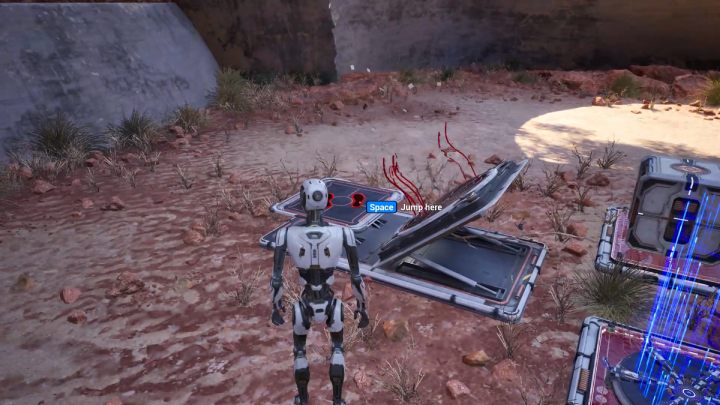
- Stand on the fan.
- Activate the terminal.
Exit
- Pick up the drill.
- Make a hole in the wall - this should reveal a connector.
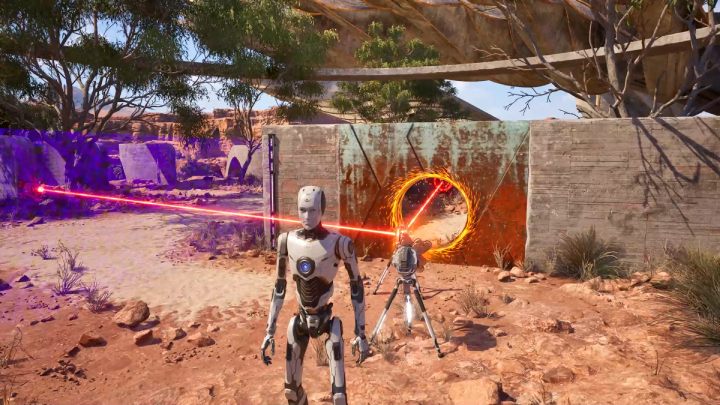
- Pick up the connector and make a connection between the red button and red laser.
- Put down the connector before the hole.
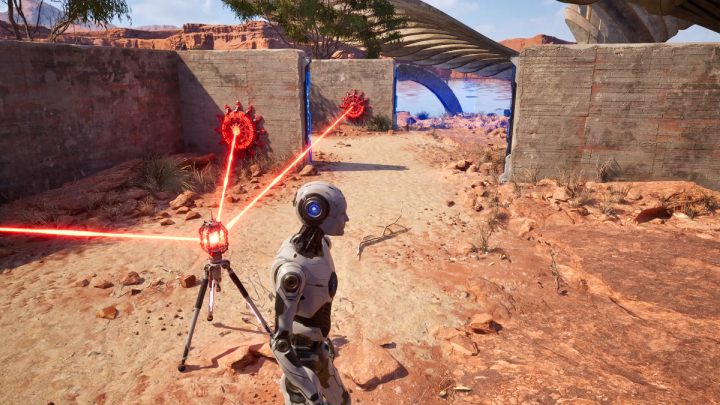
- With the barrier down, circle the room.
- Transfer the connector through the created hole.
- Add a second red button to the connection.
- Leave the connector in the area shown in the picture above.
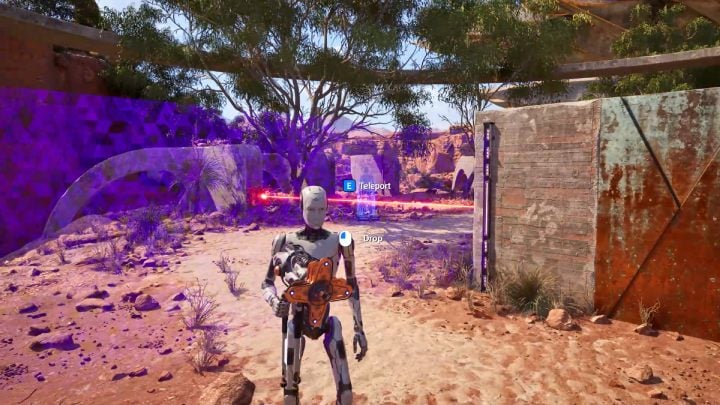
- Pick up the teleport.
- Leave the teleport next to the red laser.
- Pick up the drill and use the teleport.
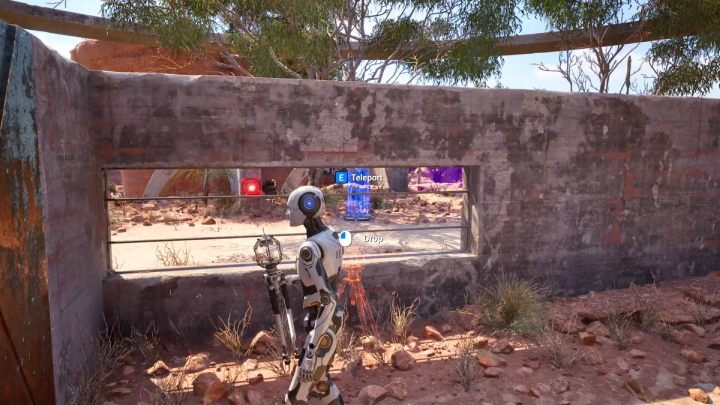
- Make a hole in the wall behind which there is the terminal.
- Pick up the connector and use the teleport.
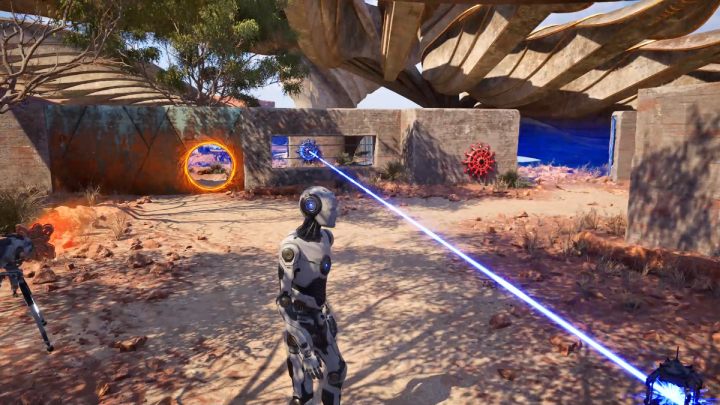
- Make a connection between blue laser and blue button.
- Pick up the teleport and transfer it through the hole.
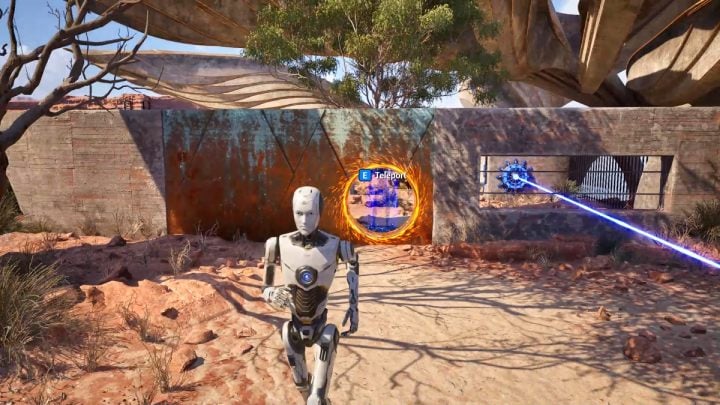
- Use the teleport.
- Activate the terminal.
Through the Wall
- Pick up the teleport and transfer it through the hole.
- Use the teleport.
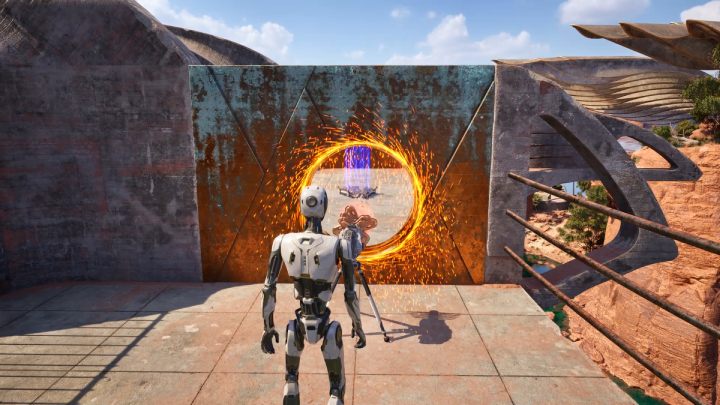
- Pick up the drill and make a hole in the next wall.
- Use the teleport.
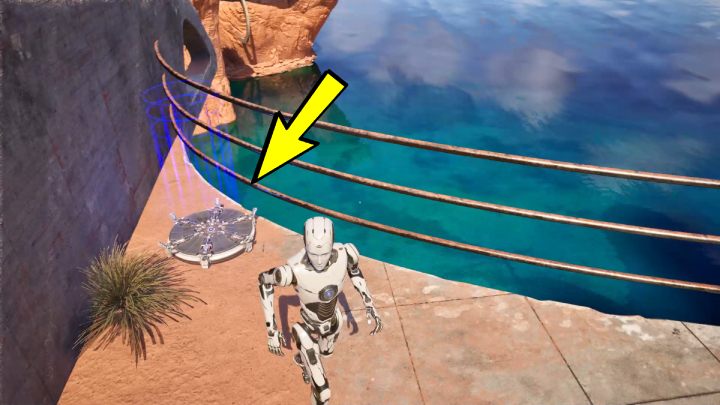
- Pick up the second teleporter and leave it at the ledge.
- Use the first teleporter to return to the room with the drill.
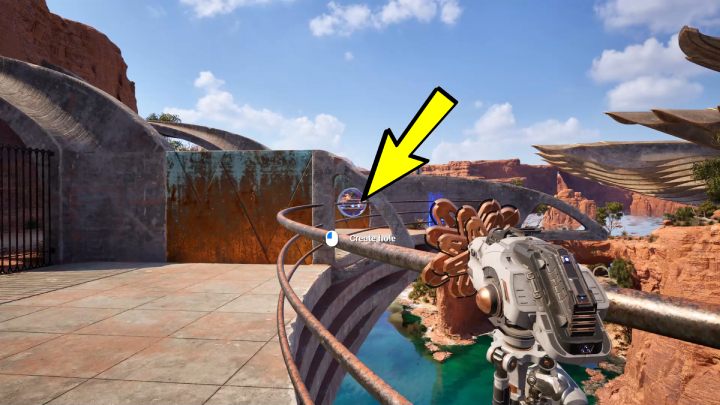
- Pick up the drill and stand at the ledge so you see the second teleport.
- Point the drill to the wall next to the second teleport.
If you are playing in TPP mode, switch to FPP mode. Playing in third-person mode, you won't be able to aim the Driller properly.
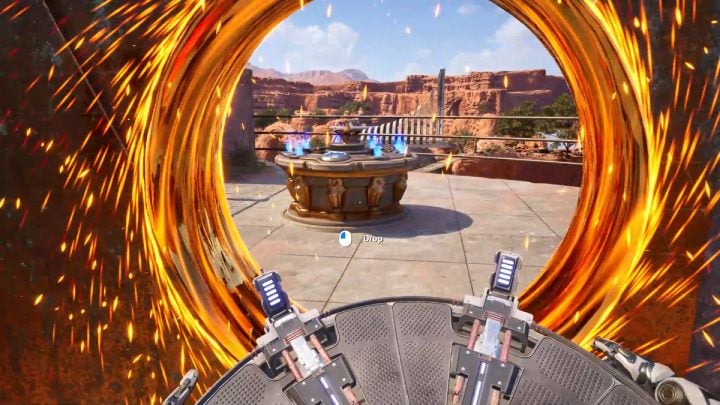
- Use the second teleport.
- Pick up the teleport and transfer it through the hole.
- Use the teleport and finally activate the terminal.
Pushing Through
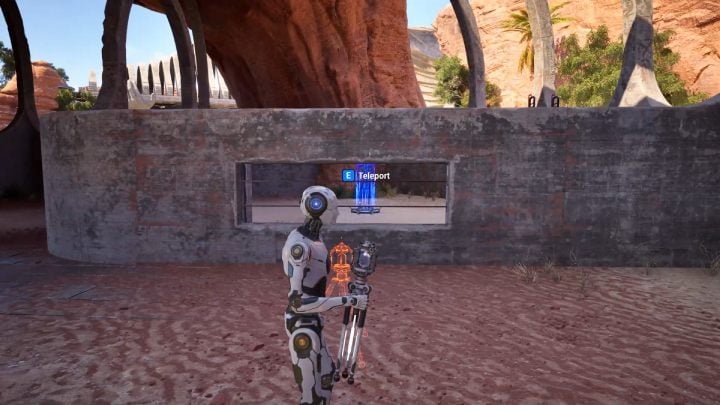
- Pick up the connector.
- Use the teleport.

- Make a connection between the red laser and the red button.
- With the barrier down, pick up the teleport and leave it on the other side, next to the wall with the ladder.
- Pick up the connector, and with it, use the teleport.

- Connect red laser and two red buttons.
- Enter the room on the right and pick up the hexahedron.
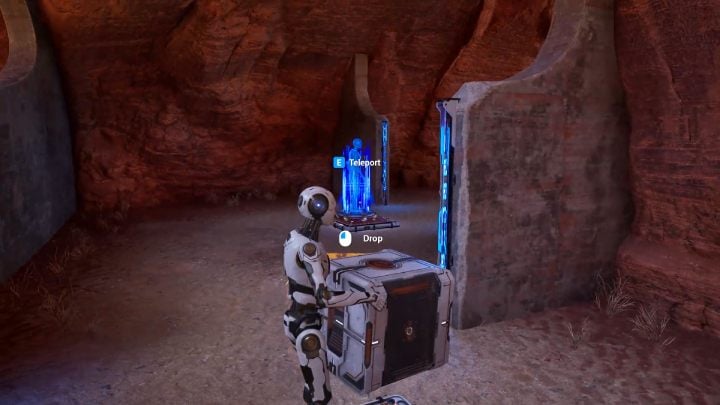
- Place the hexahedron on the platform.
- Pick up the teleport and leave it on the second platform.
- Pick up the hexahedron and step on the platform.
- Use the teleport.
- Place the hexahedron on the final platform.
Dyad
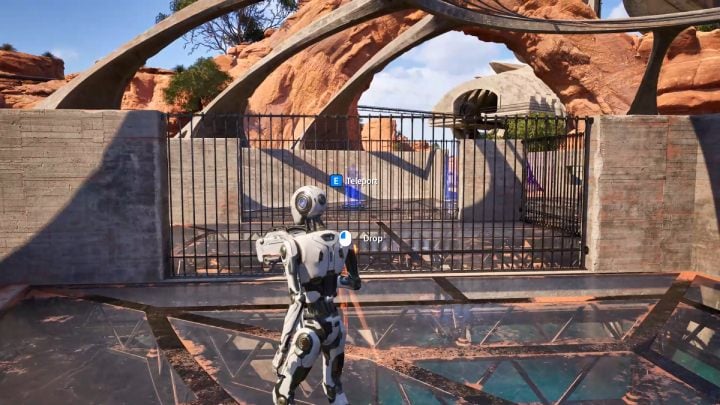
- Pick up a jammer.
- Use the teleport.
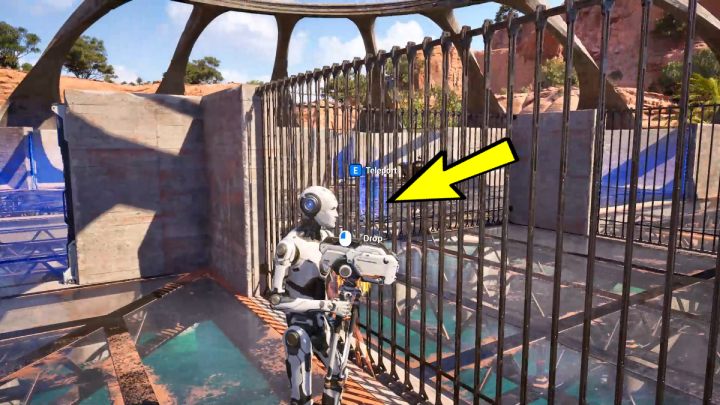
- Point the jammer to the barrier to deactivate it.
- Pick up the teleport and leave it in the place shown in the above screenshot.
- Pick up the jammer and with it, use the teleport.
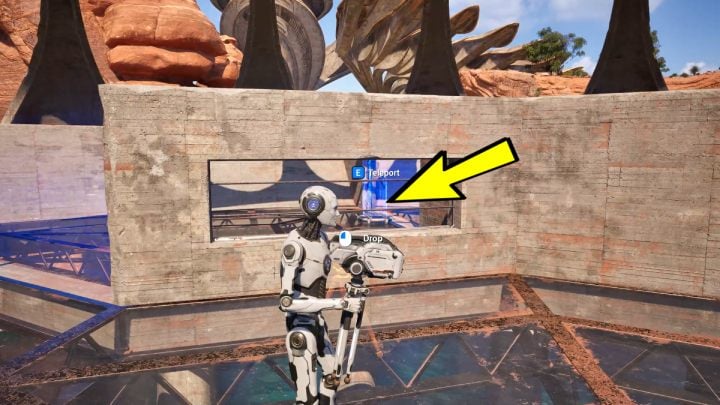
- Deactivate the next barrier.
- Bring the teleporter to the next barrier.
- Pick up the jammer and with it, use the teleport.
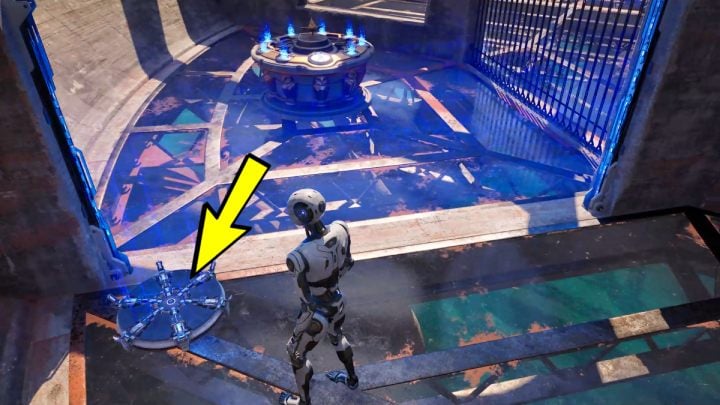
- Deactivate the next barrier.
- Enter the next room and pick up the second teleport.
- Bring the teleport to the final barrier, and leave it in the place shown in the screenshot above.
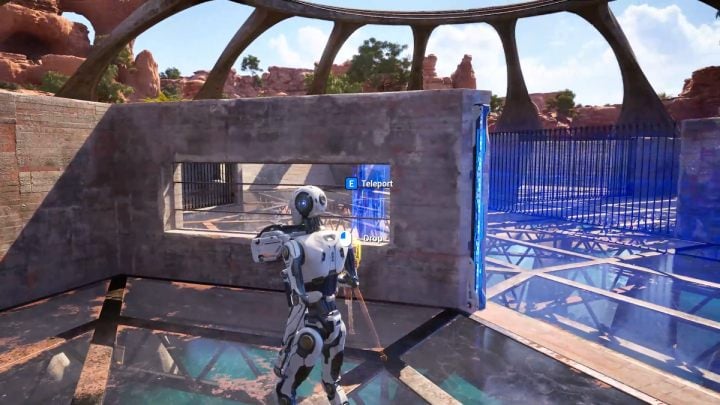
- Point the jammer to the barrier to deactivate it.
- Pick up the teleport and bring it to the hole in the wall.
- Pick up the jammer and with it, use the teleport.
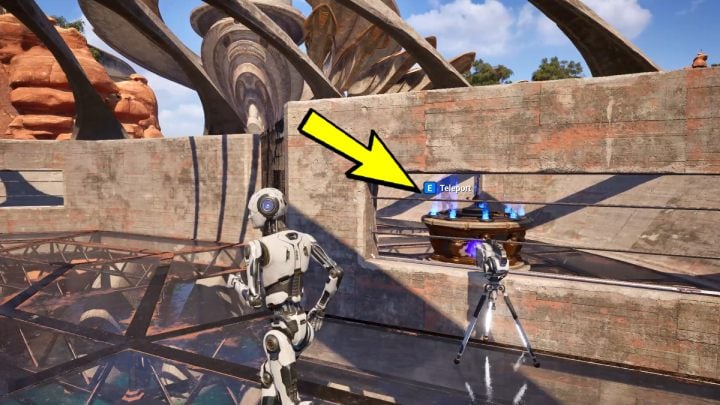
- Point the jammer to deactivate the barrier by the terminal.
- Use the teleport and finally activate the terminal.
Translocator
- Pick up the hexahedron.
- Place the hexahedron on the platform.
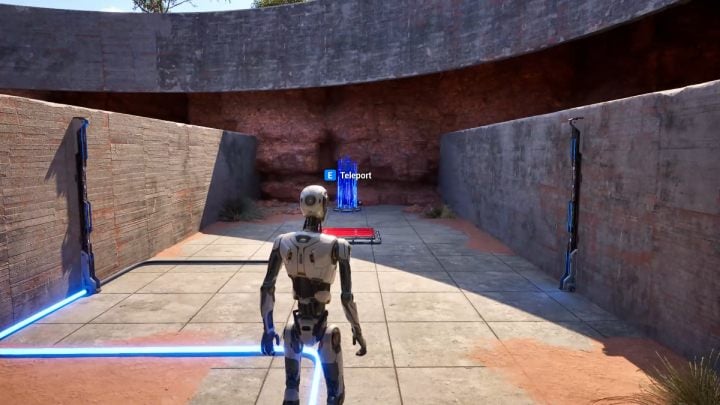
- Stand on the second platform.
- Use the teleport.
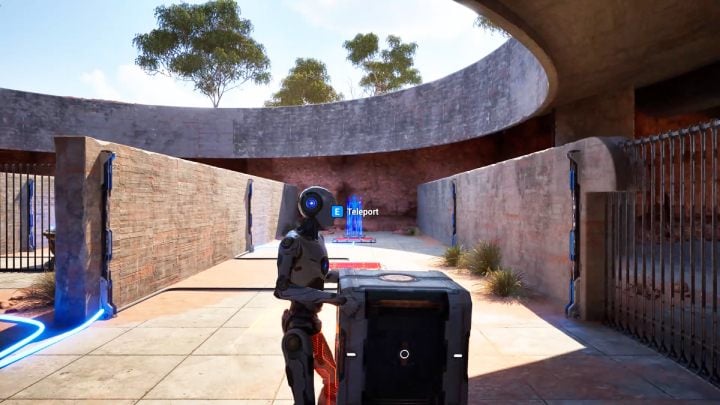
- Leave the teleport on the third platform.
- Pick up the hexahedron and stand on the first platform.
- Use the teleport.
- Place the hexahedron on the middle platform.
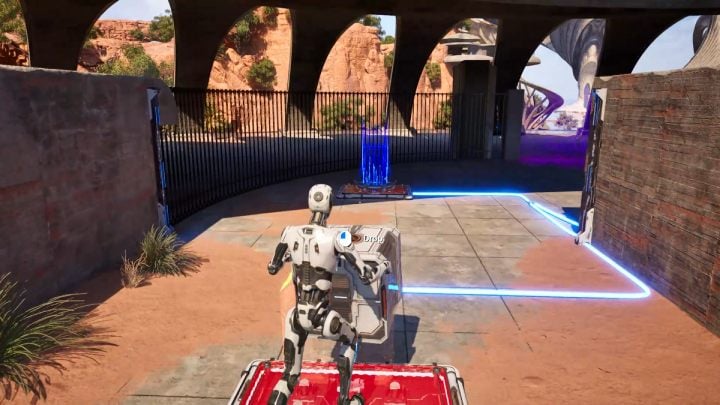
- Pick up the teleport and leave it on the first platform.
- Take the hexahedron.
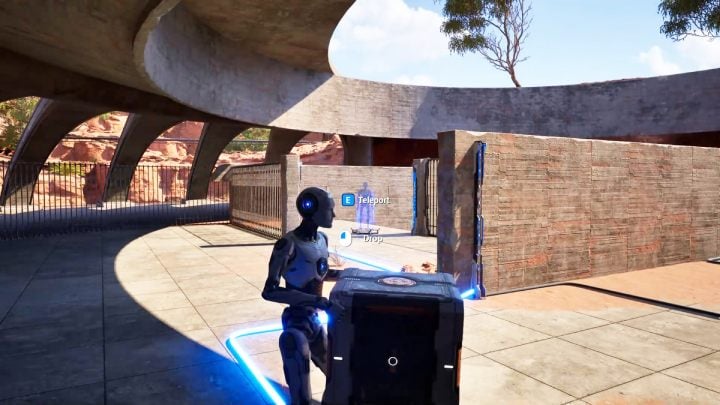
- Place the hexahedron on the platform on which there is the teleport.
- Pick up the teleport and put it down next to the terminal.
- Pick up the hexahedron and step on the platform.
- Use the teleport.
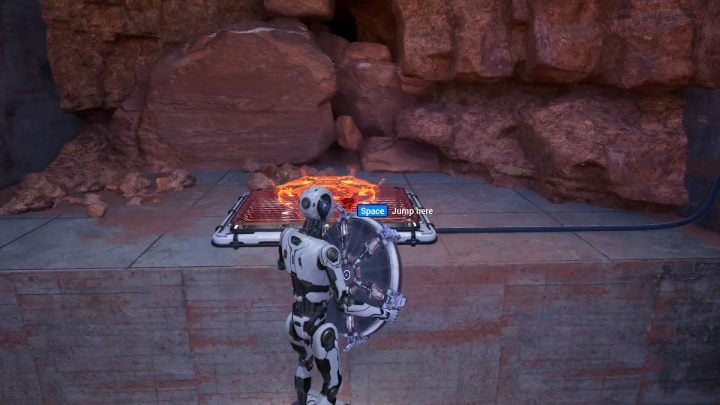
- Go down the stairs and put the hexahedron down next to the wall with the platform.
- Pick up the teleport and jump on the hexahedron.
- Put the teleport down on the platform.
- Place the hexahedron at the opposite wall.
- Jump onto the hexahedron and jump to the terminal.
Remote Interchange
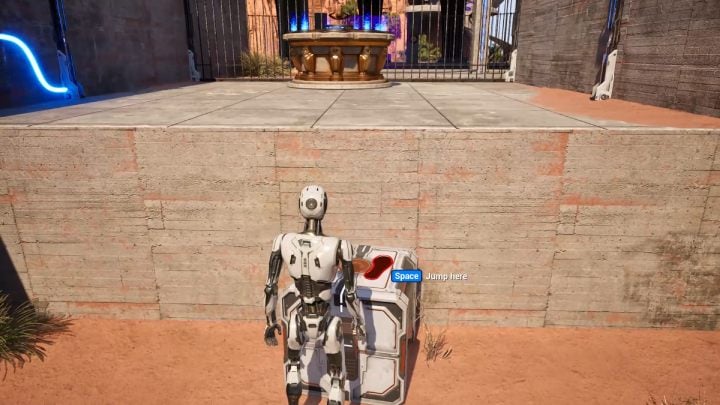
- Pick up the hexahedron and put it down at the low fence.
- Pick up the second hexahedron and with it, jump on the first one.
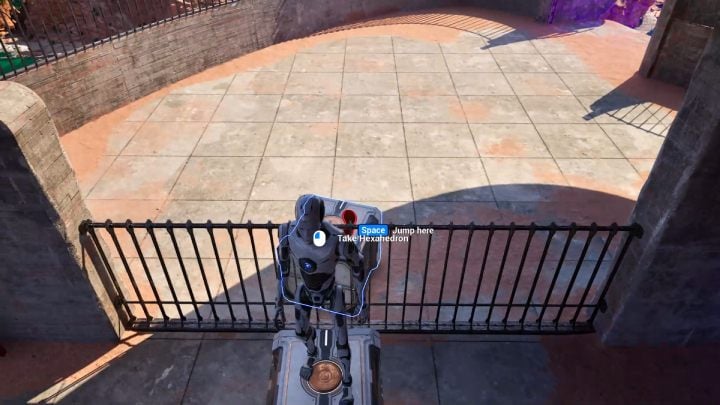
- Jump over the fence and put the hexahedron down.
- Jump onto the hexahedron and pick up the second hexahedron.
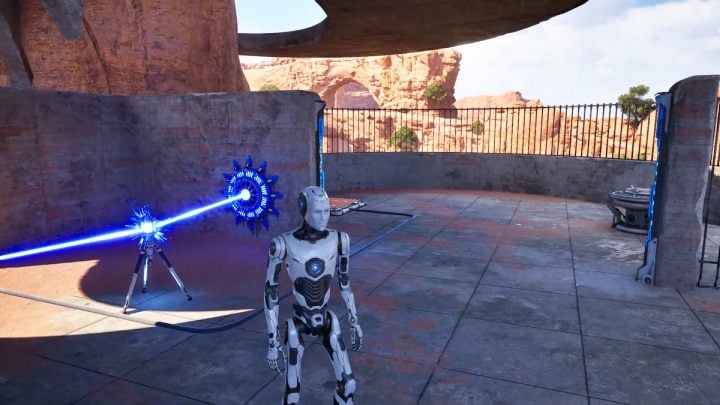
- Switch the hexahedron for the connector.
- Make a connection between blue laser and blue button.
- Pick up the hexahedron and exchange it for the teleport.

- Switch the teleport for a second connector.
- Connect the blue laser and the blue button by the platform.
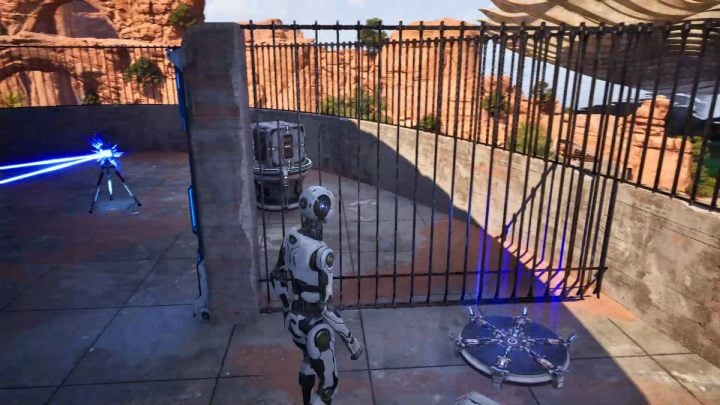
- Pick up the first connector and exchange it for a teleport.
- Put the teleport down next to the wall.
- Pick up the connector and leave it on the platform.
- Use the teleport to get out of the room.
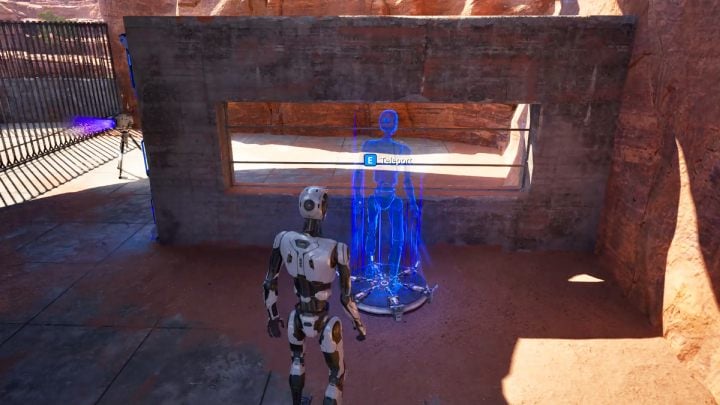
- Bring the teleport to the place shown in the screenshot above.
- Pick up the jammer and with it, use the teleport.
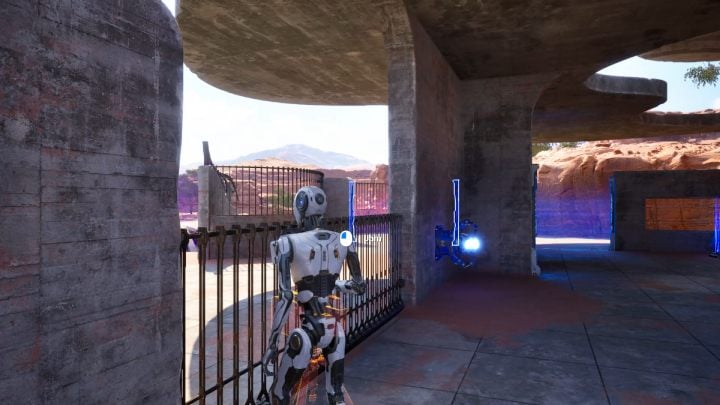
- Deactivate the barrier blocking the way to the terminal.
- Climb out of the room via the ladder.
- Activate the terminal.
Switcheroo
If you manage to complete this puzzle without using "keep connections" option, you'll unlock a very rare The Hard Way trophy. You can read more about this on the How to solve Switcheroo puzzle? page of the guide.
Aerial Warp
You'll encounter Lost Puzzle #1 after completing Main Puzzle #8 (Switcheroo).
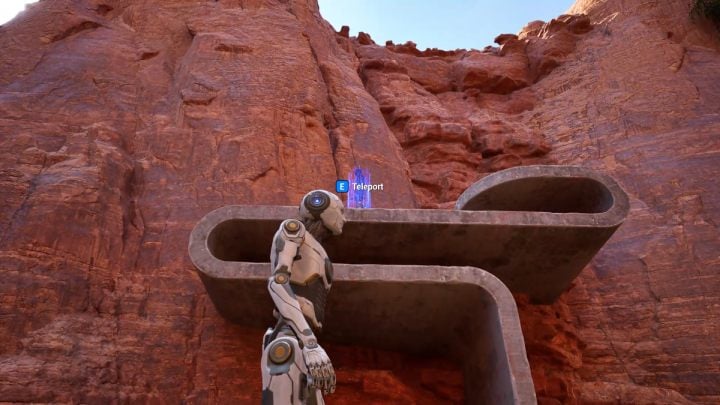
- Stand between the platforms and look up.
- There is a teleport on the left side, use it.
- Pick up the teleport and jump down.
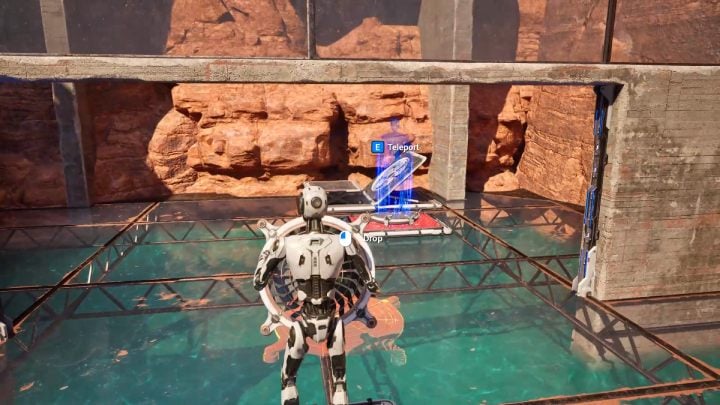
- Put the teleport down on the platform next to the barrier.
- Pick up the fan and leave it on the platform with the teleport.
- Place the teleport on the platform next to the fan.
- Pick up the fan and stand on the platform.
- Use the teleport.
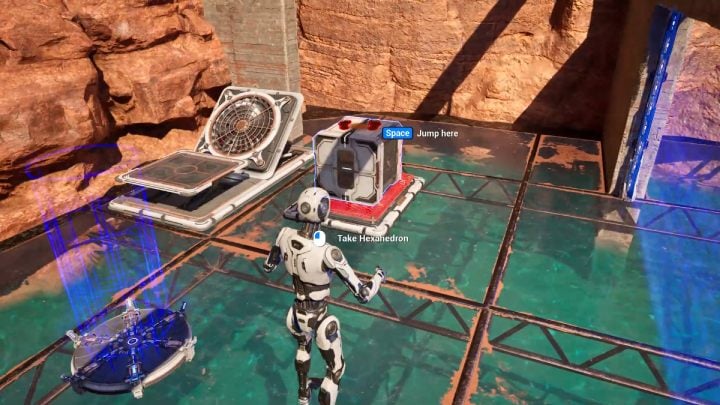
- Put the fan back to its original place and step on it.
- Pick up the hexahedron.
- Place the hexahedron on the platform with the teleport.
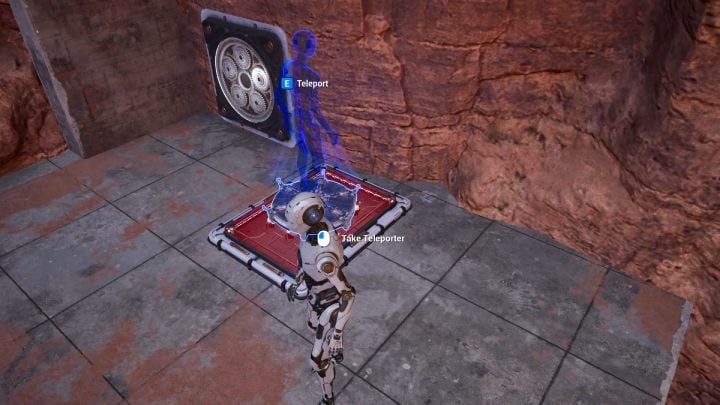
- Pick up the teleport and step onto the fan.
- Leave the teleporter on the platform.
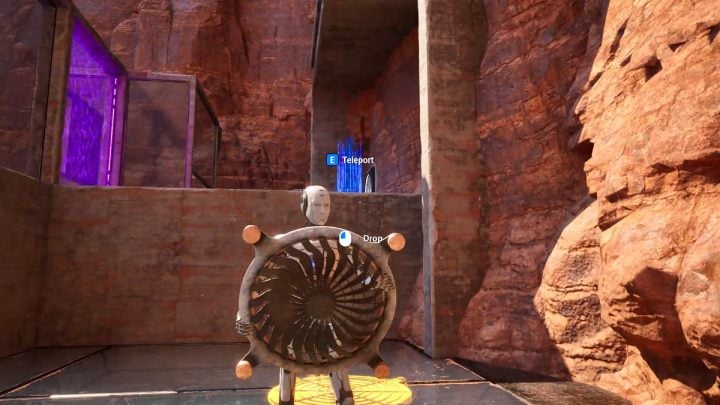
- Pick up the hexahedron.
- Use the teleport.
- Leave the hexahedron aside.
- Pick up the fan.
- Use the teleport.
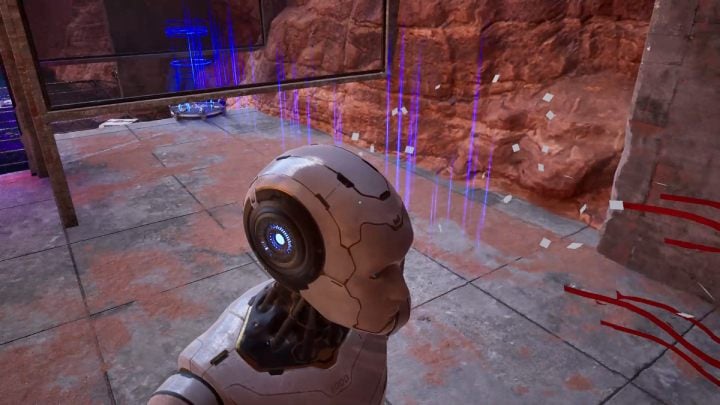
- Insert the fan into the device on the wall.
- A gust of wind should push the hexahedron through the hole in the glass wall.
- Place the teleport before the fan and stand on the platform.
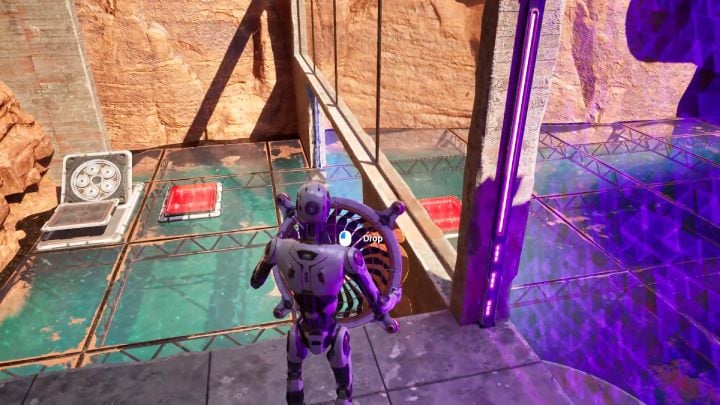
- Pick up the fan and drop it down to the purple barrier.
- Go past the purple barrier.
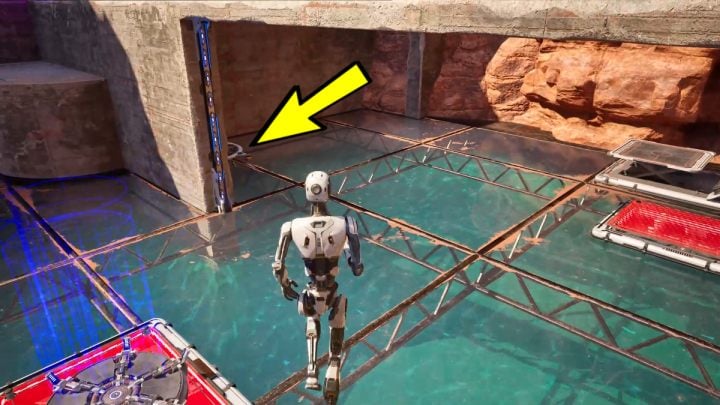
- Place the teleport on the platform.
- Pick up the fan.
- Put the fan onto the device on the left side of the main room.
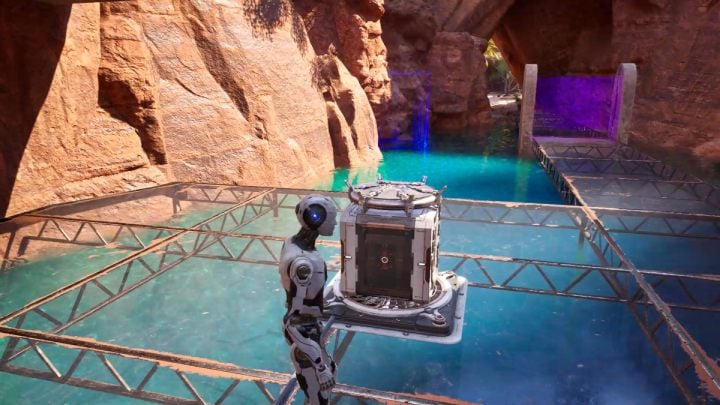
- Put the hexahedron on the fan.
- Put the teleport on top of the hexahedron.
- Activate the switch on the wall.
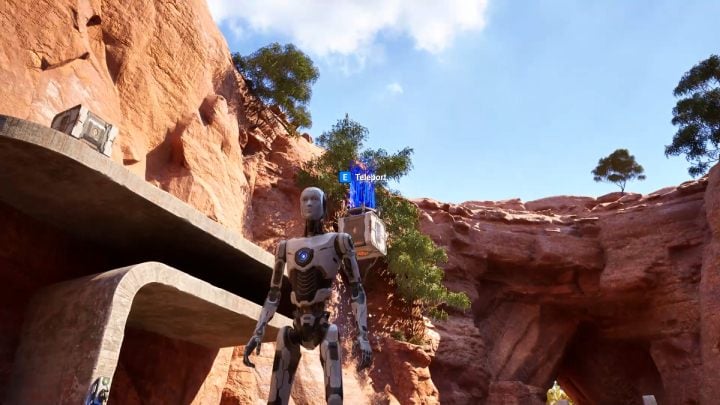
- Use the teleport at the moment the hexahedron rises into the air.
- Jump onto the ledge and take the second hexahedron.
- Jump down and leave the hexahedron aside.
- Deactivate the switch.
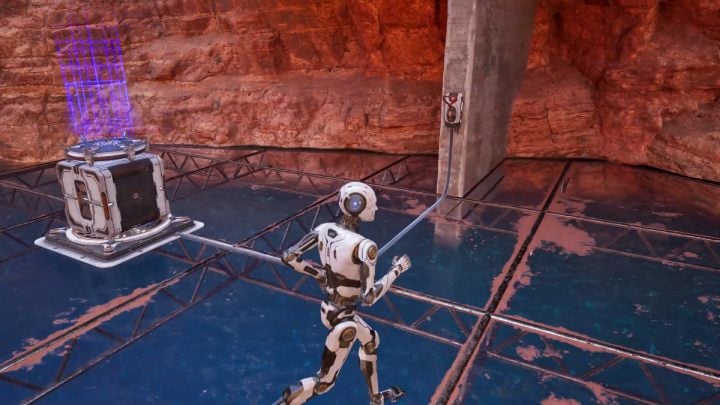
- Place the fan on top of the second device.
- Put the hexahedron on the fan.
- Put the teleport on top of the hexahedron.
- Activate the switch on the wall.
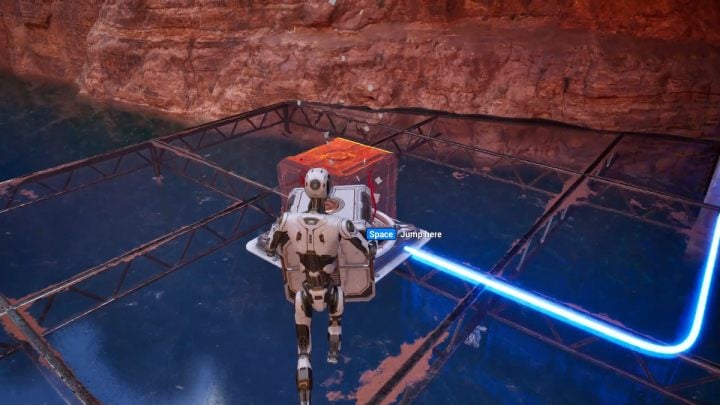
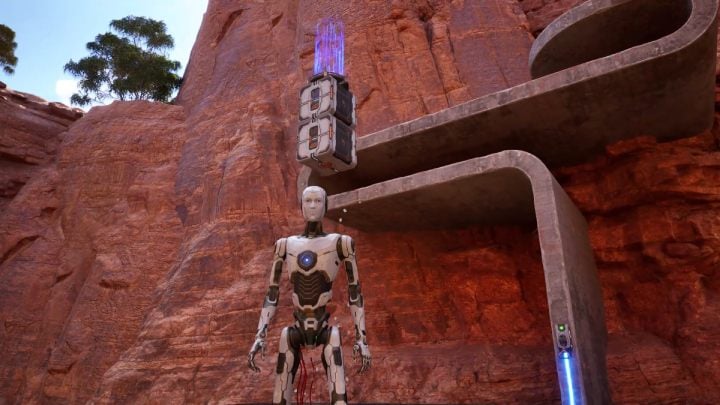
- Once the hexahedron with the teleport rises into the air, pick up the second hexahedron.
- Place the second hexahedron on top of the fan.
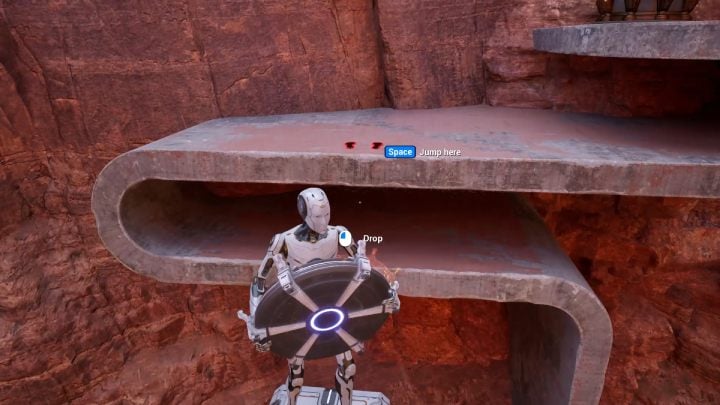
- Use the teleport.
- Look down and pick up the teleport.
- Jump onto the shelf.
- Put the teleport aside.
- Jump down.
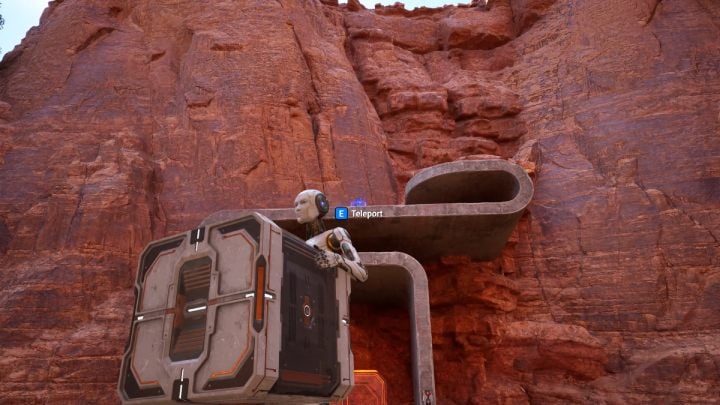
- Turn off the switch.
- Pick up the hexahedron.
- Use the teleport.
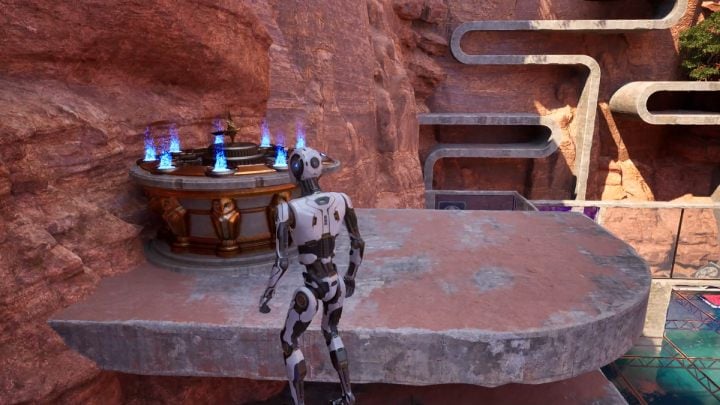
- Put down the hexahedron.
- Jump onto the hexahedron and jump to the terminal.
Minimalism
The opportunity to try Lost Puzzle #2 appears after completing Main Puzzle #4 (Pushing Through).
- Take the jammer and deactivate the barrier.
- Jump onto the fan and then jump down to the floor.
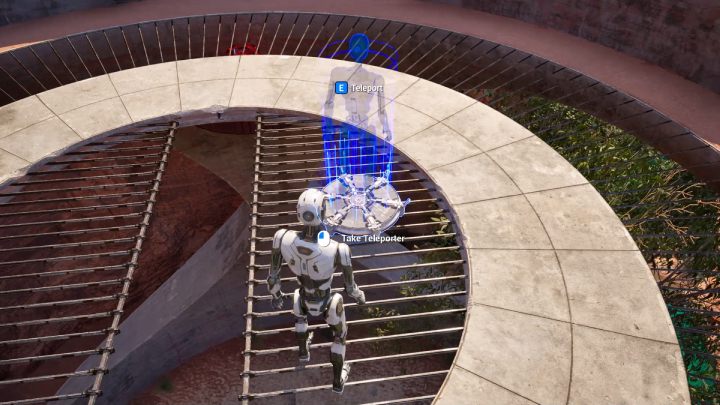
- Pick up the teleport and leave it in the place shown in the screenshot.
- Jump down.
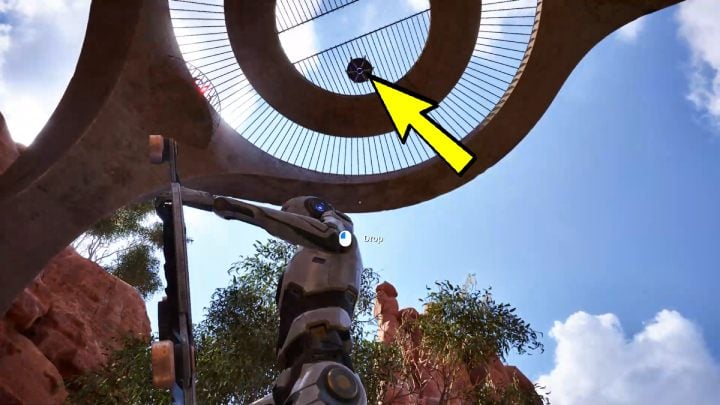
- Pick up the fan and look up.
- Use the teleport.
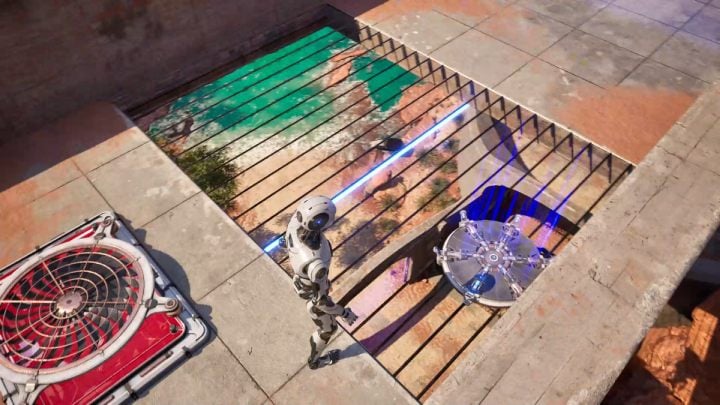
- Place the fan on the platform.
- Pick up the teleport and leave it in the place shown in the screenshot above.
- Jump down.
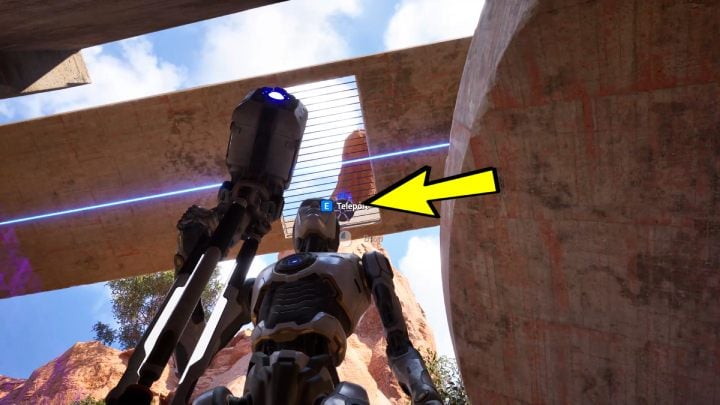
- Pick up the jammer and look up.
- Use the teleport.
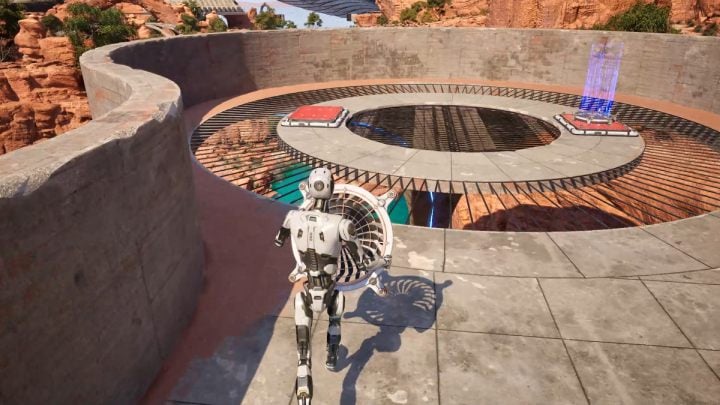
- Point the jammer to the barrier to deactivate it.
- Pick up the teleport and leave it on one of the platforms.
- Pick up the fan and leave it on the second platform.
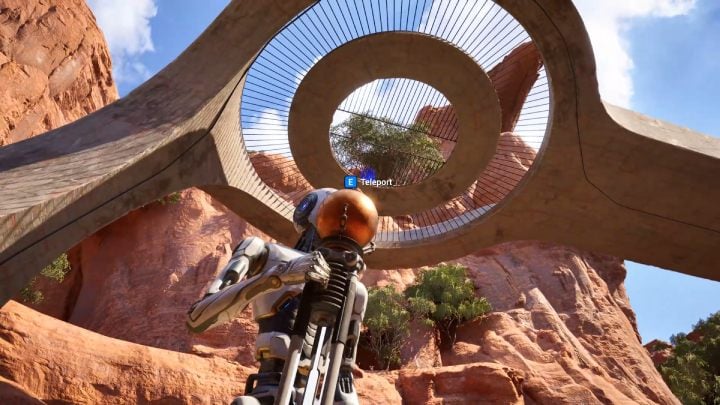
- Jump down.
- Pick up the accumulator and with it, use the teleport.
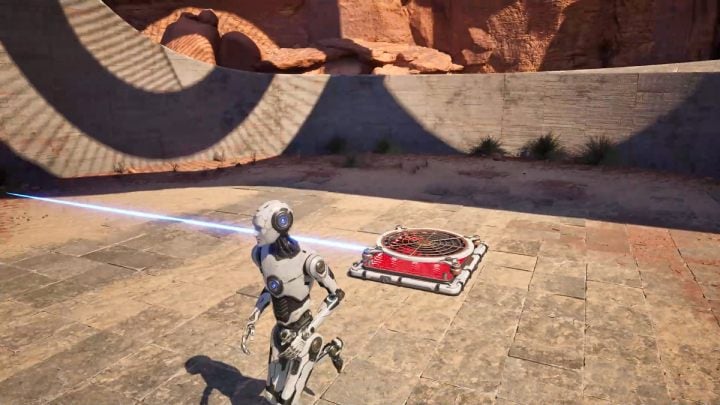
- Put the accumulator down on the platform with the fan.
- With the fan carried, jump down.
- Leave the fan on the platform.
- Use the teleport.
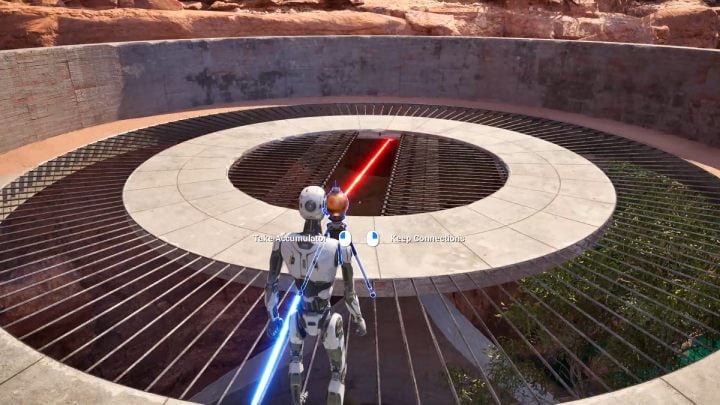
- Pick up the accumulator and return to the previous part of the puzzle.
- Charge the accumulator with the red laser.
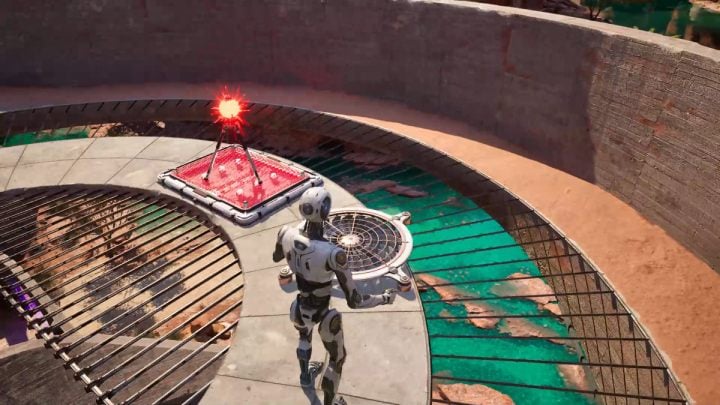
- Put the accumulator down on the platform next to the teleport.
- Jump down.
- Pick up the fan and with it, use the teleport.
- Leave the fan on the platform with the accumulator.
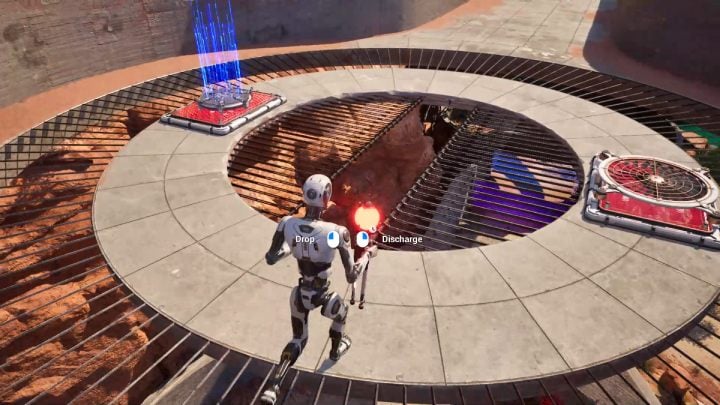
- Pick up the accumulator and jump down.
- Connect the accumulator to the red button next to the terminal.
You are not permitted to copy any image, text or info from this page. This site is not associated with and/or endorsed by the developers and the publishers. All logos and images are copyrighted by their respective owners.
Copyright © 2000 - 2026 Webedia Polska SA for gamepressure.com, unofficial game guides, walkthroughs, secrets, game tips, maps & strategies for top games.
